UX Illustrations

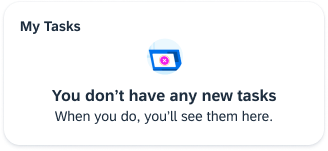
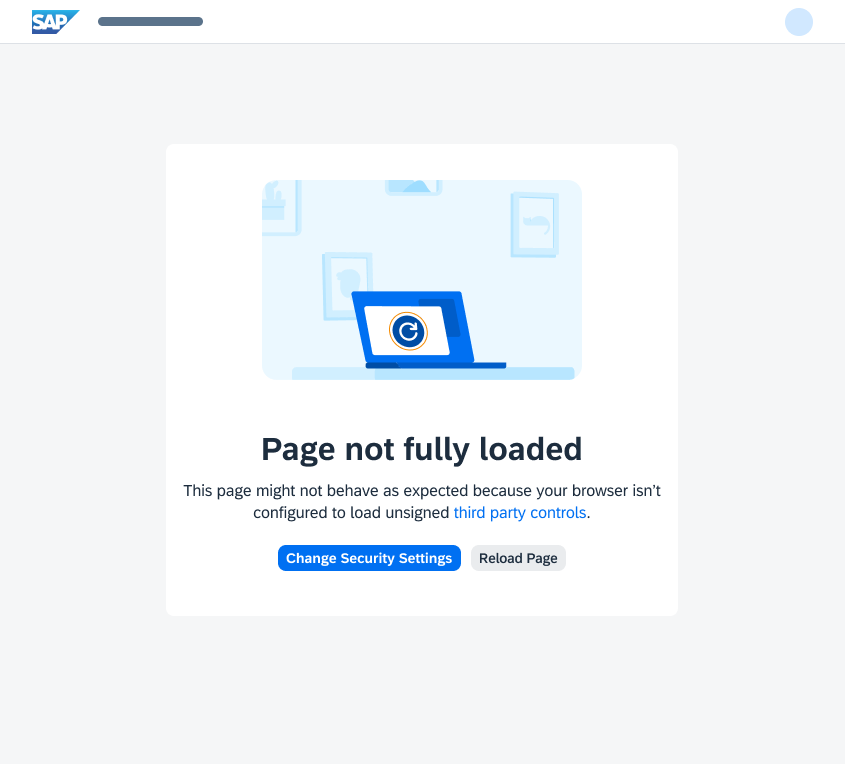
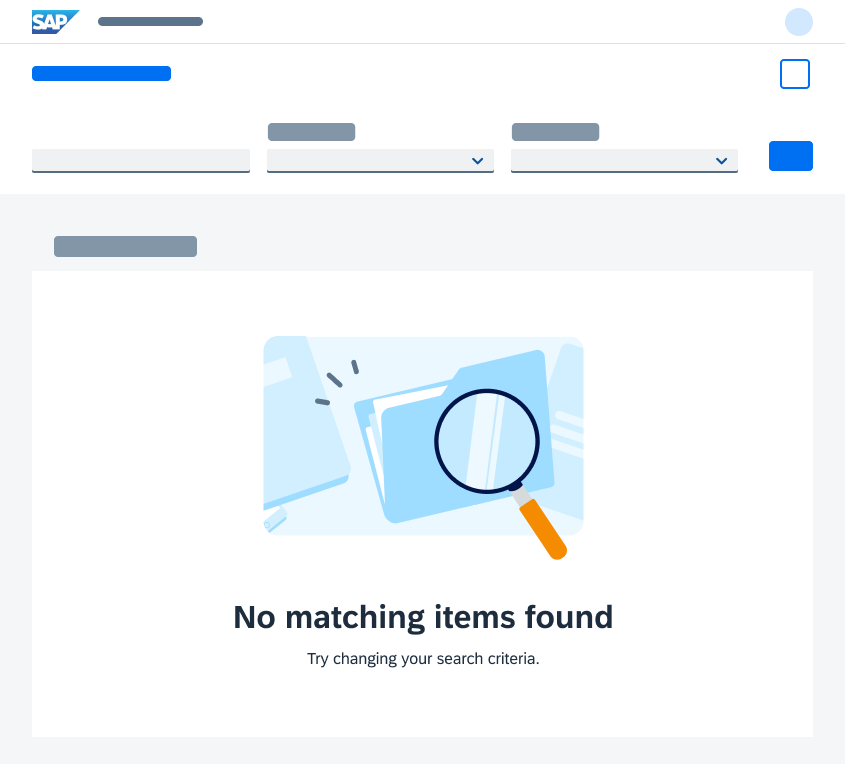
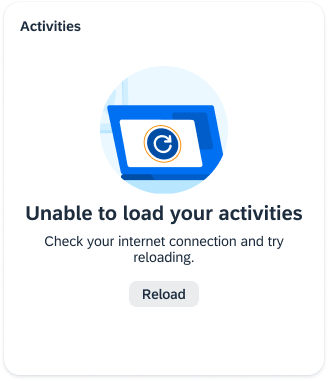
UX illustrations are visual elements that can be paired with written messages. You can use UX illustrations to:

  • Help users to understand a concept more quickly
  • Make complex ideas more relatable and understandable
  • Add more personality to the product and create an emotional connection between users and the product
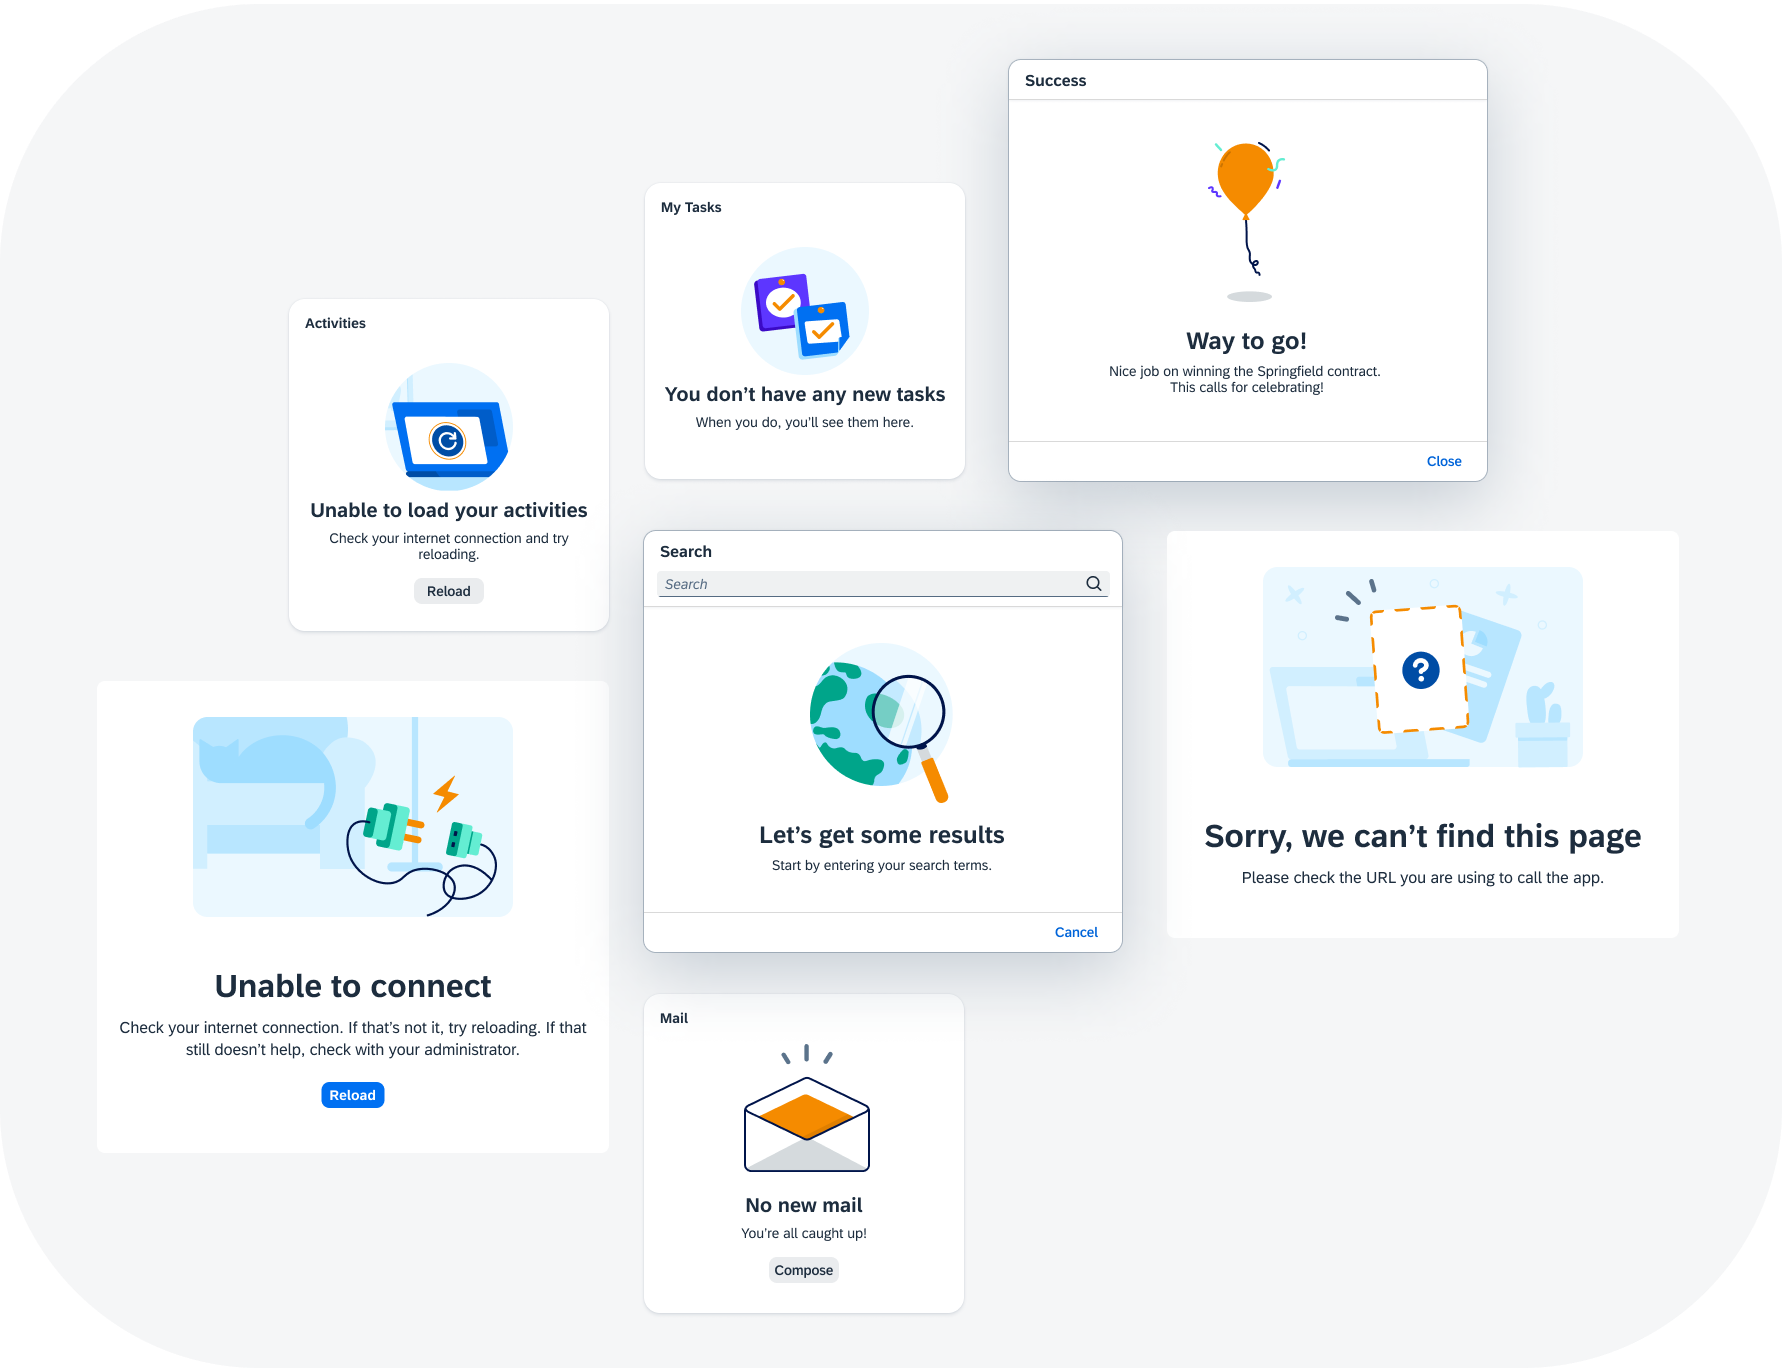
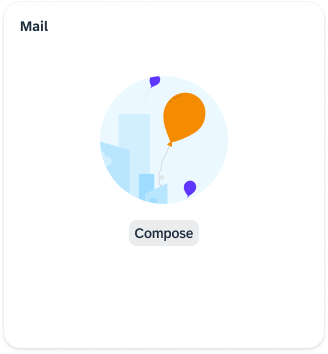
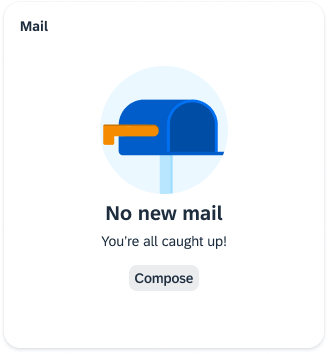
Examples of UX illustrations

When to Use

UX illustrations are always paired with written messages and should never take the leading role in the user experience. The illustrations should remain supportive and noticeable, but not obstruct the flow of the user’s path.

Do not use UX illustrations should as decoration or to fill an empty space. Use them purposefully as a method for communicating with users.

UX Illustrations for Empty States

UX illustrations for SAP Fiori are recommended combinations of a solution-oriented message and illustration that better communicate an empty state than just a message alone. The current UX illustration library targets the most common empty states across SAP Fiori products. UX illustrations come in four sizes to work responsively and within a variety of UI elements. The illustrated message control is available for this purpose.

Illustration Sizes

X-Small (Dot Illustrations)

Dot illustrations are the smallest size and designed to fit within very small UI elements, such as table rows and smaller cards.

They are one size at 45px (2.813rem) square.

Dot illustration example

Small (Spot Illustrations)

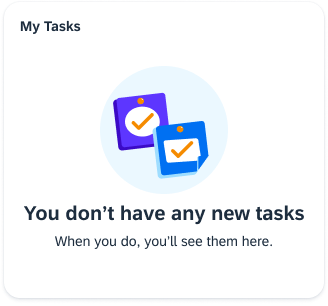
Spot illustrations are designed to fit within smaller UI elements. The smallest UI element recommended for this use case is a medium-sized card.

They are one size at 128px (8rem) square.

Spot illustration example

Medium (Dialog Illustration)

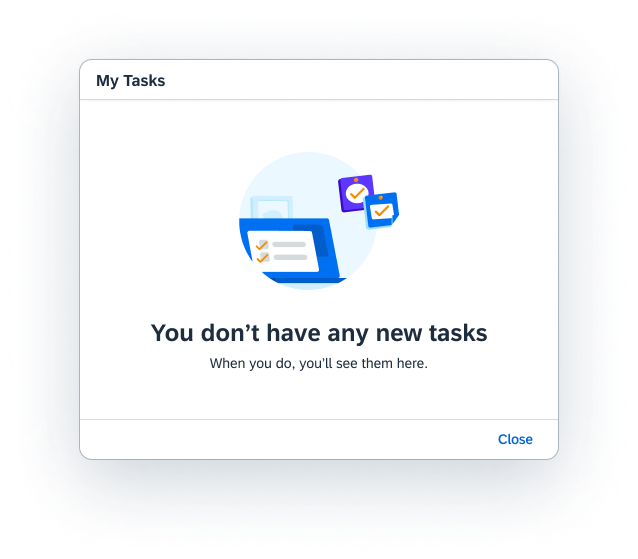
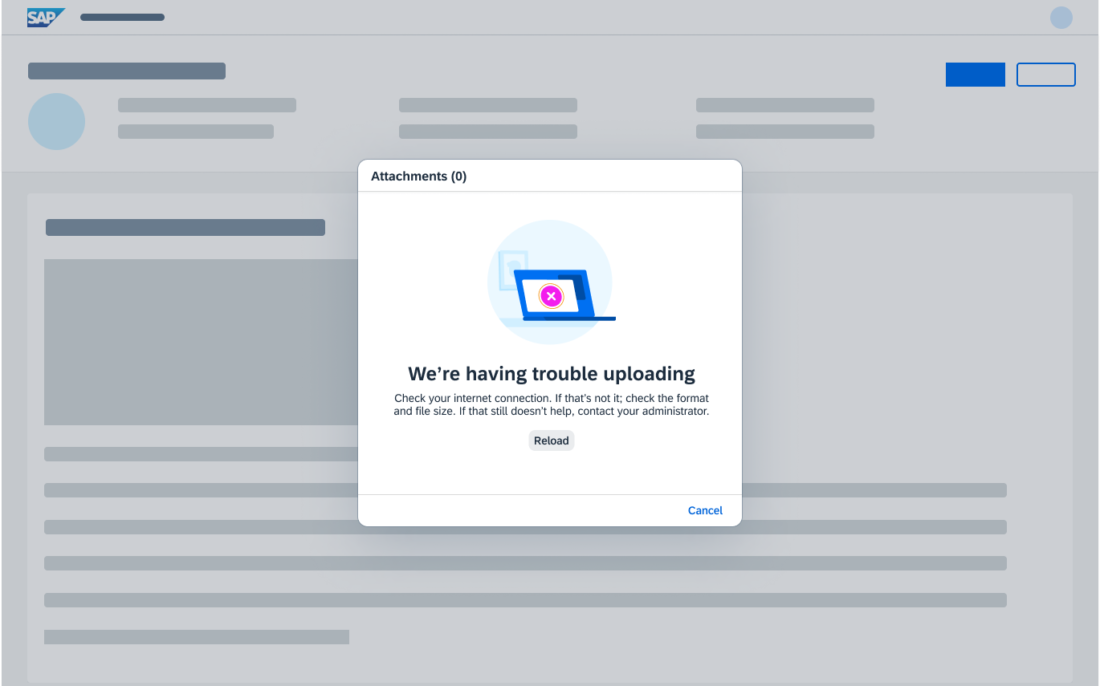
Dialog illustrations are larger than spot illustrations and are typically used within dialogs.

They are one size at 160px (10rem) square.

Dialog illustration example

Large (Scene Illustrations)

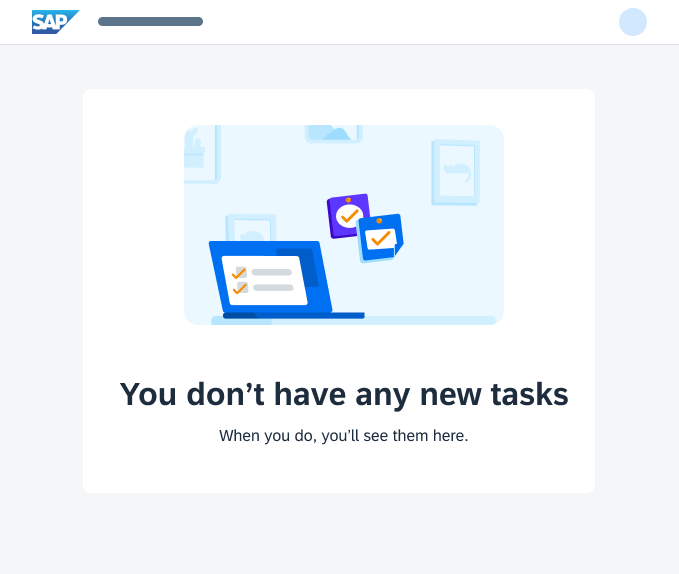
The largest illustration is mainly used to support full screen scenarios. These illustrations are designed to scale to a maximum-minimum width for responsive behavior across form factors.

  • Maximum size: 320px (20rem) width x 240px (15rem) height
  • Minimum size: 240px (15rem) width x 180px (11.25rem) height
Scene illustration example

Illustration Styles

Illustrative Style (Default)

The illustrative style uses vibrant foreground elements on detailed, but monochrome, backgrounds to convey a story to the user.

The sizes Small to Large show a snapshot of a larger scene. As the size decreases, so does the lens through which the user views it. For the smallest size, X-Small, only the foreground element remains.

This style is perfect for visualising complex use cases and attracting the user’s attention.

Success use case in illustrative style

Simple Style

Alternatively, you can use the simple style. The simple style relies solely on the foreground element and, depending on the size, accents. The backgrounds are either simple or non-existent. This makes the illustrations a much less crowded alternative to the illustrative style.

This style is perfect for achieving a more minimalistic look.

Success use case in simple style

Best Practices

Choosing Illustrations

A UX illustration must be paired with a message that clarifies a situation and communicates the next steps. Use the right size illustration for the context and size of the UI element. Don’t hack the illustration or scale it unnecessarily.

  • Be aware of the cultural differences among users. Keep the design minimal to avoid elements that have different meanings in different cultures.
  • Never use text in the illustration. Pair the illustration with a supportive message.
  • If an illustration does not add value to or clarify the situation, don’t use it.

Message Pairing

  • Make sure the illustration, message, and call to action work together as one.
  • Adapt the message to fit your specific use case, as needed.

Implementing Illustrations

The UX Illustrations for SAP Fiori are provided as coded, themeable SVGs and made available through the illustrated message control.

Related Links

Elements and Controls

Implementation

Empty States

Empty states are moments in the user experience when there is no content to display. They can appear anywhere within an application and occur most commonly when a user:

  • Interacts with an application or feature for the first time
  • Performs a search or filters data
  • Encounters an error due to permissions, systems, or configuration issues

Empty states should never feel empty or negative, especially when things aren’t working as expected. It is important to tell the user what the empty state is for, why the user is seeing it, and what the user can do next. When designed appropriately through relatable, encouraging content, empty states can enhance the user experience, add value, and be a quick UX win.

This article provides an overview of empty states and their design recommendations.

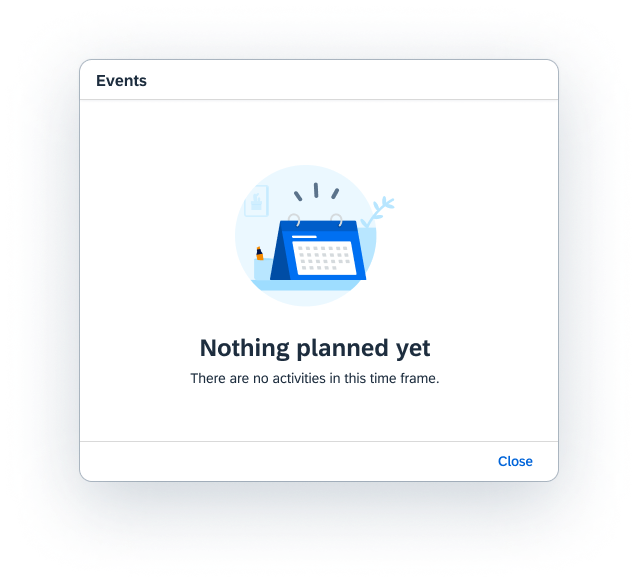
Empty state in a dialog

Handling Empty States

Empty states occur for a variety of reasons and can require different treatments. The design should focus on the information you want to convey to the user. It’s a simple way to keep users informed and supported within an application. If possible, communicate what’s happening, while providing constructive guidance for the next steps.

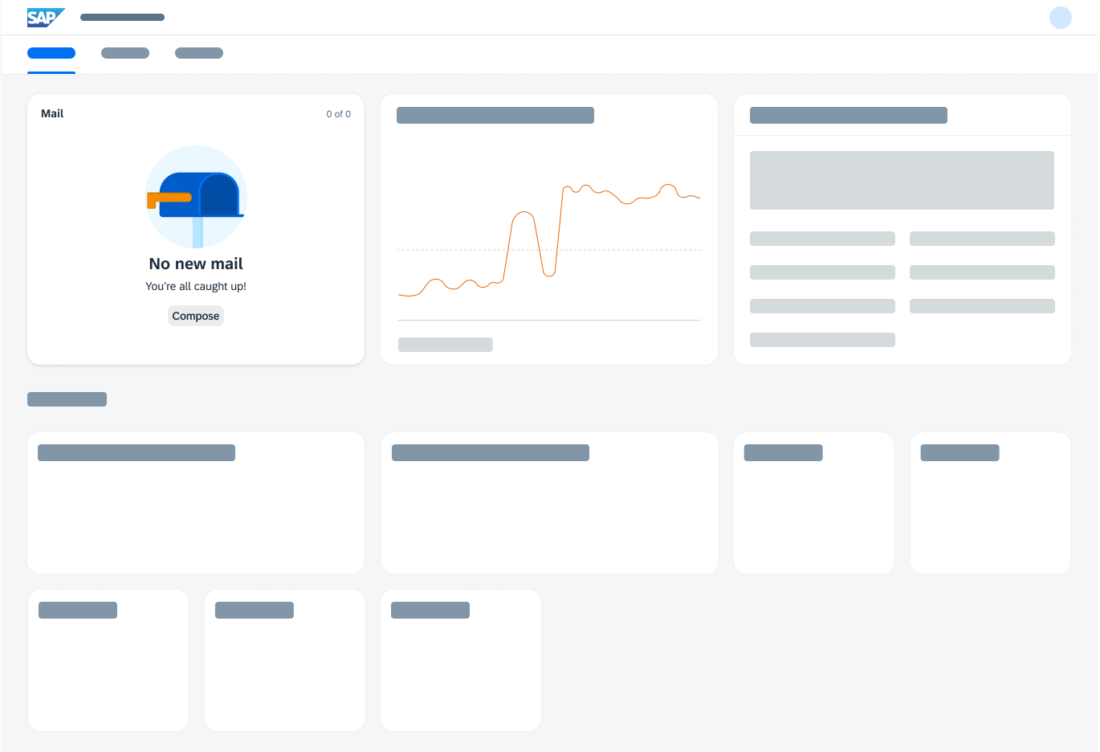
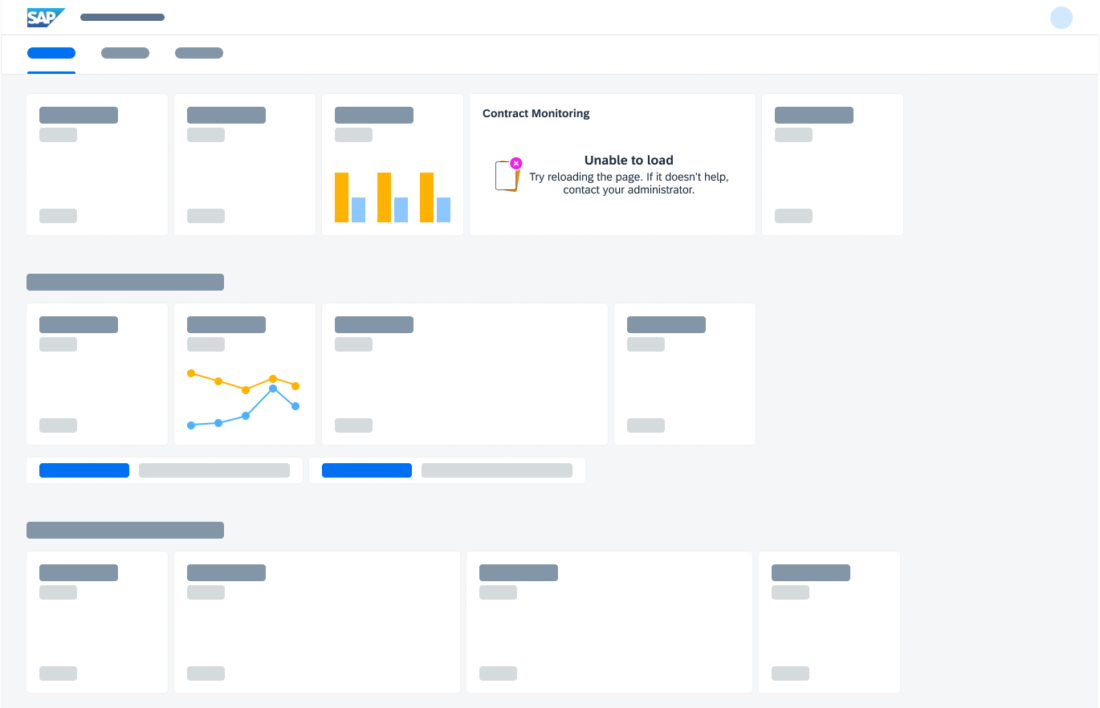
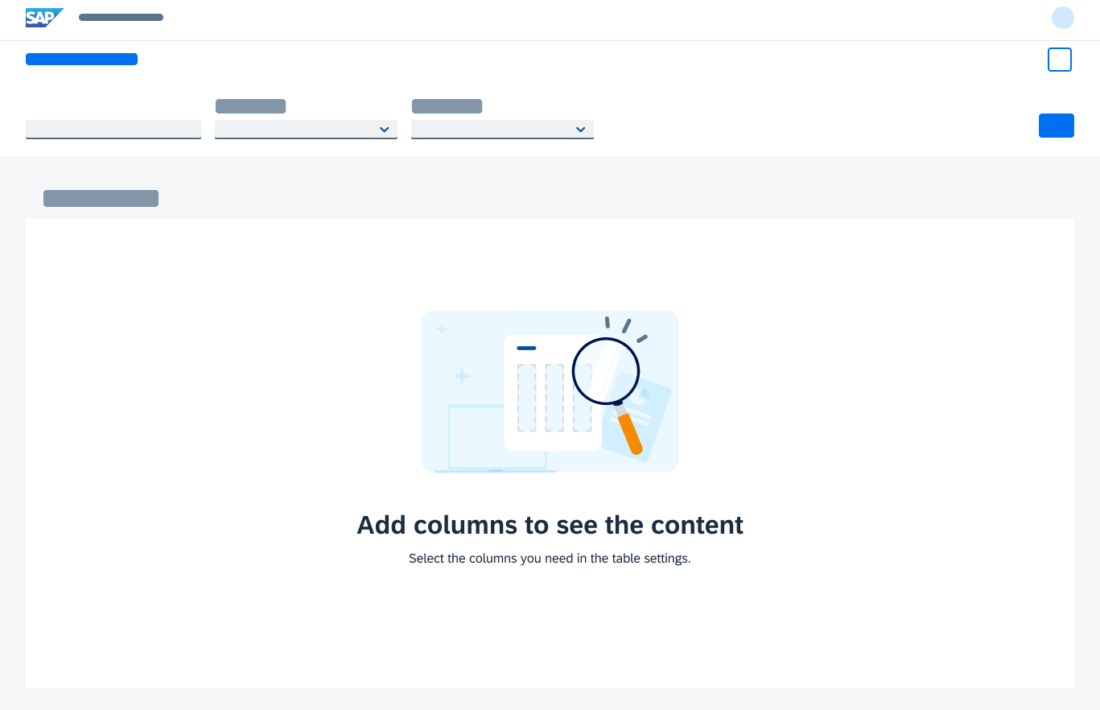
An empty state can occur anywhere in the UI. The design layout for the empty state depends on the context of the situation and what is most suitable for the page layout.

Empty states can be handled by the illustrated message control.

Types

The list below suggests different approaches for common types of empty states to address the needs of the user in different situations.  

Type When to use  Example Recommendation
No data       There is no data for the user to see or the system has nothing to display.

First-time use of an app or feature.

The “no data” state can be initiated by a user, system, or another user:

– Before beginning a search

– No activities

– No mail

– Application account setup

Let users know what will be available when data has been added.

If possible, provide information on how users can add data themselves or what to do next.

If the user is using a feature or app for the first time, guide them through the initial actions.

User action          Provide feedback to the user based on some user action or interaction.

User has completed an action.

A user action empty state is created by the user:

– No search results

– No filter results

– Completion of a process or task

Help users understand the situation and let them know if a next step is needed.

For success states: Indicate that the user has successfully completed a process or task.

Errors The system or application is unable to display information due to an error.  An error state is caused by missing permissions, incorrect configuration, or a system issue:

– Unable to load

– Unable to upload

– Account isn’t available

Help users understand the problem and, if possible, what corrective actions to take.

Provide a sufficient level of detail to help users resolve the issue.

Best Practices 

Message Writing 

Provide a primary message (headline) and a description.

  • Primary message: Explain the reason for the empty state, preferably in a single line. Keep the text short to make it quick to read and understand.
  • Description: Provide context and tell the user what to do next, in three lines or less.

Note: Consider how translations to other languages may increase the amount of text.

More Information:


Call to Action 

Give the user direct access to a relevant action, where appropriate. It can turn an empty state into a situation that is helpful to the user.

  • If there is a clear next step, include an action, ideally in the form of a secondary button or text link. Be sure that the user has permission for the next step.
  • Do not use the primary action button for empty states.

More information:

Illustration Choice

When appropriate, support the message with an illustration. It’s a great way to convey the meaning of the message more immediately and show personality through the distinctive visual language used for SAP Fiori UX illustrations.

Before adding an illustration, ask yourself these questions:

  • Does the illustration enhance the communication of the message you want to deliver to the user?
  • Is the illustration relevant and appropriate in other cultures or geographic locations?
  • Do the illustration, message, and call to action work as one clarify the situation?

Only add an illustration if the empty state has enough space for it. Otherwise, use text messages only.

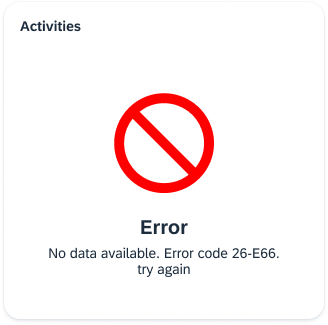
Do not use a UX illustration for UI elements that are smaller than a medium size card, such as tiles, message toasts, message strips, or other smaller UI elements. Use a headline and supporting message only.

More information:

Do
When space is limited, use text only.
Don't
Don't use UX illustrations for small UI elements, such as tiles or message toasts.

Multiple Empty States

When designing for a screen, consider how multiple empty states may impact the user experience. Attempt to mitigate scenarios where multiple empty state illustrations occur simultaneously on a screen. Think about which messages to prioritize first.

Top Tips

  • An empty state should never feel empty or negative, especially when things aren’t working as expected.
  • Keep the user informed, supported, and on a productive path through relatable messaging that communicates what the user would see if they had data.
  • If possible, provide the user with guidance for a next step – either in the message or through a button or text link. In a situation without solutions, explain what is going on so the user can attempt to troubleshoot.
  • Empty states must have a message (headline with supporting description). An illustration and call-to-action are optional.
  • Carefully consider the context and layout when using illustrations and calls to action.
  • Check out the Illustrated Message guidelines.

Reference Examples

Here are some examples of how empty states occur in different containers.

Related Links

Implementation

Expandable Text

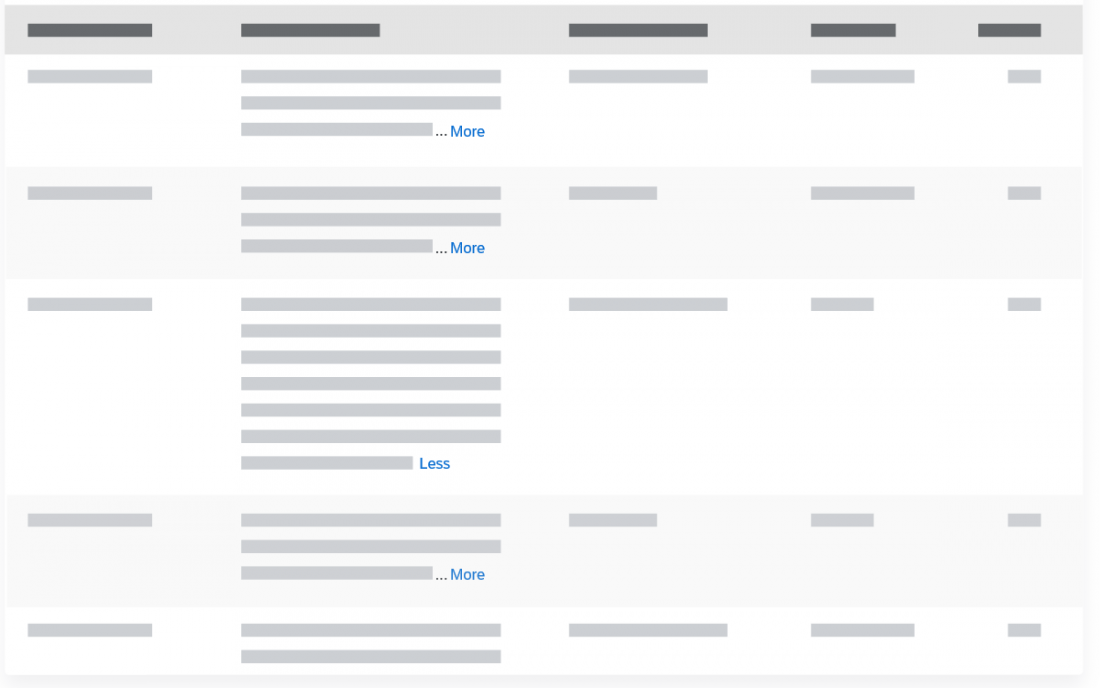
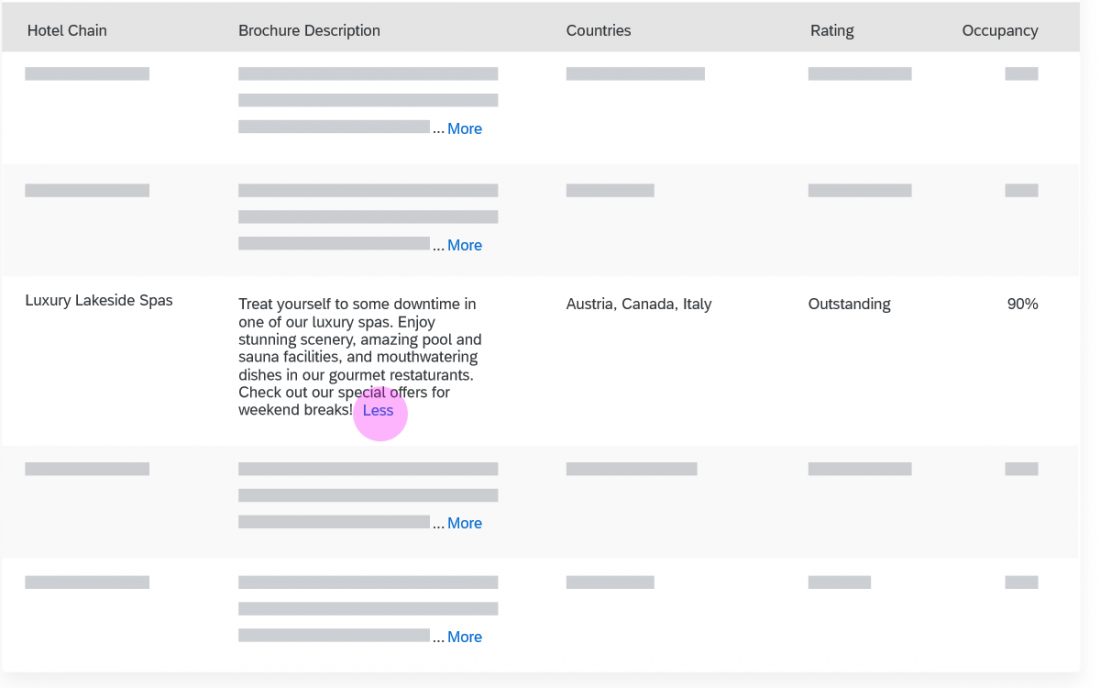
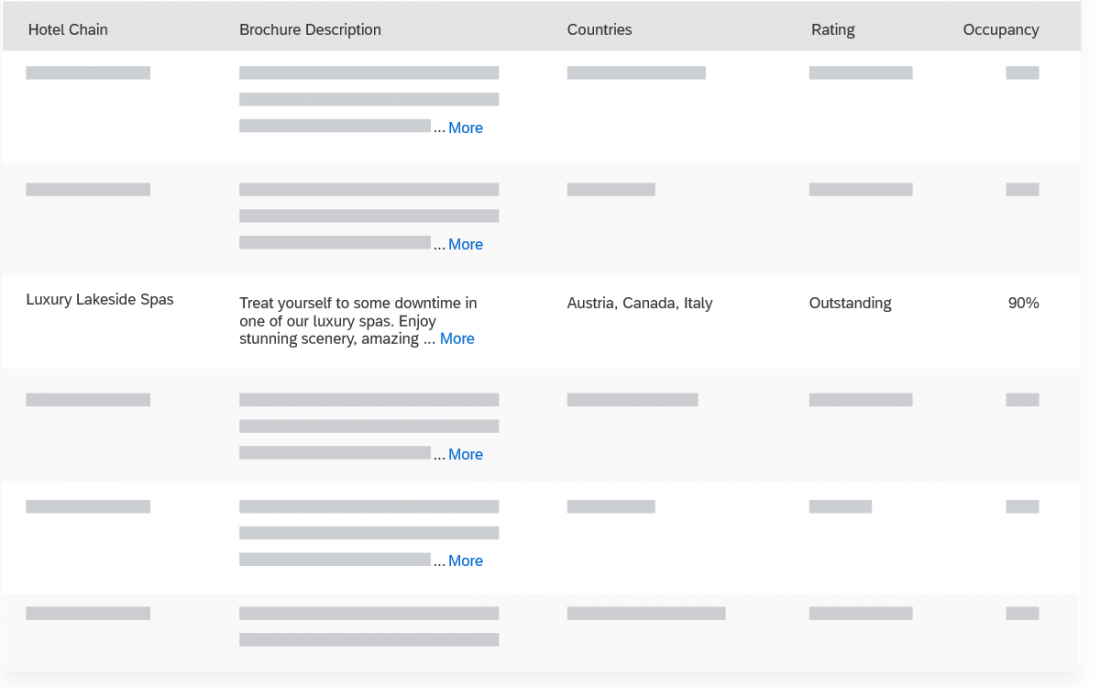
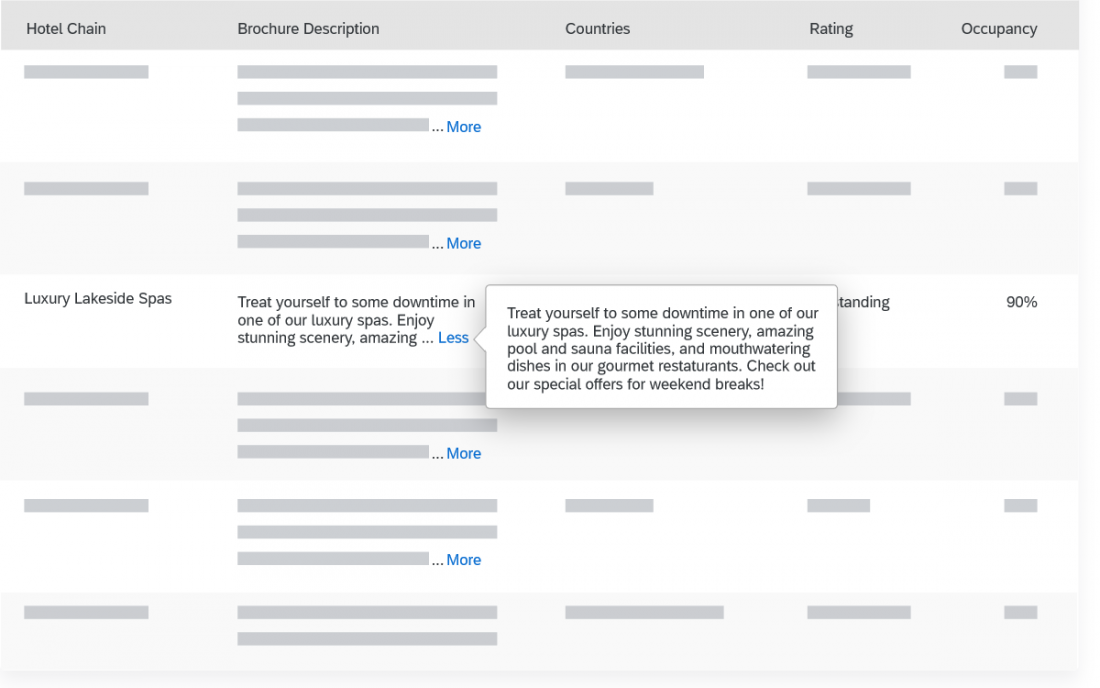
The expandable text control provides access to truncated text. A More/Less link shows or hides the full text. You can expand the text inline or display it in a popover, depending on your use case.

Expandable texts in a table

When to Use

Use expandable text if:

  • You need to handle long texts or descriptions inside a responsive table, list or form.
  • You need to provide access to truncated text.

Do not use expandable text if:

  • You need to display text within UI tables (grid table, tree table, analytical table) or the Gantt chart.
  • You can provide short and meaningful alternatives.
  • The content is critical for the user. In this case, use short descriptions that fit into the available space.

Components

  • Text
  • More/Less link
  • Optional: Popover

Behavior and Interaction

Expanding/Collapsing the Text

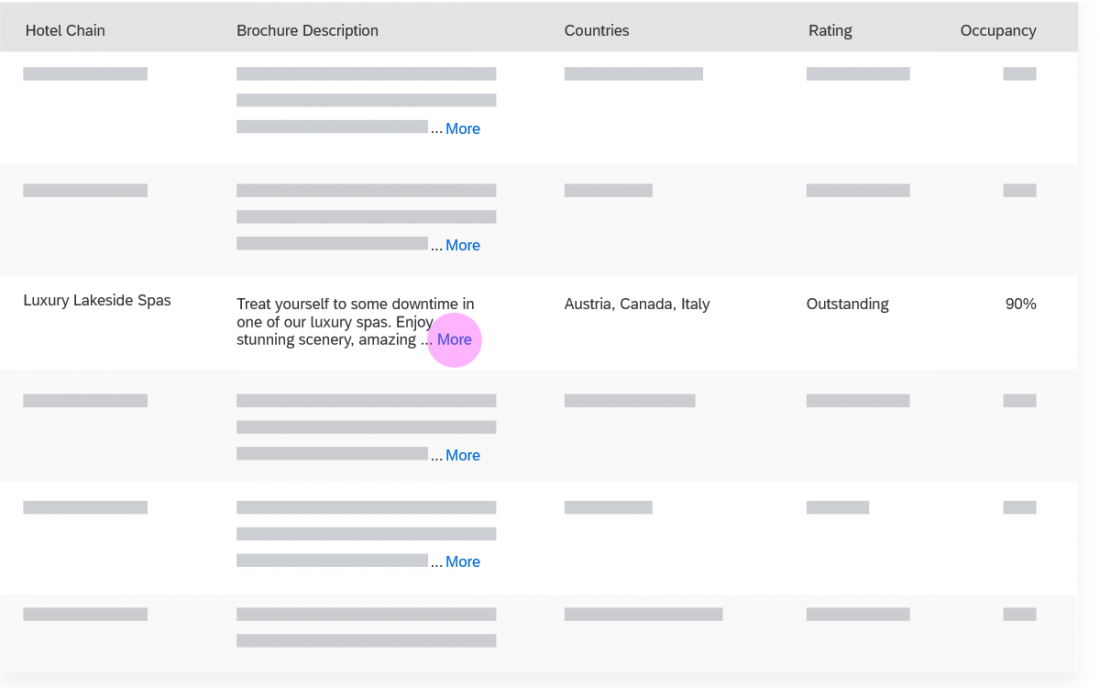
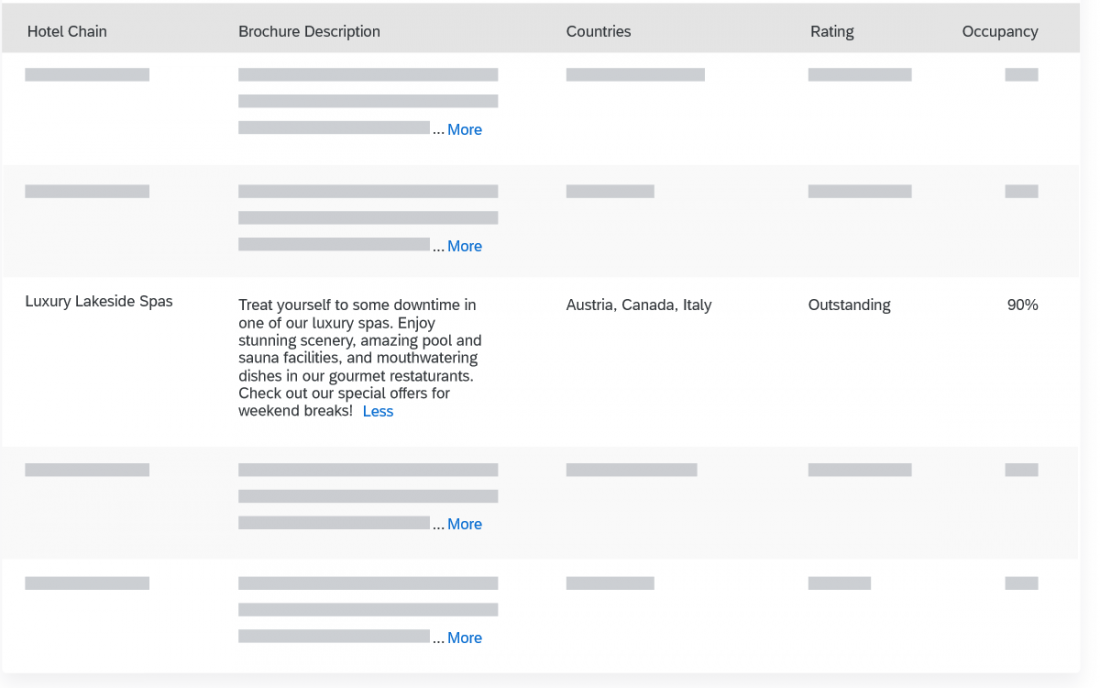
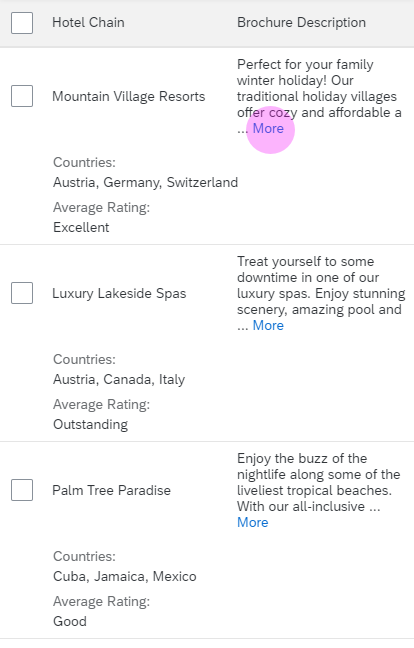
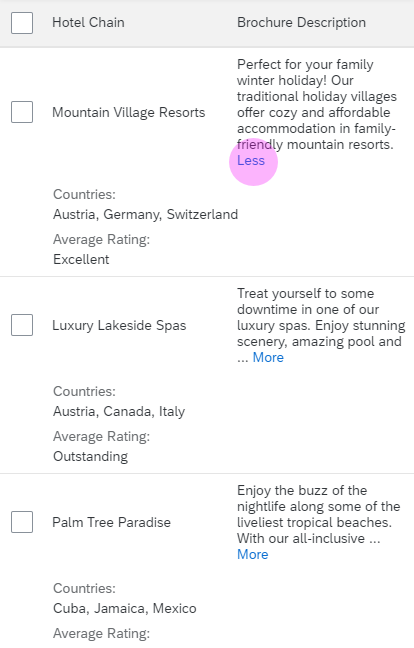
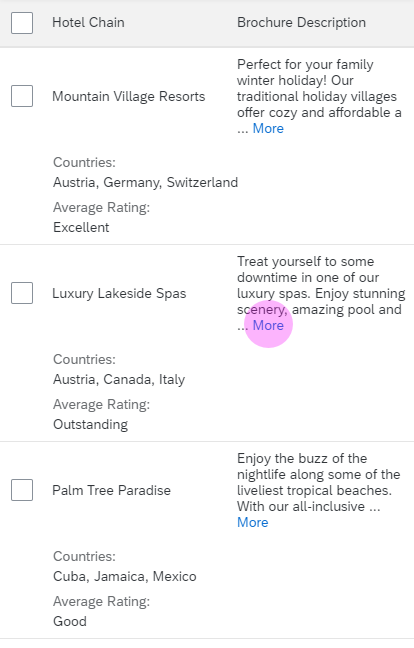
Clicking the More link after the truncated text expands the content inline or in a popover, based on the application settings. When the text is fully visible, the More link is replaced by a Less link.

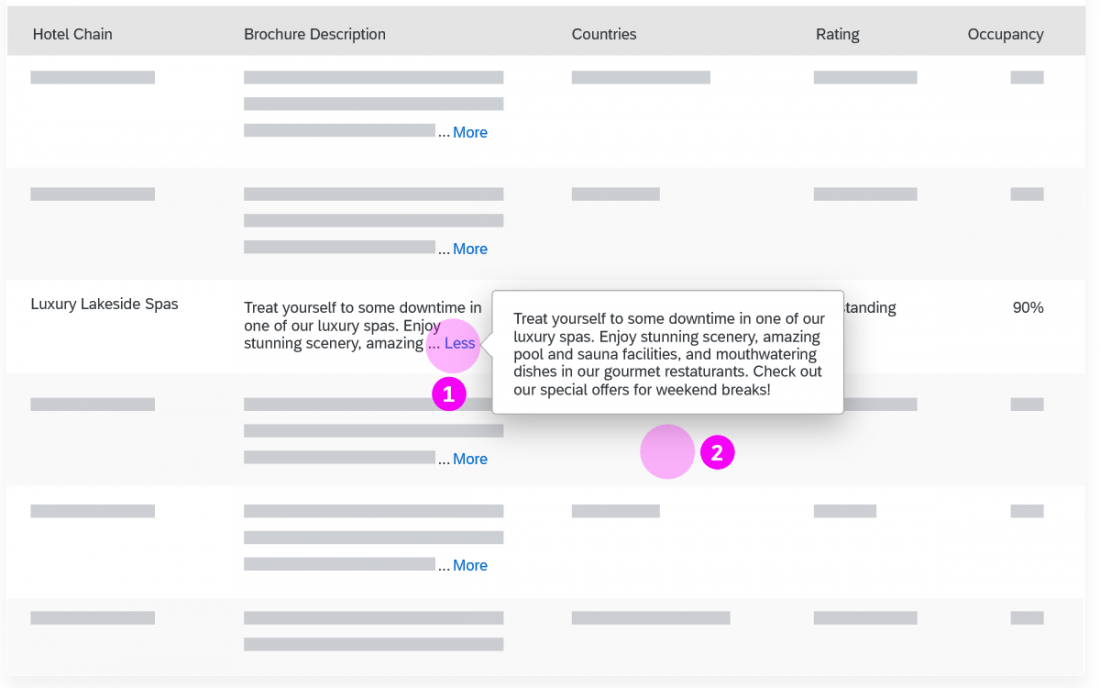
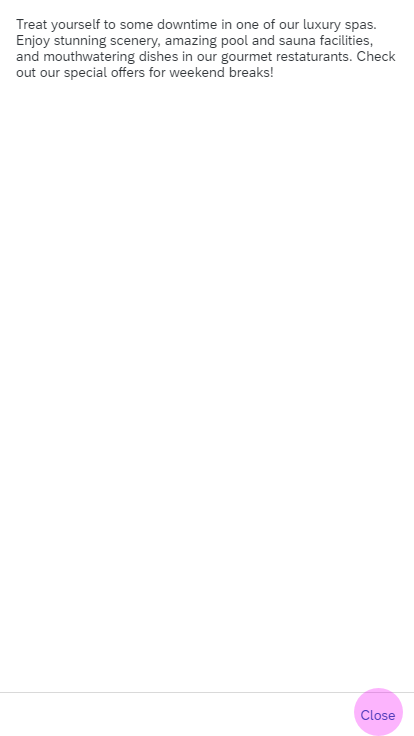
Clicking the Less link collapses the content again. If a popover is used, it can be closed by clicking Less (1) or clicking anywhere outside the popover (2).

Empty State

The property emptyIndicatorMode behaves as in sap.m.Text. It allows developers to indicate empty texts to users with an n-dash (“-“).

Responsiveness

In sizes S, M, L, and XL, the text can be expanded inline or in a popover.

If you use a popover, the content is displayed in full screen mode on size S.

Size S – Inline Text

Expand text with 'More'
Text expanded inline, collapse with 'Less'

Size S – Popover

Expand text with 'More'
Popover text uses full screen, collapse with 'Close'

Top Tips

  • Adapt the number of characters shown before truncation to fit your use case (default: 100 characters).
  • If using a popover: make sure that the width of the popover always corresponds to the length of the text.
  • If you use the expandable text in a table, set minimal padding to avoid extra white space within the rows.

Related Links

Elements and Controls

Implementation

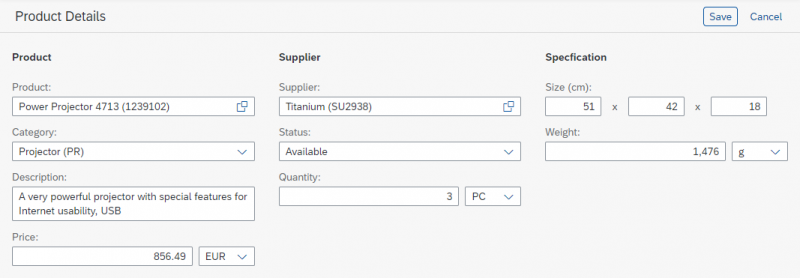
Smart Form

The smart form control creates a form. If used with smart fields, the smart form provides both read-only and editable views, and OData annotations for the smart fields are taken into account. The smart form also provides a toolbar with a title.

When to Use

Use the smart form if:

  • You use an OData service for your app (OData version 2 only).
  • You are using only (or primarily) smart fields inside your form. In this case, the smart form is faster to implement.

Do not use the smart form if:

Components

The smart form consists of a toolbar and a form.

Toolbar

The following options are provided:

  1. Expand/collapse button
  2. Title
  3. App-specific actions

Expand/Collapse Button

The expand/collapse button is optional (properties: expandable,
expanded). It shows or hides the form.

Expanded smart form
Expanded smart form
Collapsed smart form
Guidelines

  • Do not use the expand/collapse button in object pages.
  • Even in other places, it is not usually recommended.

Title

The title is optional (property: title).

App-Specific Actions

App-specific actions can only be added using a custom toolbar (aggregation: customToolbar).

Guidelines
For custom actions, follow the guidelines for object handling.
Developer Hint
The smart form can add its title to the custom toolbar.

Form

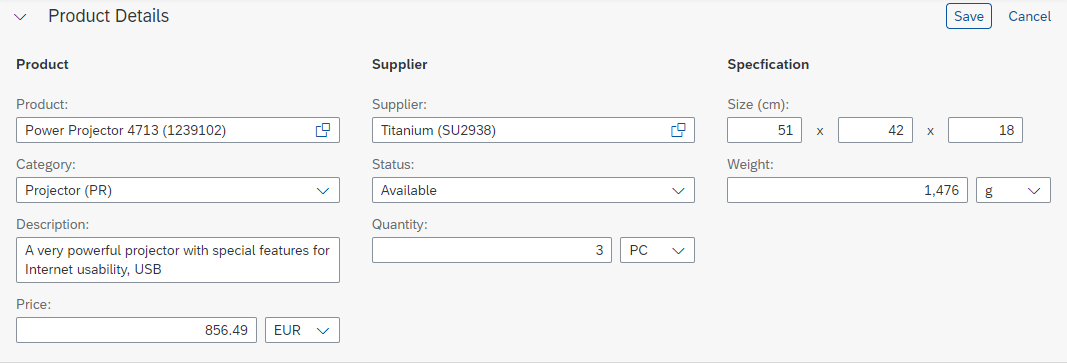
The form consists of form groups (sap.ui.comp.smartform.Group) and a layout.

Form Groups

Each form group comes with:

  • A title
  • One or several form elements and/or semantic form elements

Form elements (sap.ui.comp.smartform.GroupElement) consist of a label and one or several UI elements. If smart fields are used, the label is automatically provided by the corresponding metadata. If more than one smart field is used, define which label to display (GroupElement, property: elementForLabel).

The semantic form element (sap.ui.comp.smartform.SemanticGroupSlement) provides additional support when more than one control is attached to a single label. In display mode, the corresponding texts are displayed as a single value and therefore use less space. You can define a delimiter, which is shown between the fields.

A semantic form element in edit mode
The same semantic form element in display mode
Guidelines
When using more than one control in a form element, consider the semantic form element. In most cases, it will be the better choice.
Developer Hint

  • Ideally, use only smart fields.
  • If this is not possible, use only controls that implement theIFormContent interface . Other controls could damage the visual layout, keyboard support, and screen reader support.

Layout

The layout defines how the form groups and form elements are placed on the screen, depending on the available width (aggregation: layout). There are two layout options: column layout and responsive grid layout.

Guidelines

Behavior and Interaction

Display and Edit Mode

In display mode, the line height for each row is reduced (property: editable). This results in less white space between two lines of text. This setting is passed to all smart fields inside the smart form, which then also switch automatically.

Developer Hint
Controls other than the smart field need to be adapted manually.

Validation

The smart form offers two validation modes: standard and asynchronous (property: validationMode). The standard validation mode works only for smart fields and only with synchronous validation.

Developer Hint
Always use the asynchronous mode: it works for all form elements, not only for smart fields.

Responsiveness

The smart form acts exactly like the embedded controls. For details, see:

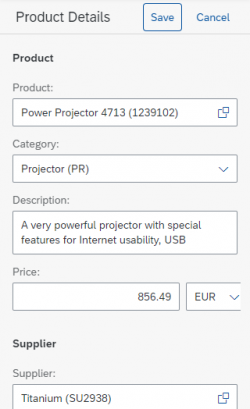
Size S
Size S
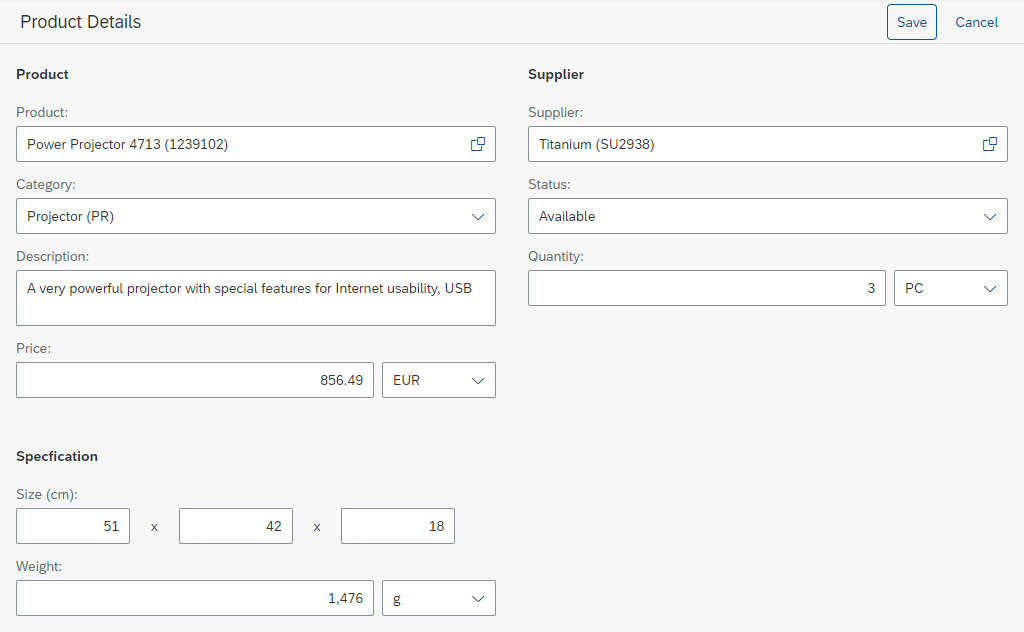
Size M
Size M
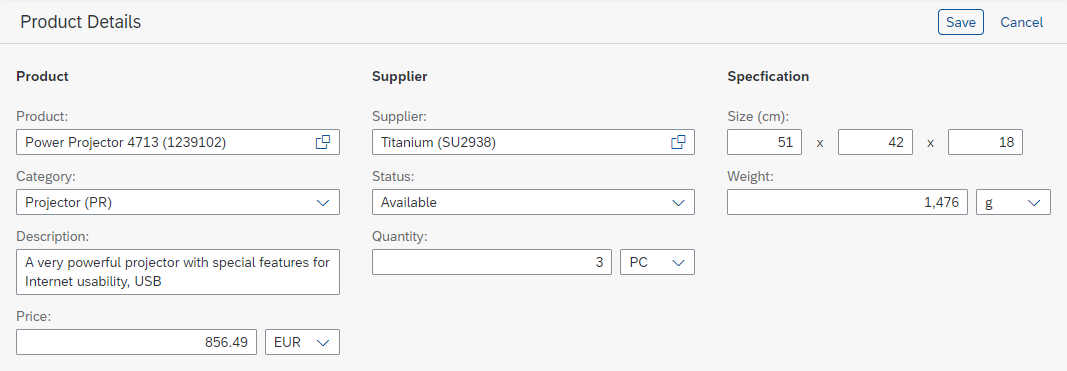
Size L
Size L
Size XL
Size XL

Example

Smart form in edit mode
The same smart form in display mode

Top Tips

Properties

The following properties are available for sap.ui.comp.smartform.SmartForm:

  • The property: checkButton adds a button labeled Check to the toolbar. The button triggers front-end validation on available smart fields. Do not use it. Follow the guidelines for form field validation instead.
  • The property: editToggable adds an icon-only button to the toolbar, which switches the editable property. Do not use it. Follow the guidelines for object handling instead.
  • The property: entityType is used for key user adaptations.
  • The property: flexEnabled is used for key user adaptations.
  • The property: horizontalLayoutGroupElementMinWidth only works with the horizontal layout, which is deprecated. Do not use it. Use the column layout instead.
  • The property: ignoredFields is used for key user adaptations.
  • The property: importance hides all smart fields with lower importance. Do not use it.
  • The property: useHorizontalLayout only works with the horizontal layout, which is deprecated. Use the column layout instead.

The following properties are available for sap.ui.comp.smartform.Group:

  • The property: horizontalLayoutGroupElementMinWidth only works with the horizontal layout, which is deprecated. Use the column layout instead.
  • The property: label is deprecated. Use the aggregation: title instead.
  • The property: useHorizontalLayout only works with the horizontal layout, which is deprecated. Use the column layout instead.
  • The aggregation: layout is deprecated. Use the aggregation: layoutData instead.

Related Links

Elements and Controls

Implementation

Smart List

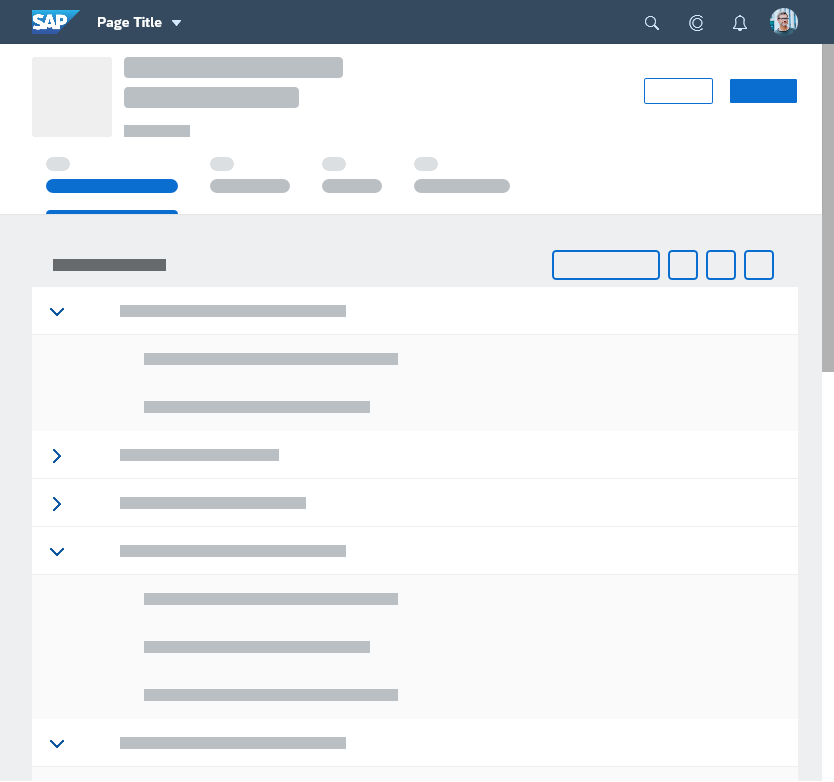
You can use the smart list control to create lists or trees.

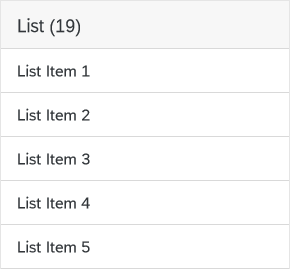
Smart list as list
Smart list as list
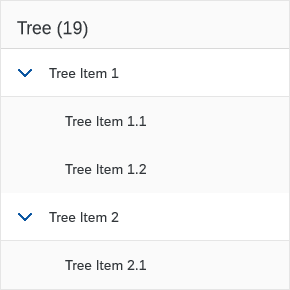
Smart list as tree
Smart list as tree
Information
Unlike most smart controls, the smart list does not use annotations to create the content automatically.

When to Use

You can use the smart list if you use an OData service for your app (OData version 2 only).

For detailed recommendations on when to use a list or a tree, see the corresponding guideline articles:

Components

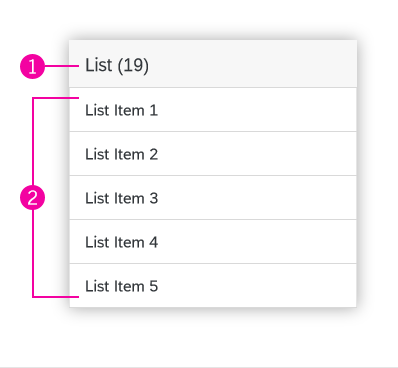
The smart list control consists of an overflow toolbar (1) in combination with either the list control (2) or the tree control (3).

Smart list used as a list:

(1) An overflow toolbar on the top
(2) List control below

List components
List components

Smart list used as a tree:

(1) An overflow toolbar on the top
(3) Tree control below

Tree components
Tree components

Behavior and Interaction

The individual controls mentioned in the Components section behave exactly as they would on their own.

For more information, see the respective guidelines:

Responsiveness

Both smart list variants are responsive. Each embedded control behaves as specified.

The following schematic examples show how list and tree use cases appear on different devices.

Responsive list - Size S
Responsive list - Size M
Responsive list - Size L
Responsive tree - Size S
Responsive tree - Size M
Responsive tree - Size L

Top Tips

List or tree? What you should consider

Due to their one-dimensional layout, lists are much easier for users to grasp than trees. First consider if you can use a list to present your data. Only use a tree if your data requires a hierarchy. Make sure that the nodes are clearly labeled and that information is not nested too deeply.

Developer Hint
The listType property controls whether the smart list presents itself as a list or tree. It must be appended by either List or Tree to work.

More guidelines and tips for each component of the smart list

  • Guidelines and tips for toolbars
  • Guidelines and tips for lists
  • Guidelines and tips for trees

Related Links

Elements and Controls

Implementation

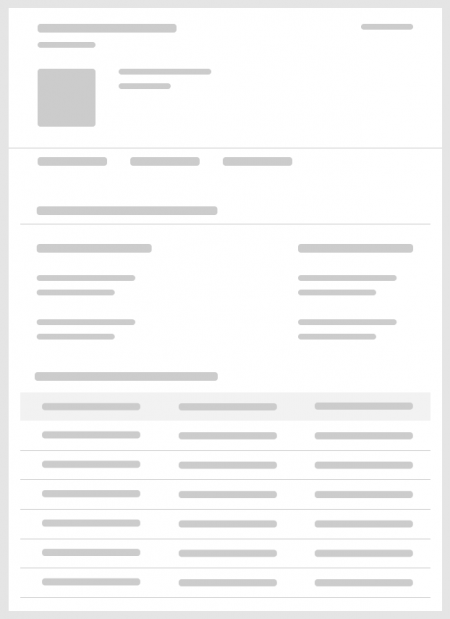
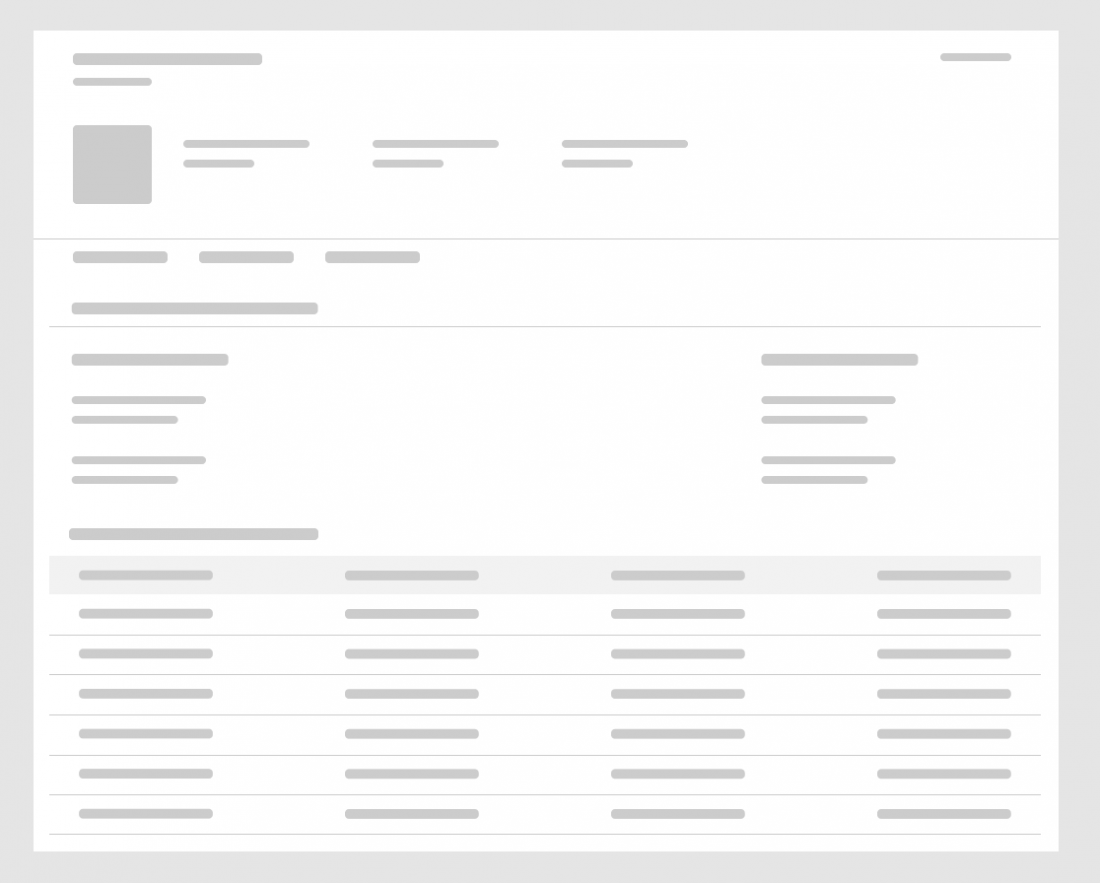
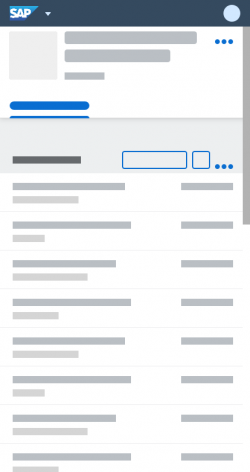
Placeholder Loading

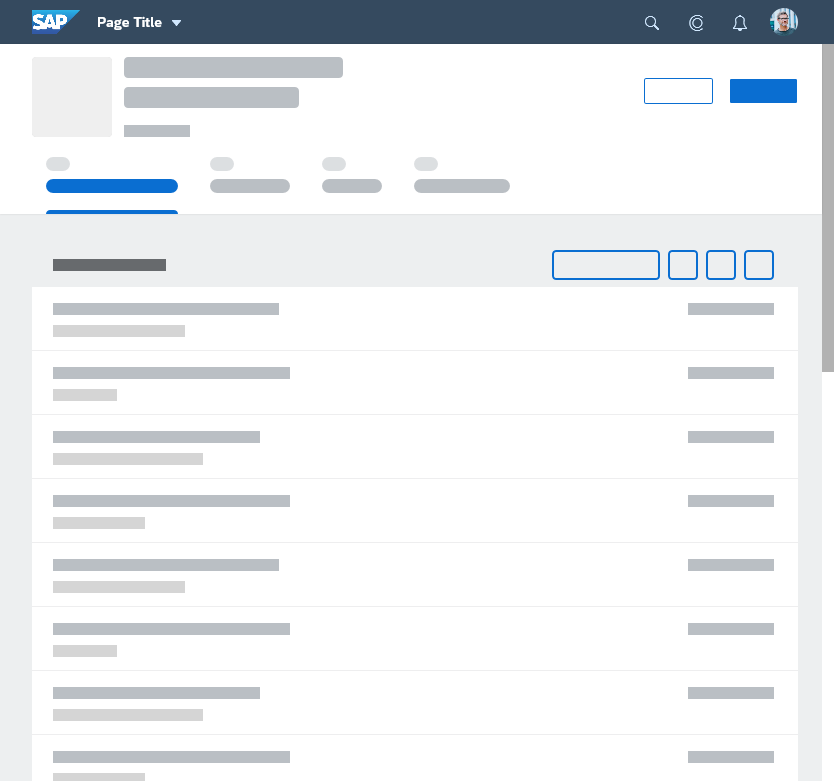
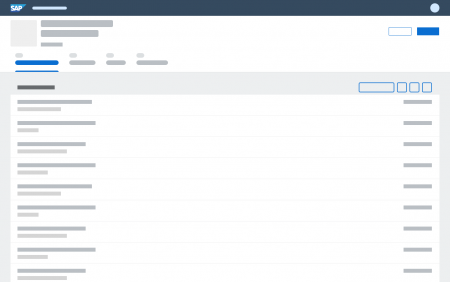
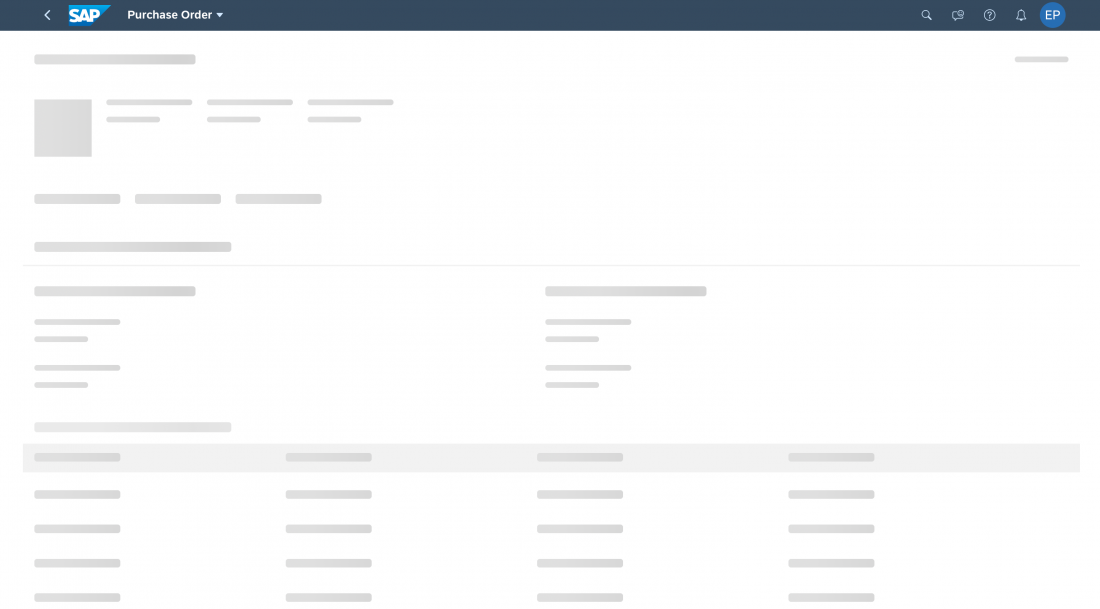
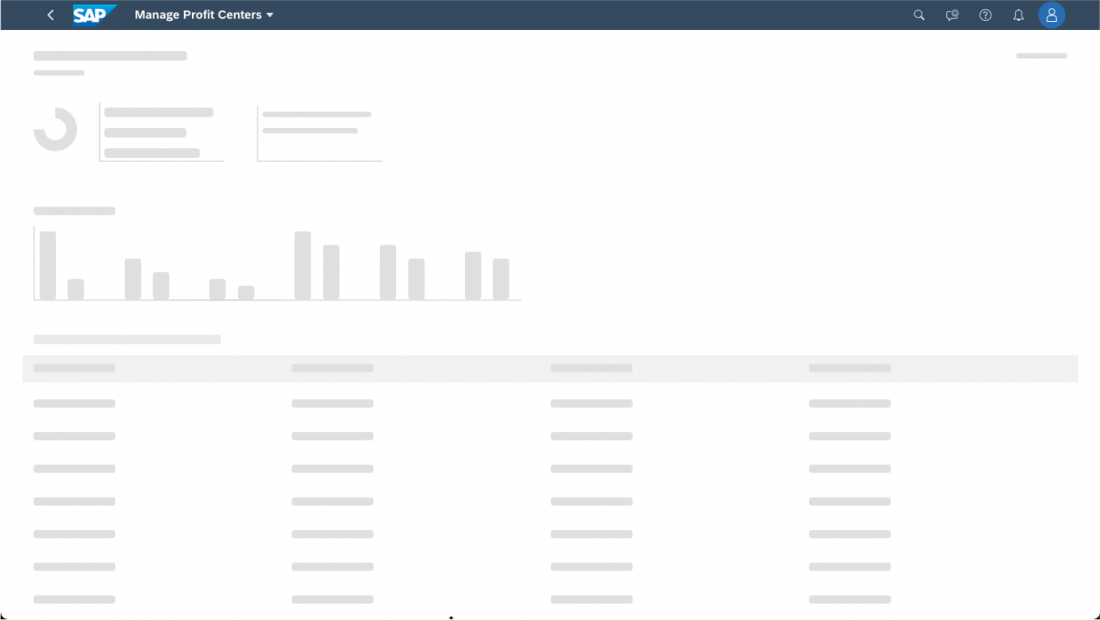
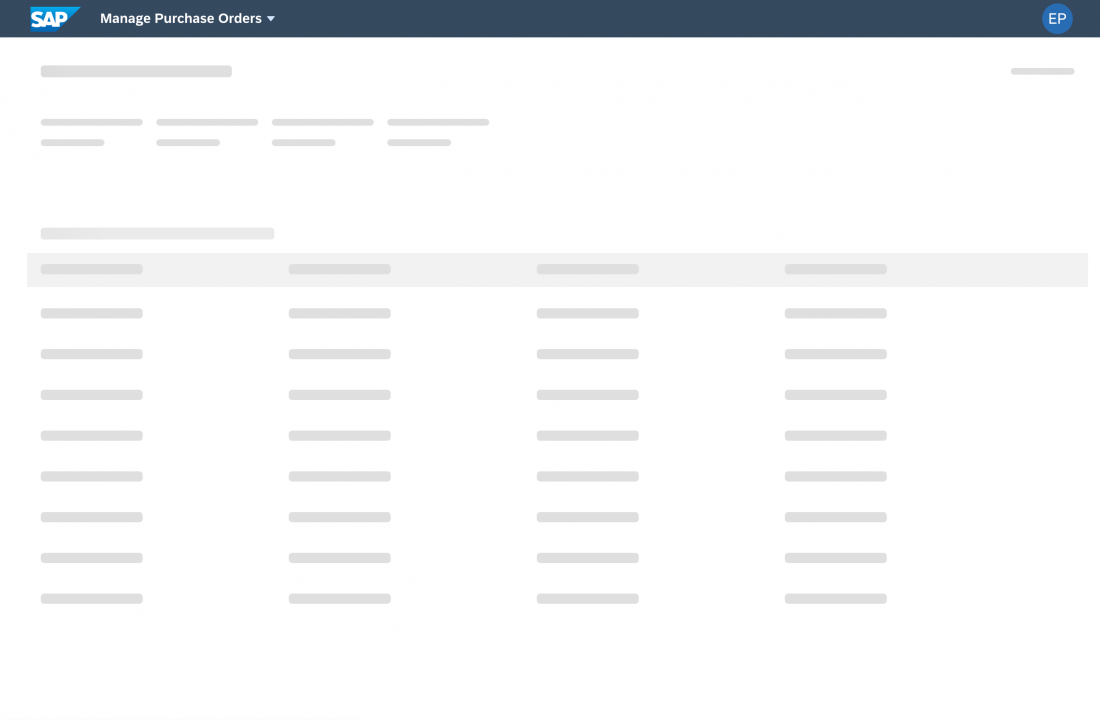
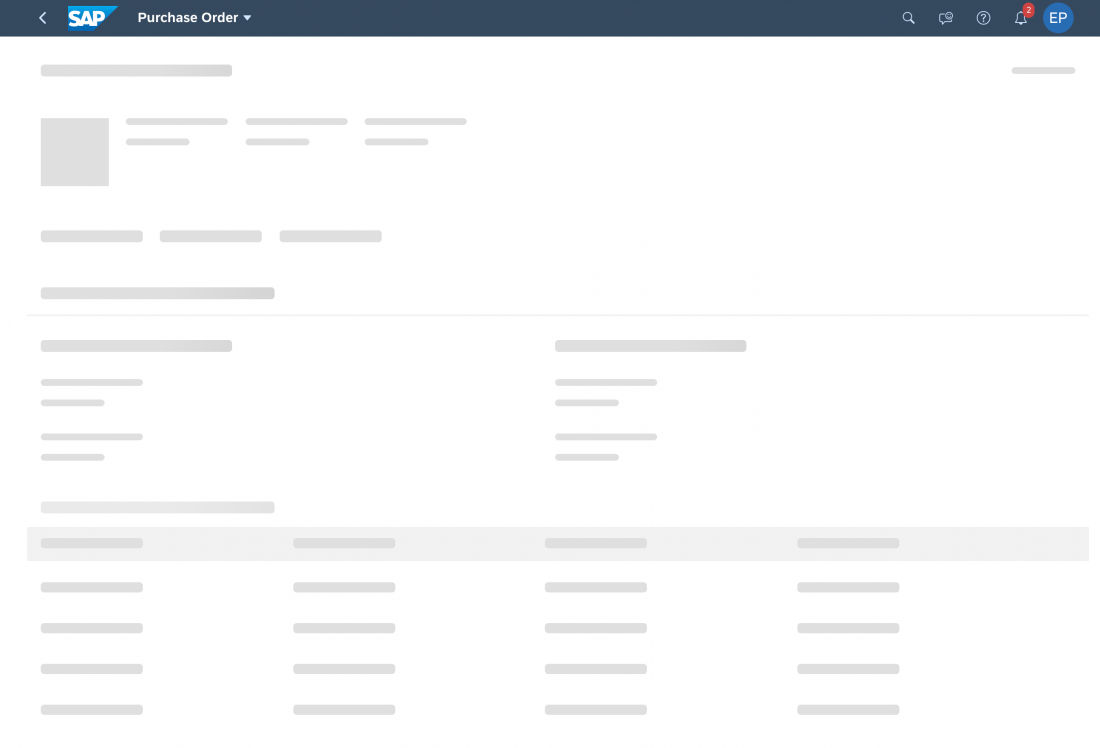
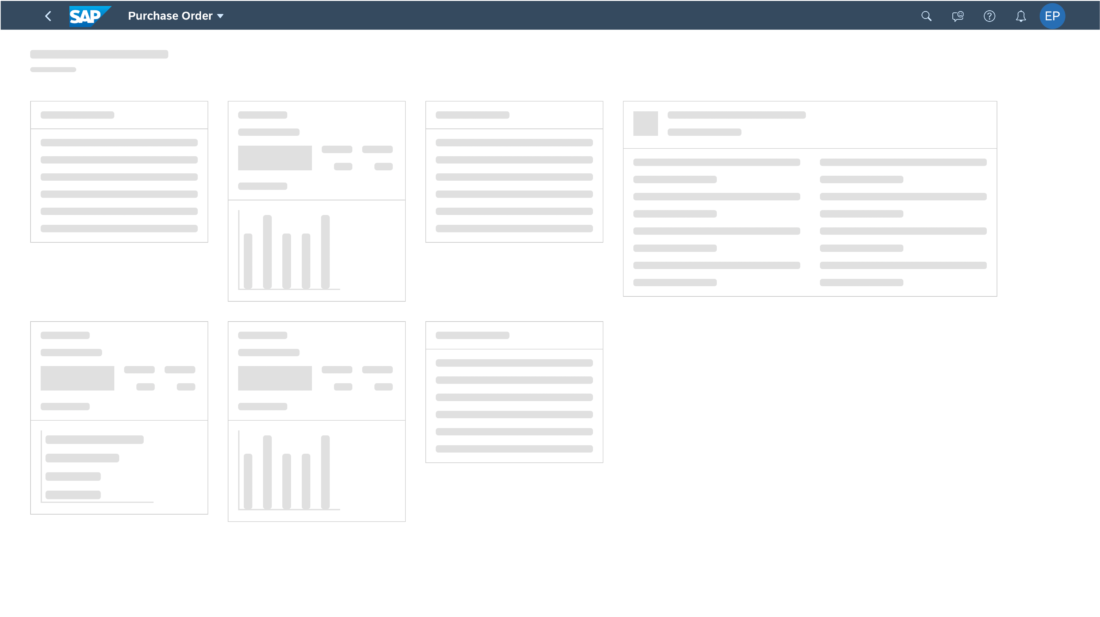
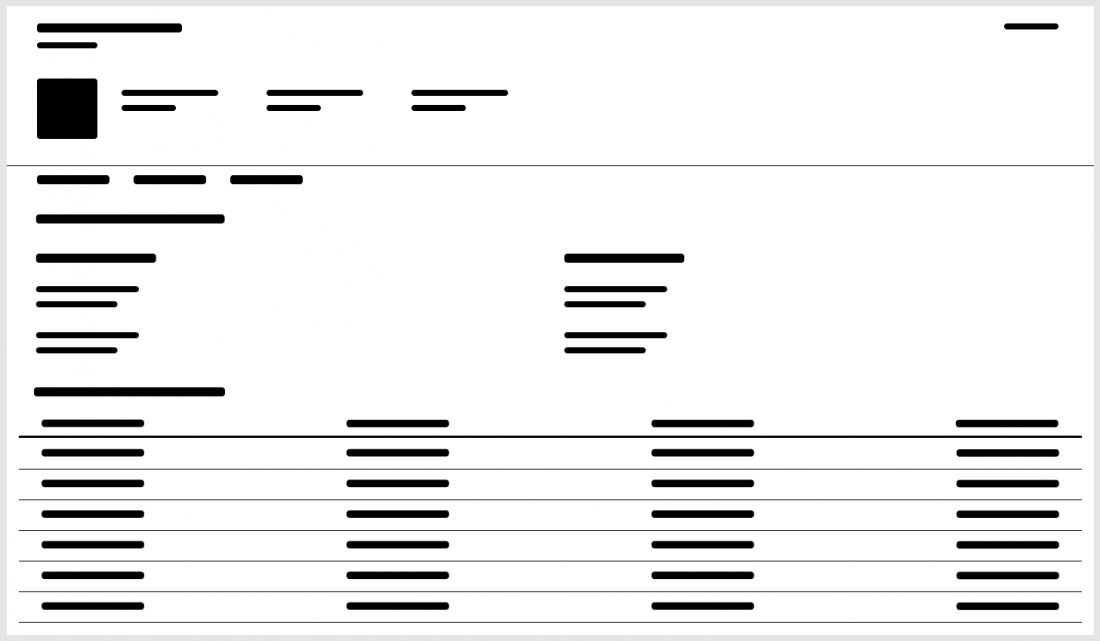
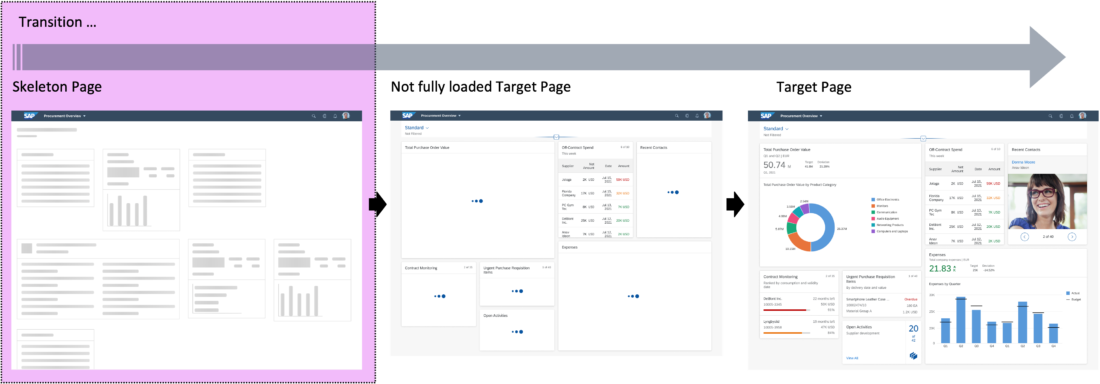
Placeholder loading is a type of busy indicator that provides the user with a skeleton page as a placeholder while the content is still loading. The aim is to inform the user of the ongoing loading progress.

A skeleton page shows the frame of the final content without the content being fully loaded. Visually, skeleton pages are grey boxes with animations to indicate loading activity.

Skeleton pages are used to create an impression of speed and reliability when an app encounters performance barriers. They provide a generic preview of the layout, which makes the app seem to load faster. This improves the overall user experience.

Placeholder Object Page

When to Use

Use a skeleton page with generic placeholders when

  • Launching an application from the launchpad.
  • Navigating from one application to another application.
Information
This happens mostly when an application is started for the first time and the application isn’t cached in the browser yet.

Components

For placeholder loading in Fiori, we have decided to use the generic placeholder loading concept. This means that for each floorplan there is a generic placeholder that is displayed as a generic fixed page.


Available Placeholder Floorplans:

  • Analytical list page
  • List report
  • Object page
  • Overview page

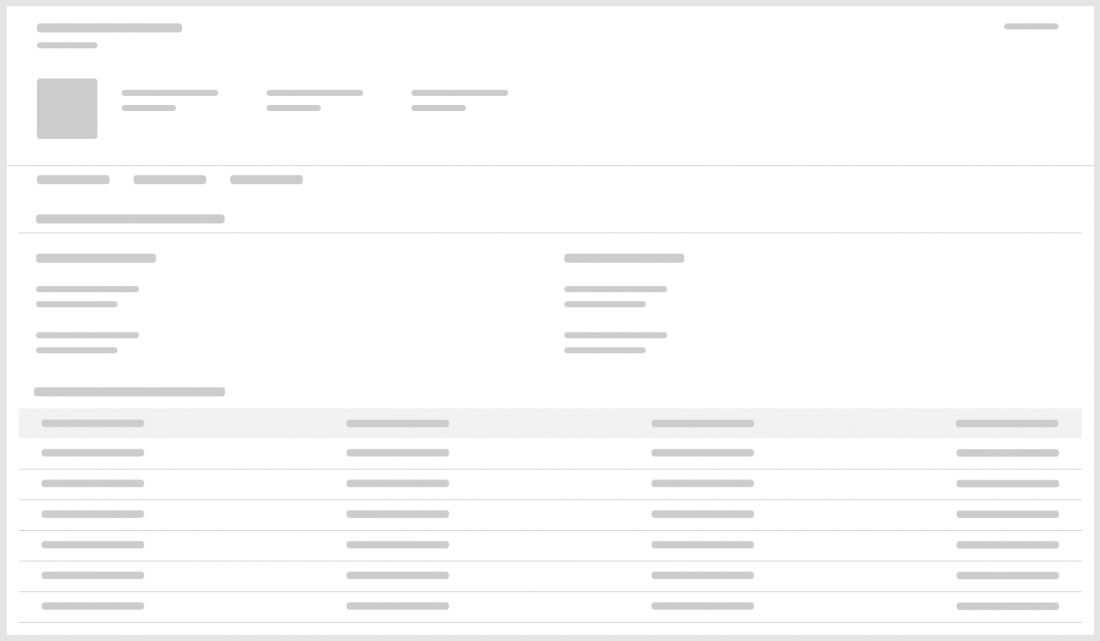
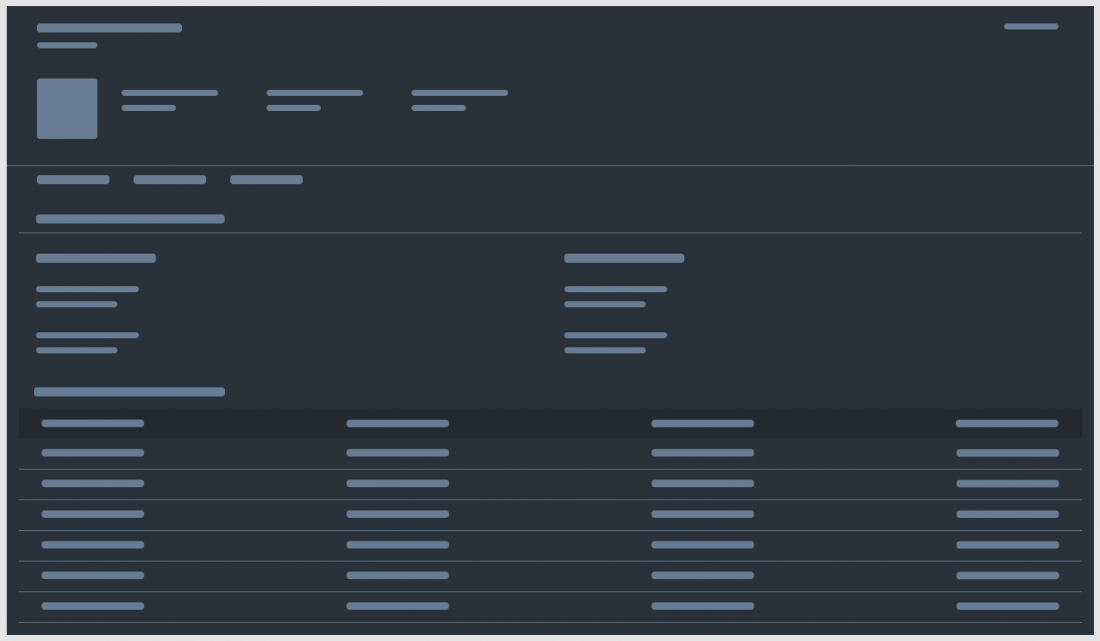
The placeholders are available in the following themes:

  • Quartz Light
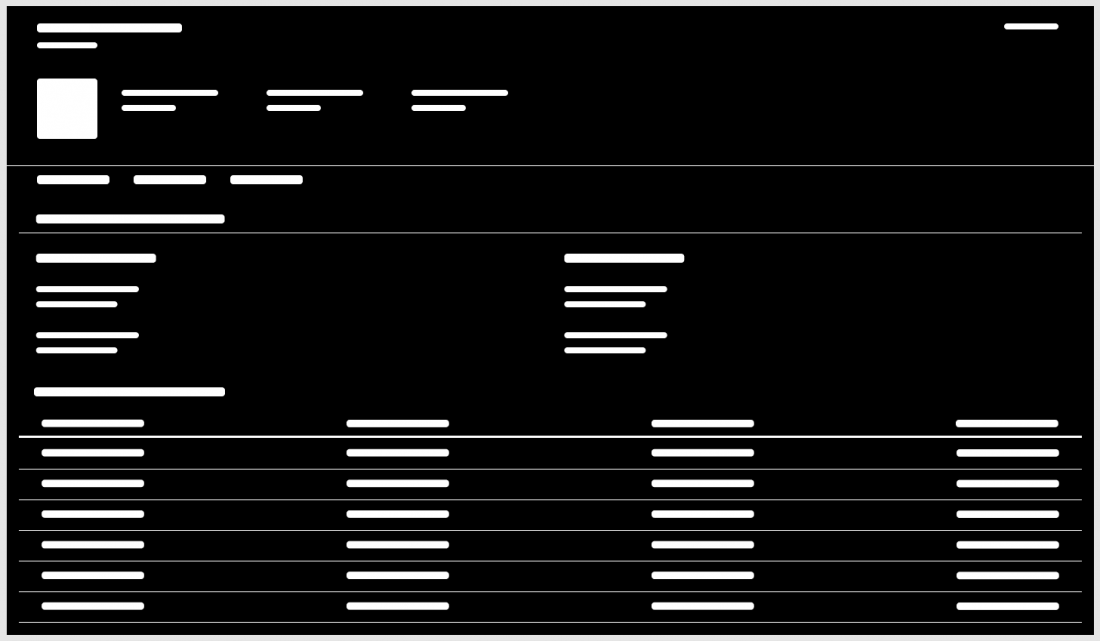
  • Quartz Dark
  • High Contrast White
  • High Contrast Black

Behavior and Interaction

The generic skeleton pages are visible as soon as the initial loading of an application or an app to app navigation has started when the target application is called the first time.

Behavior List Report and Object Page

In the first release, the placeholder is removed when all data is loaded. If the table has to be loaded manually, the busy indicator appears during the loading process.

Behavior Flexible Column Layout

With the flexible column layout, only the newly loaded content is visible with placeholders.

Behavior Overview Page

The placeholders are removed as soon as the first card is completely loaded and the remaining cards are loaded without content

Responsiveness

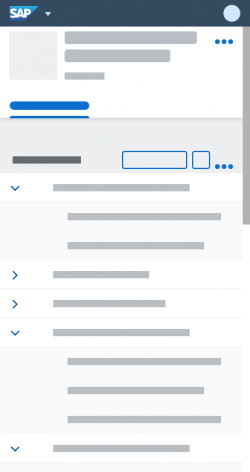
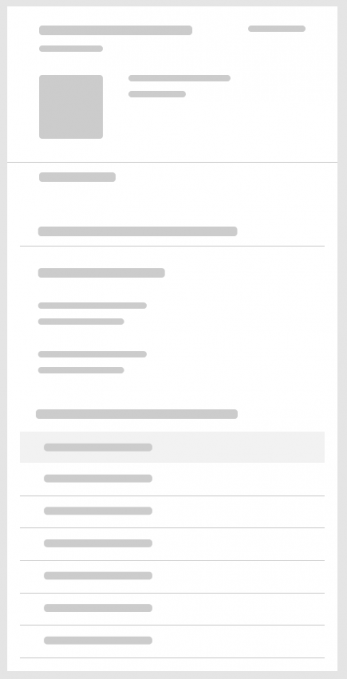
All skeleton pages are responsive and support all SAP Fiori screen sizes: small (S), medium (M), large (L), and extra large (XL).

Size S
Size S
Size M
Size M
Size L
Size L

UI Elements (SAPUI5)

This article provides an overview of the UI elements used in SAP Fiori. UI elements range from simple controls to complex controls, and include reuse components, smart controls, and controls designed specifically for assistive technologies.
  • Simple controls are the very basic UI elements, such as buttons or links.
  • Complex controls themselves use other controls. For example, a toolbar contains buttons and a smart table contains a title, a toolbar, and items.
  • Reuse components were originally built for a specific use case and line of business. If you have a similar scenario, you may also be able to use them for your app.
  • Smart controls offer additional features to the standard SAPUI5 features, such as OData metadata support. That’s why they are typically used with SAP Fiori elements. However, smart controls can also be used for regular freestyle apps.
  • Controls to support assistive technologies are needed to make the interface accessible to everyone, including people with disabilities.

Quick Access

The list below provides an overview of our UI element categories and the UI elements you can expect to find in each one. For tips on when and how to use specific elements, also check the When to Use section under UI Elements in the navigation structure. To get a visual overview of all UI elements, check out the Explore page.


SAP S/4HANA Web UI Kit

Intro

The SAP S/4HANA Web UI Kit enables you to create high-fidelity SAP Fiori for Web designs using Figma. Intended for designers, this kit is tailored specifically to the Morning Horizon theme and helps you rapidly prototype and design SAP Fiori for Web applications with ease.

The kit includes a set of elements for conceptual design purposes. These elements may not fully represent the exact visual design specifications or implementation details. For implementation guidelines, explore the SAP UI5 Demo Kit.

What’s in the Kit?

The kit offers both compact (non-touch screen) and cozy (touch screen) form factors to suit various device interfaces. It includes a comprehensive collection of web components, icons, layouts, and floorplans. The kit is regularly updated and published to ensure you have access to the latest SAP Fiori for Web design elements and standards.

Getting Started

1. Install the SAP 72 Font Family

Begin by installing the SAP 72 Font Family on your computer. This font is meticulously designed to align with SAP’s visual identity and readability standards, ensuring consistency across SAP interfaces.

2. Install Icon Fonts

Install both the SAP Icon Font and the SAP Business Suite Icon Font on your computer.

3. Enable the UI Kit

Visit the SAP Community in Figma to access the SAP S/4HANA Web UI Kit. Open the kit and start dragging components directly into your design.

Reach Out & Support

Need Help or Have Questions?

The SAP S/4HANA Web UI Kit team is here to assist you with any questions or concerns you may have. Whether you’re experiencing technical difficulties, seeking design advice, or simply want to provide feedback, we’re ready to support.

Contact Us

Email: s4hana_webuikit@sap.com

Community Forum

Get Involved

We value your feedback and input! Share your ideas and suggestions for improvement with us. Your input helps us continuously enhance our products.

Related Links

Related Guidelines

  • Download Fonts
    Download files for font 72, SAP icon font, and SAP Business Suite font.

Illustrated Message

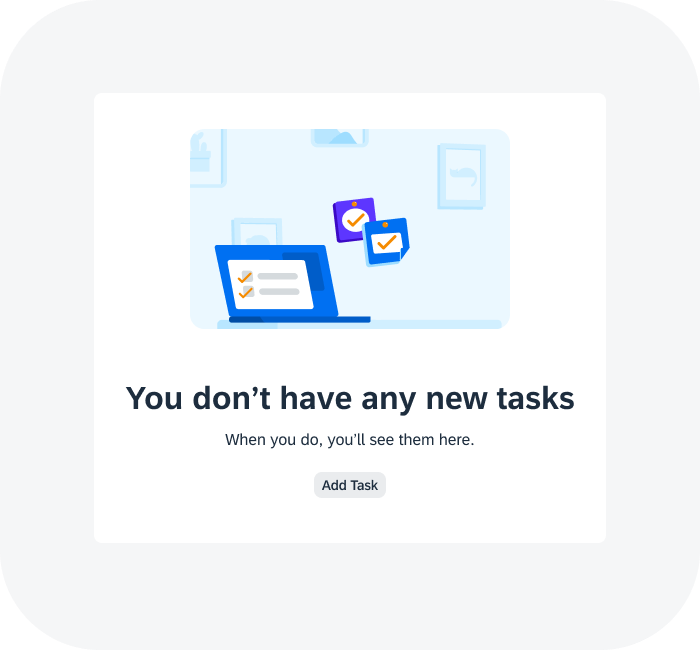
An illustrated message is a combination of a solution-oriented message, engaging illustration, and conversational tone to better communicate an empty state than just a message alone.

An illustrated message turns a situation (even a negative situation) into a better experience for your users, while ensuring consistency. Through their human-centered approach, illustrated messages help to create a deeper connection with users by making them feel understood, valued, and respected.

When to Use

Use an illustrated message if:

  • You want to improve the user experience for one or more empty states or message states in your application.

Do not use an illustrated message if:

  • You want to use the illustration for decoration, as a simple image, or for something else. If you want to display a person or a product image, use the avatar. If you want to display an image, use the image control.
  • You want to display problem-oriented messages. Reconsider and check out the message handling guidelines and the UI text guidelines for messages.
Generic illustrated message

Components

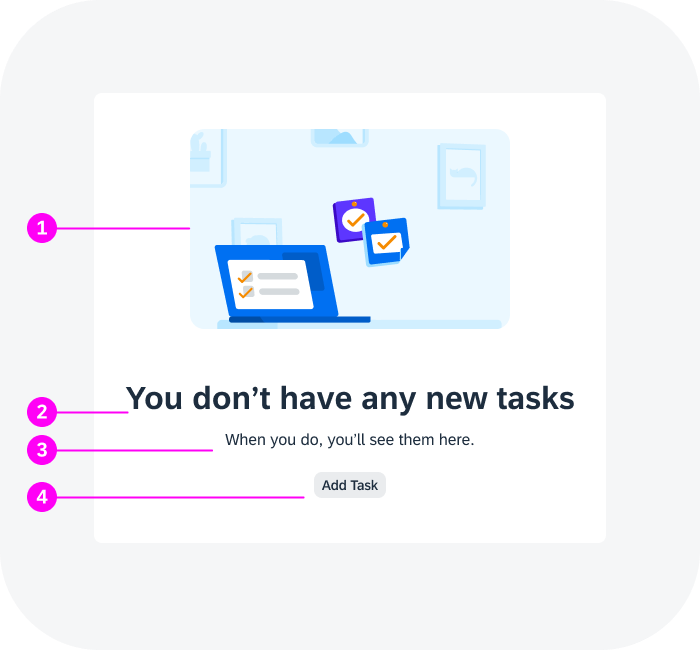
An illustrated message consists of the following parts:

  1. Illustration set (highly recommended)
  2. Message headline (mandatory)
  3. Message description (mandatory)
  4. Call to action (optional)
Anatomy of an illustrated message

Illustration Set (1)

An illustrated message has a set of four UX illustrations per use case: dot, spot, dialog, and scene. Each illustration has a different size and level of detail. The illustration sizes are used at different breakpoints to ensure that the illustration is always appealing, regardless of the container size.
The illustrations help clarify the situation and add personality. It’s essential that the illustration is appropriate for the use case and the container you’re using (such as a dialog or card), and that similar use cases are handled consistently. The control automatically comes with illustrations for a set of dedicated use cases (see information box). You can use these illustrations if your use case is the same.

Each illustration is a themeable SVG file. Illustrations are generally non-interactive. They do not require a tooltip or an alternative text.

Illustration set with all four illustration sizes: dot, spot, dialog, scene
Information
The following use cases are already covered by the illustrated message control:

  • Before Search
  • No Activities
  • No Data
  • No Email
  • No Entries
  • No Notifications
  • No Saved Items
  • No Search Results
  • No Tasks
  • Unable to Load
  • Unable to Upload

Check out all use cases in the SAPUI5 samples.

Message Headline (2)

The headline explains the reason for the empty state, preferably in a single line. Use the headline to convey the essence of your message in simple, engaging language.

Write the headline in sentence case without an ending period (.) or other punctuation. Exceptions include situations where you may want to emphasize the headline with an exclamation mark (!) or question mark (?).

If you are using one of the standard use cases, you can refine the default text to tailor it to your specific app use case.

Message Description (3)

The description adds details and tells the user what to do next, in three sentences or less. Write the description in sentence case with proper punctuation. You can also set links in the description (property: enableFormattedText).

If you are using one of the standard use cases, you can refine the default text to tailor it to your specific app use case.

Call to Action (4)

If there is a clear next step, include a call to action, ideally in the form of a button.

Adaptiveness

Default Behavior

By default, the illustrated message control adapts its appearance according to the size of the container in which it is placed (such as a dialog or card).

Fixed Sizes

Alternatively, you can set a fixed size for the illustrated message. This is only recommended in use cases where a page has multiple empty states in various controls and the illustrated message container is always rather big, resulting in several larger illustrated messages on one screen and hence a lot of unnecessary scrolling. For example, long object pages can contain several UI elements that are all initially empty. Be aware that the illustrated message remains fixed in such cases, also when the user resizes the window.

The illustrated message control offers the following predefined fixed sizes:

  • Base – Smallest size. Not enough space to display an illustration.
  • Dot – Size for very small containers, such as tiles, cards, and table cells.
  • Spot – Size for small containers, such as cards.
  • Dialog – Size for medium-sized containers, such as dialogs.
  • Scene – Size for large controls, such as tables and empty states for an entire screen.
Base size in a cell
Base size in a cell
Dot size in a small card or tile
Spot size in a card
Spot size in a card
Dialog size
Dialog size
Scene size in an empty page

Examples

Here are some examples of how illustrated messages can enhance the user experience for different empty states.

Empty state - Empty calendar
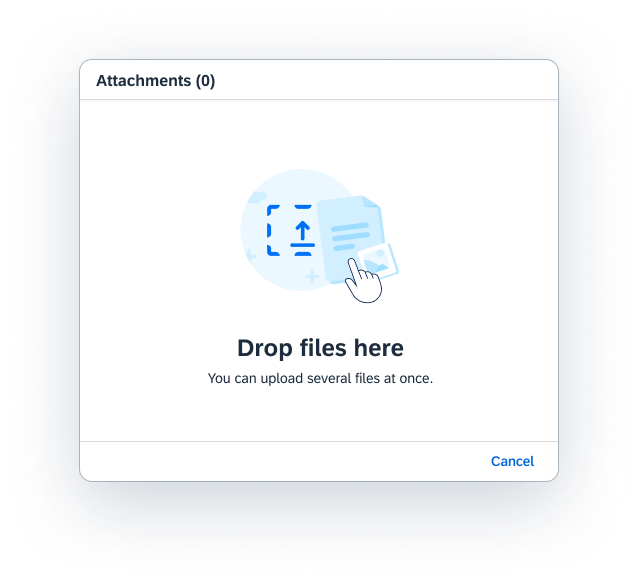
Empty state - File upload
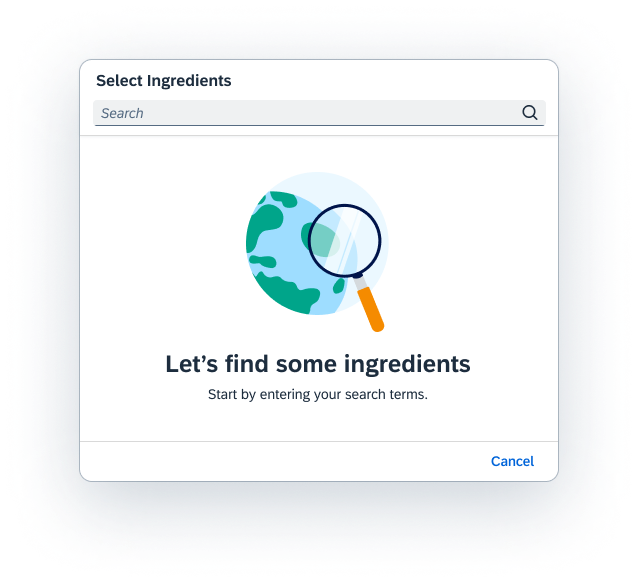
Empty state - Search
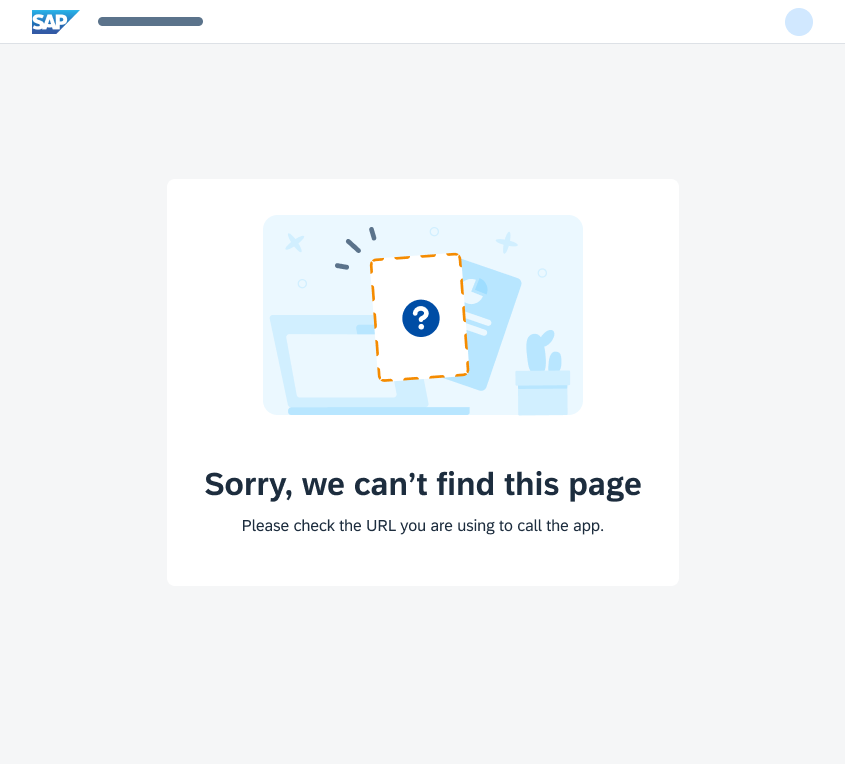
Empty state - Page not found
Empty state - Error page
Empty state - No results

Top Tips

Turn a negative event into a positive one

Take time to design and write a solution-oriented message. Be precise in your wording and take care to use appropriate illustrations.

Reflect on old message habits. Have a look at the “Don’t” example. Why doesn’t this message work?

  • The image ignores cultural considerations, doesn’t follow the illustration guidelines, and is unlikely to delight the user.
  • The message text is problem-oriented and not helpful. It leaves the user alone with the problem and is likely to trigger negative emotions.

Ideally, a negative event in a software product doesn’t generate negative emotions. A well-designed illustrated message that leaves users feeling understood and valued can result in a neutral or even positive feeling. Remember that users will benefit from thoughtfully crafted illustrated messages every time they encounter them – perhaps even daily.

Don't
Unhelpful, problem-focused message with negative imagery
Do
Helpful message with appropriate illustration and possible solutions

Always write a coherent, solution-oriented message

Make sure that the illustration, message, and call to action work together as one to clarify the situation. Always provide a message. Never use an illustration without a message. A message combined with an illustration is more powerful than a message alone.

Don't
Illustration without a message and unrelated to the action
Do
Matching message, illustration, and action

Tailor your message to your use case

  • Always ensure that the default text fits in the context. If not, replace it or make it more precise.
    Example:
    Default text: No results found / Try changing your search criteria.
    Adapted text (supplier table used with a filter bar): No suppliers found / Try adjusting your filter settings.
  • Recommended: Replace generic terms like “data” and “object” with your specific business object.
    Example:
    Default text: There’s no data yet / When there is you’ll see it here.
    Adapted text: There are no orders yet / When there are, you’ll see them here.

Additional tips

  • Never use other icons, images, or illustrations for an illustrated message. Always follow the guidelines on using UX illustrations.
  • Don’t use the predefined illustrations for other use cases than the ones they were designed for. This would dilute the strength and recognizability of the illustration in the defined use case.

Related Links

Elements and Controls

Implementation

Updated Navigation Structure for Guideline Version 1.88

The following changes were made to the guideline navigation structure with guideline version 1.88.

Topic Assignment

Enhanced “Get Started” Section

The Get Started section now includes best practices.

“Foundation” and “General Concepts” Replaced

The former Foundation and General Concepts sections have been replaced by more specific sections:

  • SAP Fiori Design System: Overarching SAP Fiori topics, such as design principles and UX consistency.
  • Look, Feel, and Wording: Topics relating to the visual design and UI text conventions.
  • SAP Fiori Launchpad: Now a top-level navigation entry.
  • General Patterns: UX patterns that apply across SAP Fiori, such as action placement or navigation.
  • UI Elements / When to Use: Best practices relating to UI elements (see below).

Separate Entry Points for Frameworks

Frameworks are now shown separately from layouts and floorplans.

  • Layouts and Floorplans: All layouts and floorplans.
  • SAP Fiori Elements Framework: Supplementary information for floorplans implemented as SAP Fiori elements.
  • Analytical Frameworks: Analytical frameworks used with SAP Fiori, such as SAP Smart Business.

UI Elements Reorganized

The UI Elements section has been enhanced and restructured:

  • New When to Use section at the top now contains all the best practice topics for using controls, such choosing the right selection control or applying semantic colors. These topics formerly appeared under General Concepts.
  • Similar topics have been grouped to reduce the number of top-level entries. For example, there’s now one List / Table / Tree section.
  • Topics that logically belong in different groups can appear more than once (for example, “Table Select Dialog” comes under both List / Table / Tree and Dialog.
  • New section for Smart Controls.
  • Separate section for Reuse Components.

One Stop for Tool Development

All topics relating to tool development are now under Tool Development, regardless of the component type.

Stencils & Co.

The former Services & Resources section has been renamed to Designer Toolkit.

Other Changes

Section Overviews

All main sections now have an overview topic that explains the content of that section and how the information is organized. This content now shows as soon as you click on the corresponding navigation node.

Topic Names

You’ll notice that some topic names have changed slightly. But we’ve avoided major changes and search terms and links should still work fine.

When to Use Which Floorplan

Choosing the right floorplan is not always easy. Roughly speaking, SAP Fiori offers floorplans that:

  • Provide an overview of information and tasks: overview page
  • List several objects: list report, analytical list report, worklist
  • Manage an object: object page, wizard
  • Allow navigation to work on one object: initial page

For a quick check of which floorplan to use, see below. For more information, go to the respective floorplan article. 

Information
Except for the wizard and initial page, all floorplans are available as SAP Fiori elements.

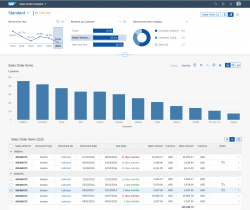
Overview Page


Floorplan

Use Case

Key Features

Thumbnail


  • Get an overview of the key tasks and information needed for a specific user role
  • React to information
  • Filter bar, including a search field
  • Content from different apps is shown on one page
  • Content can be displayed in different formats (such as charts, lists, or tables)

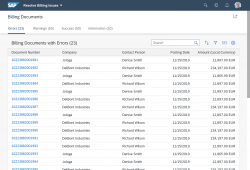
List Floorplans


Floorplan

Use Case

Key Features

Thumbnail


  • Find objects from a large data set
  • Act on the relevant objects
  • Filter bar, including a search field
  • Objects can be shown in a table or in a chart. Switching between the table and chart is possible.
  • Predefined views on the objects are possible, for example All, Open, Assigned. Switching between the views is possible.

  • Extract knowledge or insights from objects by using business intelligence features (drilldown for root cause analysis, slice and dice)
  • Act on the relevant objects
  • Visual filter bar, where filters are represented as charts
  • Switch to the non-visual filter bar without search field is possible
  • Data is represented in a chart and a table on one page
  • Users can see the impact of their action on  a global key performance indicator (KPI)

  • Process a predefined set of objects
  • Filter bar not needed
  • Predefined views on the items are possible, for example All, To Be Assigned, To Be Ordered

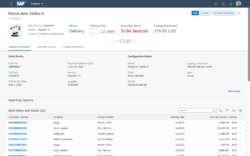
Object Floorplans


Floorplan

Use Case

Key Features

Thumbnail


  • Display, create, or edit an object
  • Get an overview of an object and interact with different parts of the object
  • Flexible header
  • Anchor or tab navigation to access the content
  • Flexible layout for the content

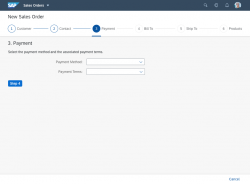
  • Create or edit an object
  • Guide the user through a series of steps
  • Task is rather long or unfamiliar for users
  • Minimum of 3 steps, maximum of 8 steps
  • Summary that shows the data for all steps

  • Navigate to one object and work on this object
  • Single input field with value help

General Patterns

General patterns are basic interaction patterns that are to be used consistently in all SAP Fiori web apps. They vary from small, such as Export to Spreadsheet, to more extensive patterns, such as Object Handling.

Make yourself familiar with these patterns. We recommend starting with the patterns below.

Pattern Description
Action Placement  Where to place actions and their order in toolbars.
Draft Handling  About implicit saving in SAP Fiori.
Message Handling /

Form Field Validation 

The use of different message types and controls, and how to handle messages for values entered in form fields.
Navigation  How to navigate within an app and between apps, either using the shell bar options or using UI elements on the pages, such as smart links or quick views.
Object Handling  Interaction flows for creating, editing and deleting simple or complex objects.

Look, Feel, and Wording

The look, feel, and wording of a product are part of its branding. Their consistent use ensures the recognition effect we are all striving for. It is therefore important to adhere to the guidelines laid out in the following section and articles:

Design Tokens

SAP provides design tokens for color, typography, shadow, and metrics in a central repository.

The design token styles are linked directly to the SAP themes that are used across all SAP technologies and platforms. Tokens replace hard-coded values with self-explanatory names that are easy to map to UI components.

For more information, see Design Tokens.

Theming

The latest theme for SAP applications is called Morning Horizon. In addition, SAP provides alternative themes: Evening Horizon as an optional dark theme and the accessibility themes High-Contrast Black (HCB) and High-Contrast White (HCW).

For more information, see Theming.

Colors

Color communicates importance and association, and provides direction to users. By applying the color palette of the themes, user interfaces guarantee a clean and lightweight design that is consistent and coherent across all SAP Fiori applications.

Familiarize yourself with the concepts of color balance and color usage, especially the interplay between primary colors, accent colors, grayscale areas, and semantic colors.

For more information, see the colors for each theme:

Iconography

Learn about the icon styles for each theme family. In addition to the general icon semantics and grid system, each article covers the line thickness and corner radius values defined for the respective theme. These styling differences explain why the same icons can look slightly different, depending on the theme you’re using.

If you need an app icon that you can use for your web app in a marketplace, check out the guidelines for creating service icons.

Motion Design

Motion design is a design method that applies animation and visual effects to user interface design.

Typography

SAP Fiori uses SAP’s proprietary typeface 72, with a fallback to a sans-serif system font if 72 can’t be loaded.

For more information, see:

UX Illustrations

UX Illustrations are always paired with written messages. Their aim is to help explain complex ideas visually and add more personality to the product.

UI Texts and In-App Help

This section contains guidelines for UI texts and in-app help.

  • The UI Text Guidelines for SAP Fiori cover UX writing for the SAP Fiori UI, including word choice, punctuation, formatting, and more.
  • Specific UI text guidelines for the overview page are also located here.
  • SAP Companion provides context-specific in-app help on UI elements and process flows.

Object Handling – Delete

You can delete objects either from a list report or from the corresponding object page. If the object contains subitems, the delete flow for the items depends on the structure of the object (simple or complex).

To avoid accidental deletion, display a message dialog asking the user to confirm deletion. In some non-critical use cases, you can omit this message (see Top Tips).

The examples below show all delete flows in a full screen layout.

Delete from List Report

To keep it simple, the example below shows the flow for deleting just one object. The flow is the same for deleting multiple objects.

Deleting an object from within the list report

  1. From a list report, the user selects an object and clicks Delete.
  2. A message dialog prompts the user to confirm deletion.
    1. Delete closes the dialog. The user sees the updated list report and a confirmation message toast.
    2. Cancel closes the dialog. The object is still selected.

Delete from Object Page

Usually, Delete is only shown in display mode for the object page, since the user does not edit and delete an object at the same time. Nevertheless, you might need to offer a Delete button in edit mode (for example, if there is no display mode).

If an object contains items, the delete flows for the items depend on the page structure (simple vs. complex). The object itself can be in display or edit mode.

For both simple and complex objects, you can offer Delete in the toolbar of the table that contains the items. For complex objects, you can also show Delete in the header toolbar of the item subpage.

For the flows see:

Delete Complete Object

Delete Item from Table

Delete Item from Subpage


Delete Complete Object

The flow is as follows:

Deleting an object from the object page

  1. From a list report, the user navigates to the object details.
  2. The user selects Delete in the header toolbar of the object page.
  3. A message dialog prompts the user to confirm deletion.
    1. Delete closes the dialog. The user sees the updated list report and a confirmation message toast.
    2. Cancel closes the dialog and shows the object in display mode.

If your app uses a flexible column layout and the user confirms deletion, the object page column is closed.


Delete Item from Table (Simple and Complex Objects)

To keep it simple, the example below shows the flow for deleting just one item. The flow is the same for deleting multiple items.

Deleting an item from a table on the object page

  1. On the object page, the user selects an item and clicks Delete in the table toolbar.
  2. If necessary, a message dialog prompts the user to confirm deletion.
    1. Delete closes the dialog. The user sees the updated object page and a confirmation message toast.
    2. Cancel closes the dialog. The object is still selected.

Delete Item from Subpage (Complex Objects)

The flow is as follows:

Deleting an item from the subpage

  1. On the object page, the user navigates to the item subpage.
  2. The user selects Delete in the header toolbar of the subpage.
  3. If necessary, a message dialog prompts the user to confirm deletion
    1. Delete closes the dialog. The user sees the updated object page and a confirmation message toast.
    2. Cancel closes the dialog and shows the item subpage in display mode.

Top Tips

Delete in Display Mode

In display mode, always show the delete confirmation dialog.
Reason: The objects or items are deleted in the back end and the user has no option to undo the action.

Delete in Edit Mode

  • You can leave out the message dialog for confirming deletion if:
    • A subitem is being deleted from a table in an object page (global or local flow)
    • A subitem is being deleted from a subpage (global flow only)

Only omit the dialog non-critical use cases (for example, if the user can add the item easily again or just needs to simulate different data constellations).

  • In the local edit flow, we recommend offering an additional option to delete items from the table in the main page, and not just from the item subpages.
    Reason: Deleting from a subpage always shows the message dialog to confirm deletion. This may annoy users if several items need to be deleted.

Related Links

Message Handling (guidelines)

Message Box (guidelines)

Message Toast (guidelines)

UI Text Guidelines for Messages (guidelines)