
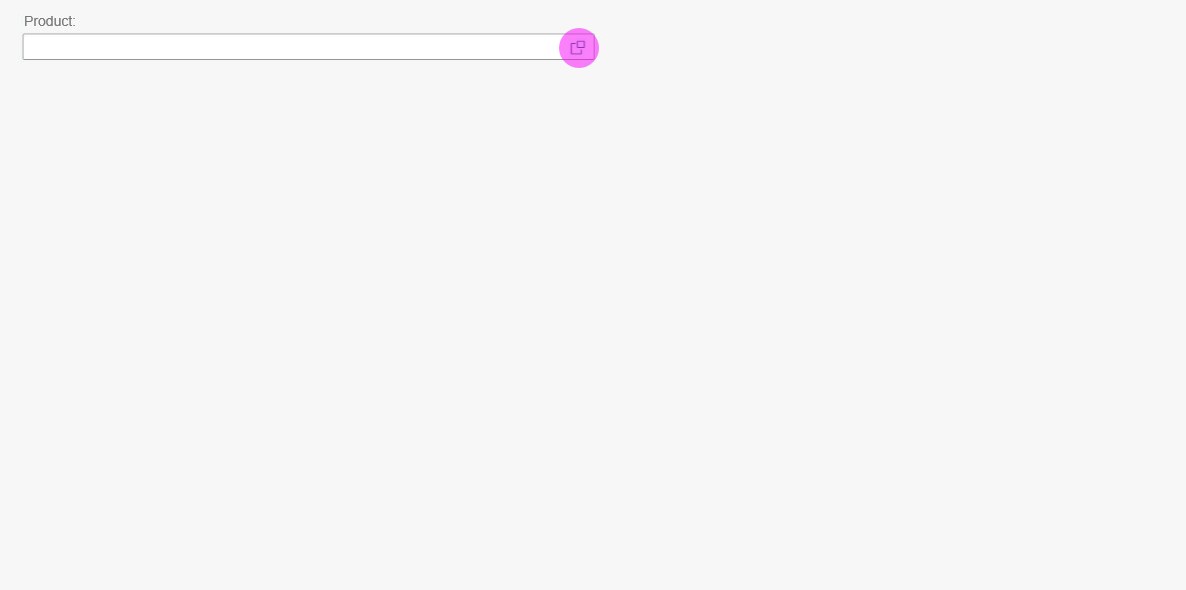
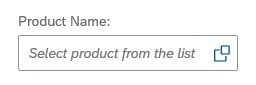
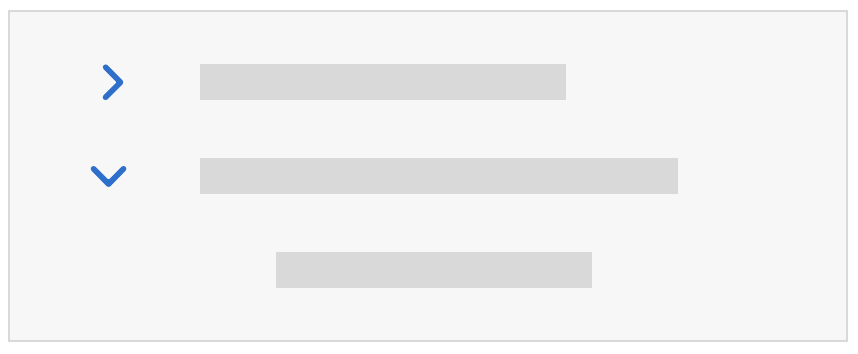
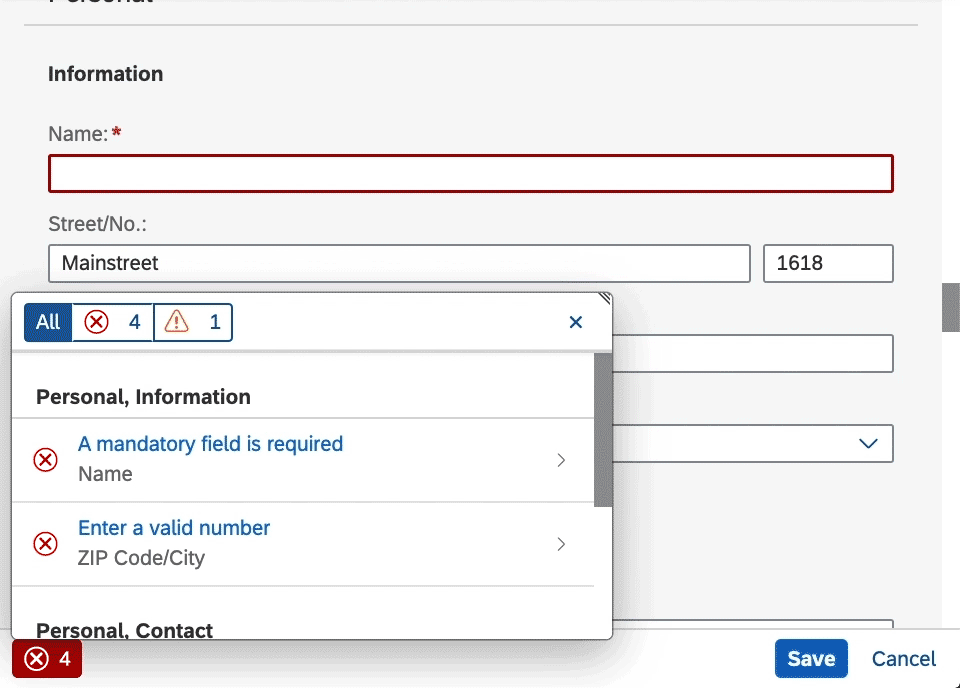
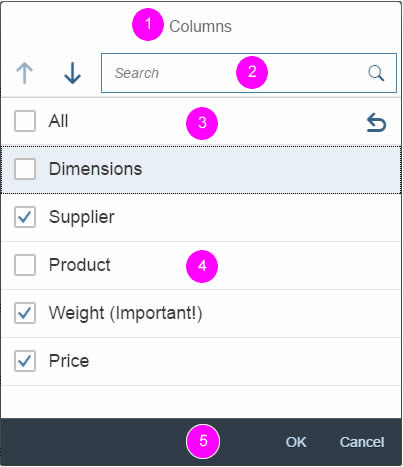
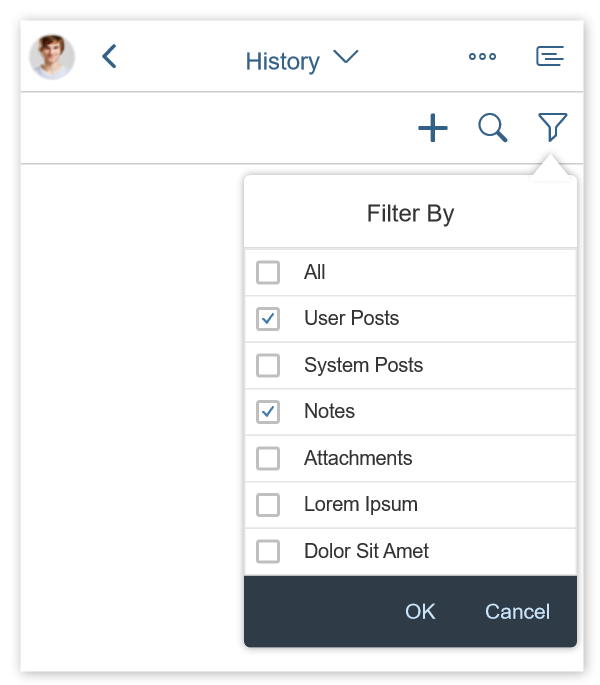
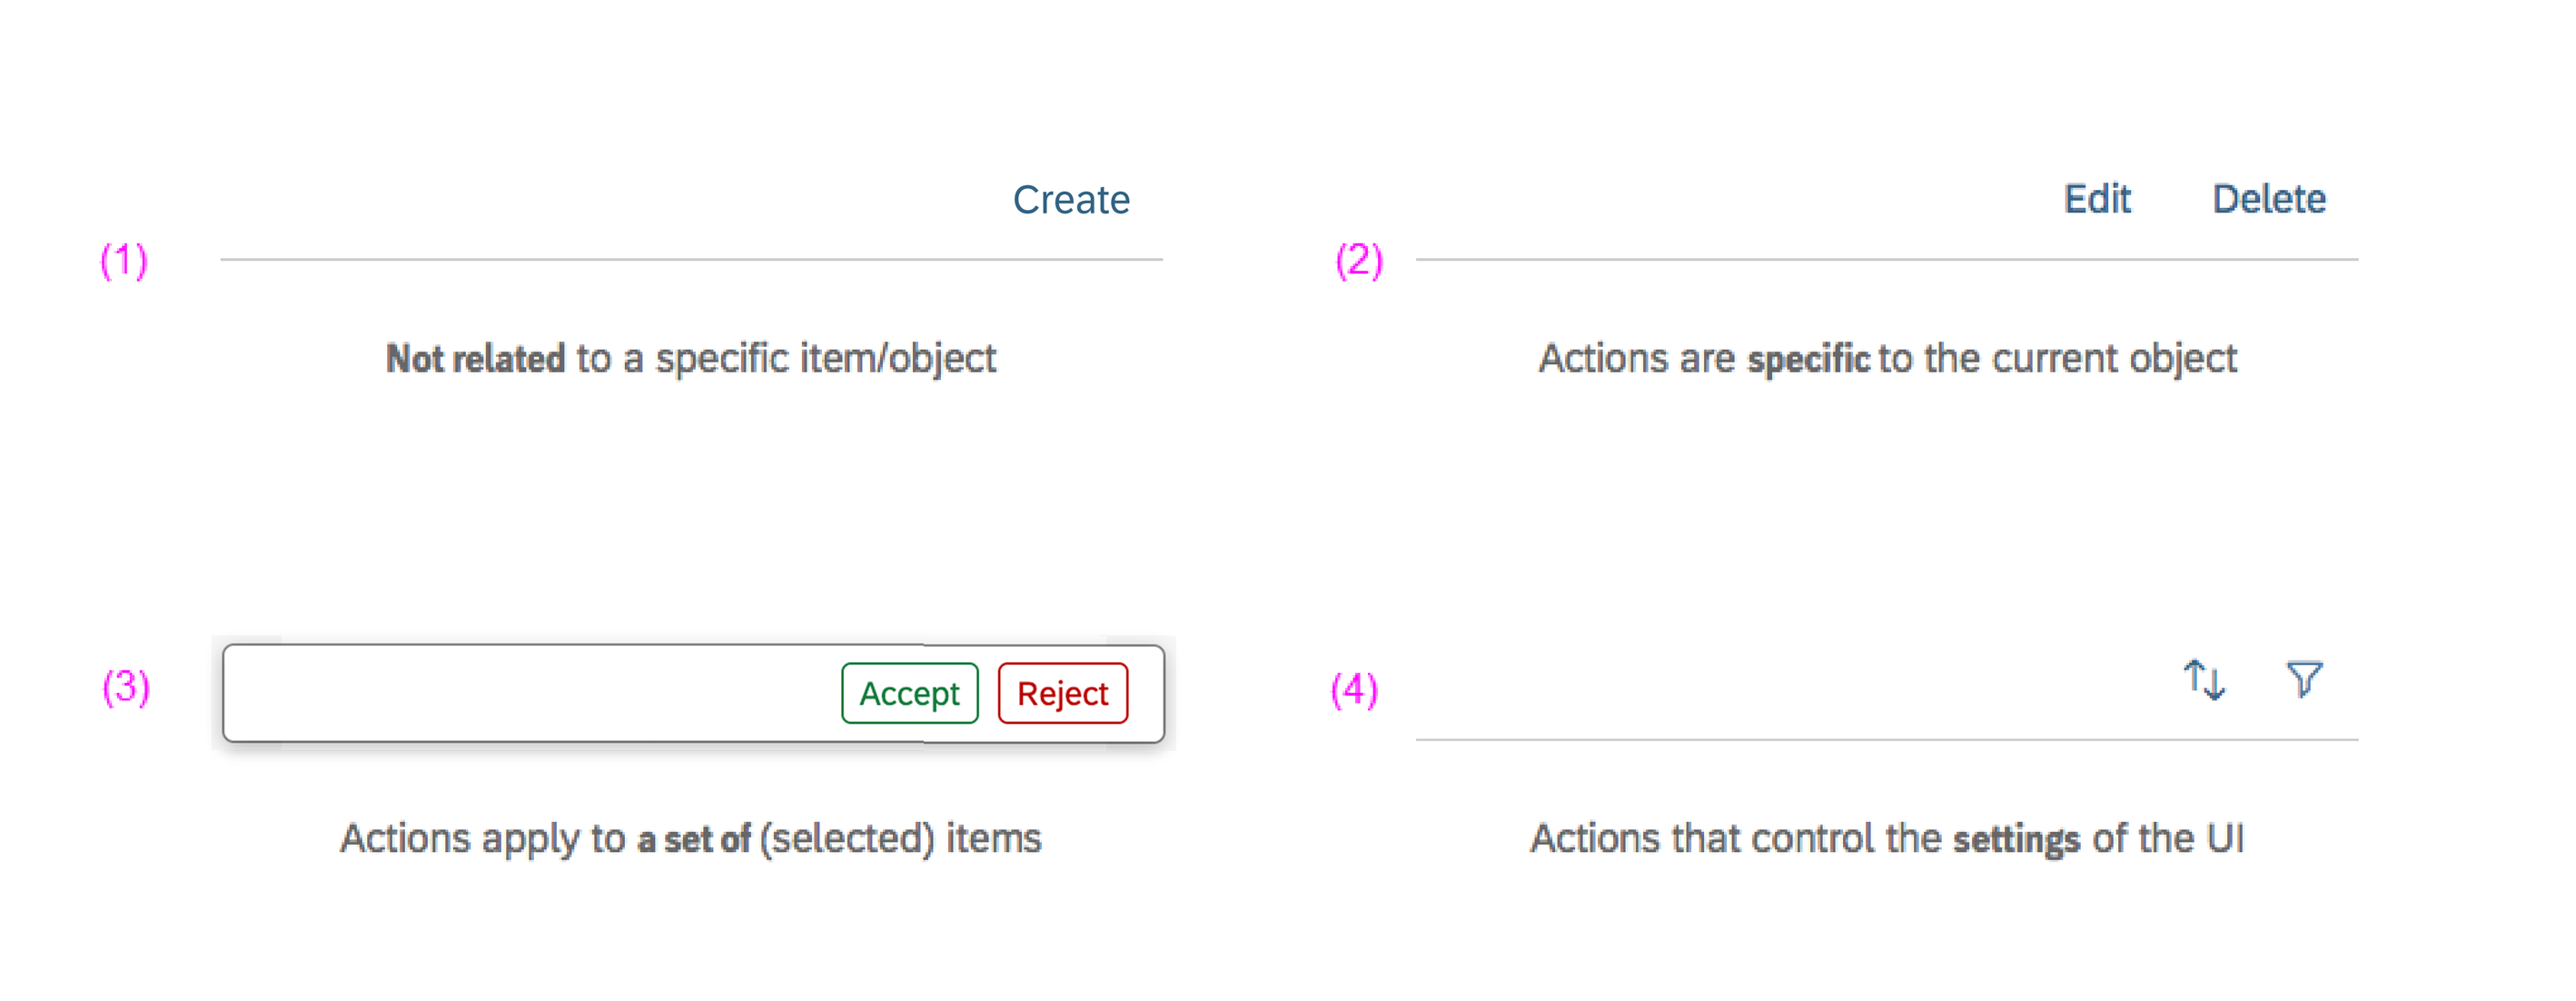
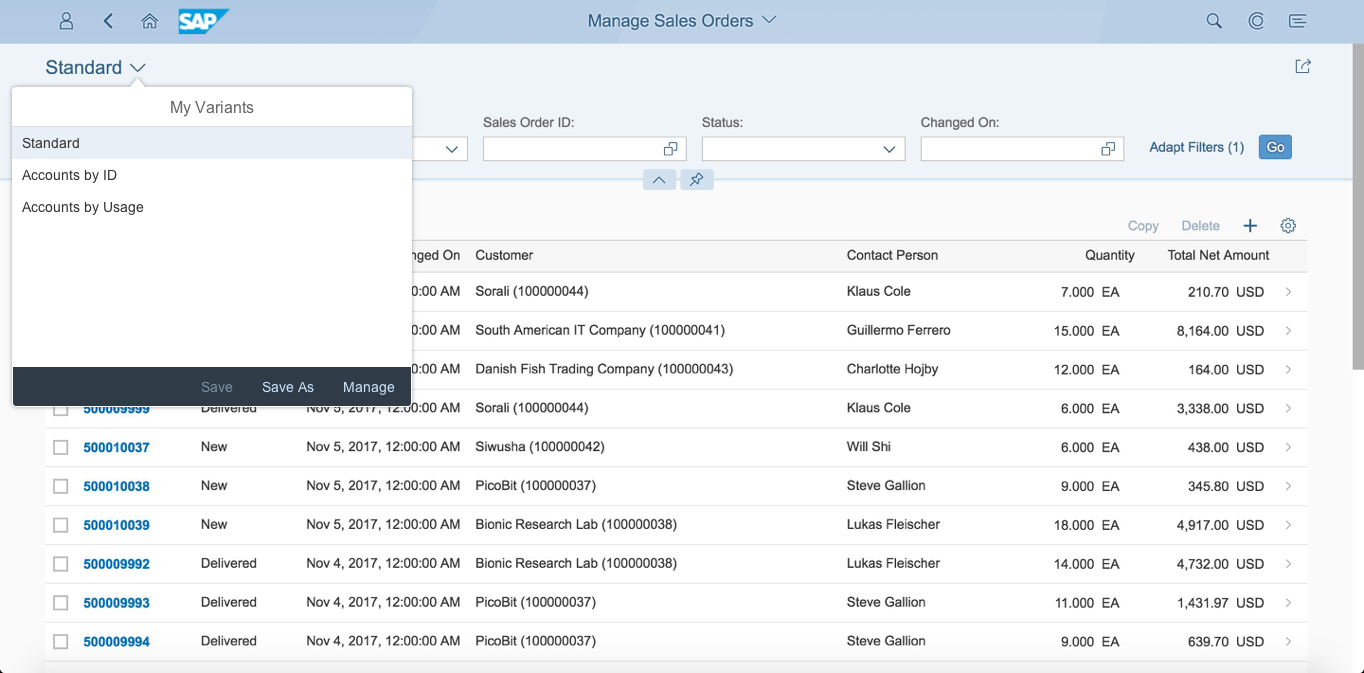
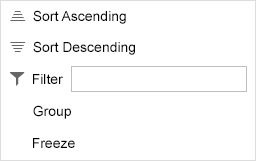
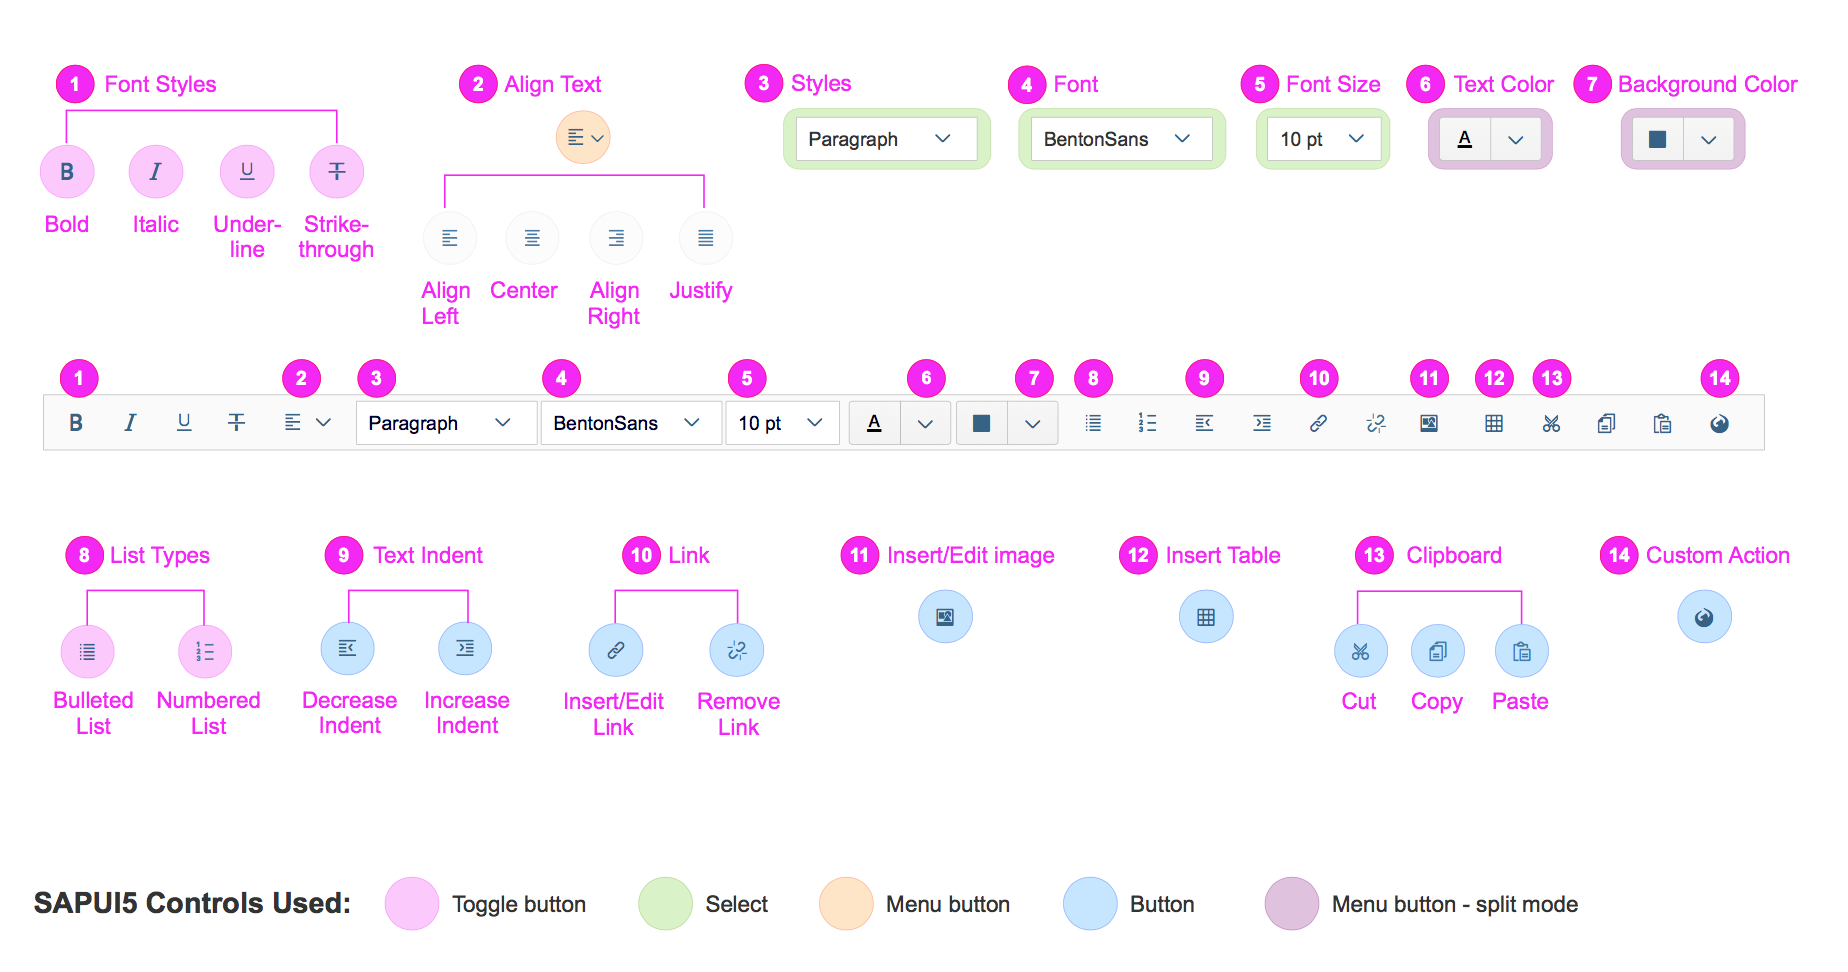
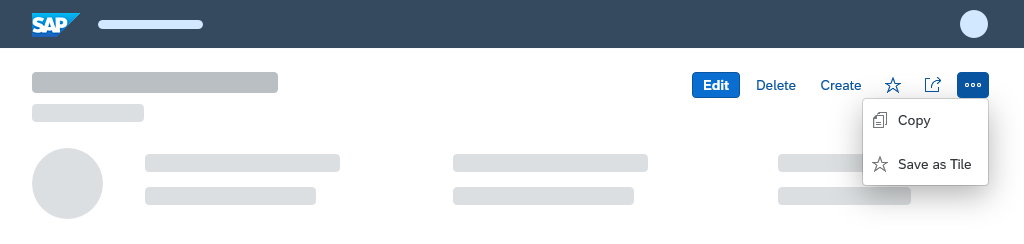
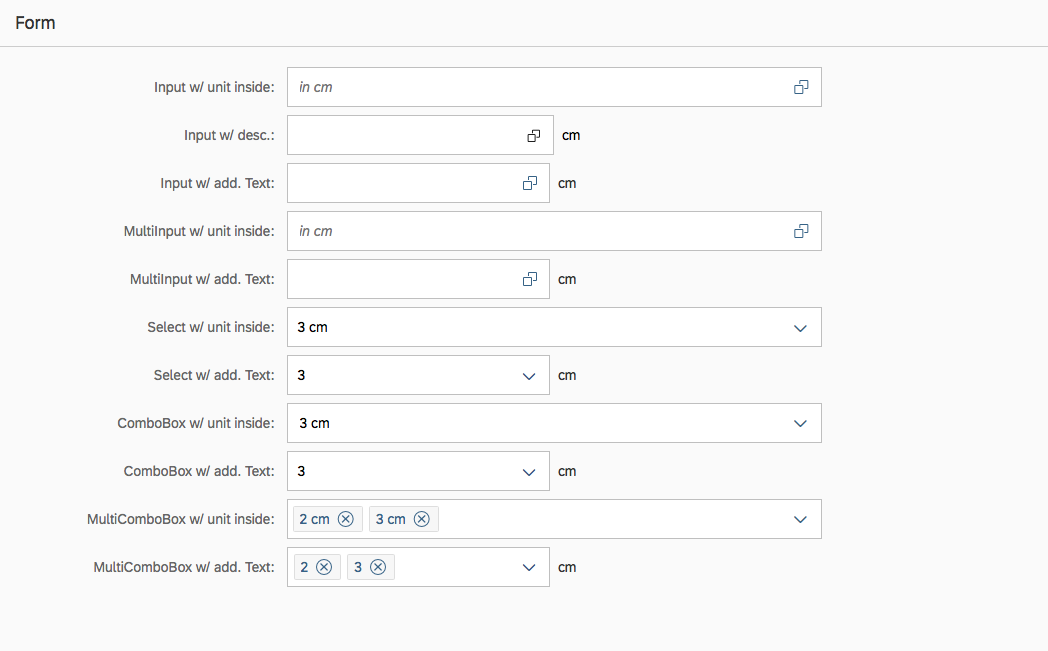
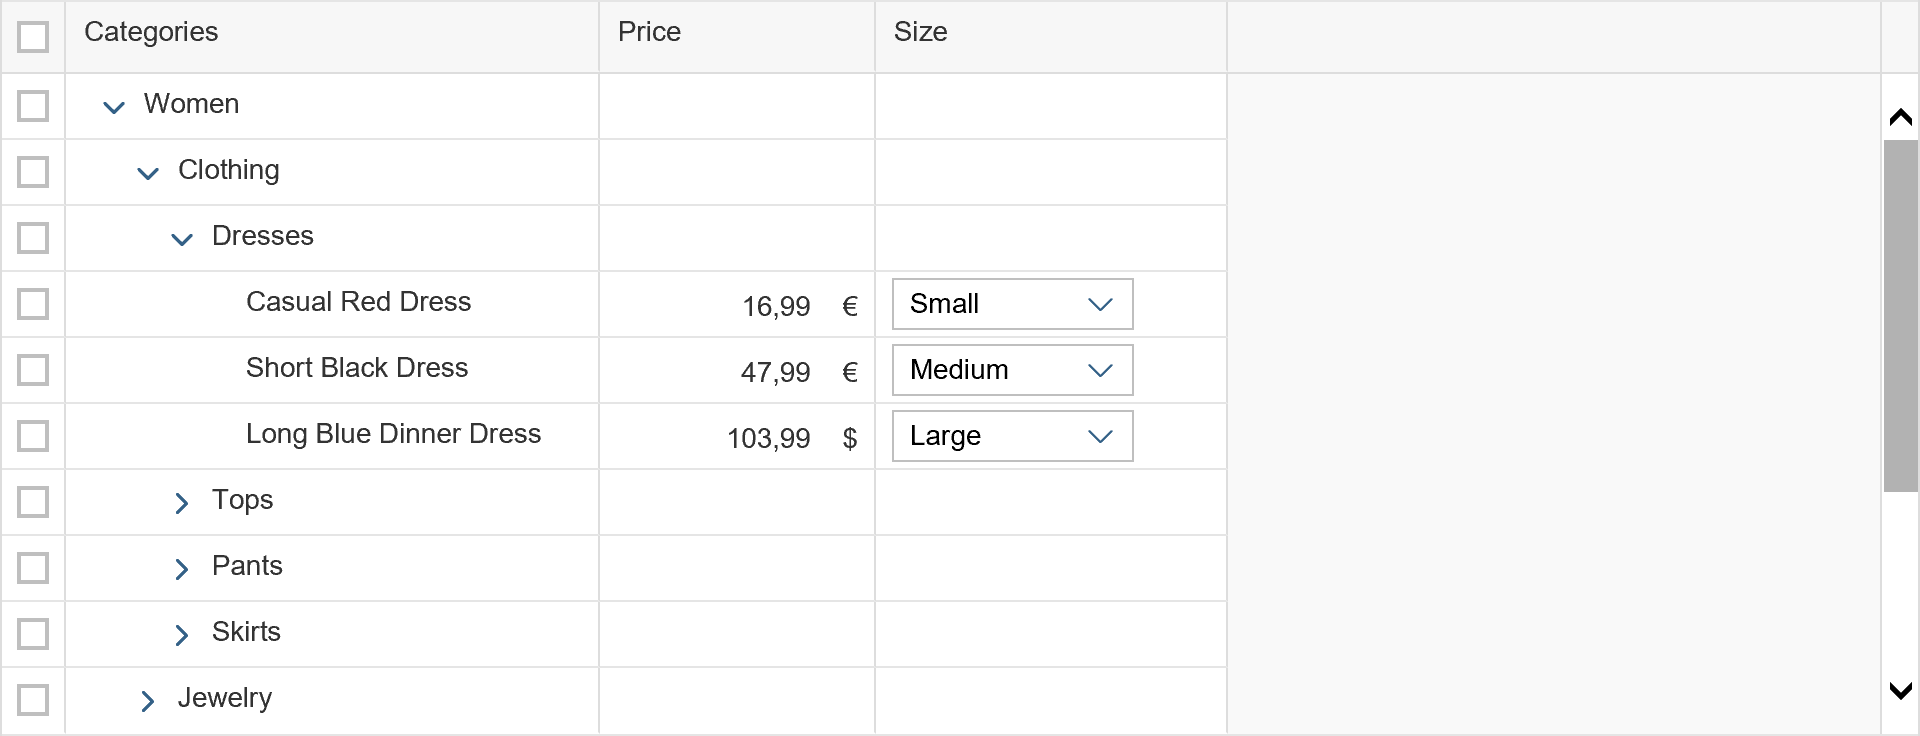
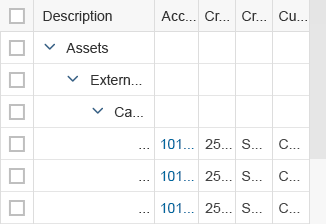
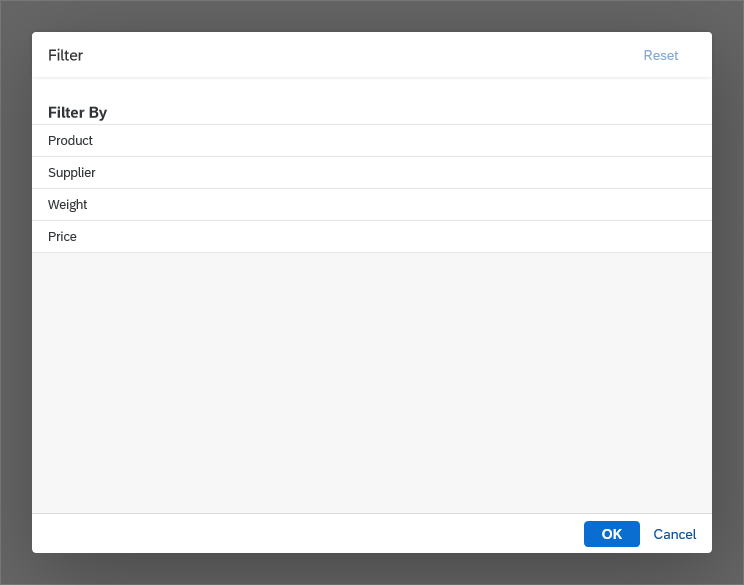
Multi-Input Field
A multi-input field allows the user to enter multiple values, which are displayed as tokens. To help the user enter a valid value, you can enable the suggestions feature and the value help option.
Usage
Use the multi-input field if:
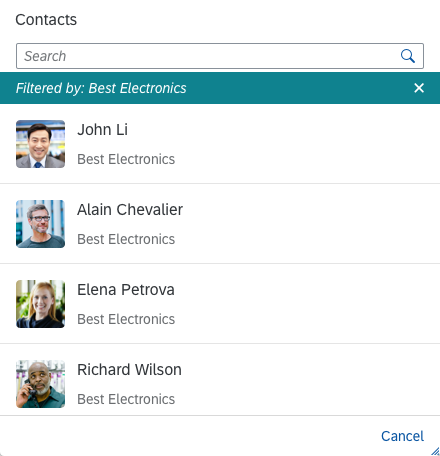
- You want the user to select multiple ranges (with the value help option and the value help dialog).
- The dataset to choose from is expected to increase over time (for example, to more than 200 values).
- You need to provide the value help option to help users select or search multiple business objects.
- You want to enable users to add custom values.
Do not use the multi-input field if:
- You want the user to select one entry only. In this case, use the input field or combo box instead.
- You want the user to select from a pre-defined set of options only. In this case, use the multi-combo box instead.
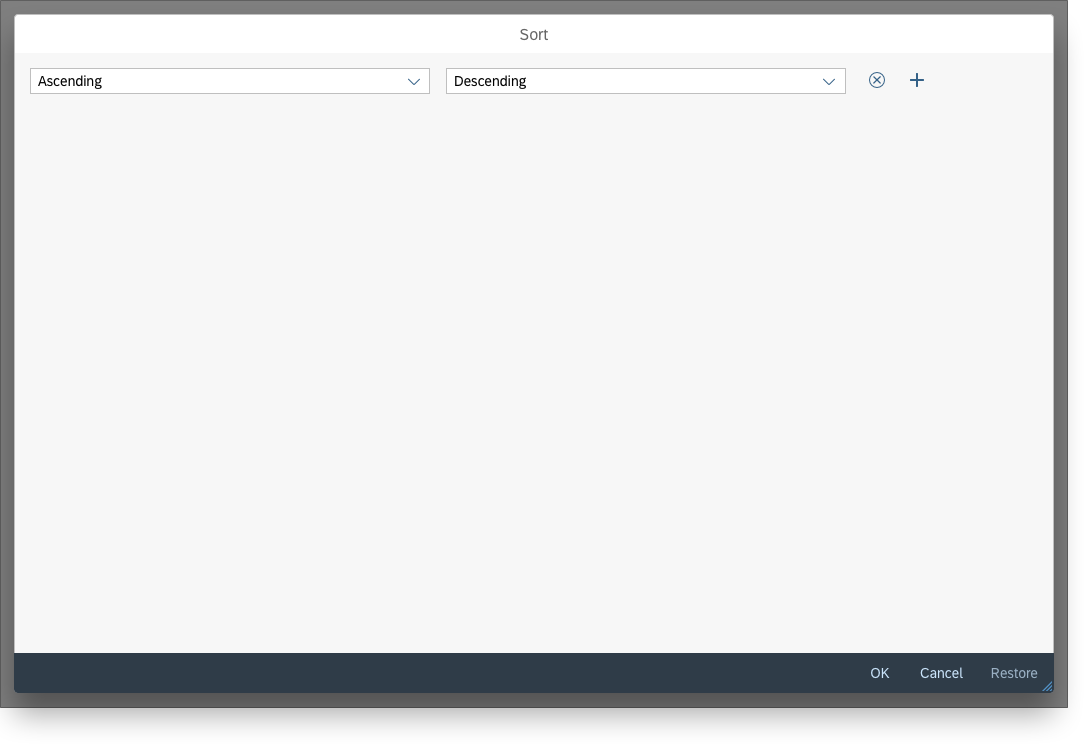
Responsiveness
Size S
- Cozy mode.
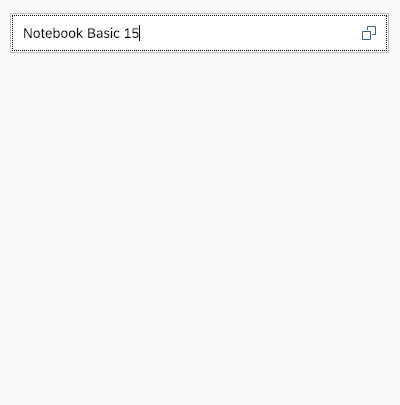
- When the user clicks the multi-input field, a new full screen dialog opens. After clicking the input field and typing, the suggestions can be selected. When the user makes a selection, the dialog closes and the token is displayed.
- The user can review the tokens by swiping them to the left or right.
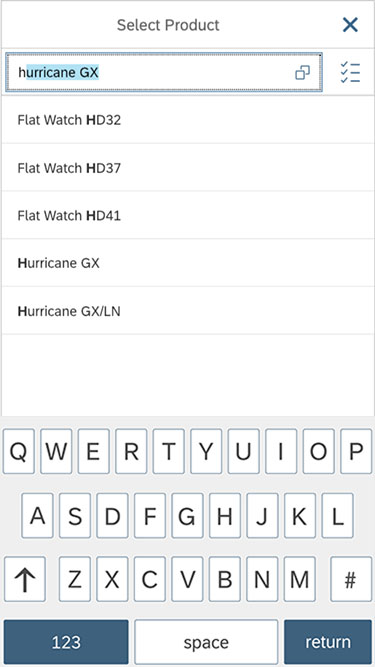
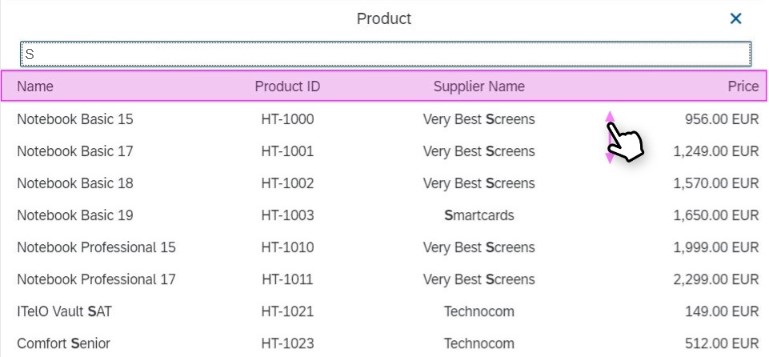
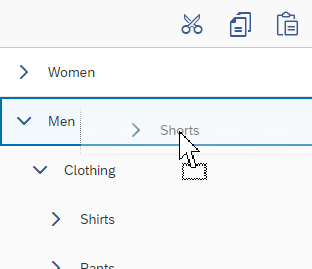
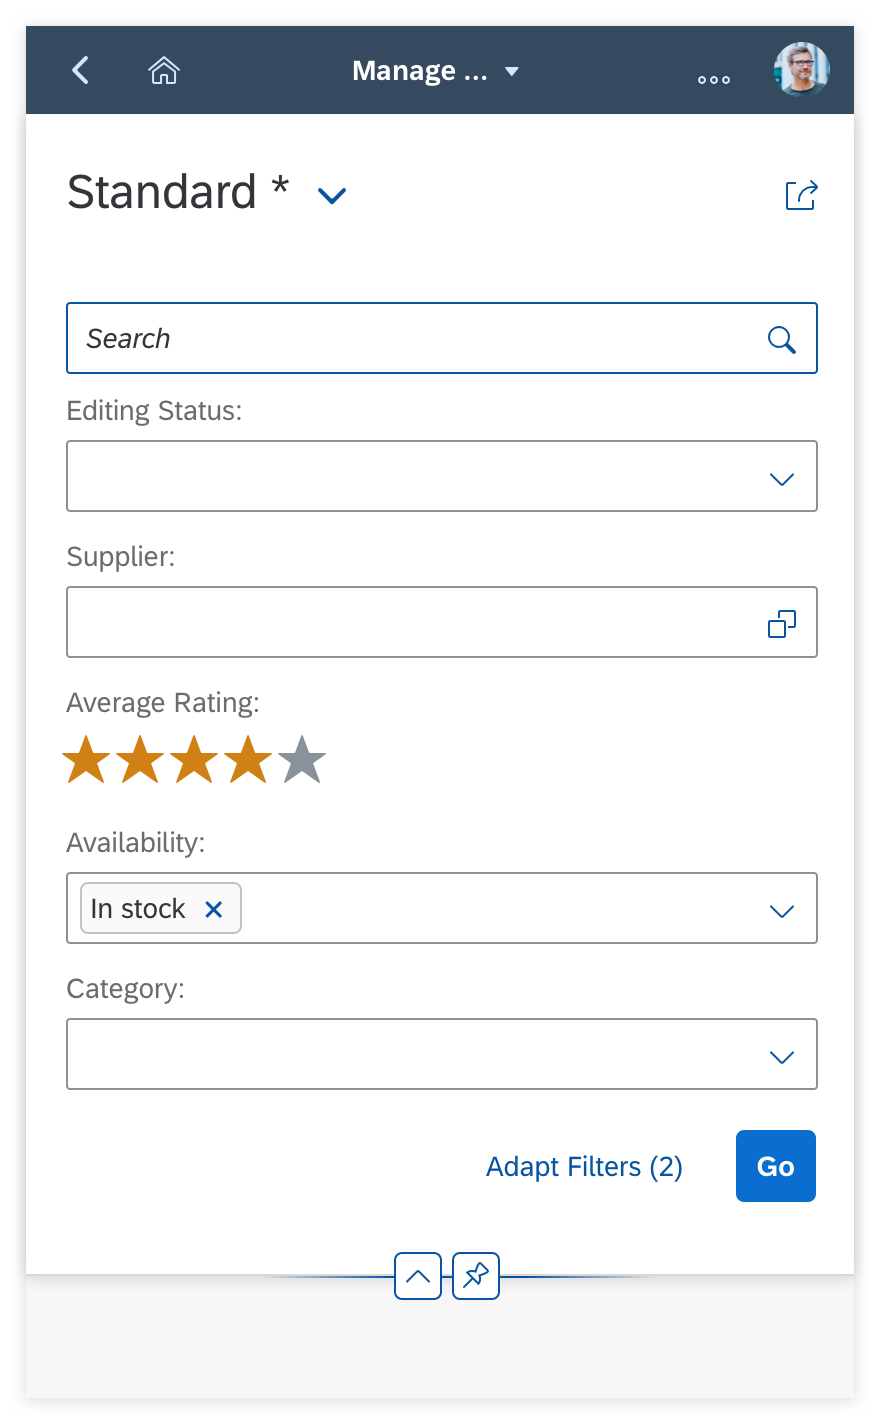
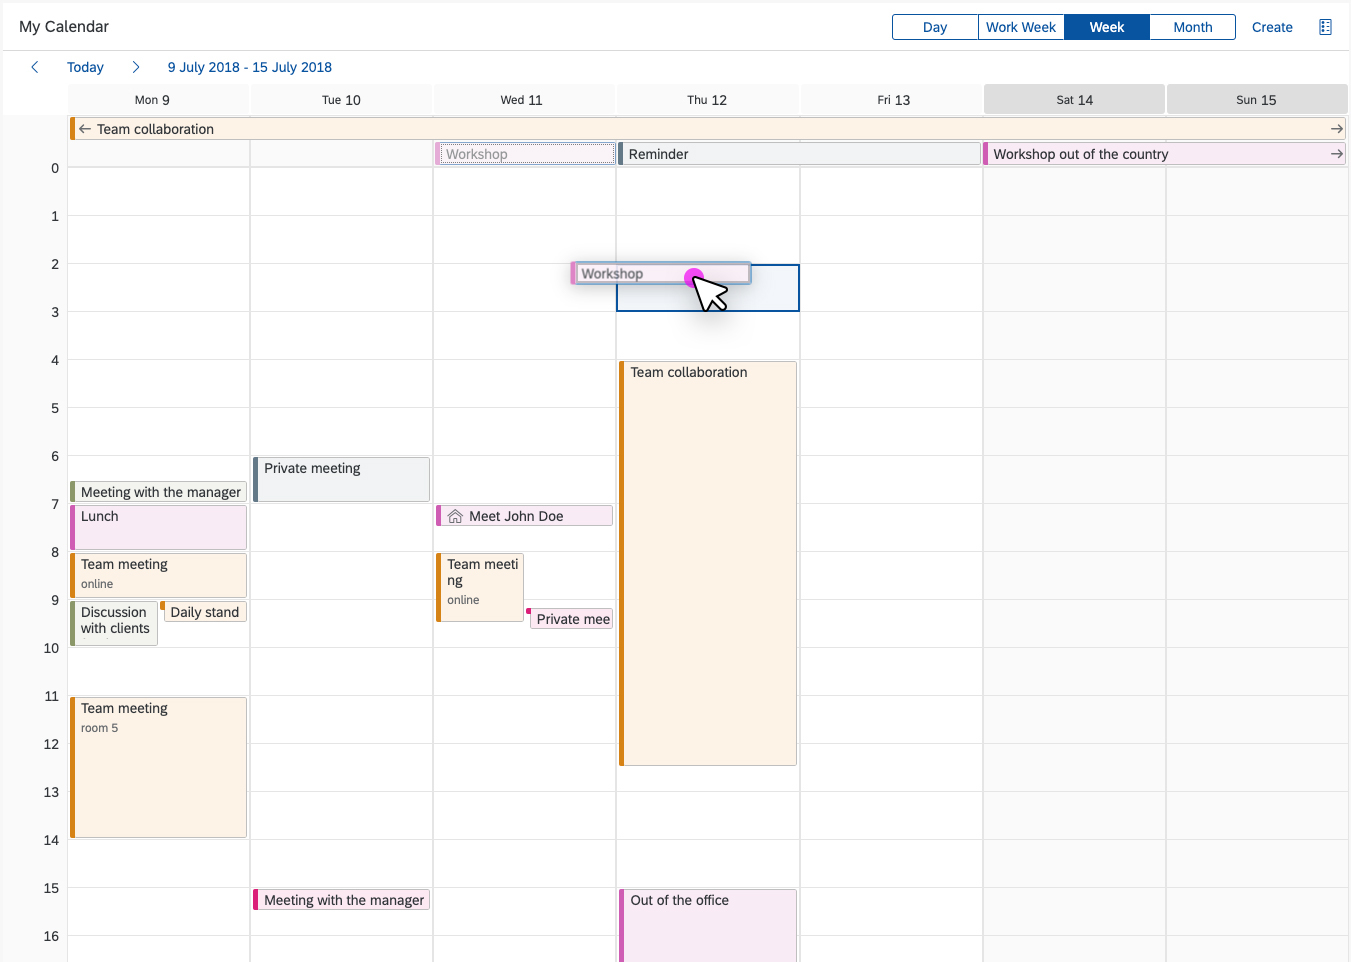
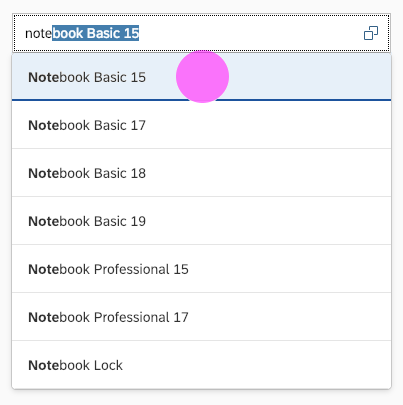
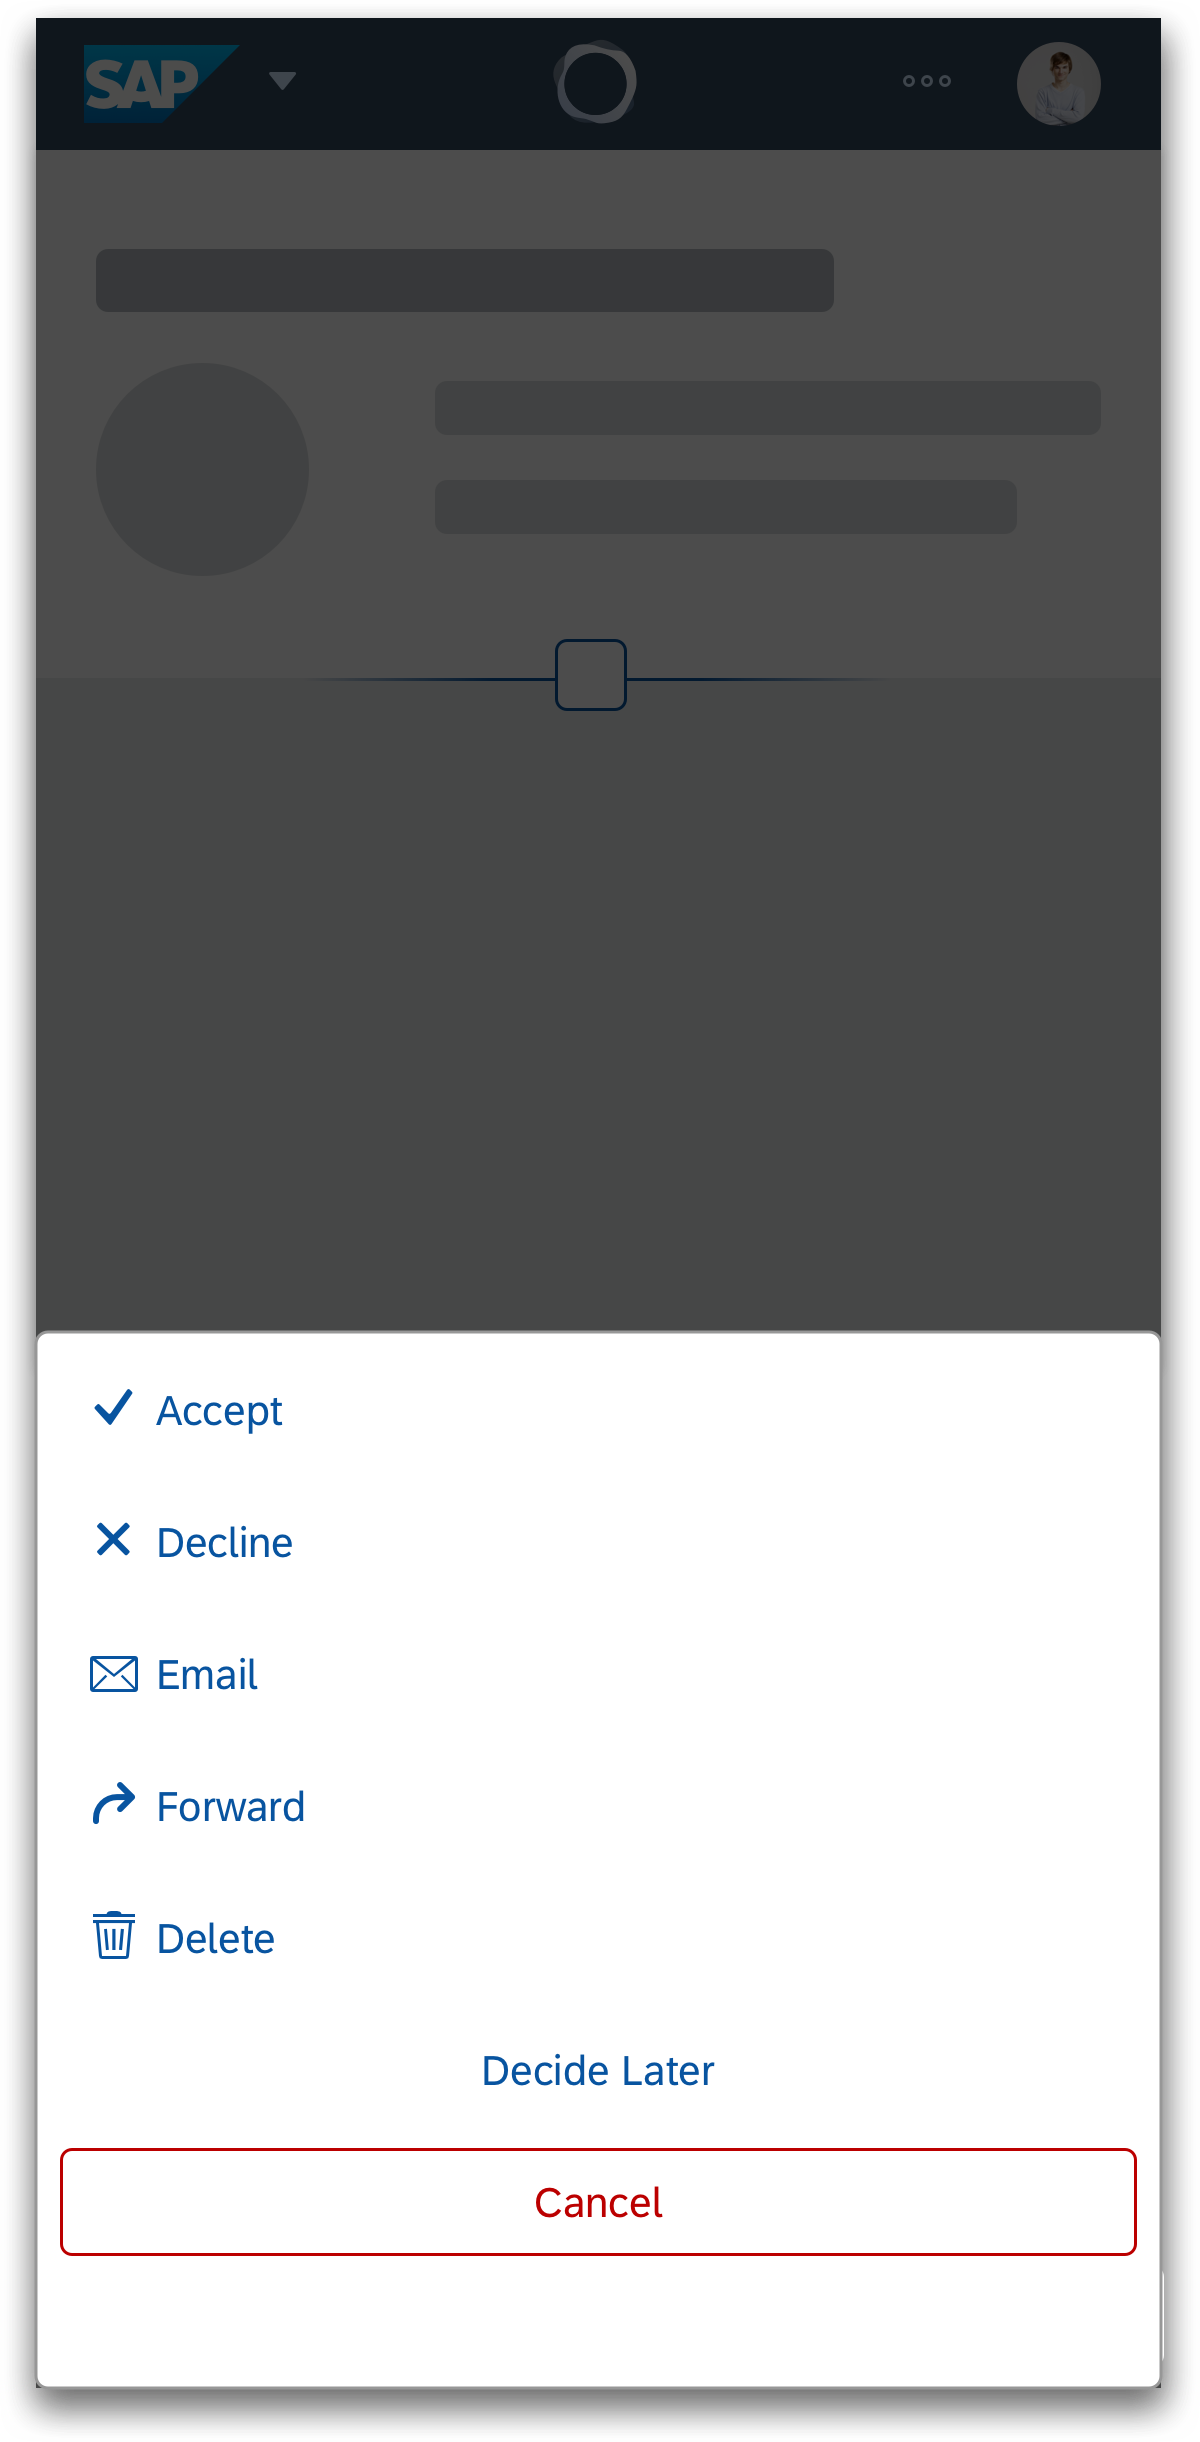
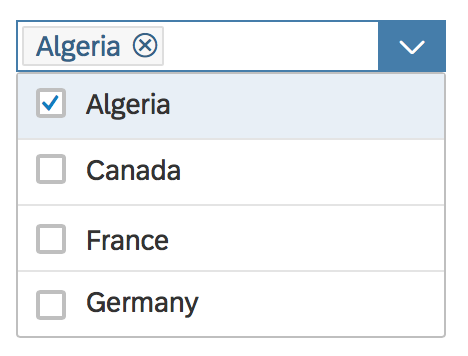
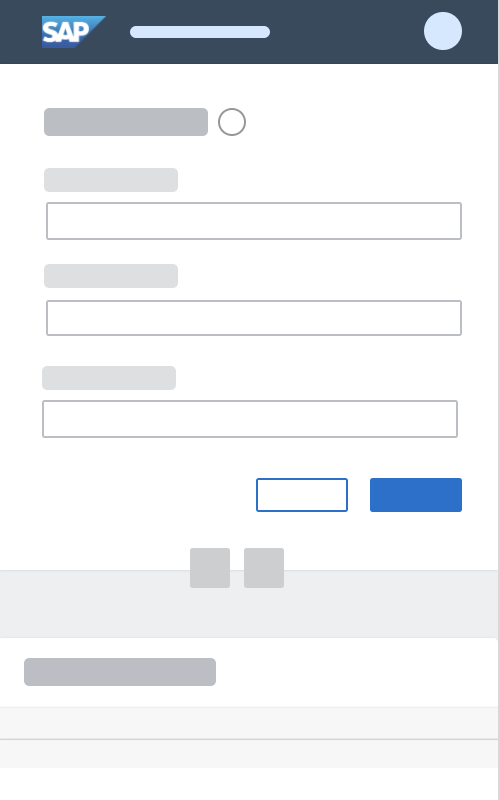
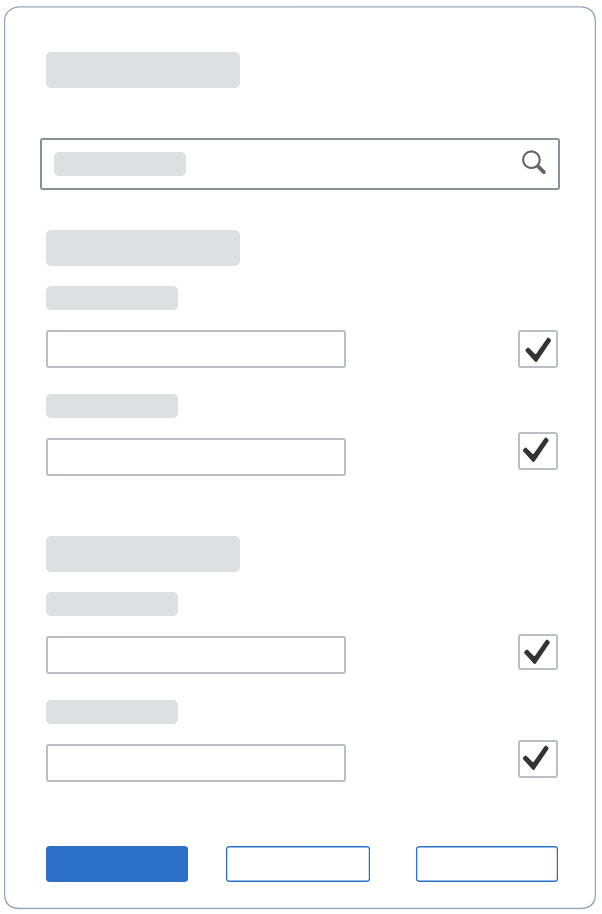
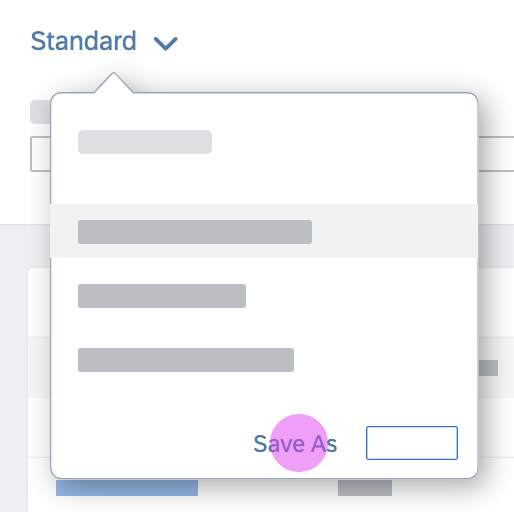
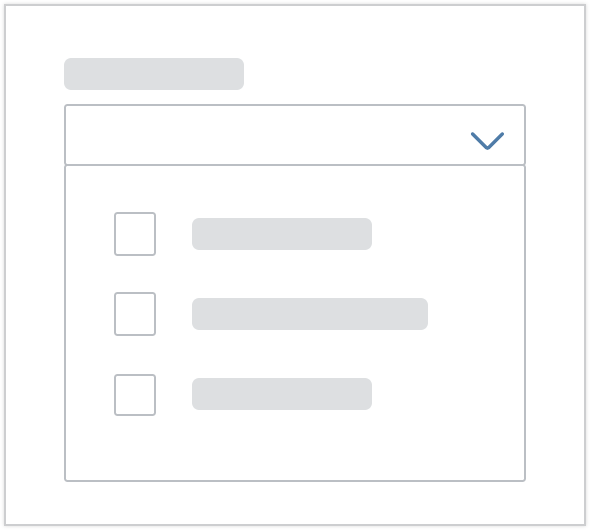
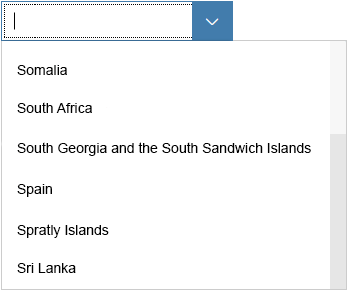
Suggestions on a smartphone (size S)

Users can review tokens by swiping left and right on touch devices
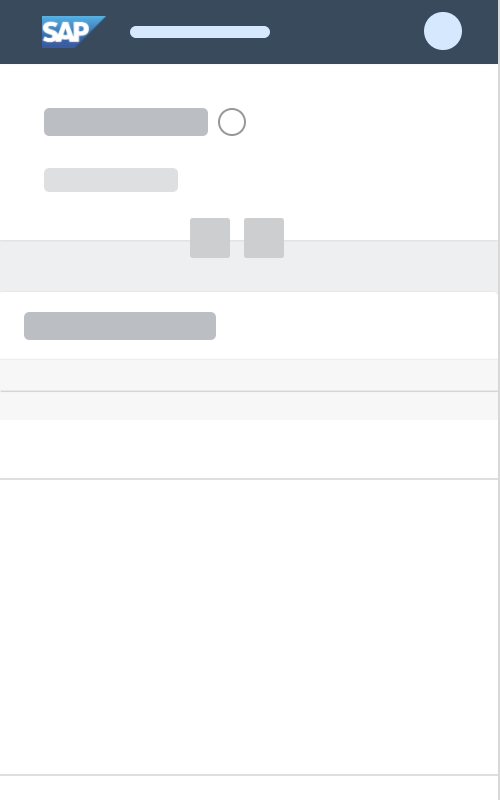
Size M
- Cozy mode.
- The suggestions appear below or above the multi-input field.
- The user can review tokens by swiping them to the left or right.

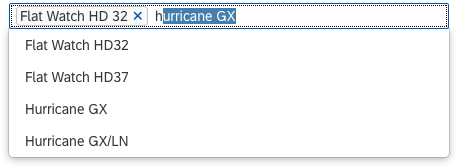
Suggestions on a tablet (size M)
Size L
- Compact mode.
- The suggestions appear below or above the multi-input field.
- The user can review tokens by pressing the right or left arrows on the keyboard.
Suggestions on a desktop (size L)
Types
The input types of the multi-input field are identical to those of the input field.
Behavior and Interaction
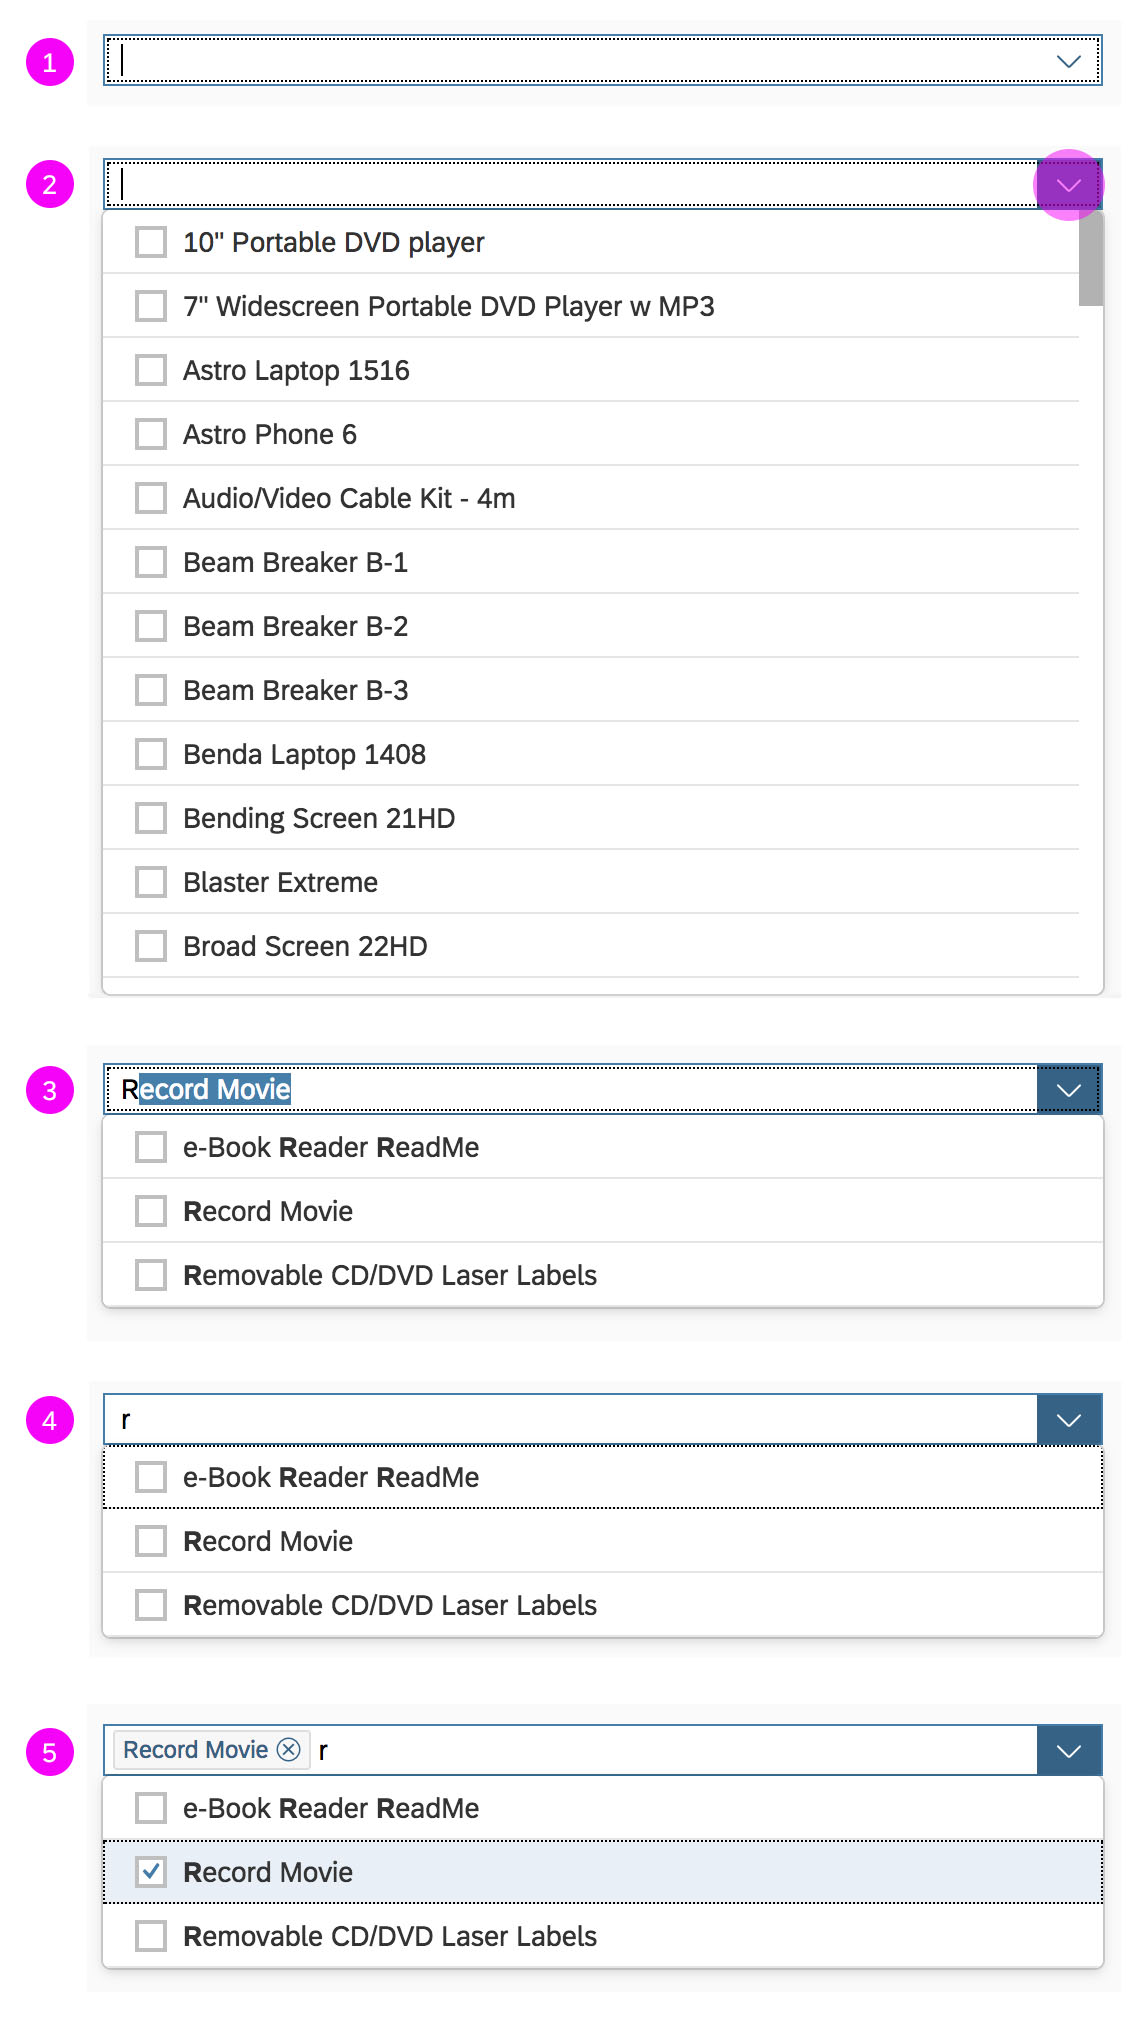
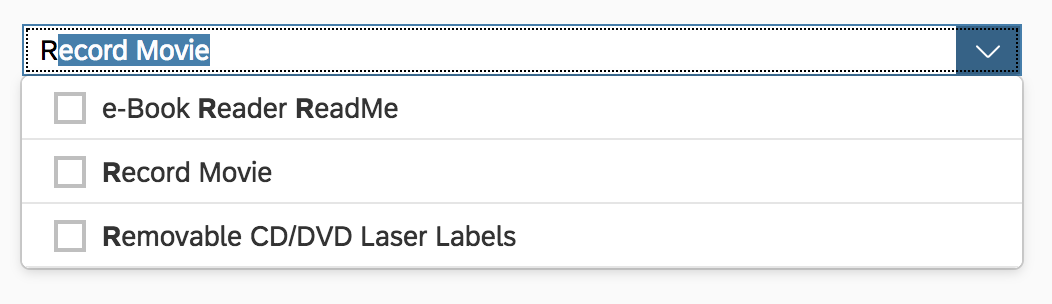
Adding a Token
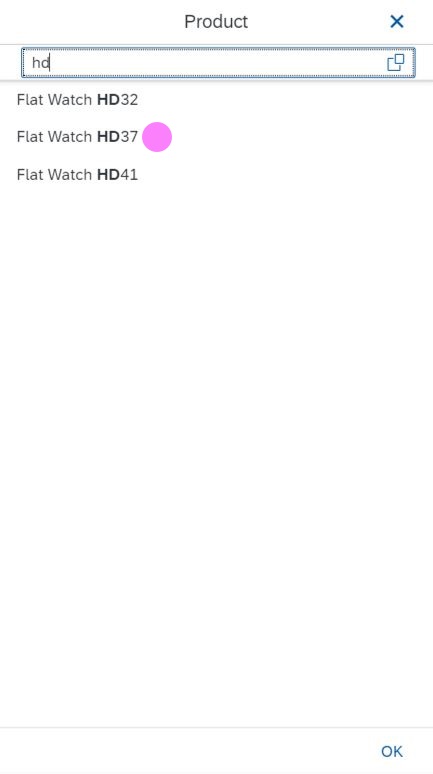
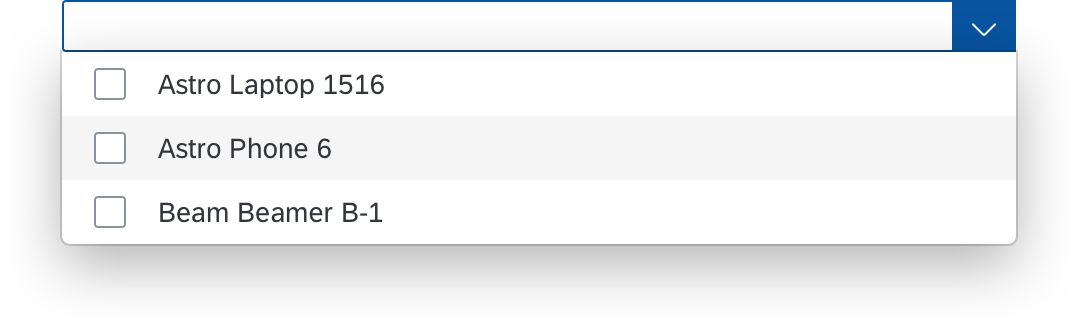
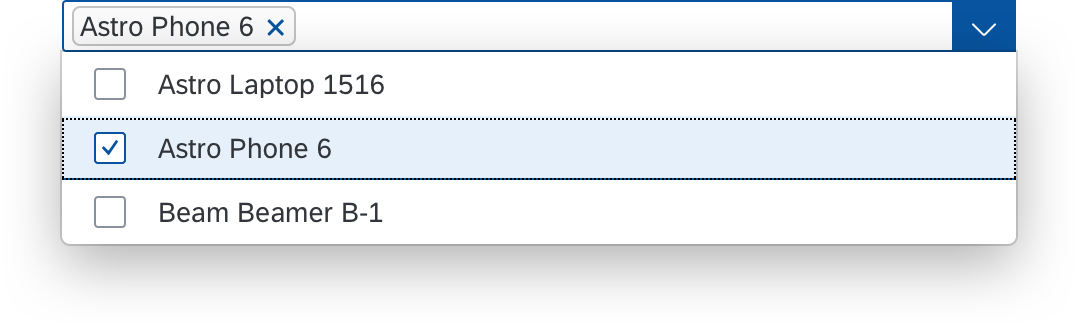
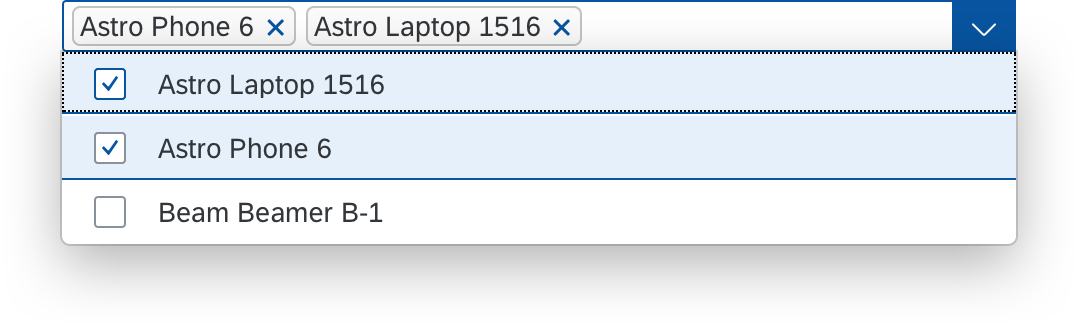
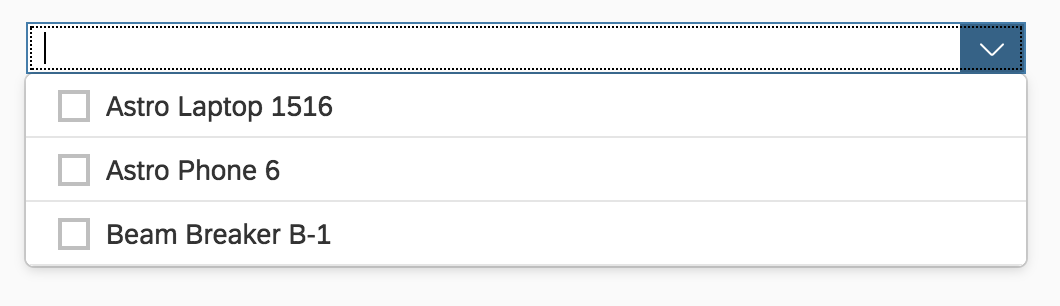
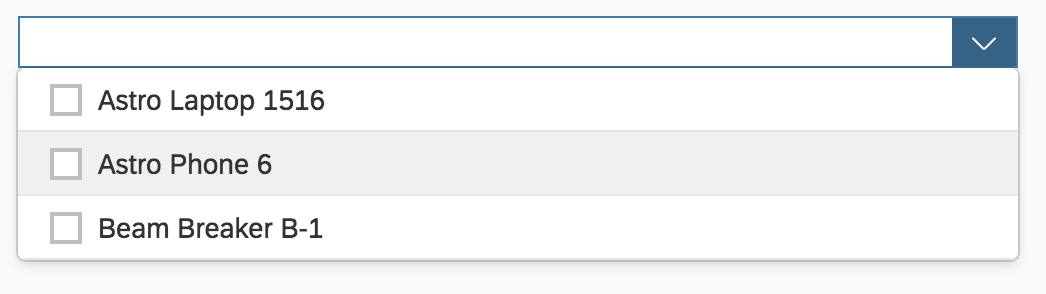
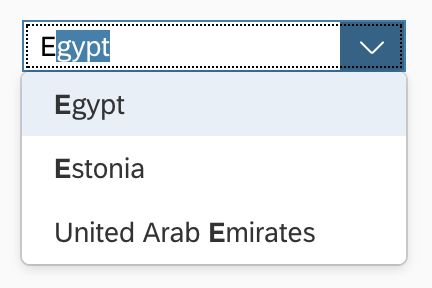
A token can be added using suggestions or value help. As the user types, the first suggestion item that matches the characters entered is autocompleted in the input field. The typed characters are matched against the beginning of the suggestion items, based on the “starts with” filter. The user can accept the autocompleted value by pressing ENTER. The autocomplete property is set by default if suggestions are available, but can also be switched off.
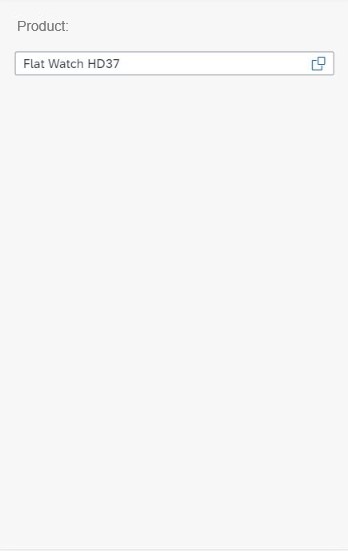
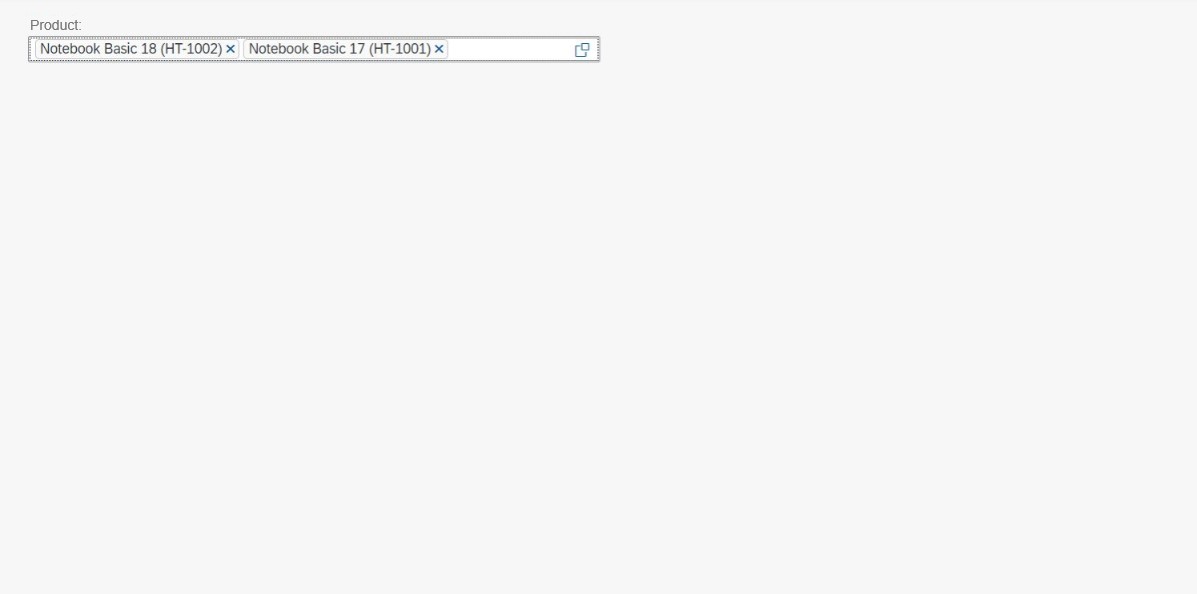
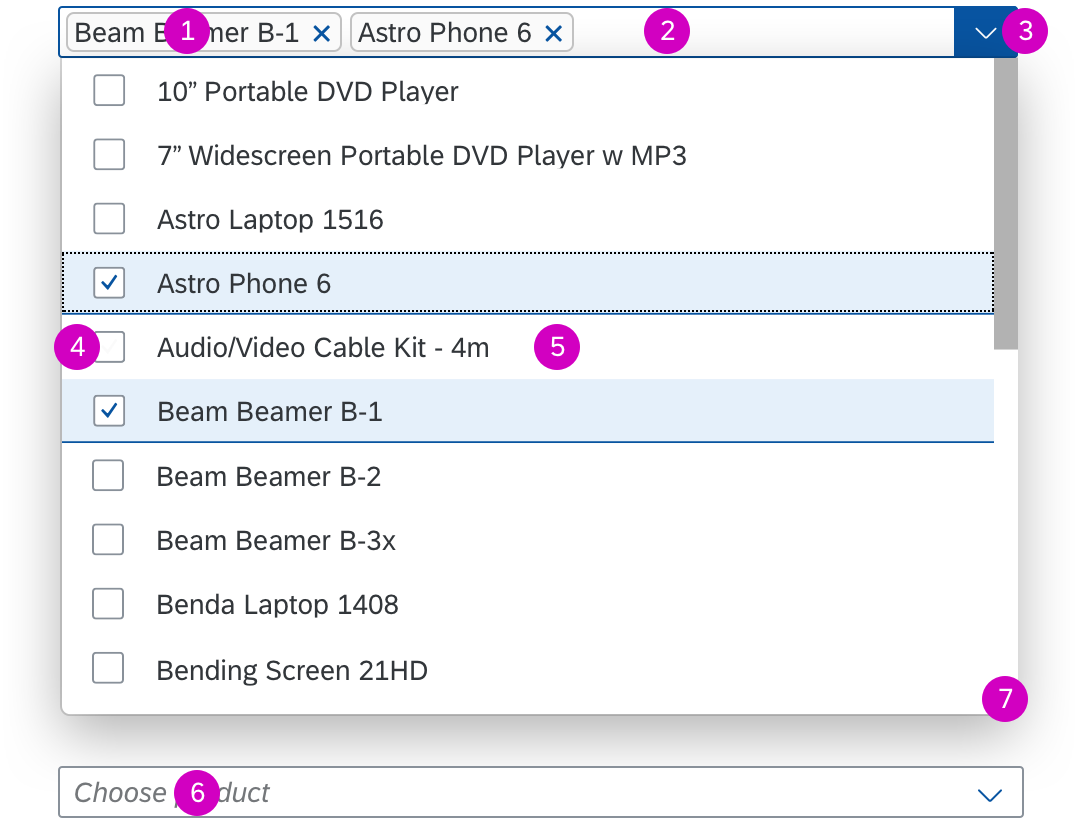
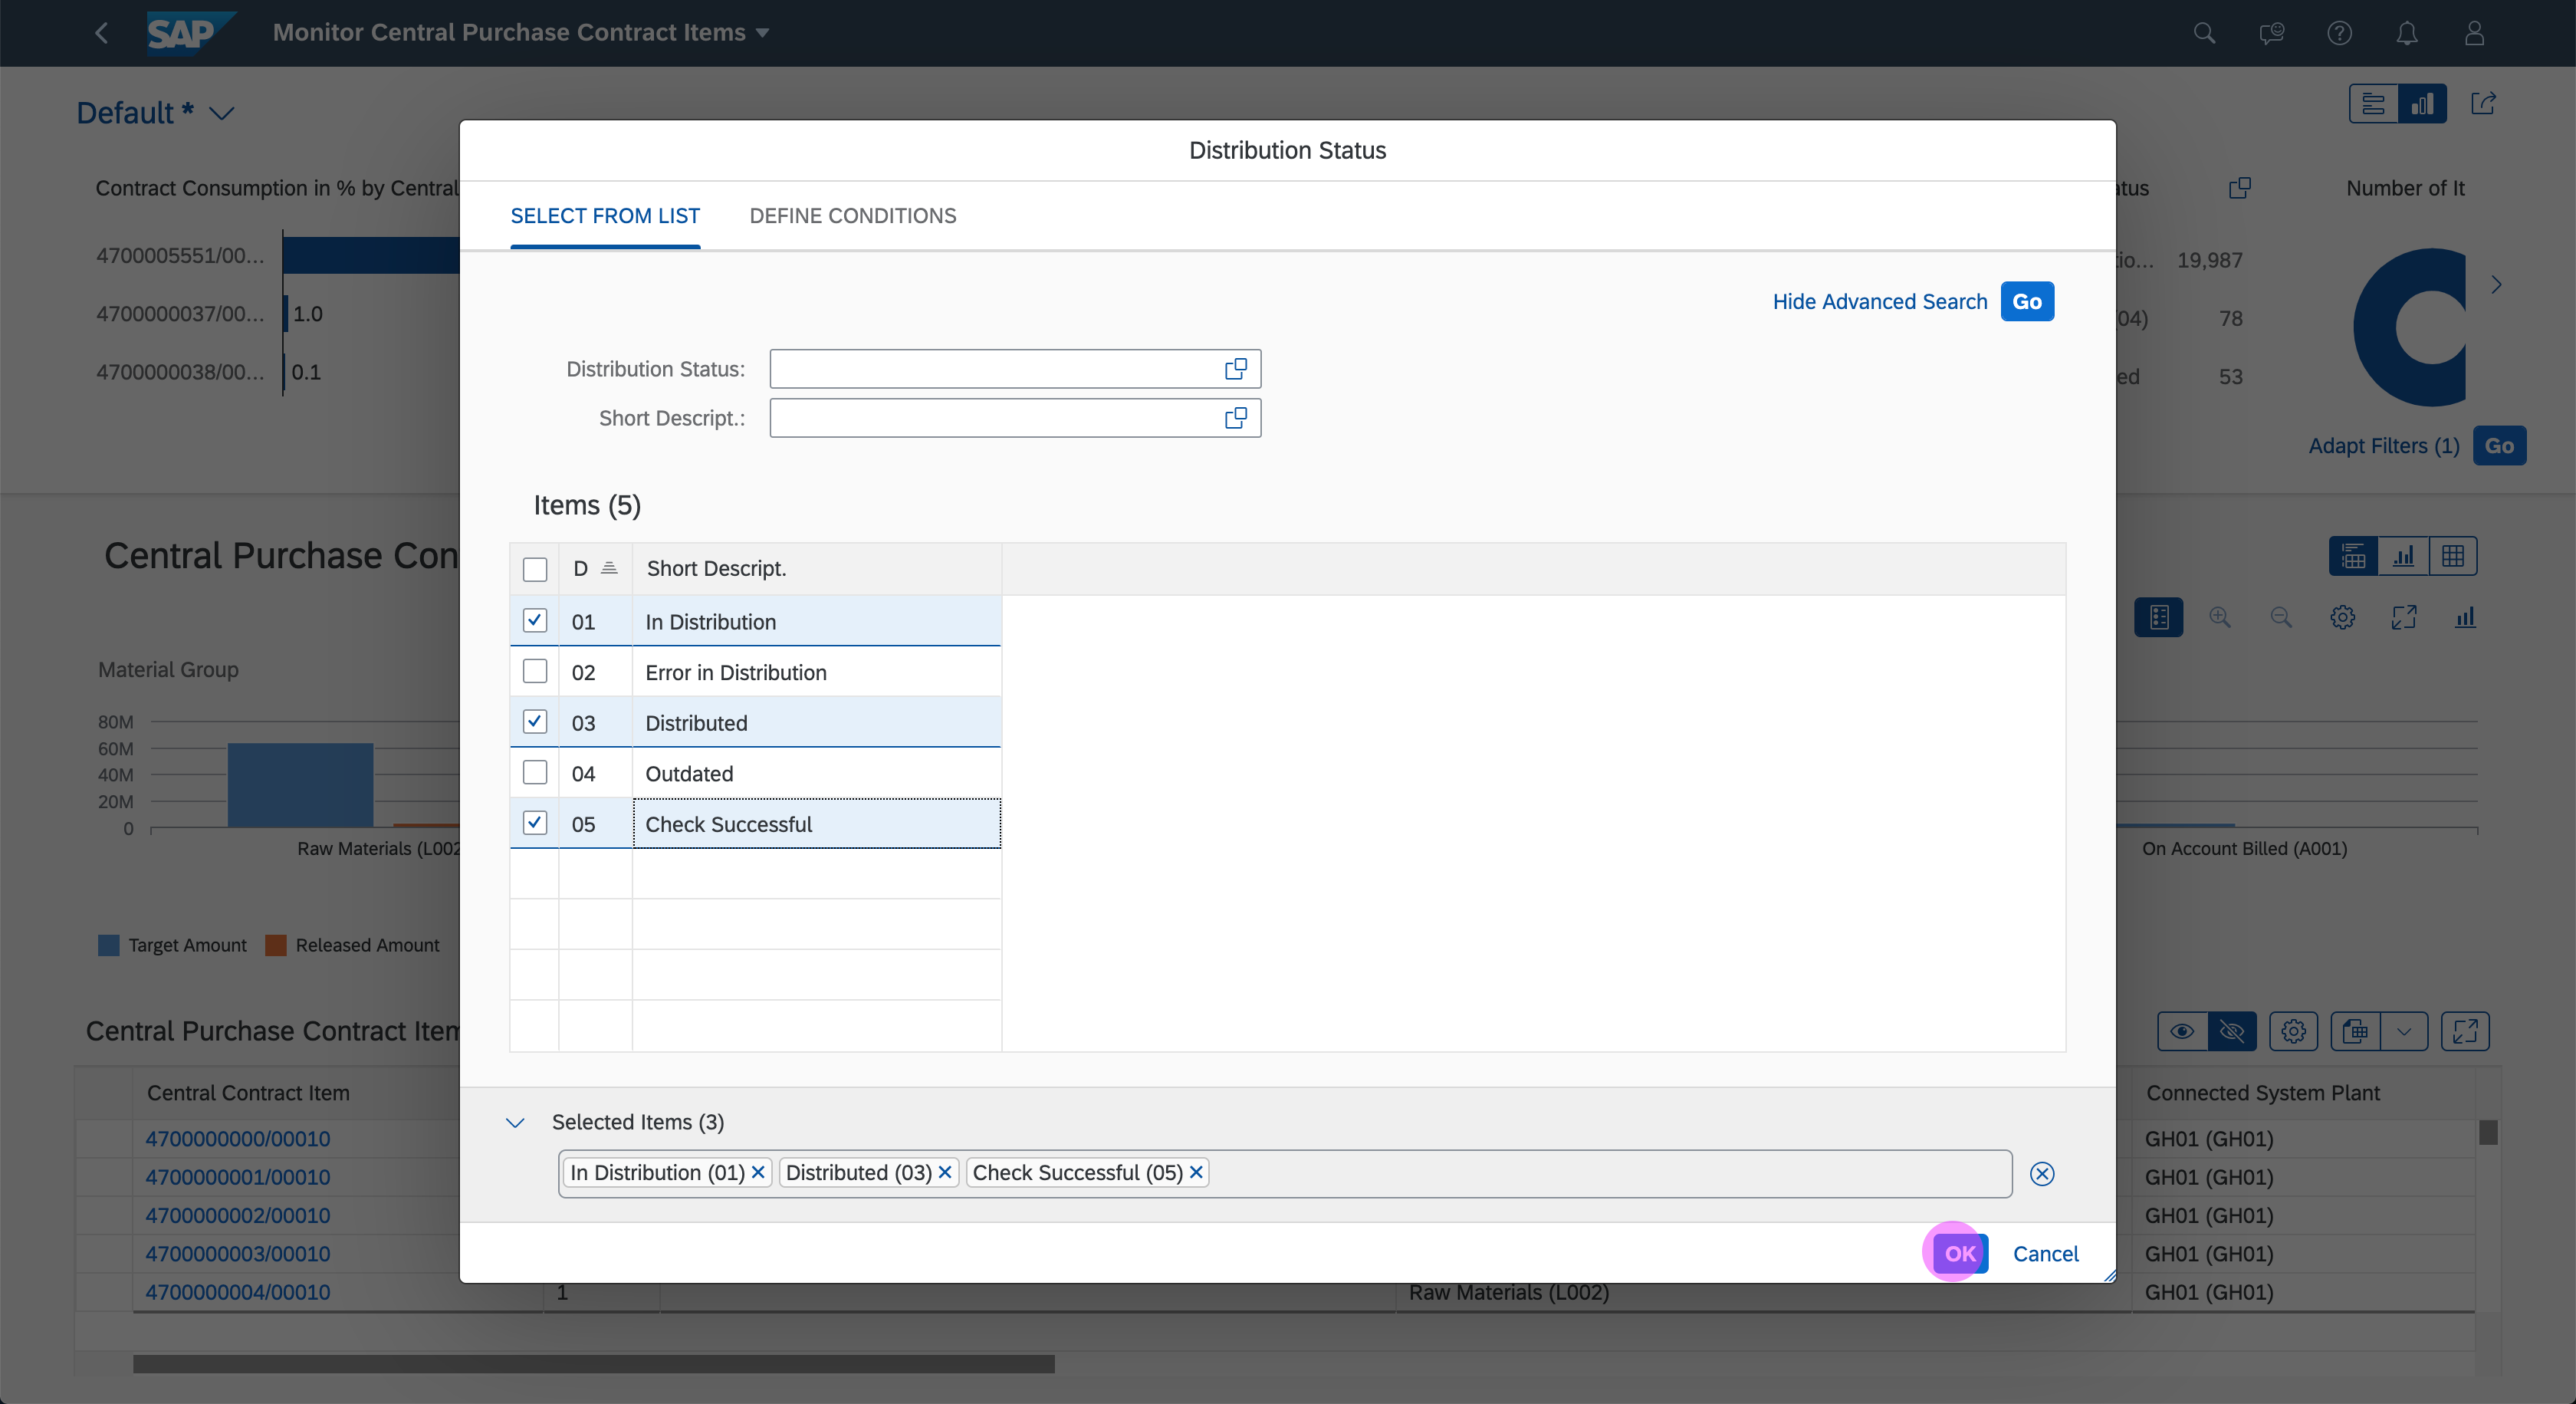
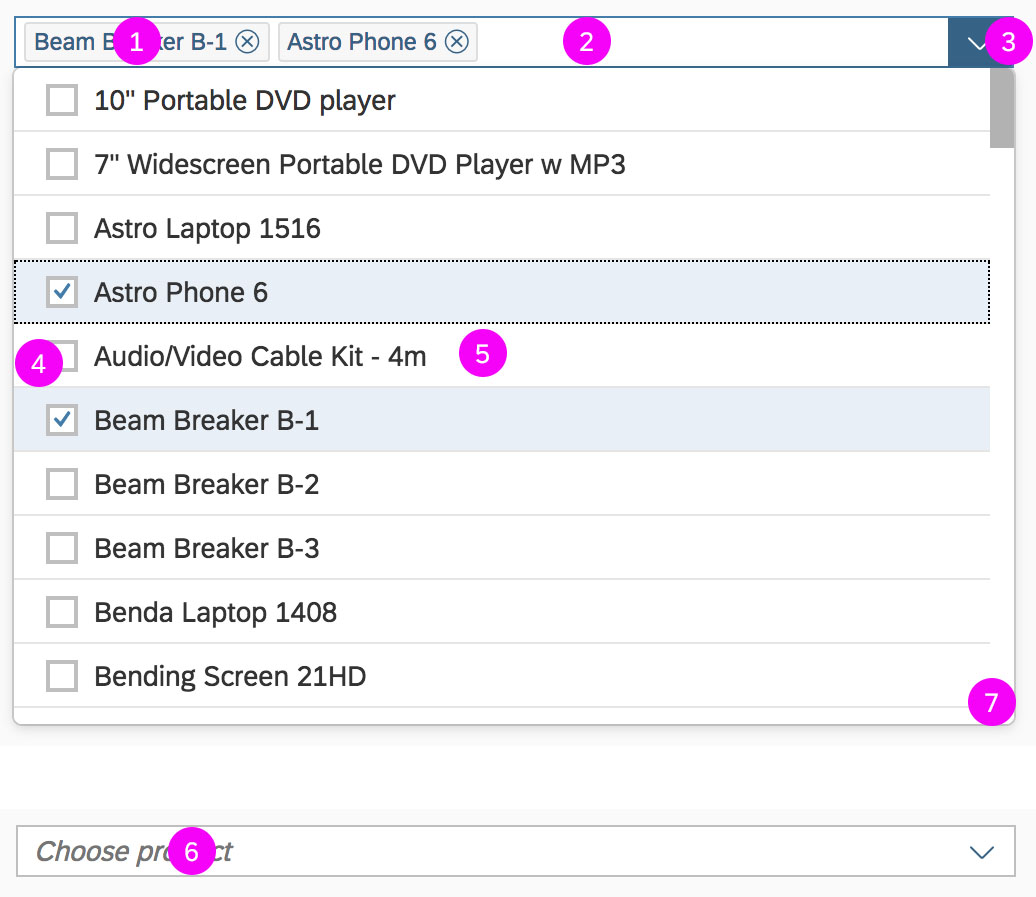
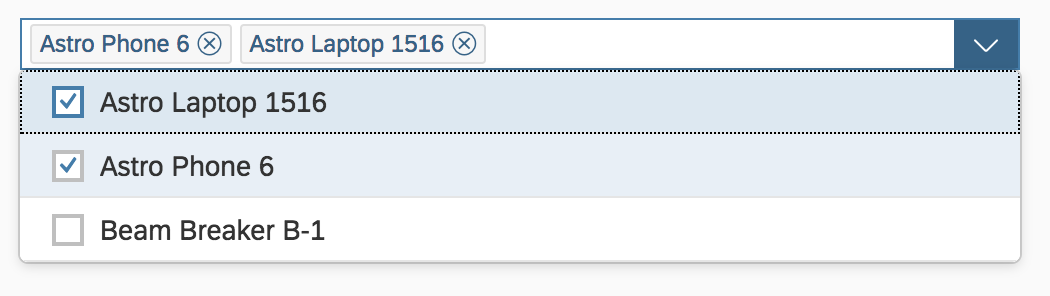
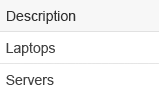
When an item is selected from the suggestions dropdown, the corresponding token is created, and the input field is ready for the next entry. Tokens are placed next to each other on one line.

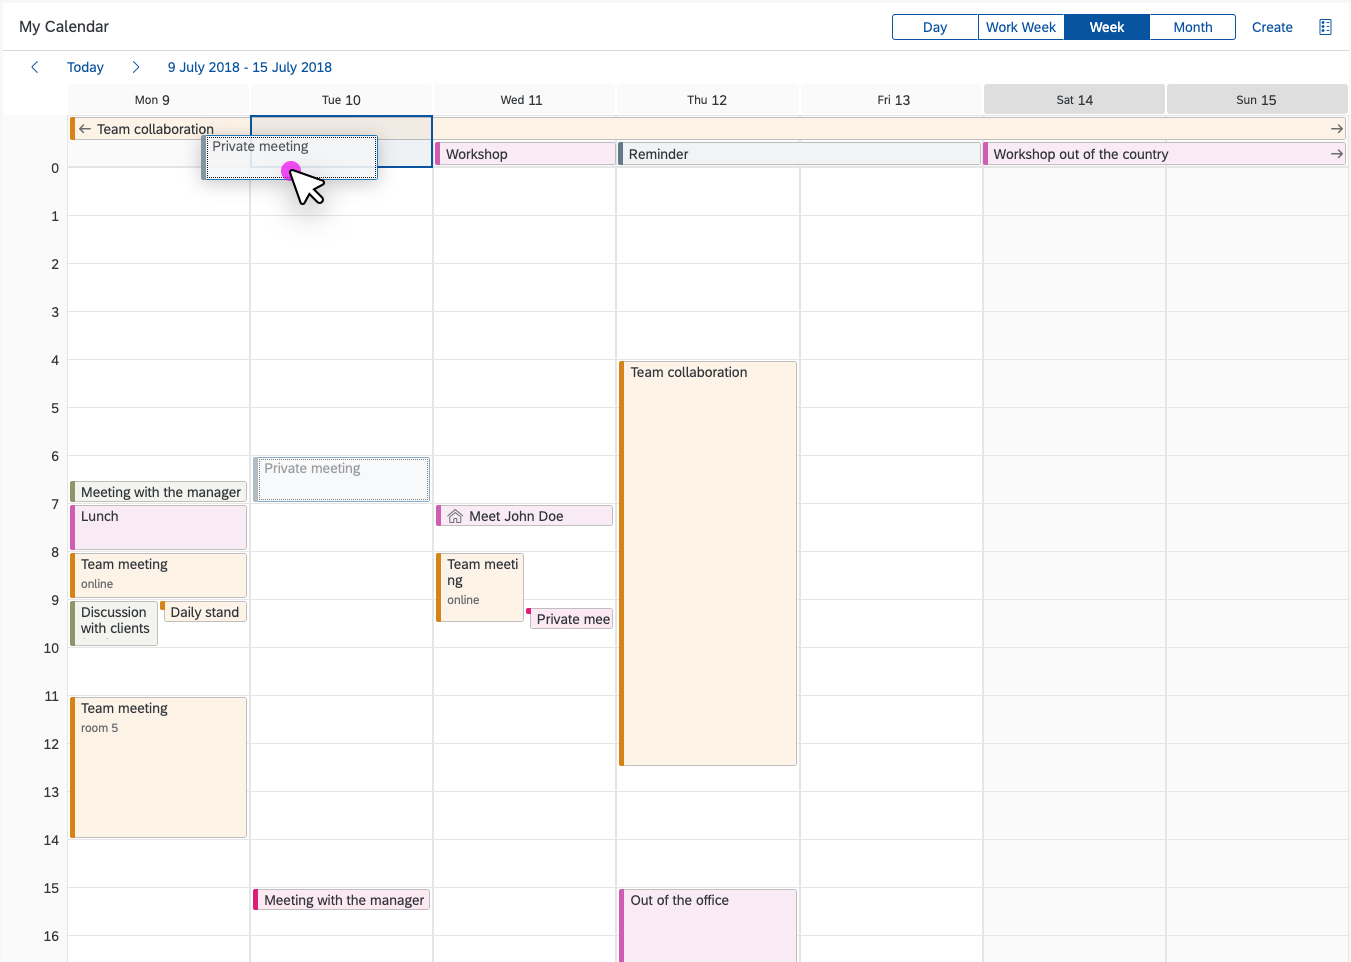
Adding tokens

Adding a second token
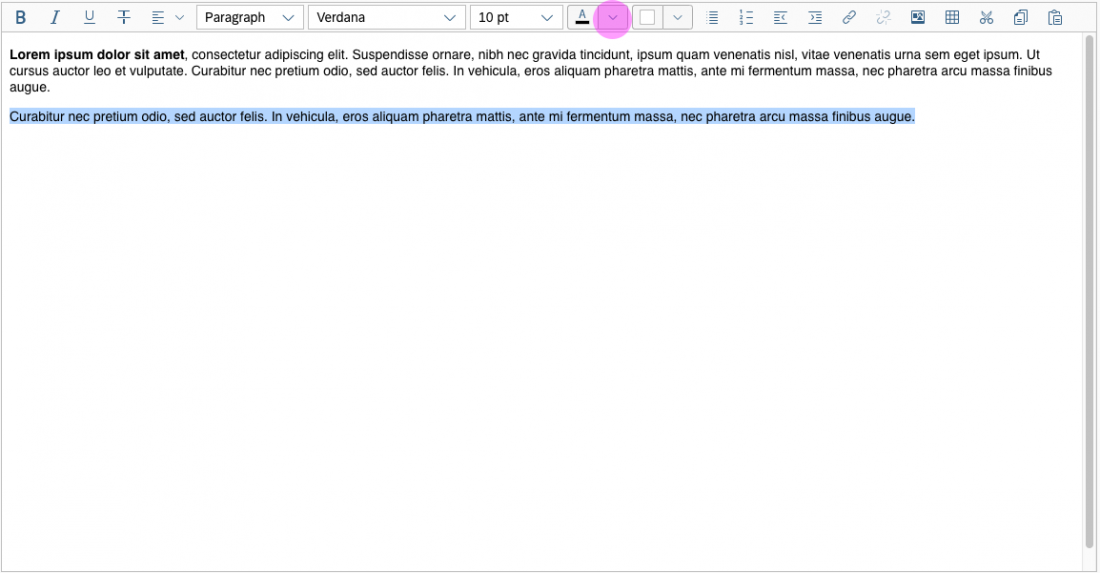
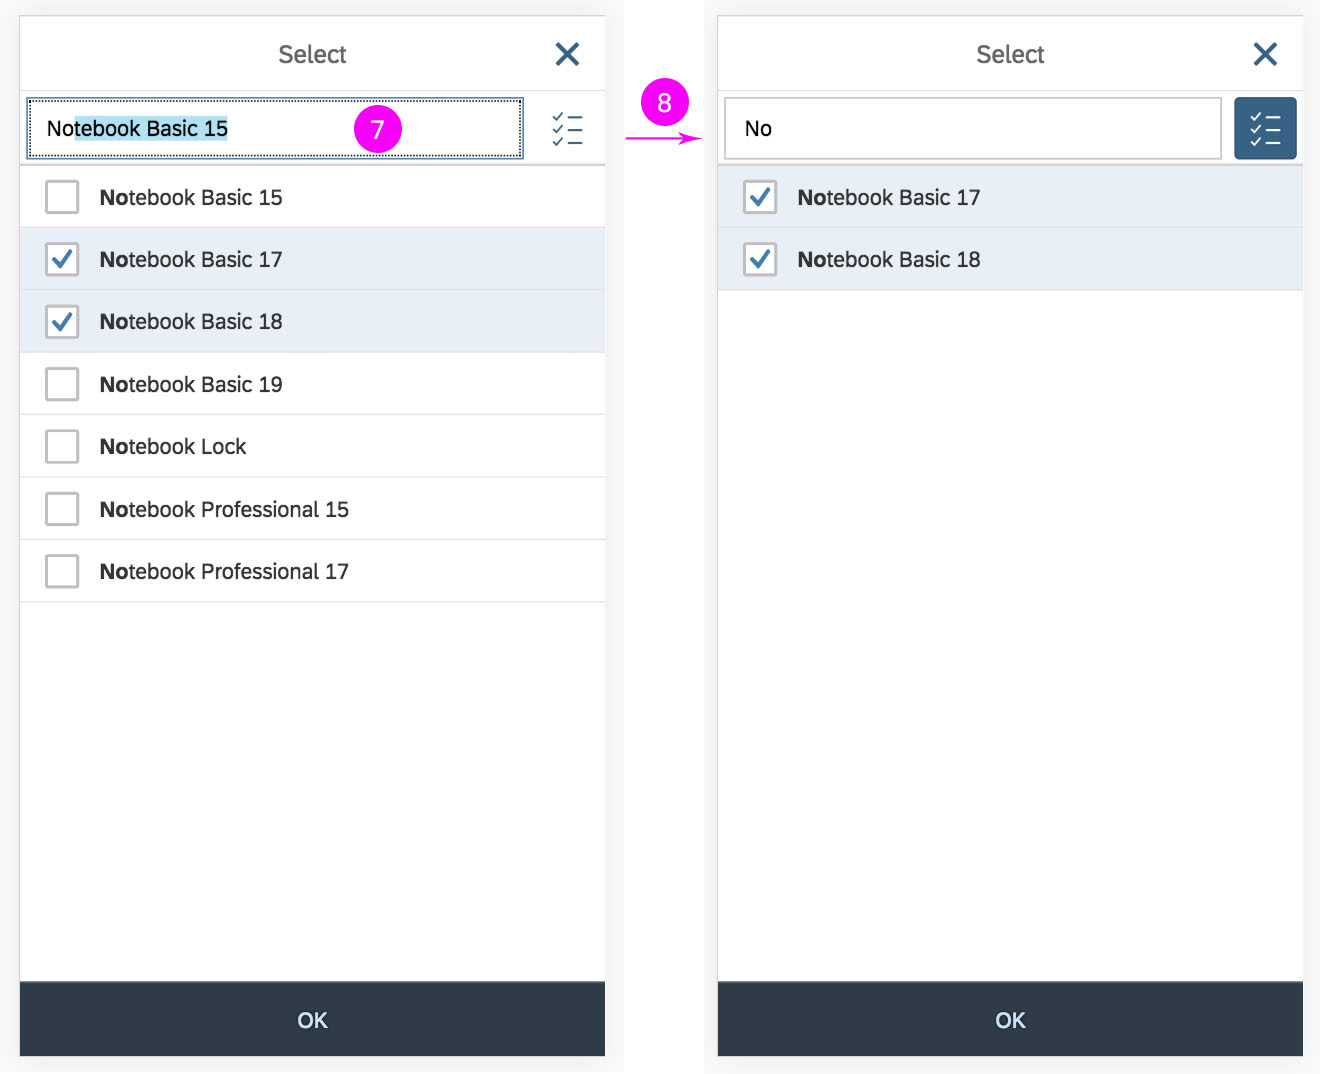
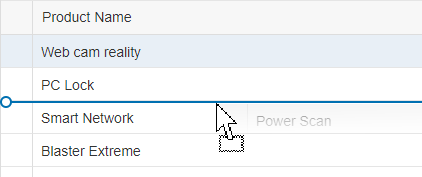
Reviewing Tokens
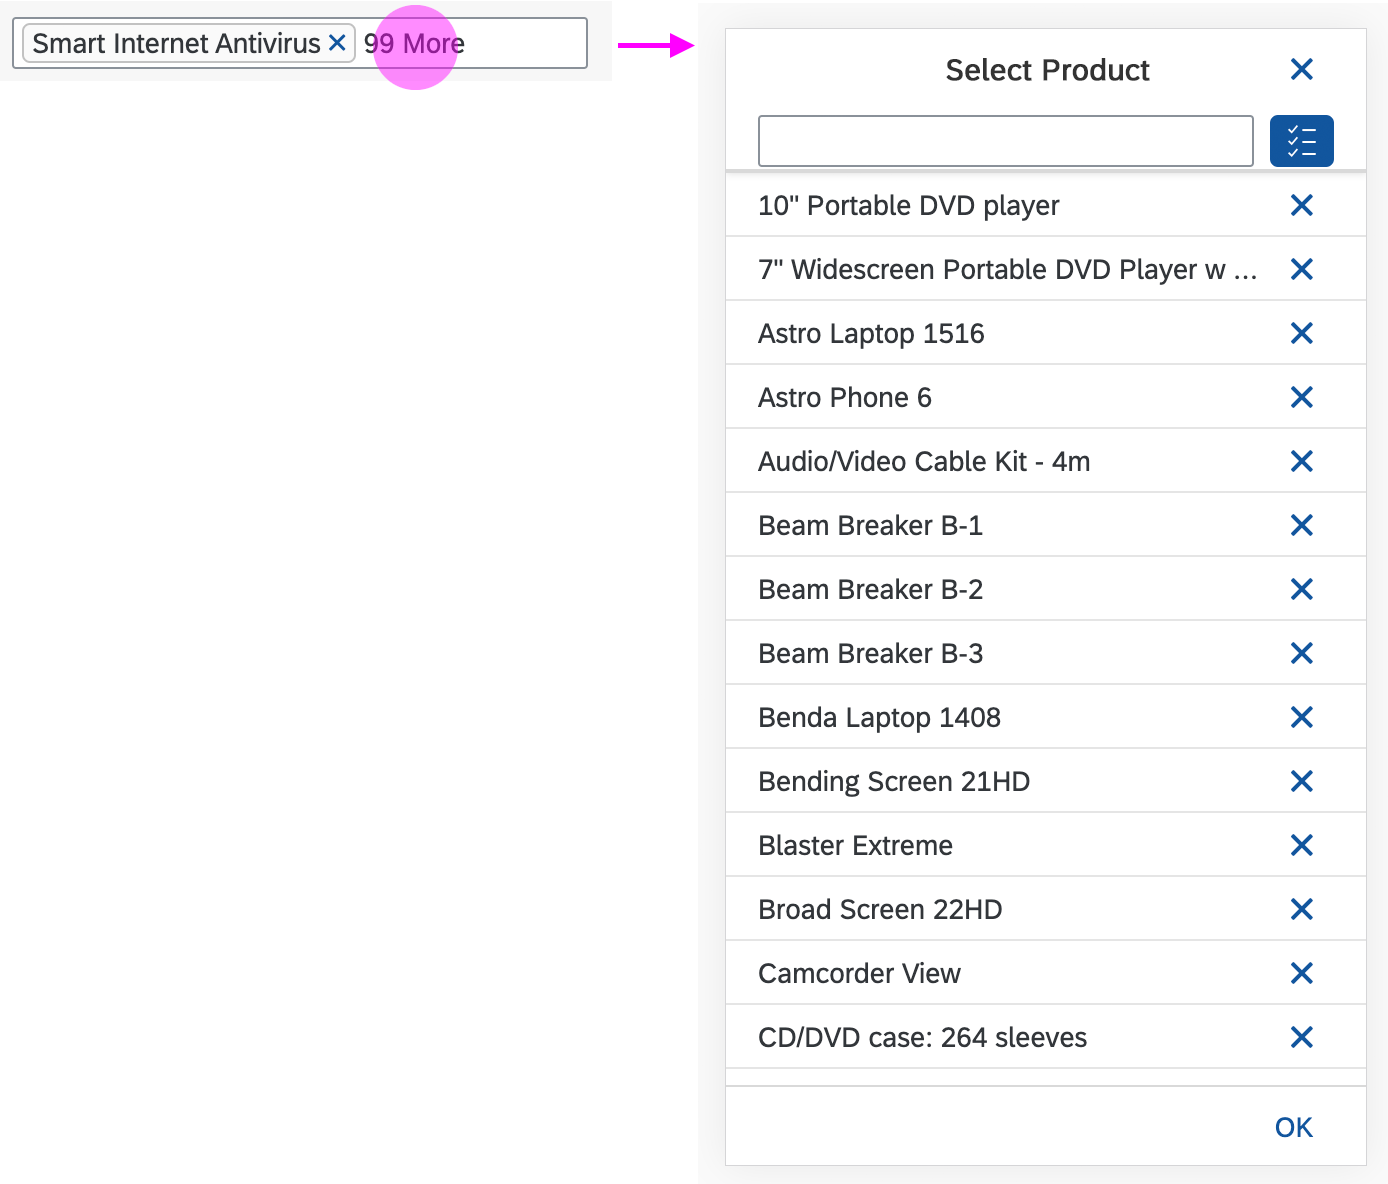
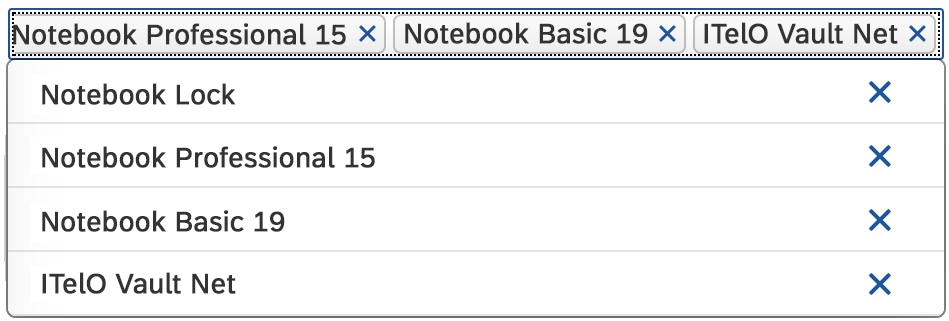
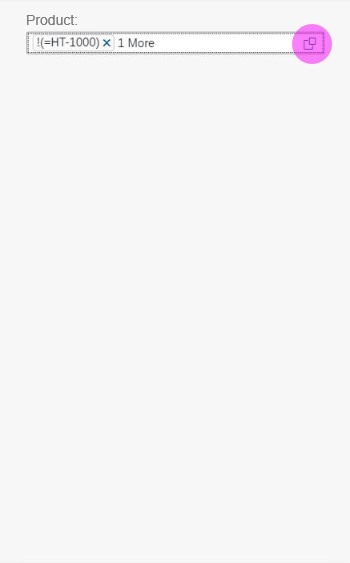
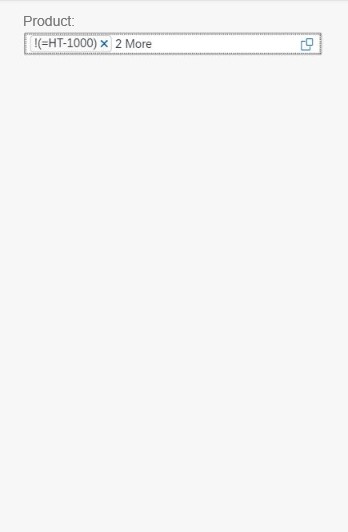
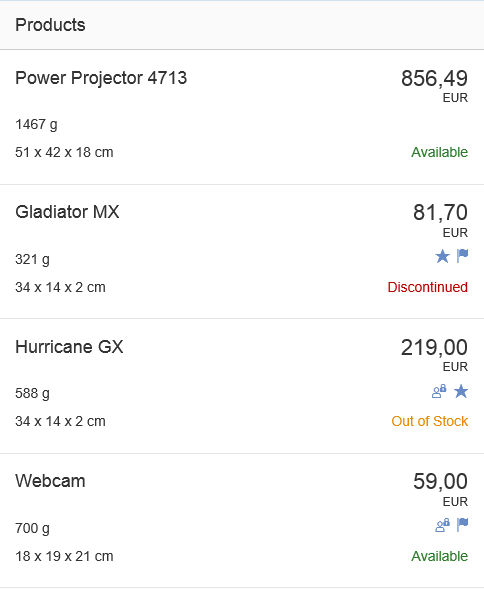
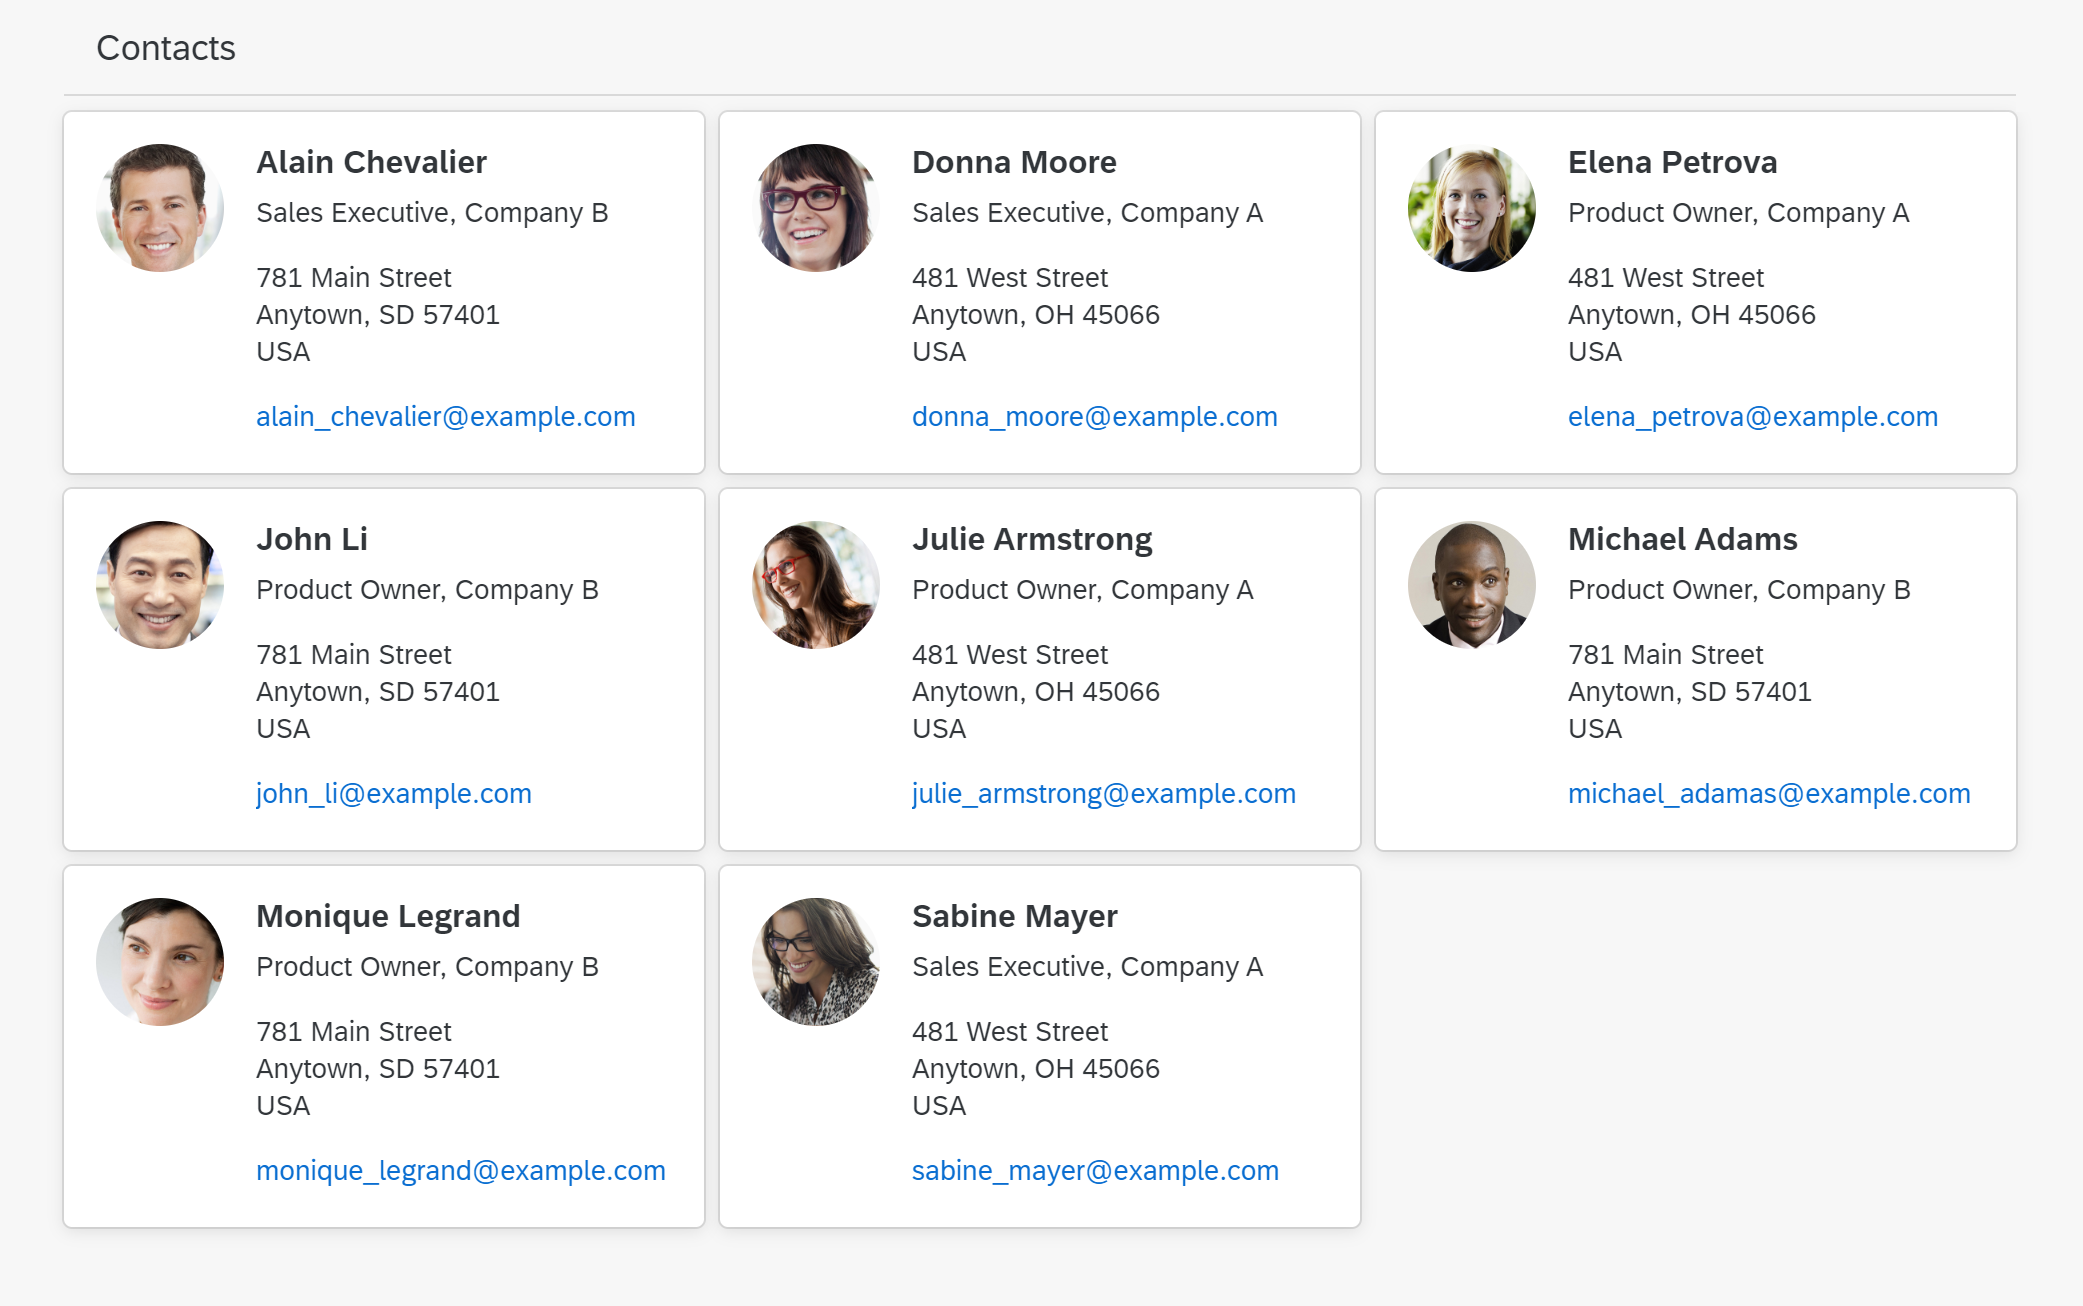
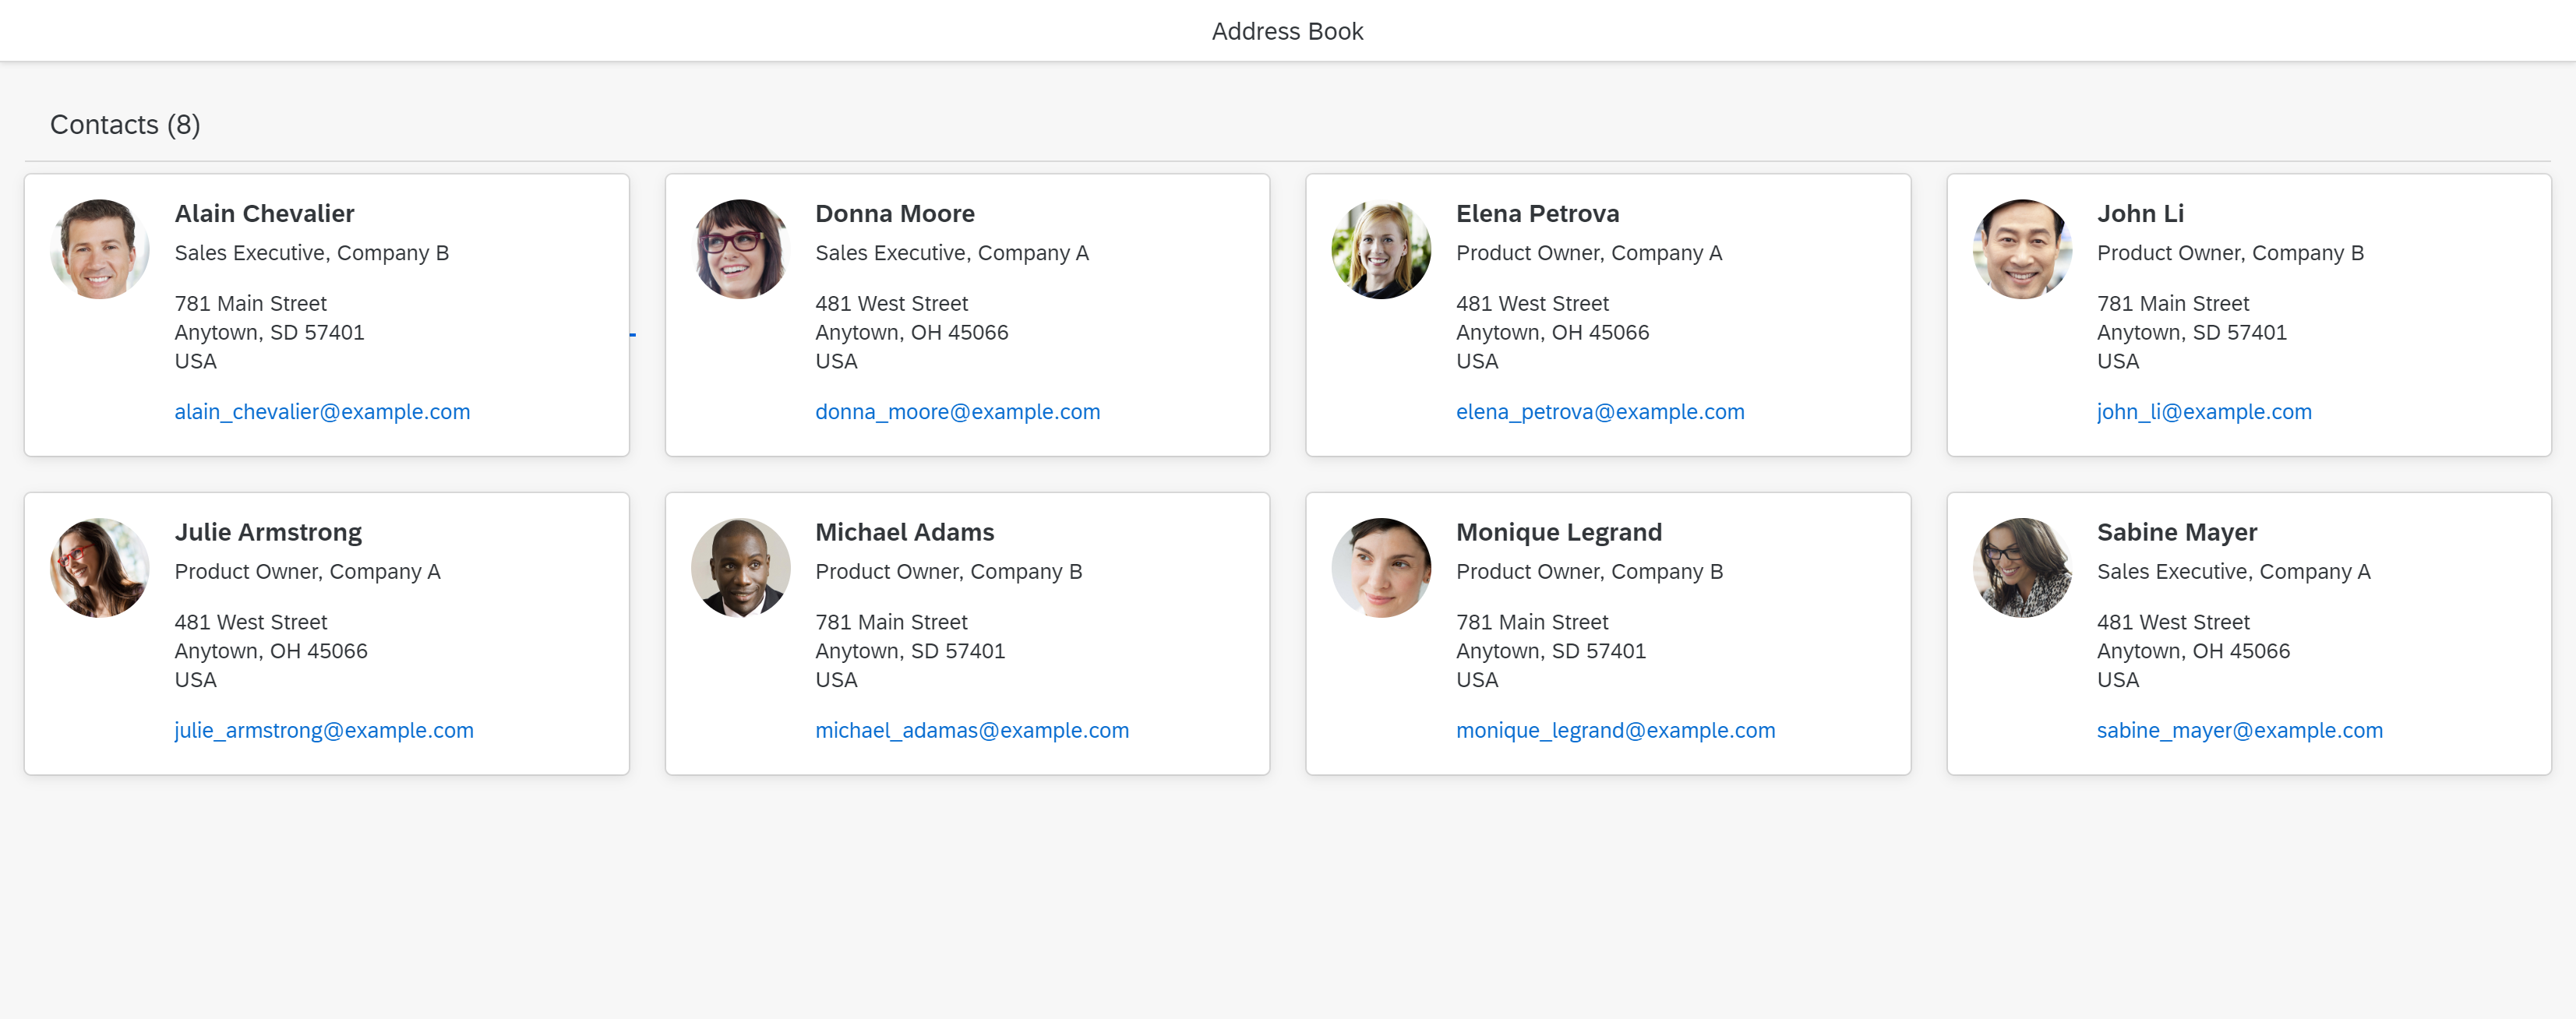
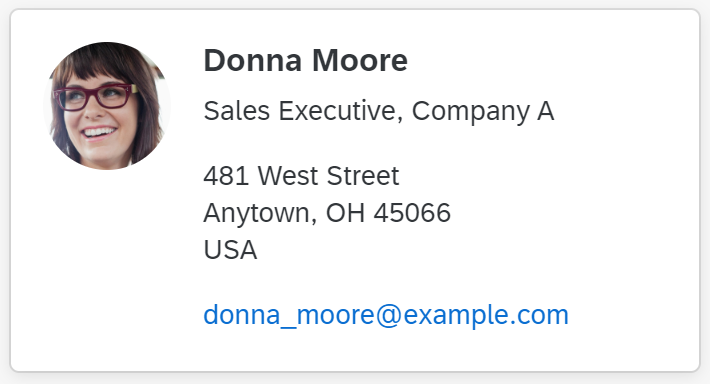
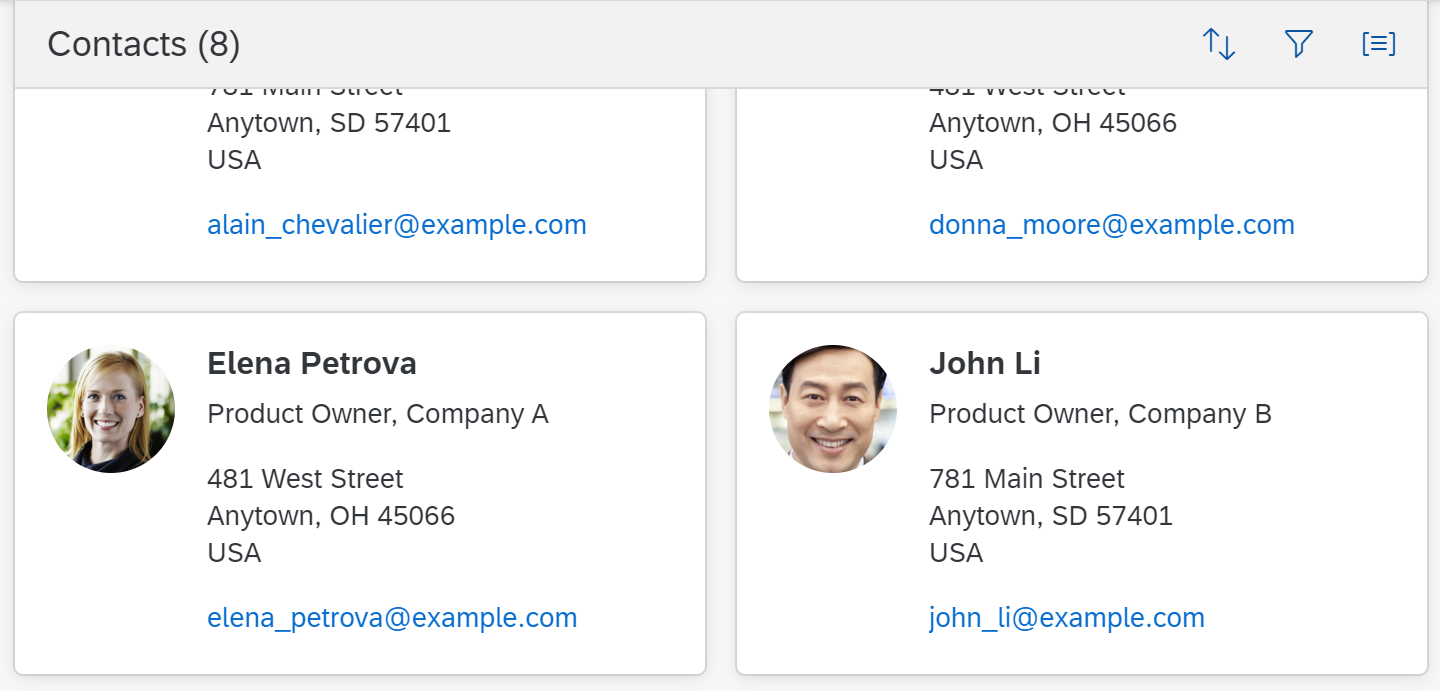
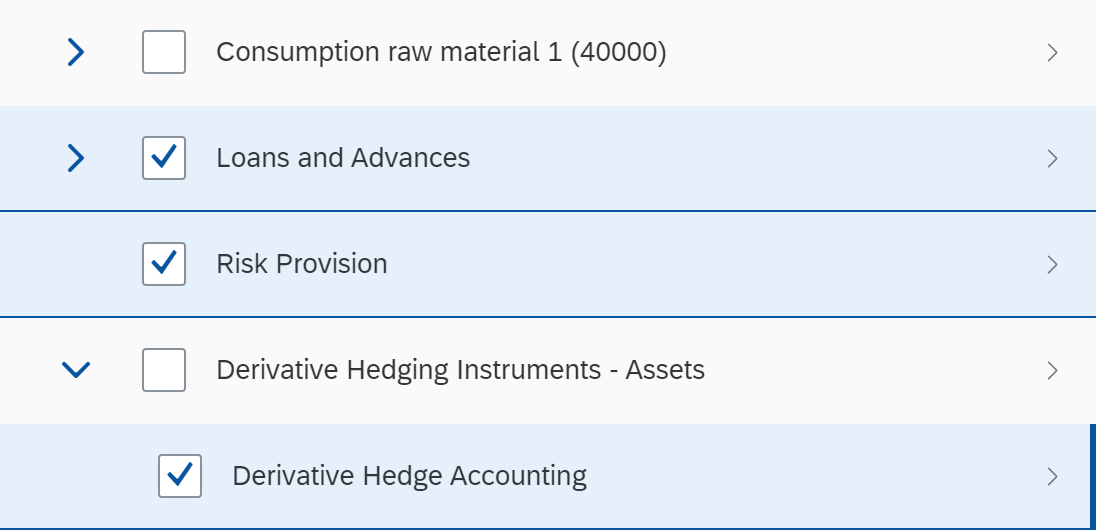
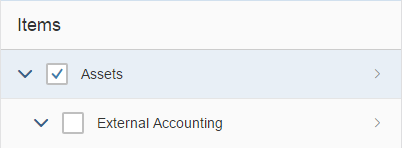
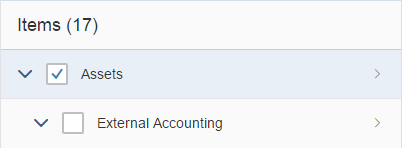
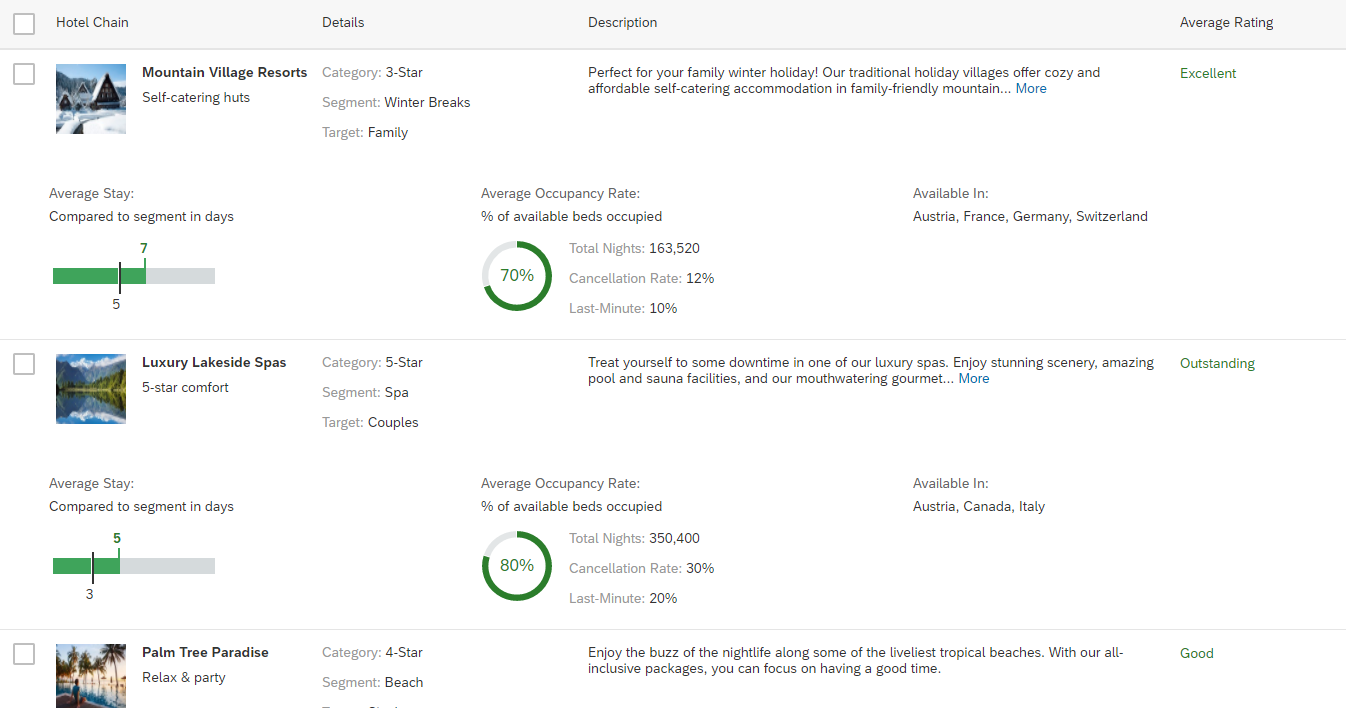
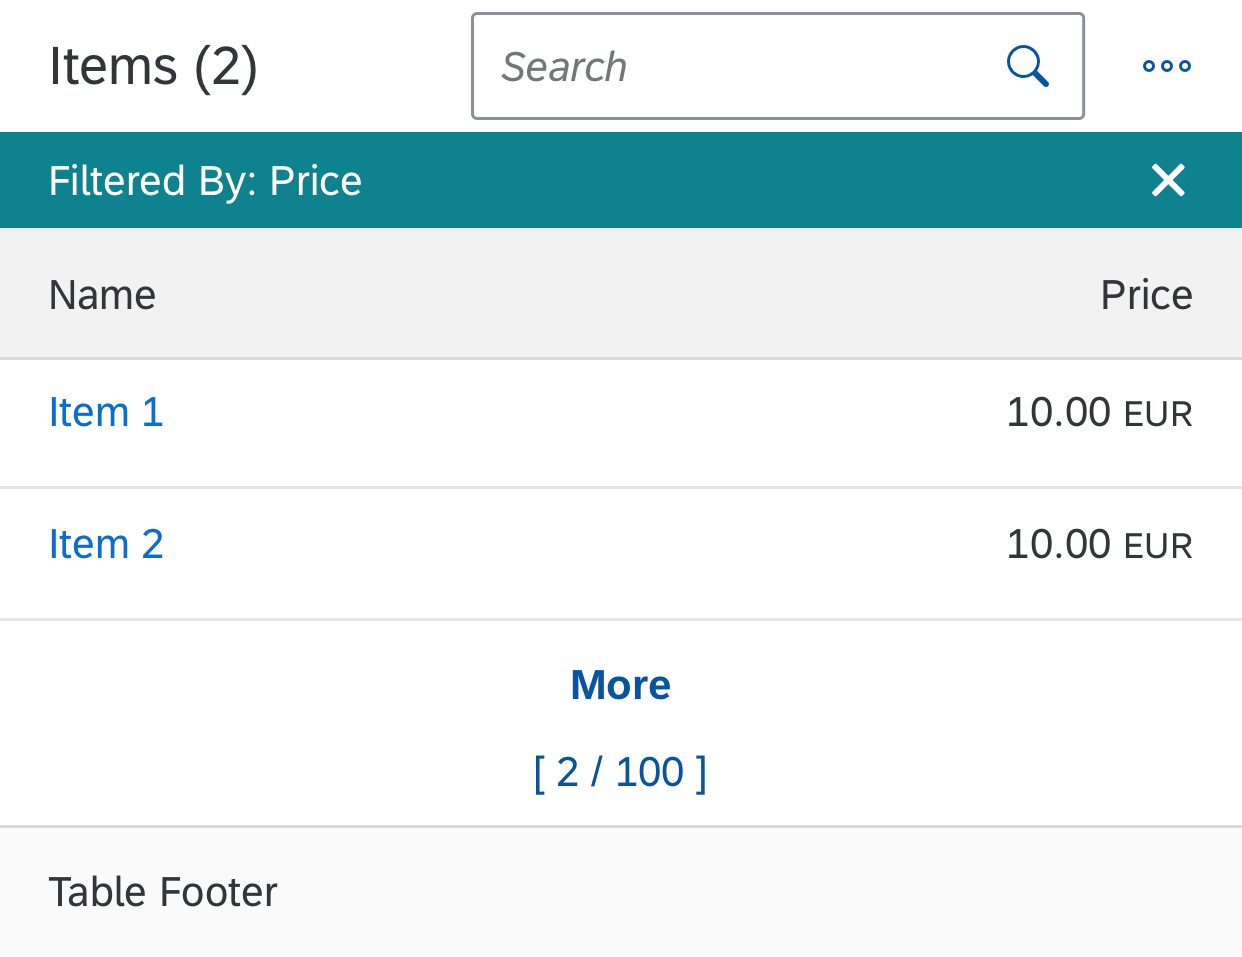
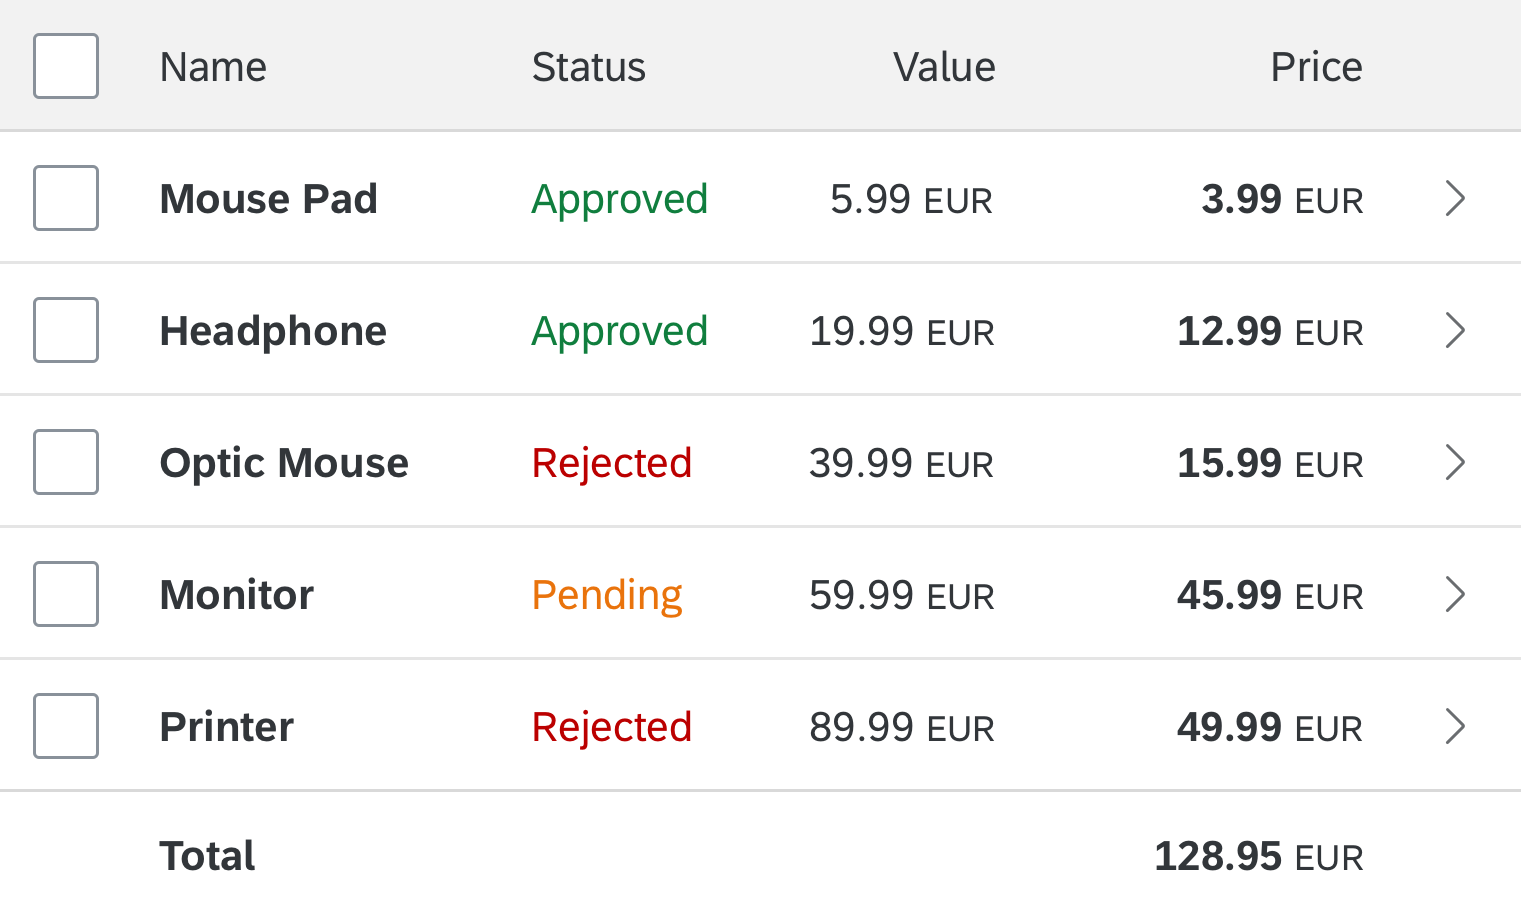
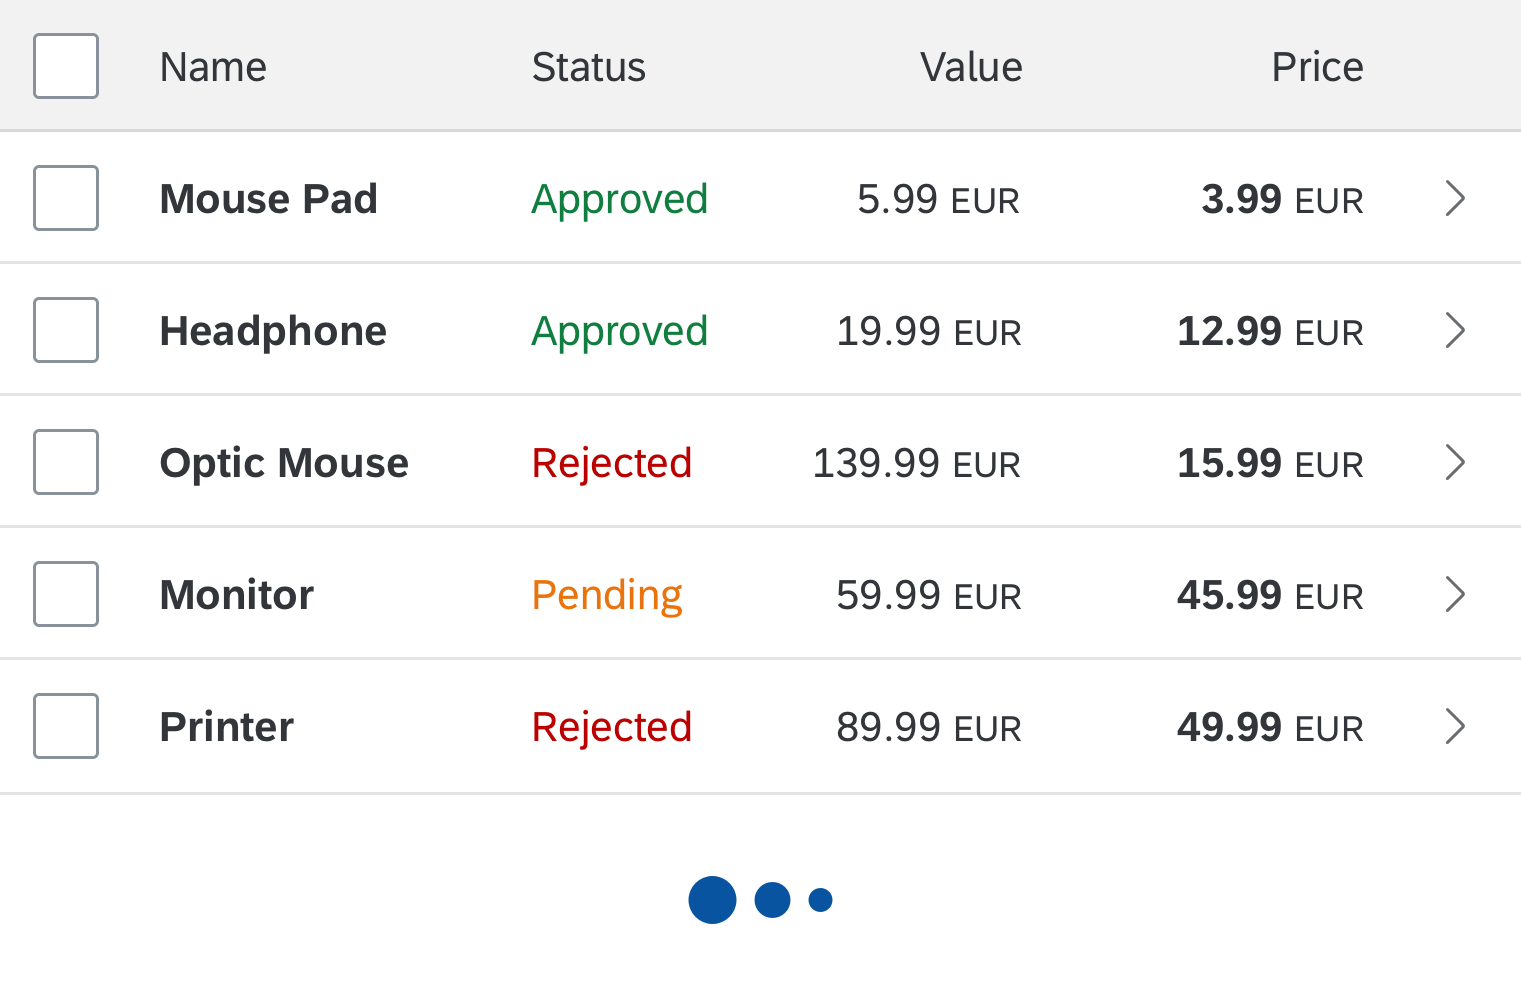
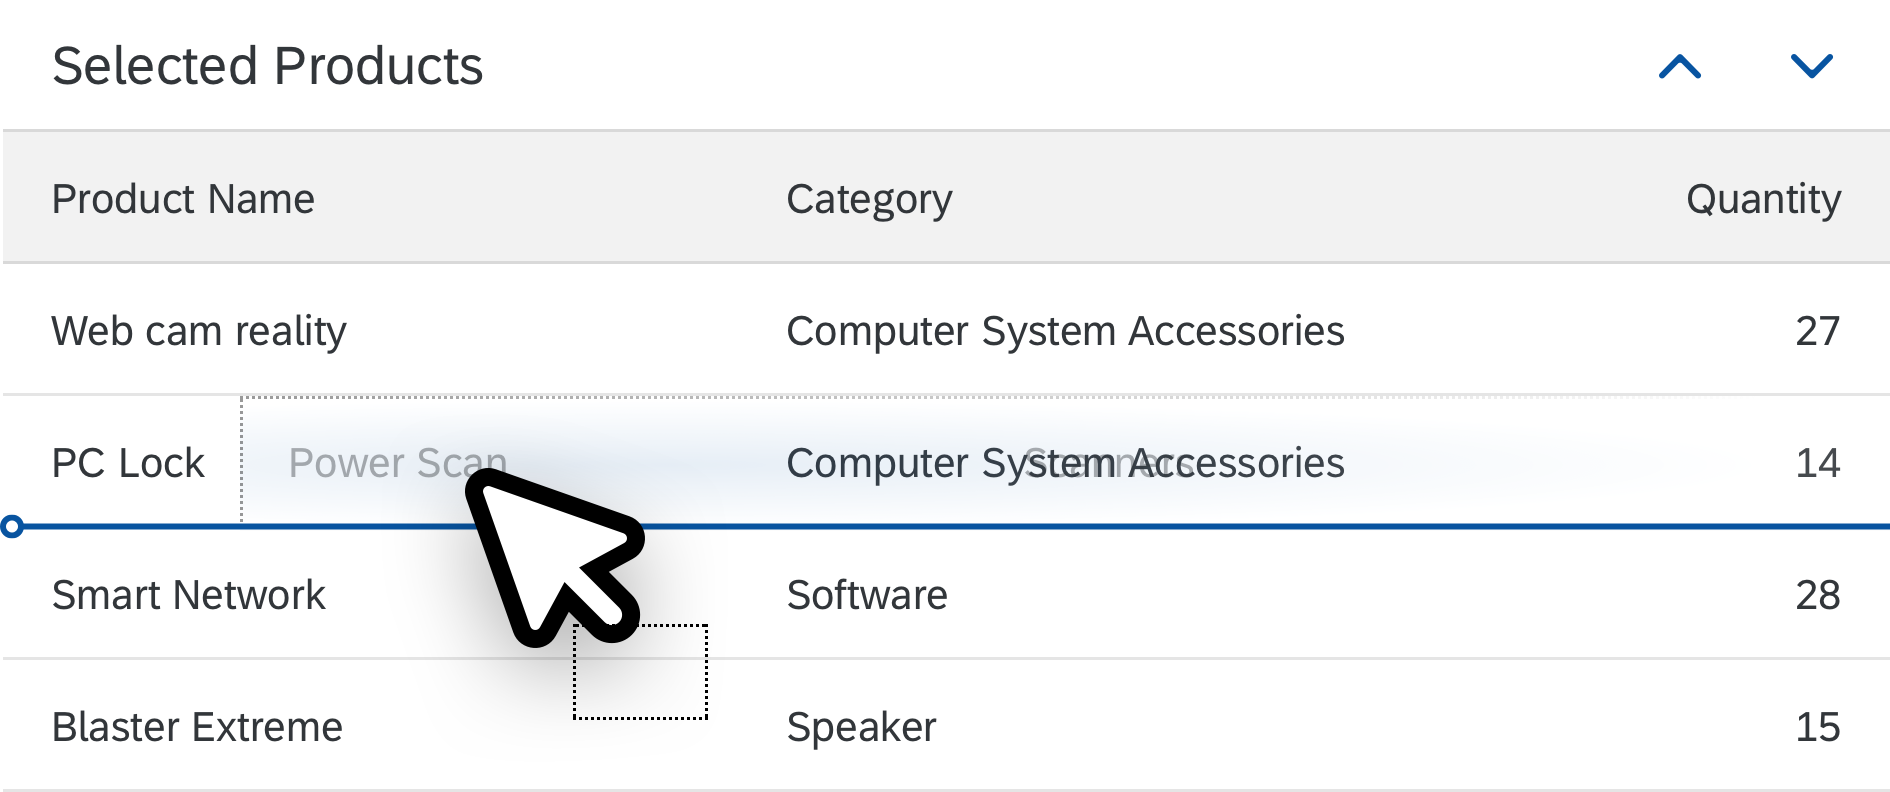
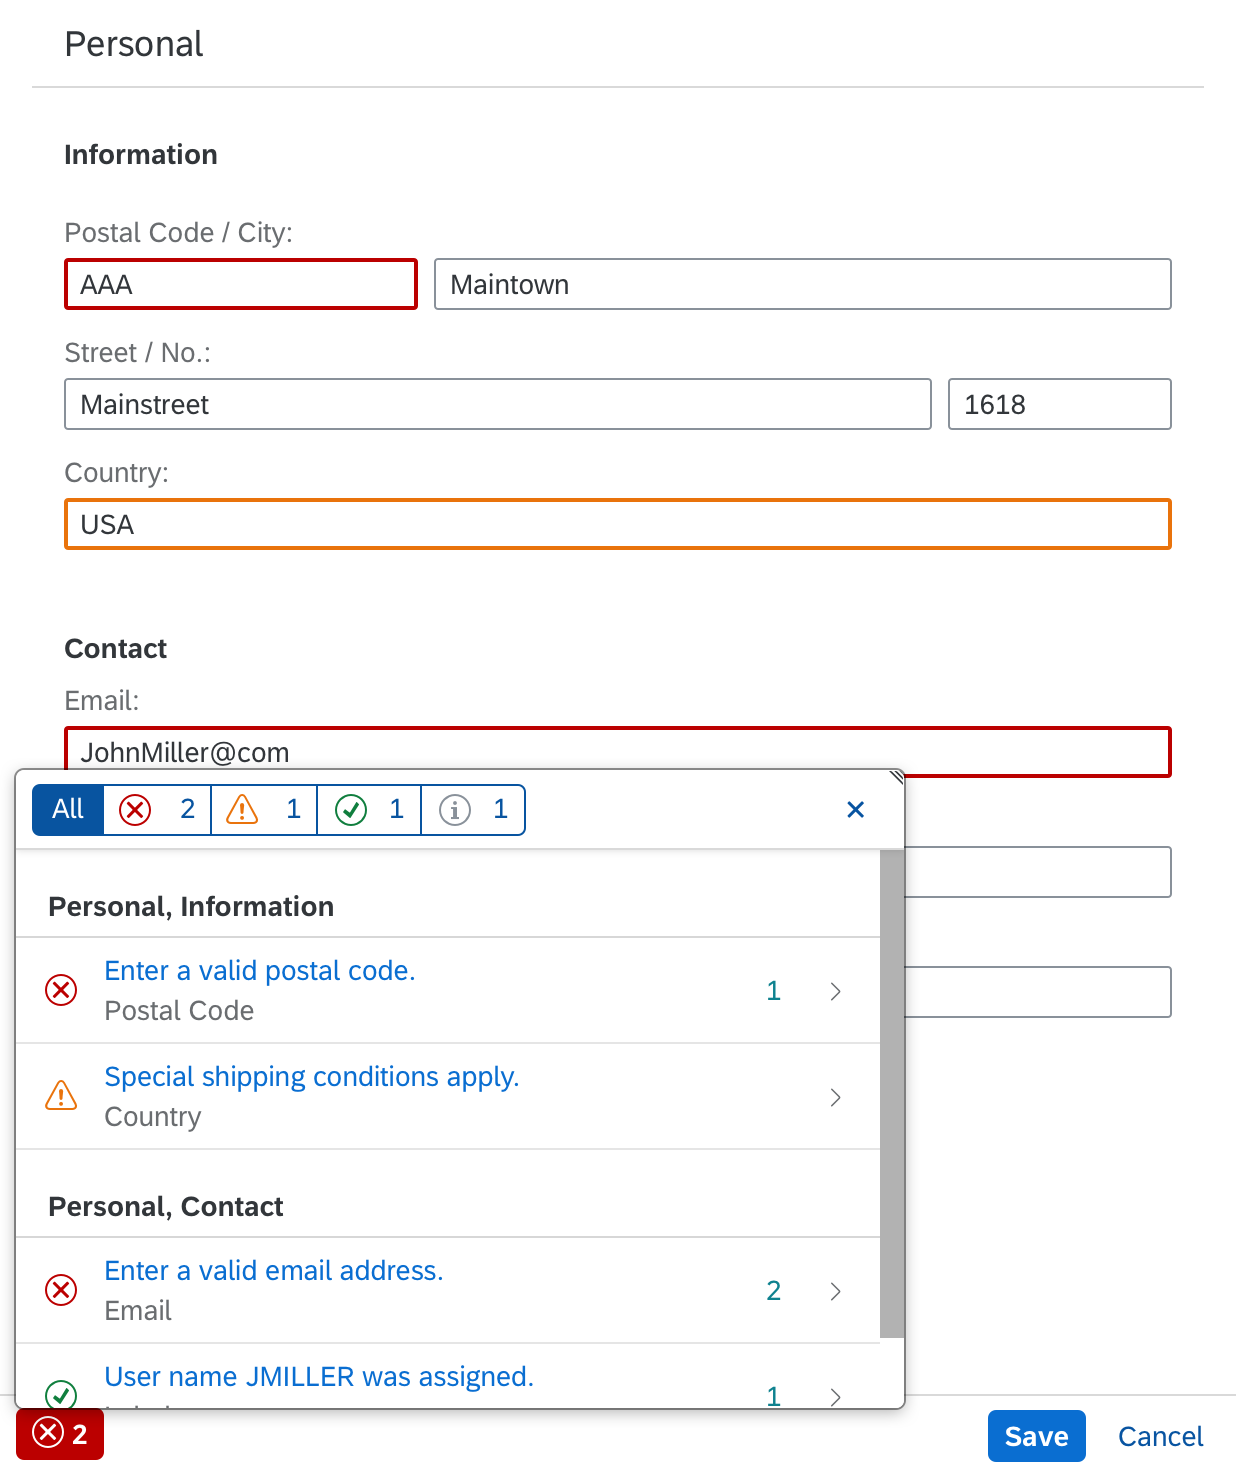
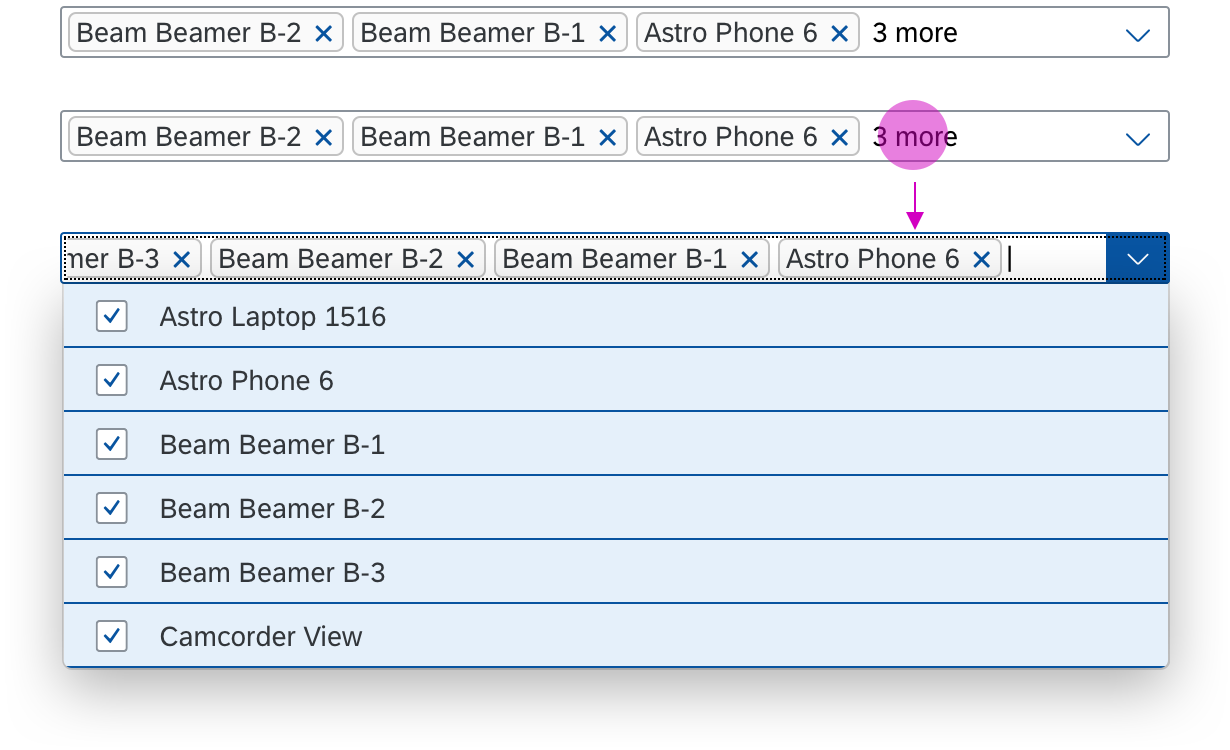
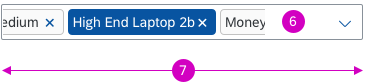
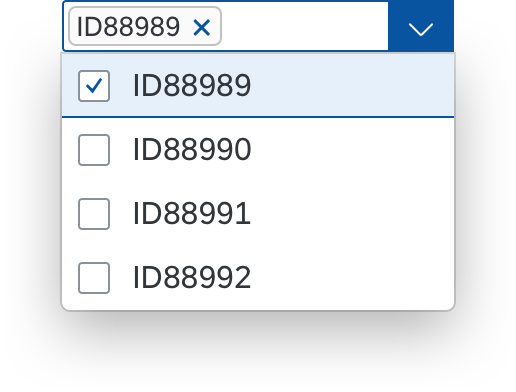
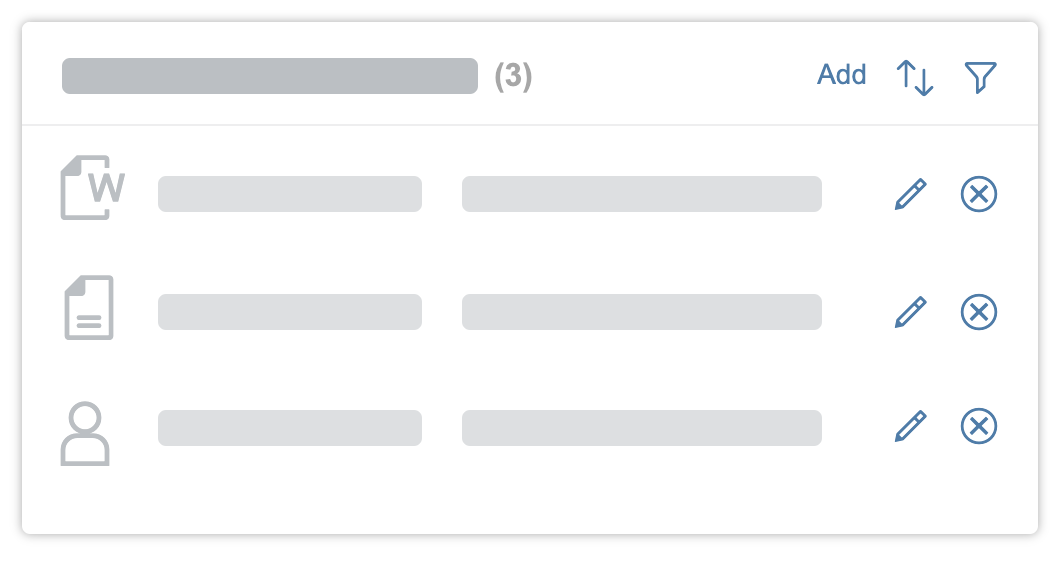
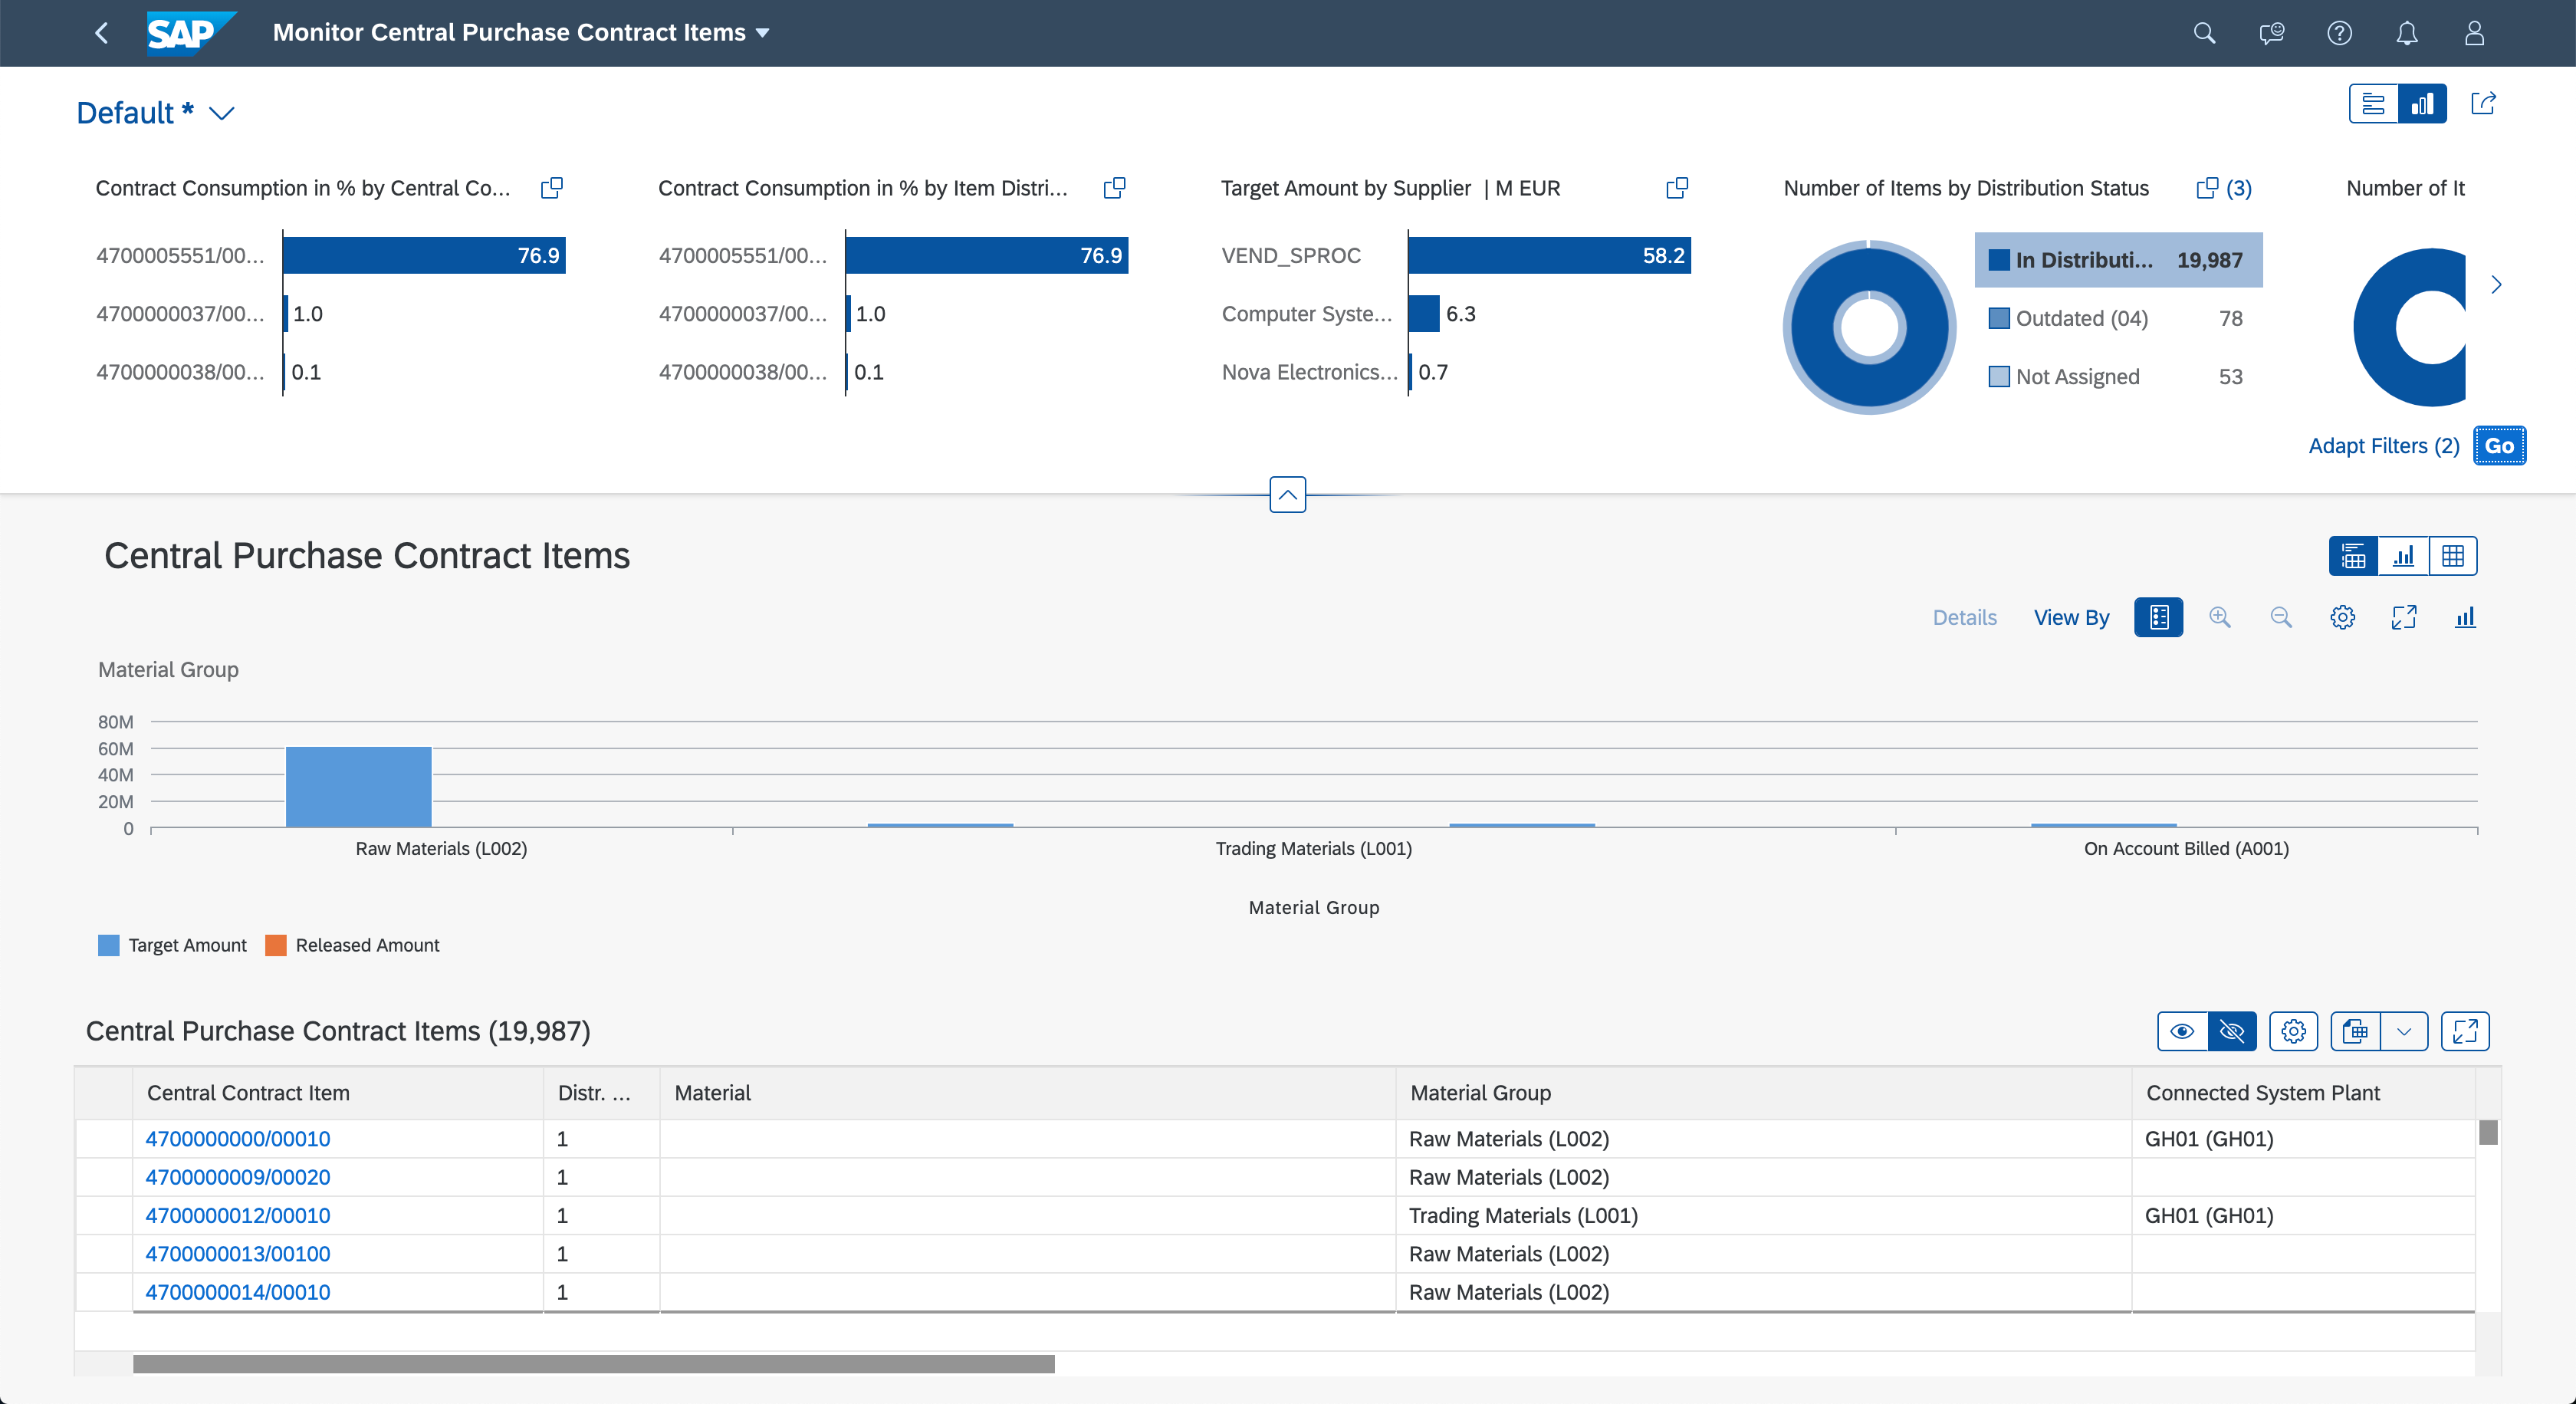
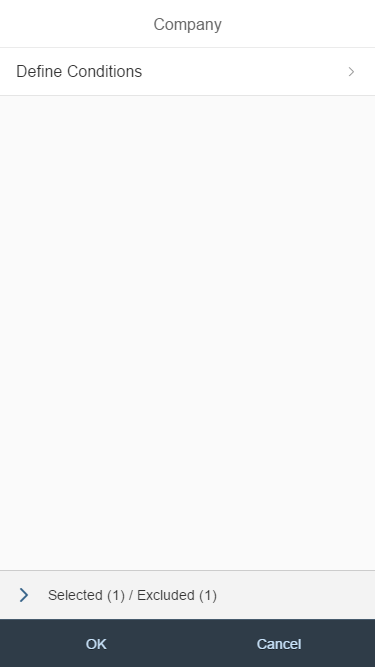
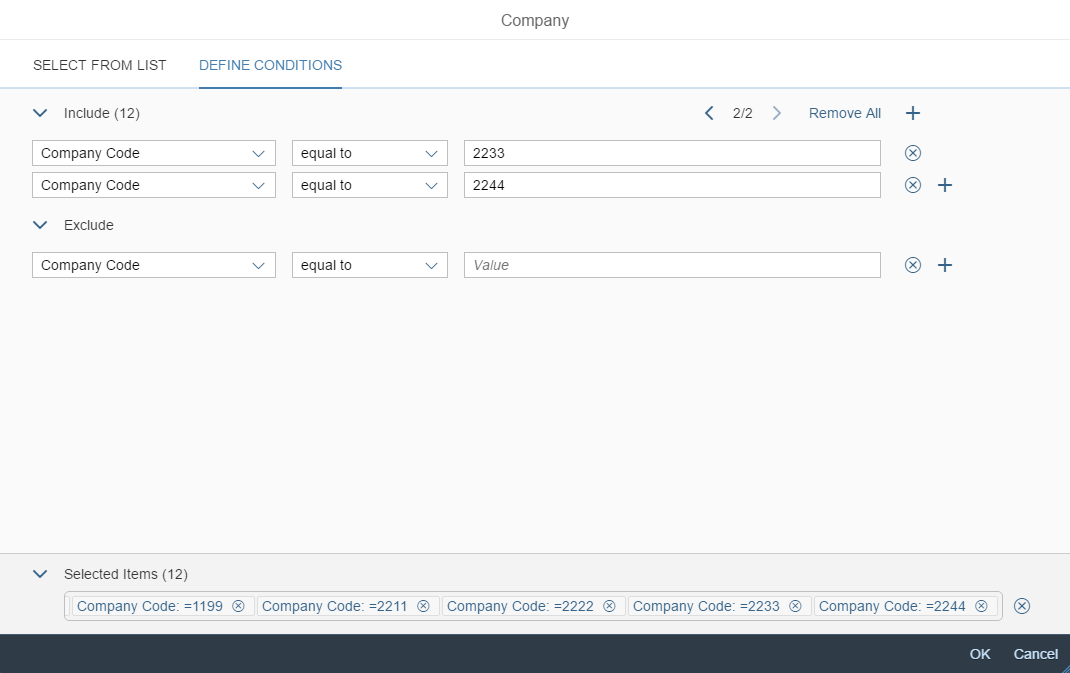
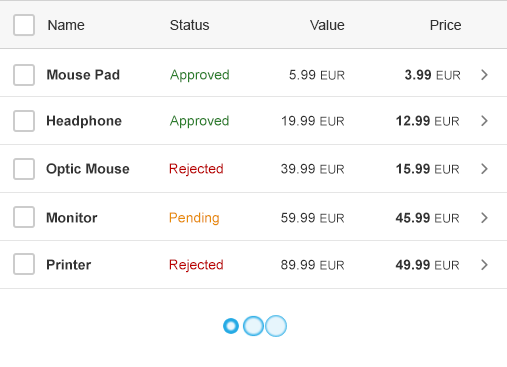
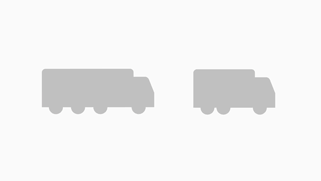
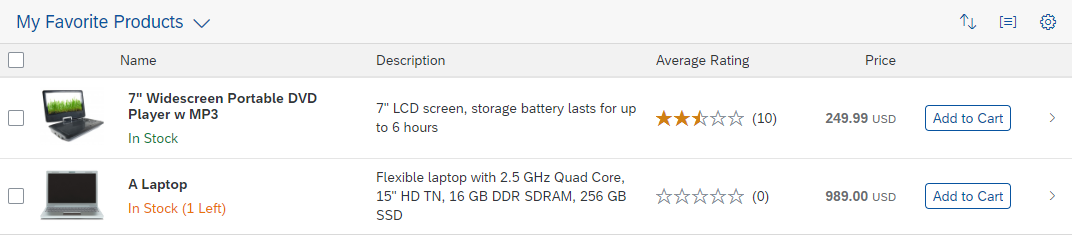
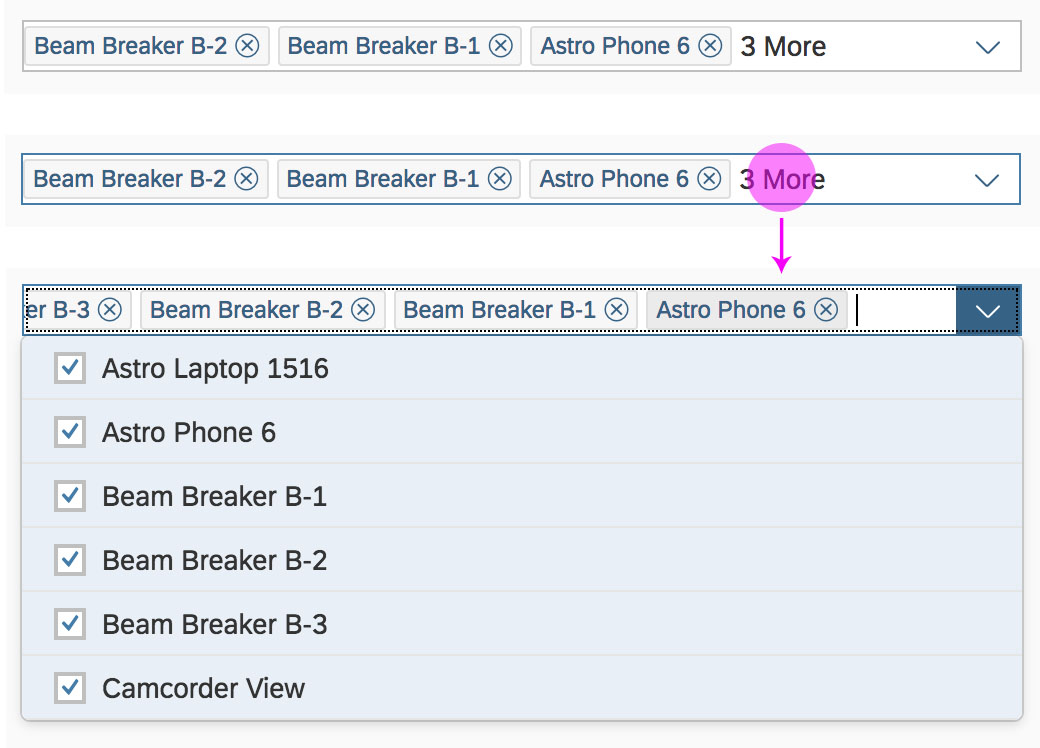
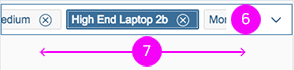
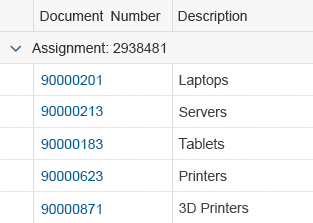
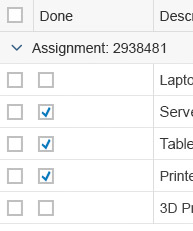
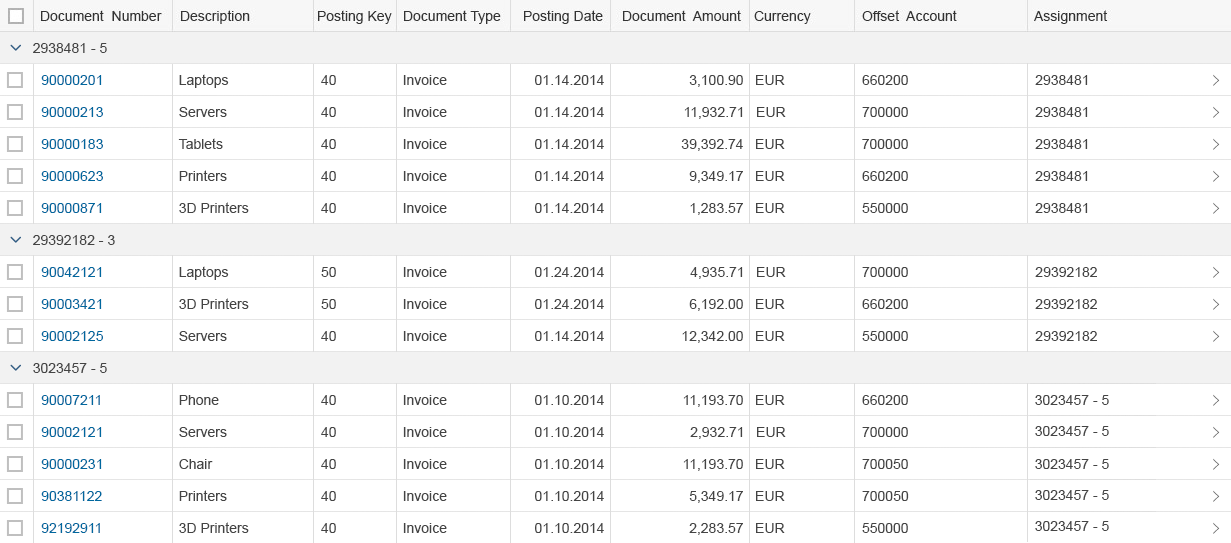
If tokens have been selected, and the input field is not in focus, the input field displays as many tokens as possible in the available space. If more tokens have been selected, an [n] More label indicates the number of hidden tokens. The tokens in the input field appear in the order in which they were selected.
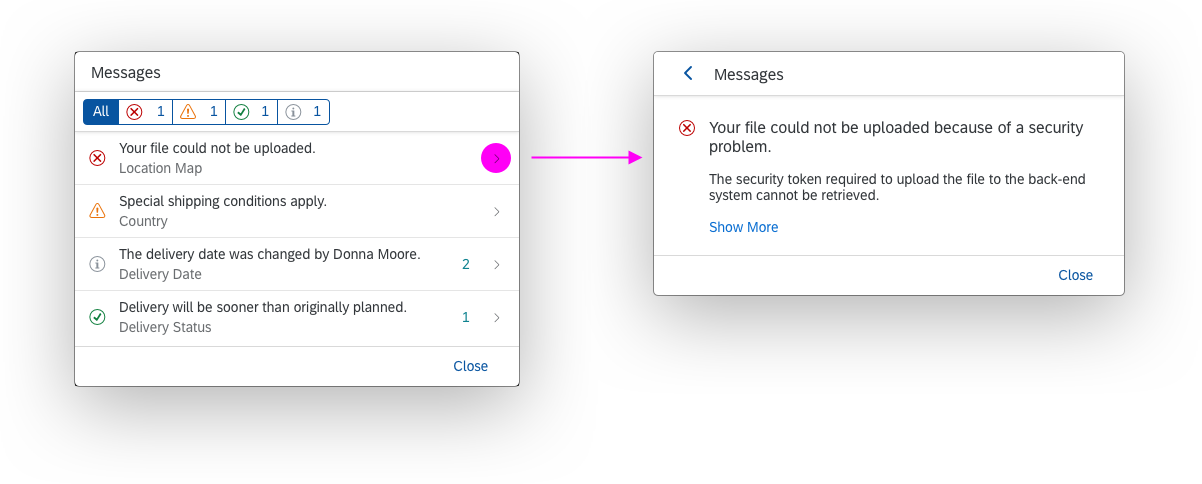
Clicking the [n] More label opens a popover below the input field, in which all selected items are shown. The user can deselect an item by clicking its delete icon.

Multi-input field - 'n More' label (desktop)
Multi-input field - 'n More' label (phone)
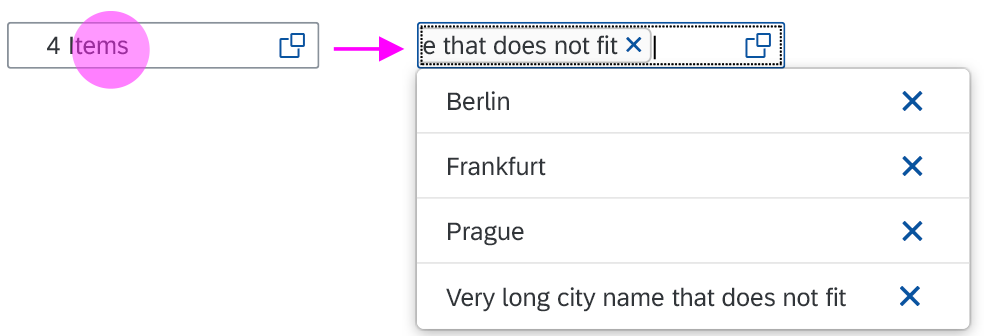
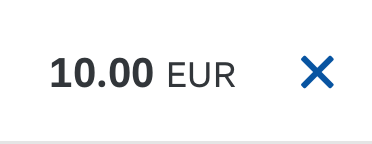
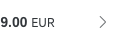
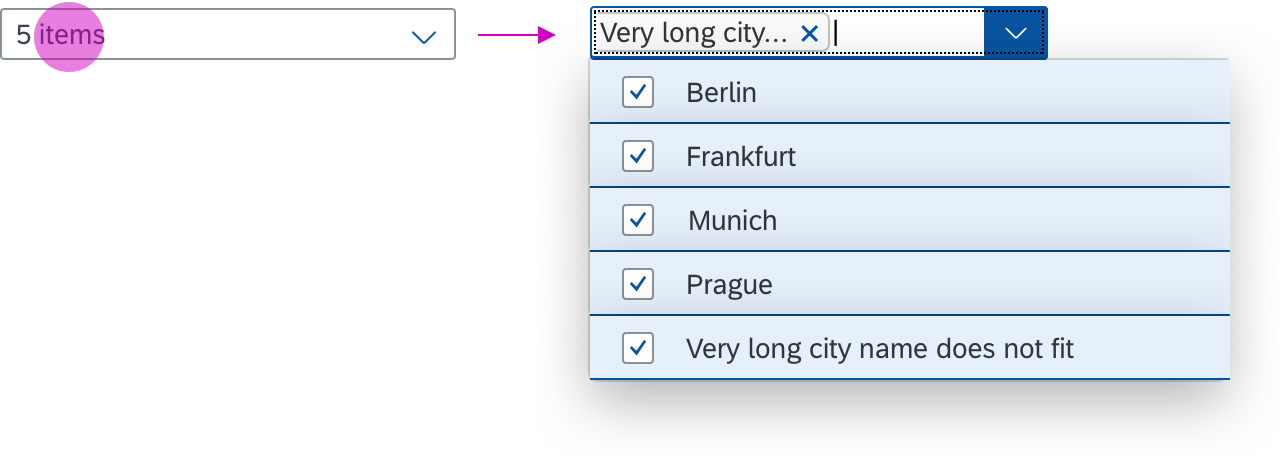
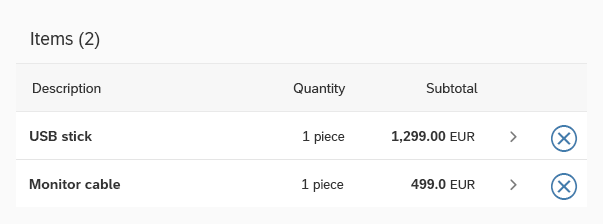
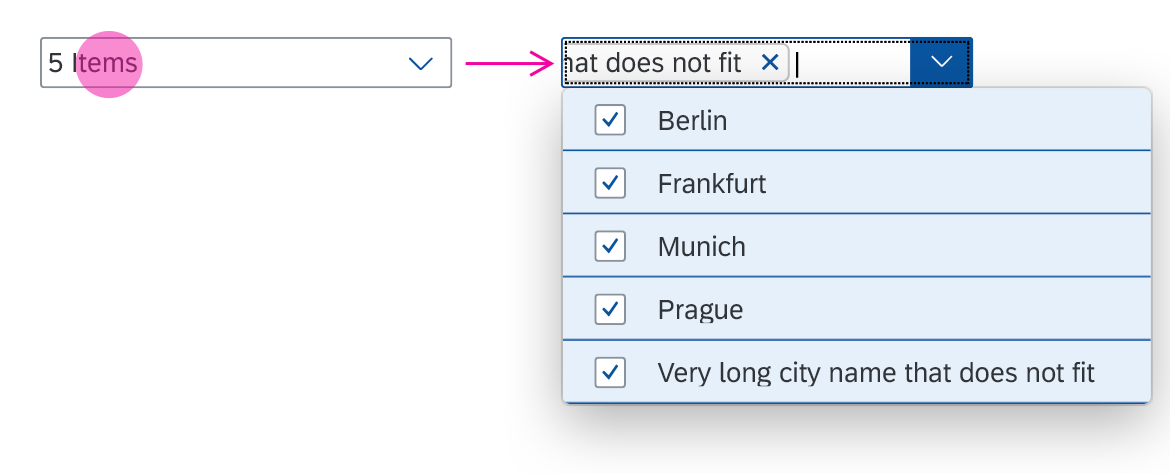
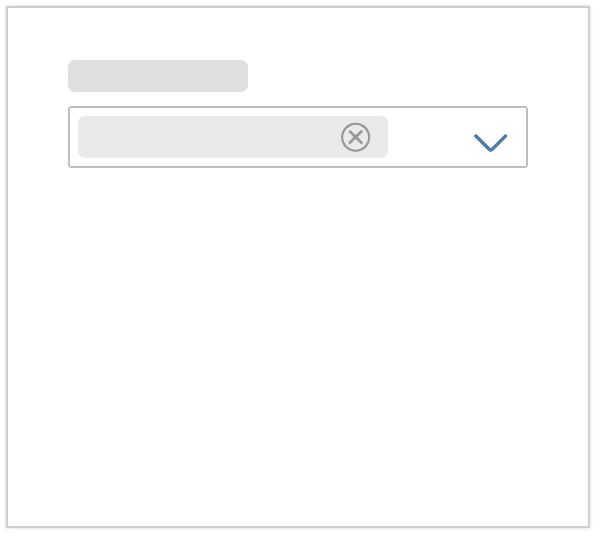
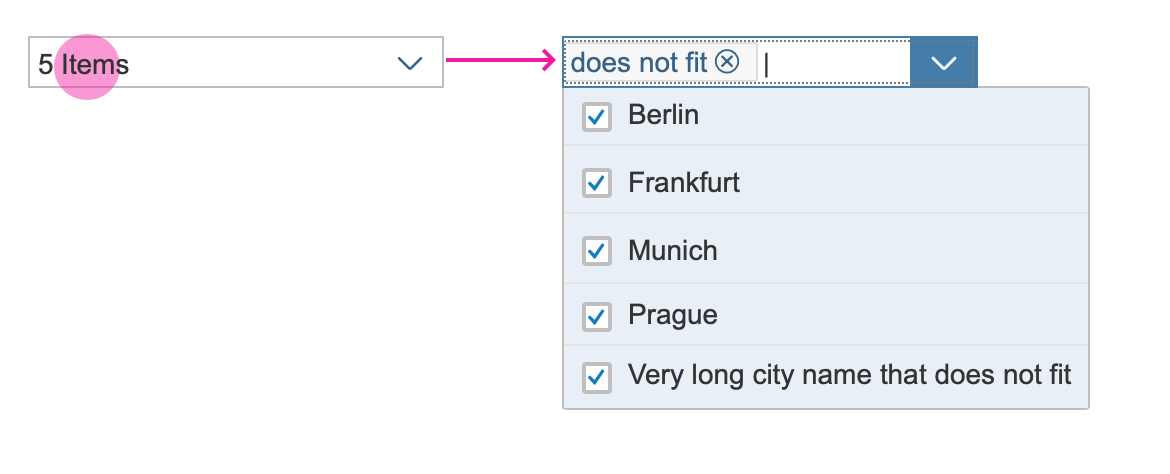
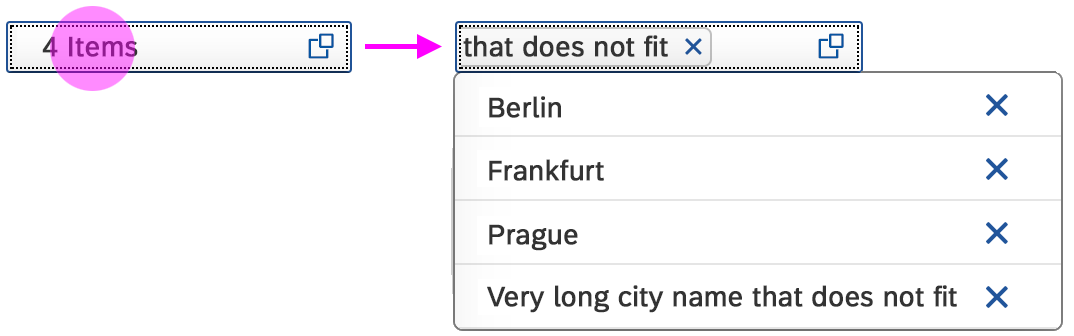
If the length of the last selected token exceeds the width of the input field, a label [n] Item/s is shown when the field is not in focus.
Clicking the [n] Item/s label opens a popover below the input field, in which all selected items are shown. The user can deselect an item by clicking its delete icon.
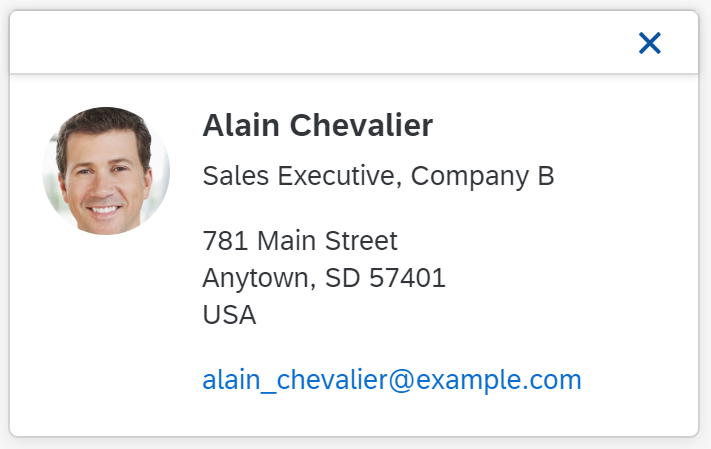
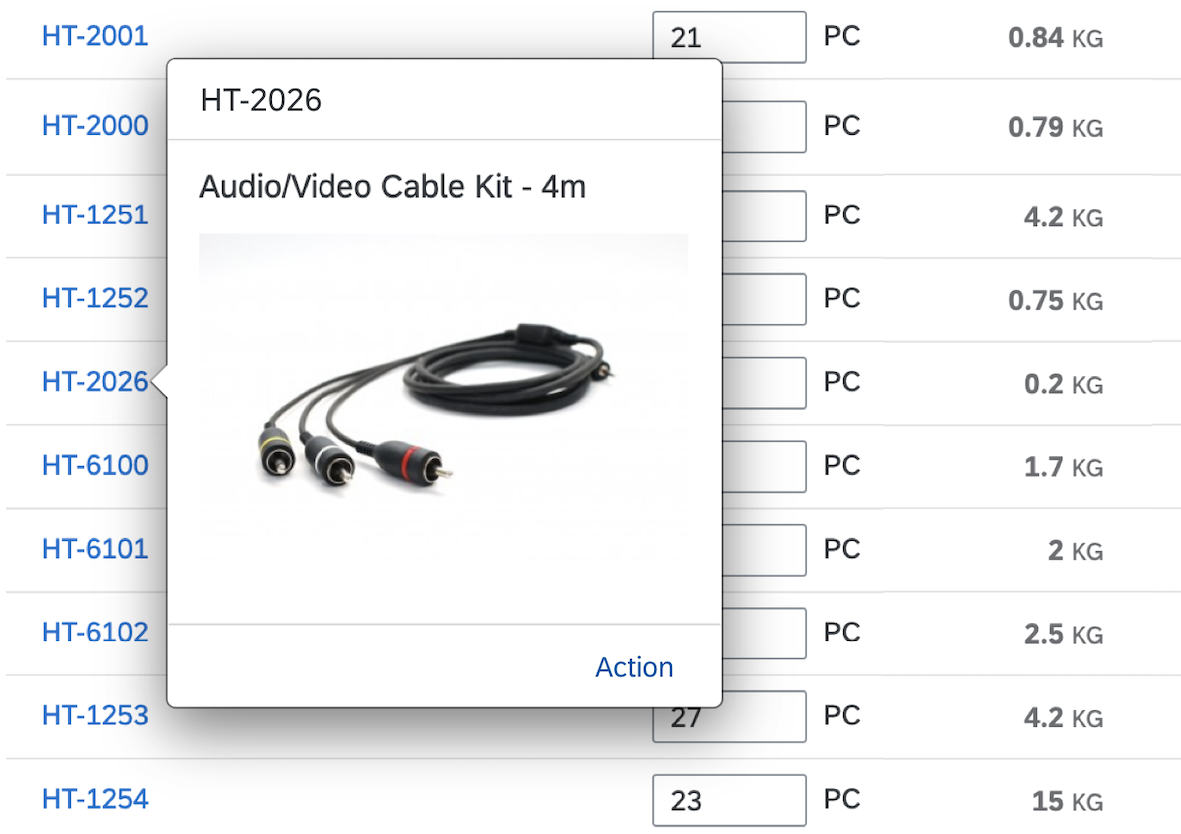
If there is only one token in the input field and its length exceeds the width of the input field, the text is truncated. Clicking the token opens a popover below the input field, in which the full text of the token is shown.

Multi-input field - '1 Item' case (desktop)
Multi-input field - 'n Items' label (desktop)
In the input field itself, the user can review tokens by using the left or right cursor keys on a desktop, or by swiping to the left or right on a smartphone or tablet.

Left/right keyboard cursor
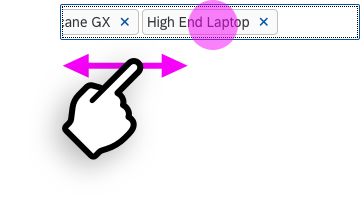
Swiping left and right on a touch device
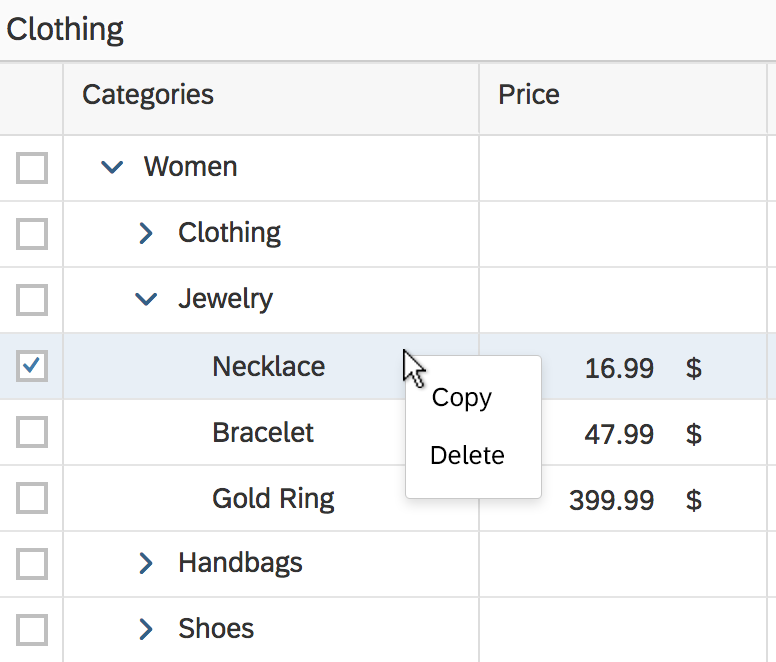
Deleting Tokens
The user can delete tokens by pressing the Backspace or Del button (when selected) on a desktop’s keyboard, or by tapping the Delete icon on a mobile device.

Deleting tokens
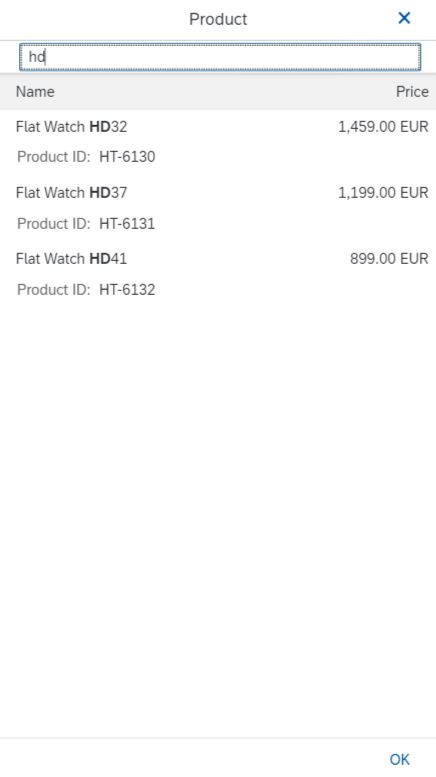
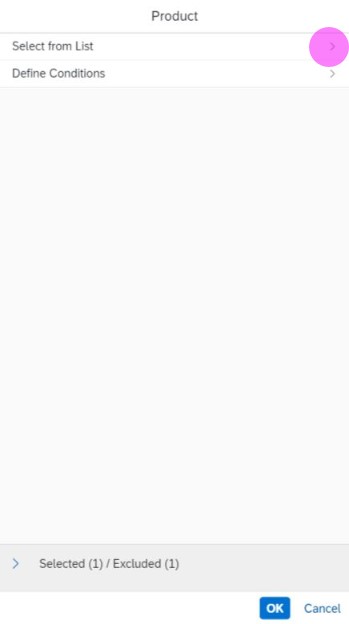
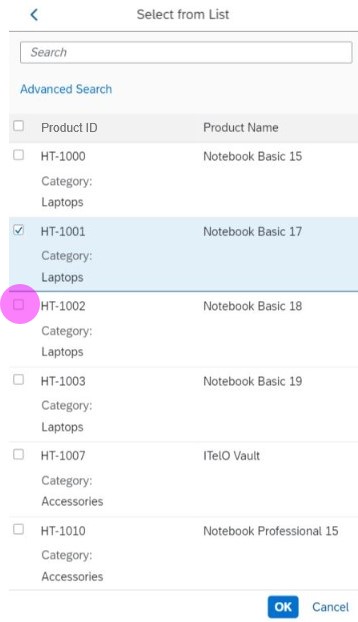
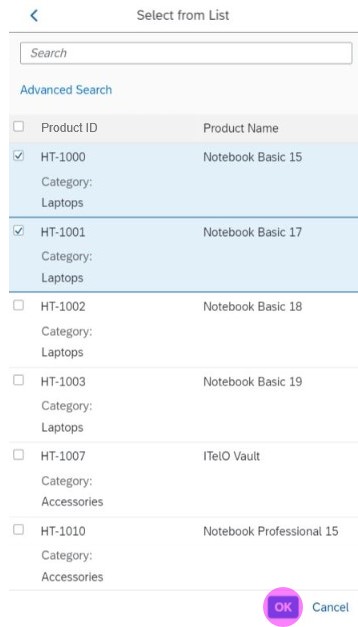
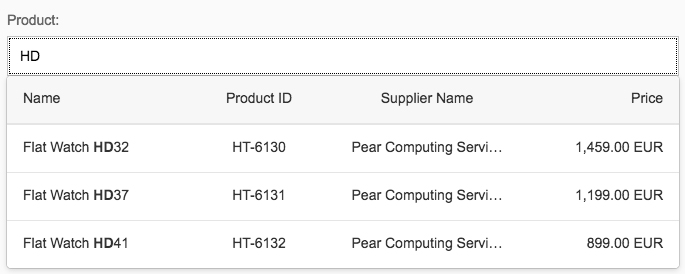
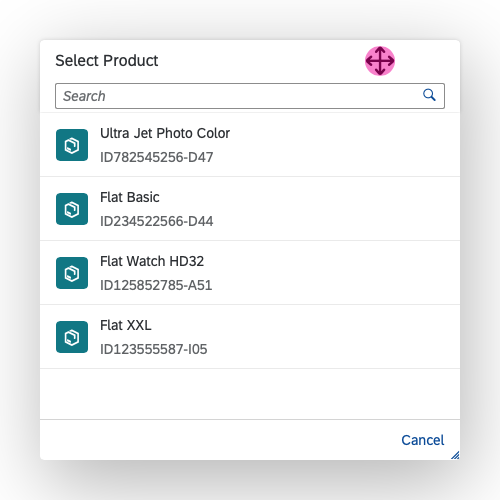
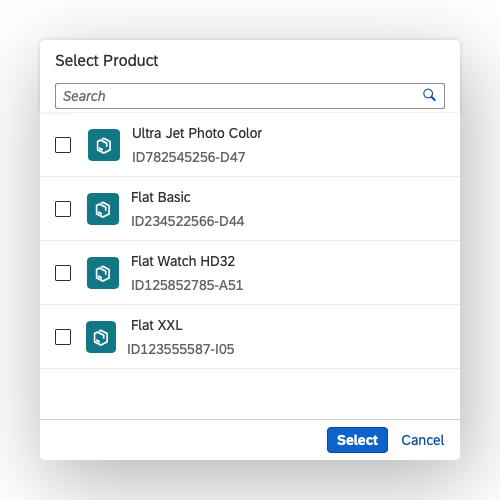
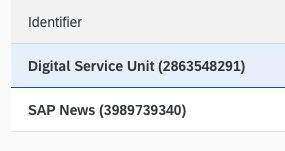
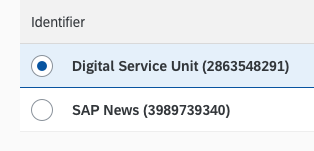
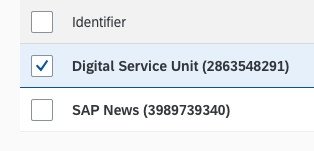
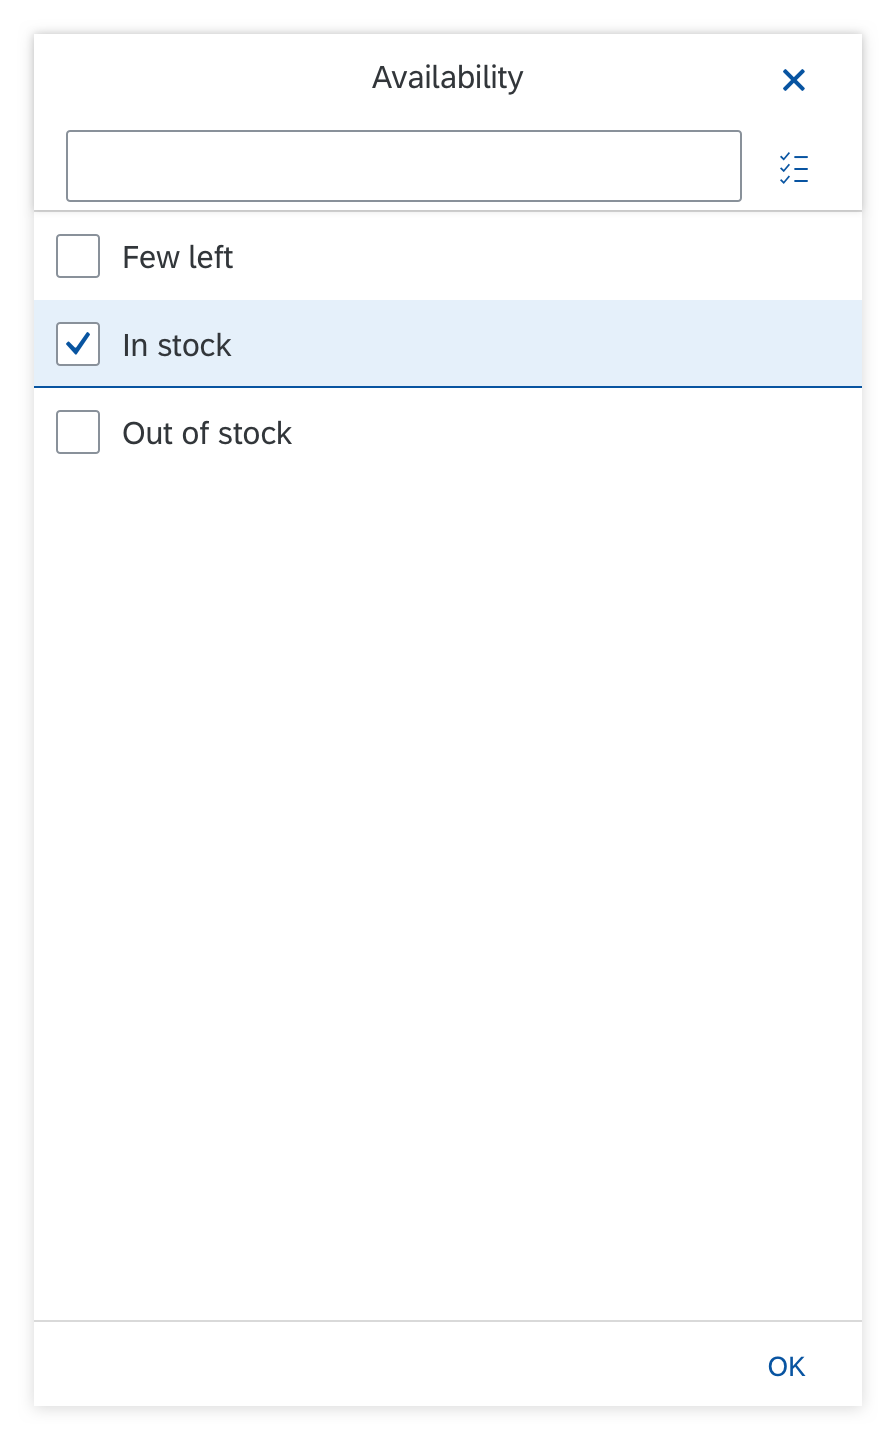
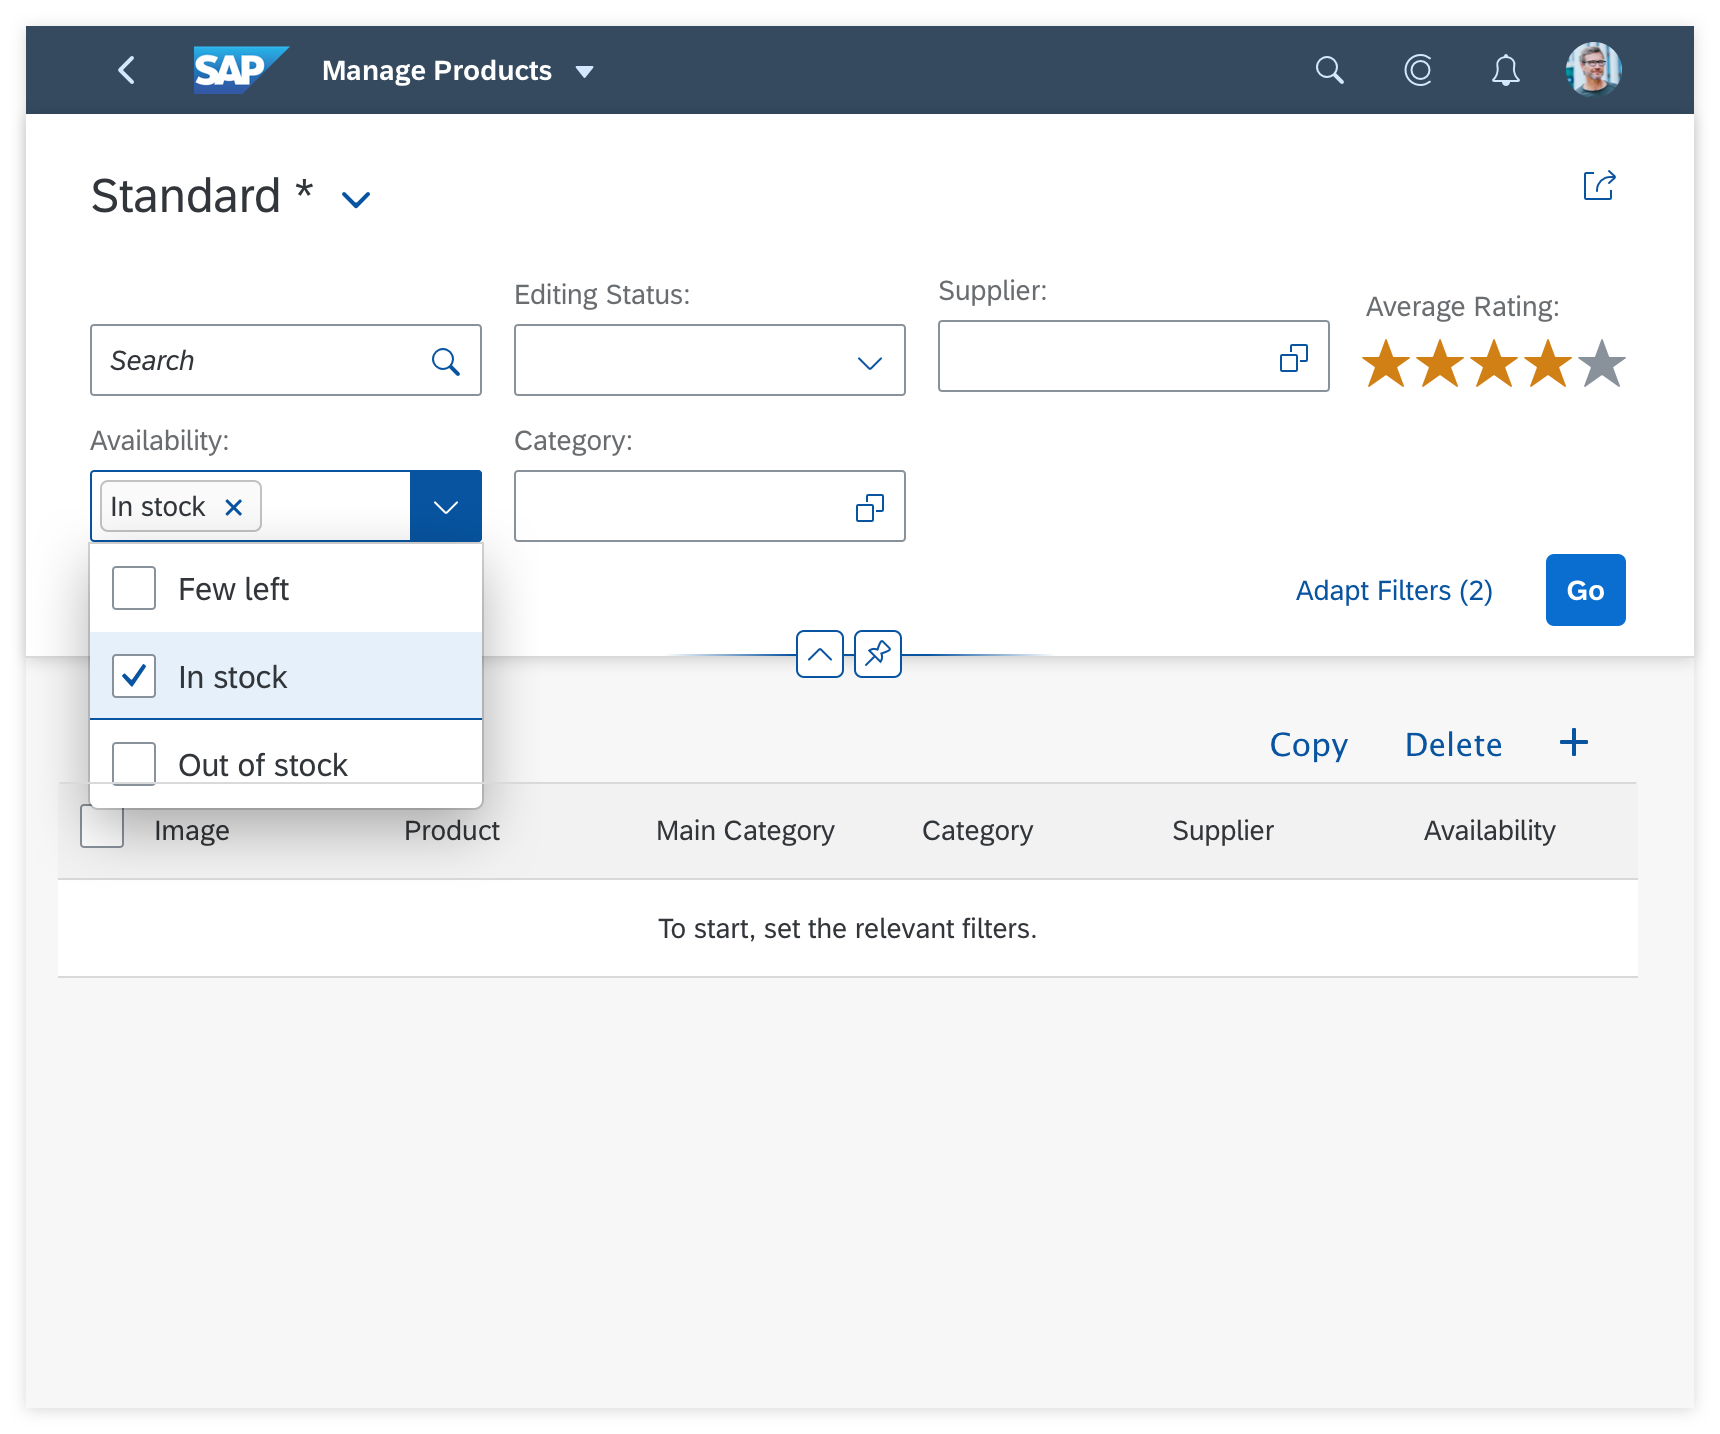
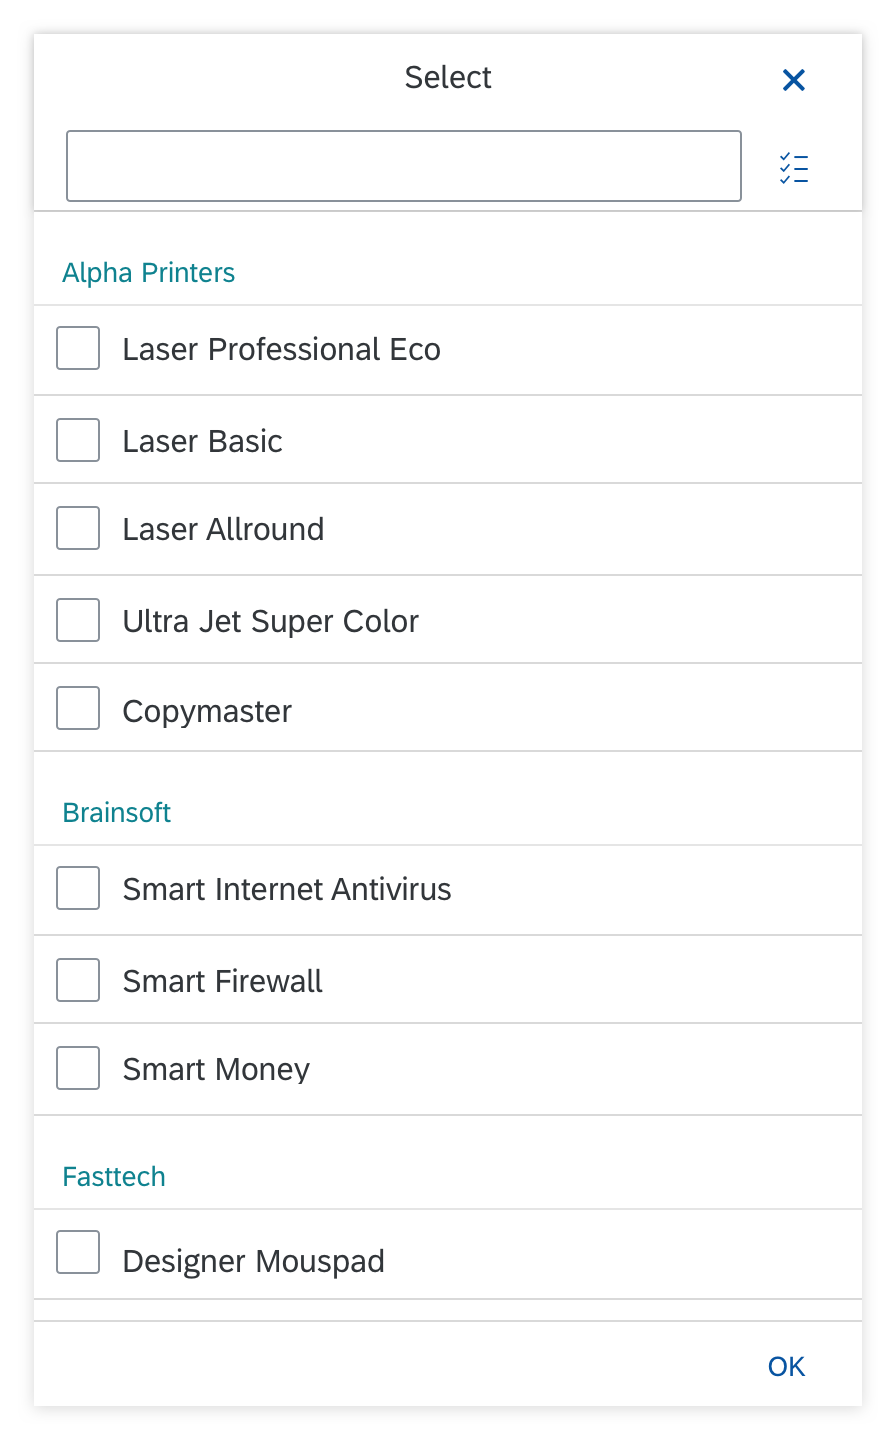
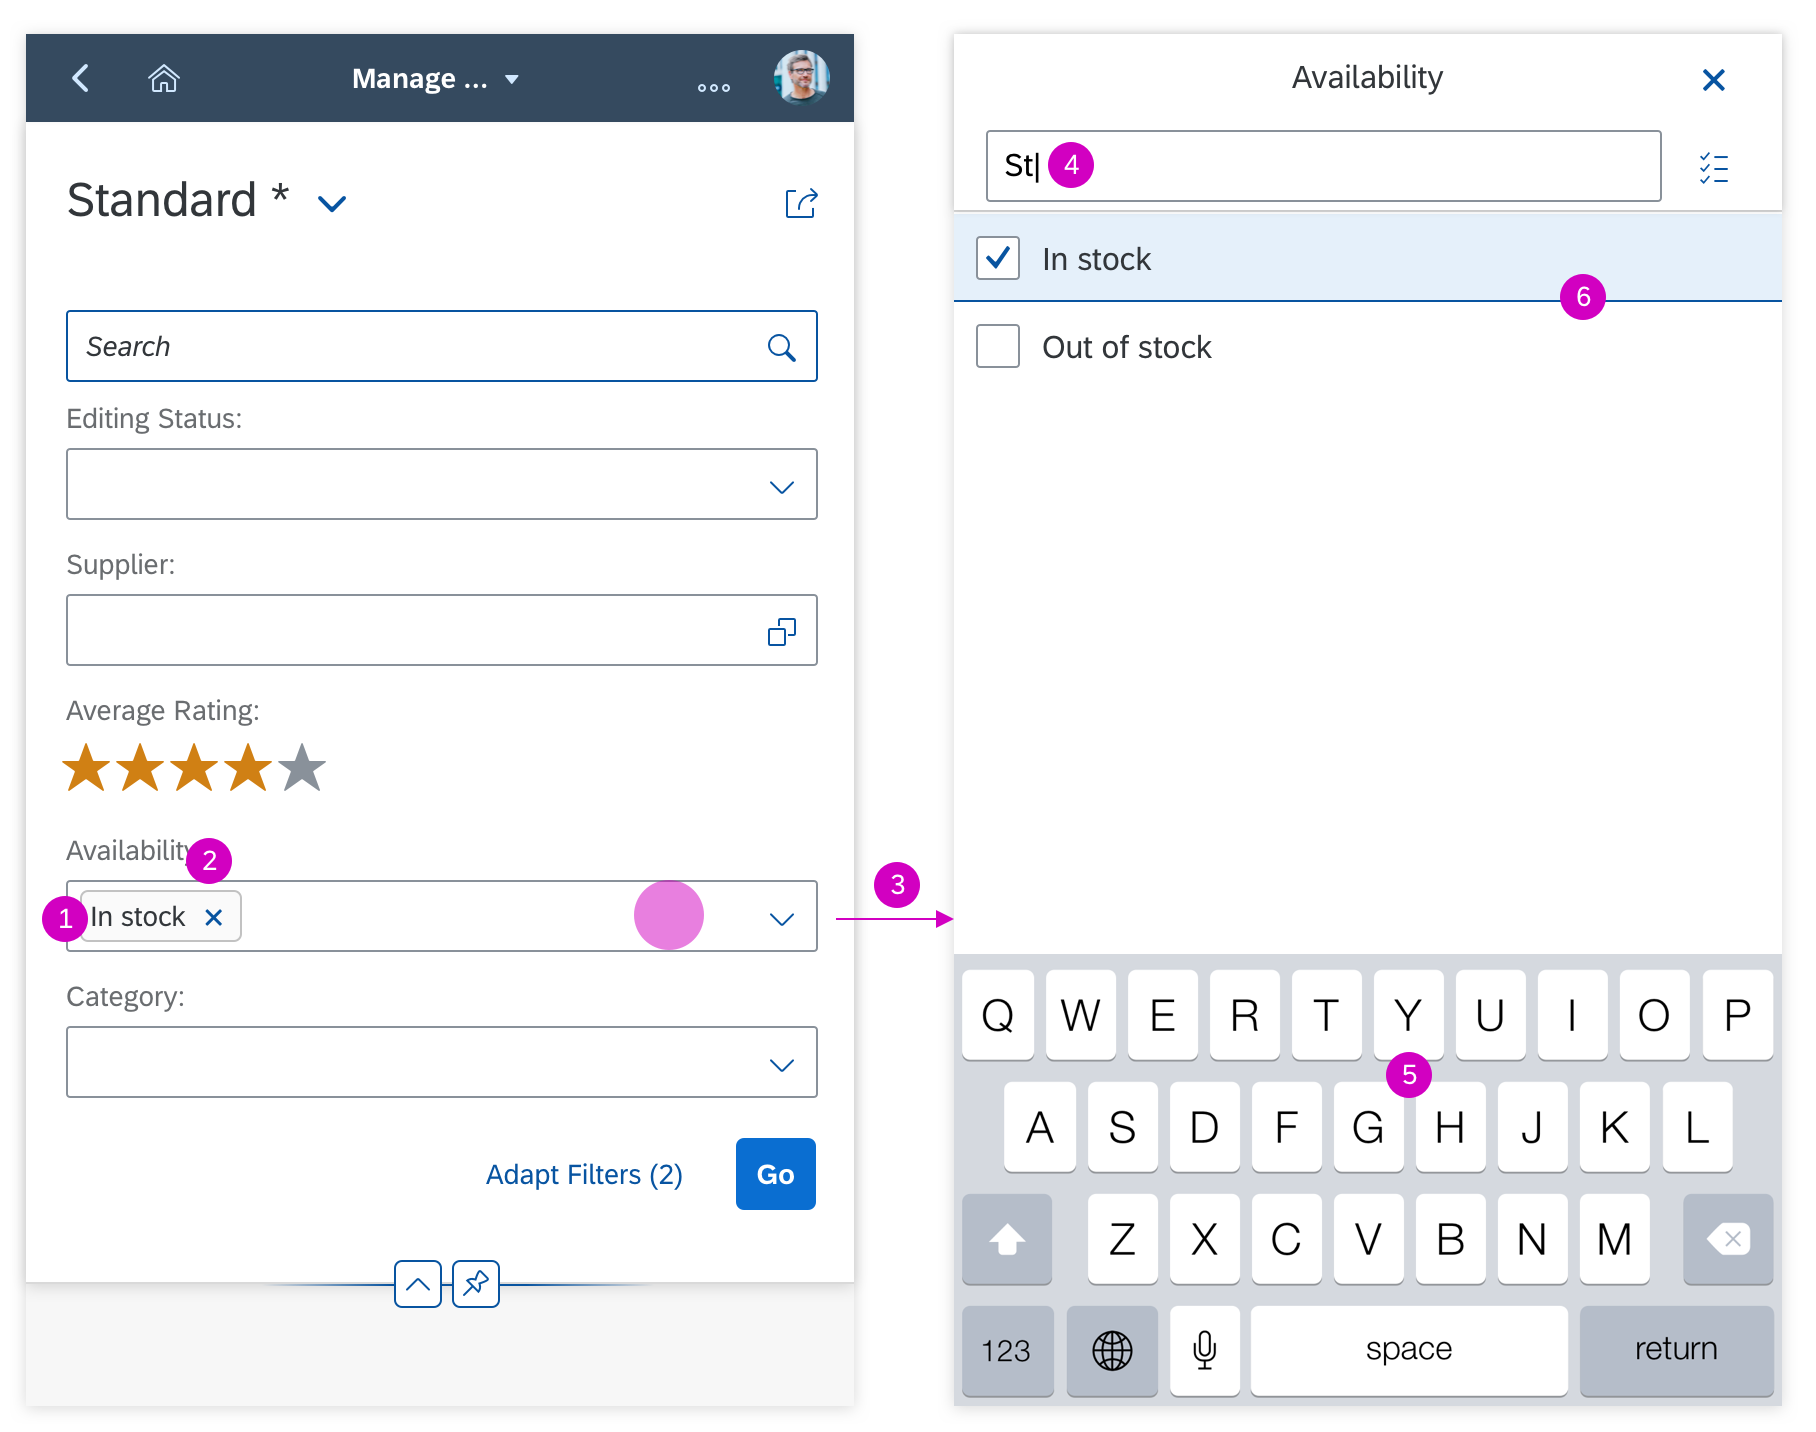
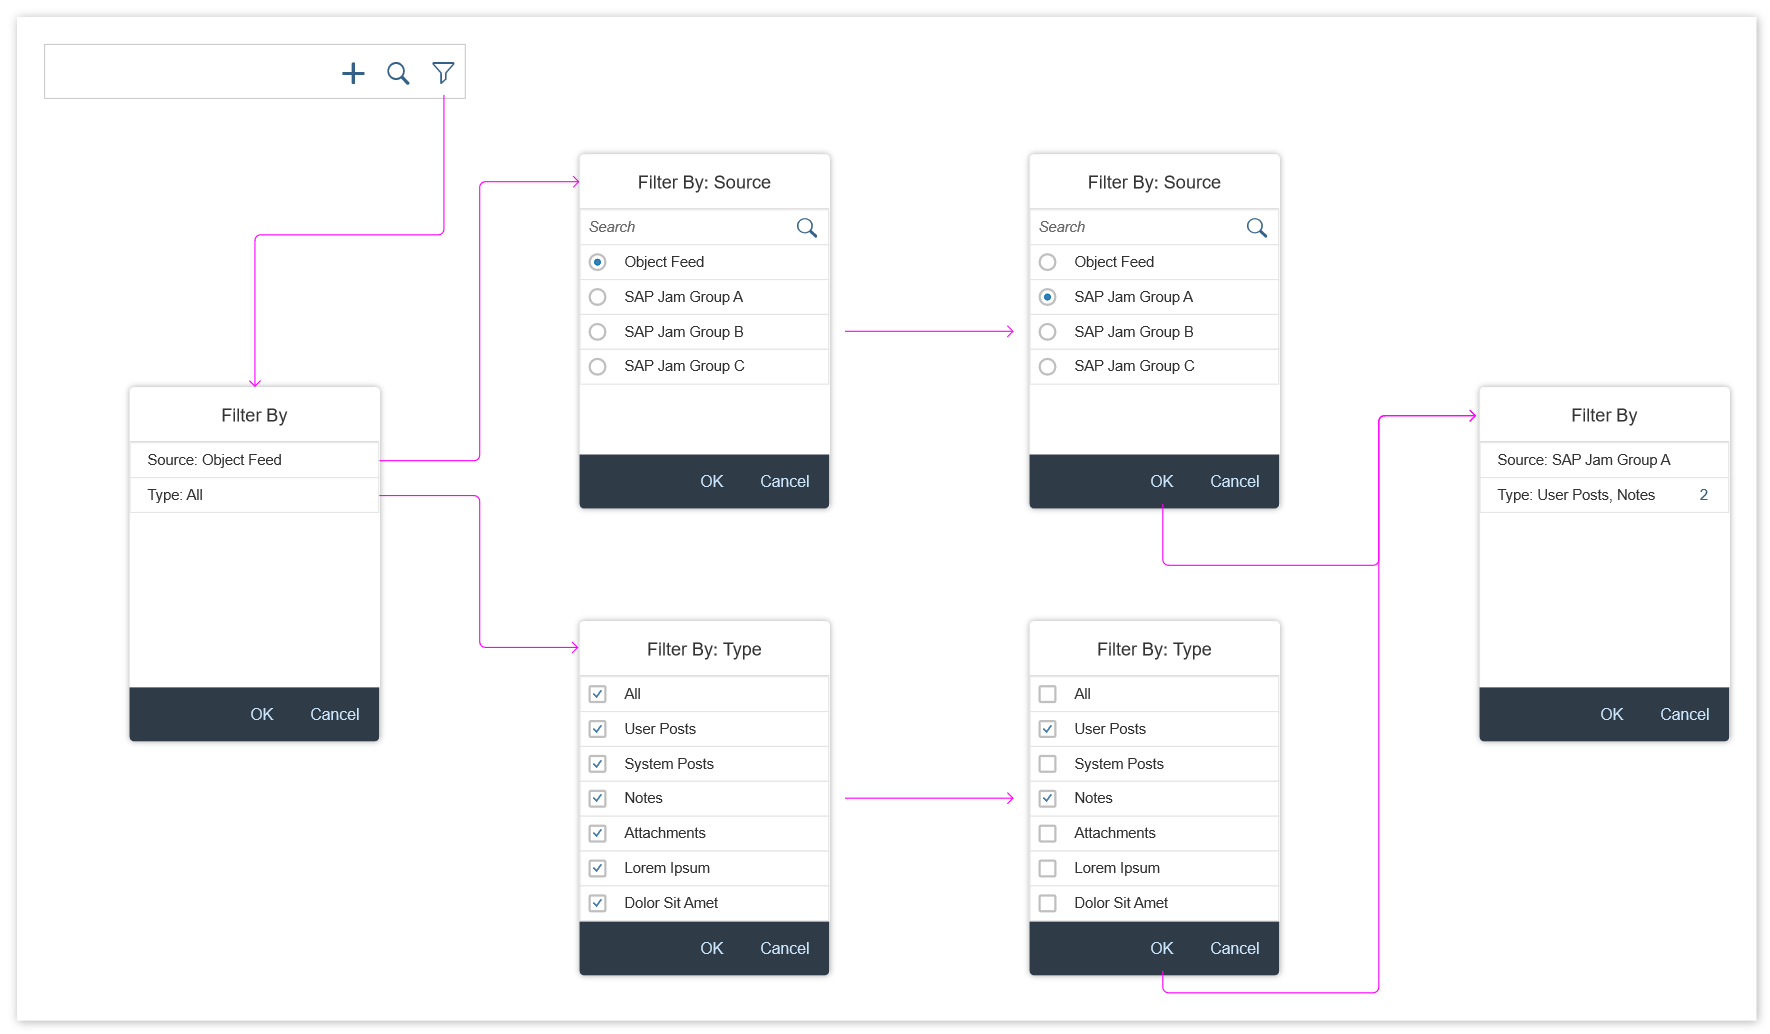
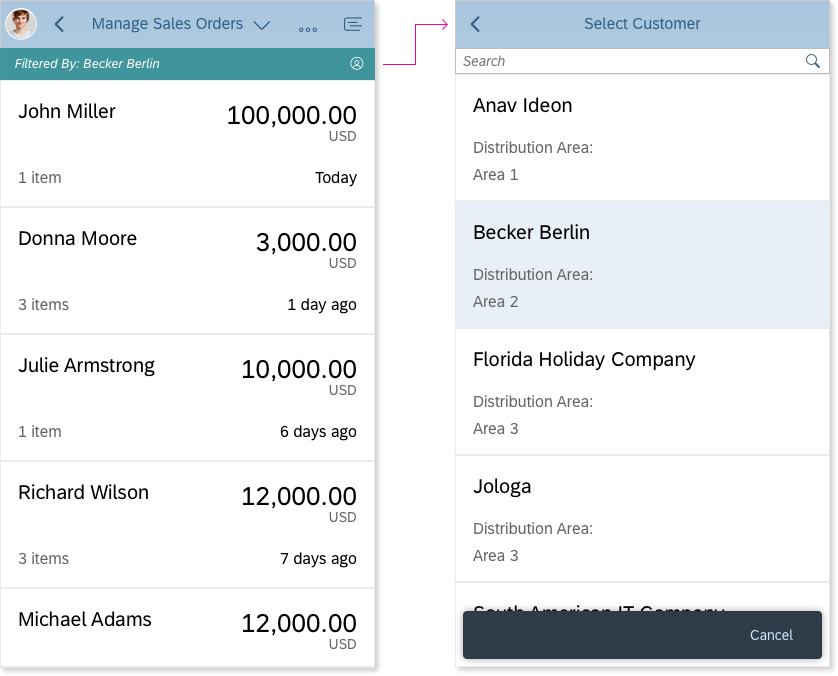
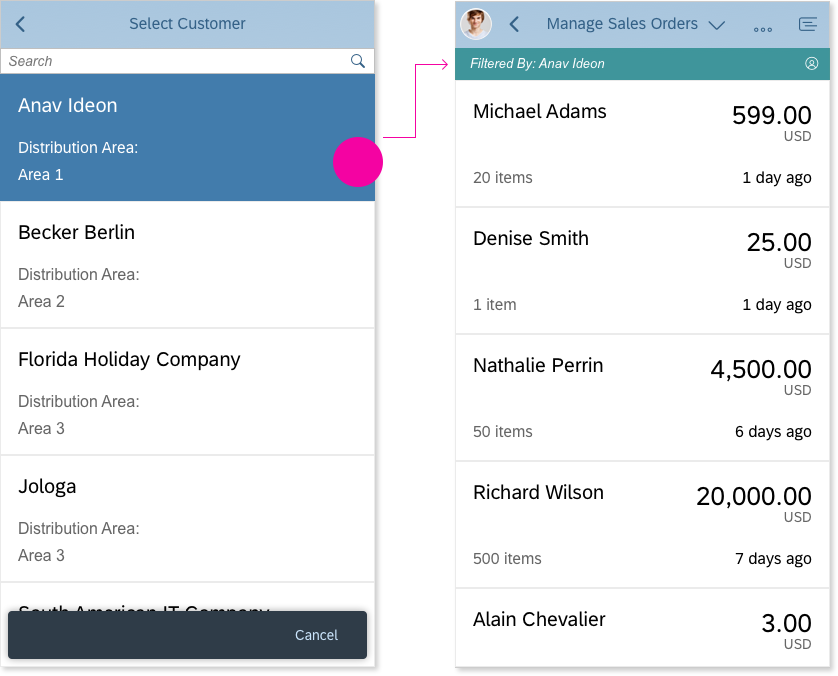
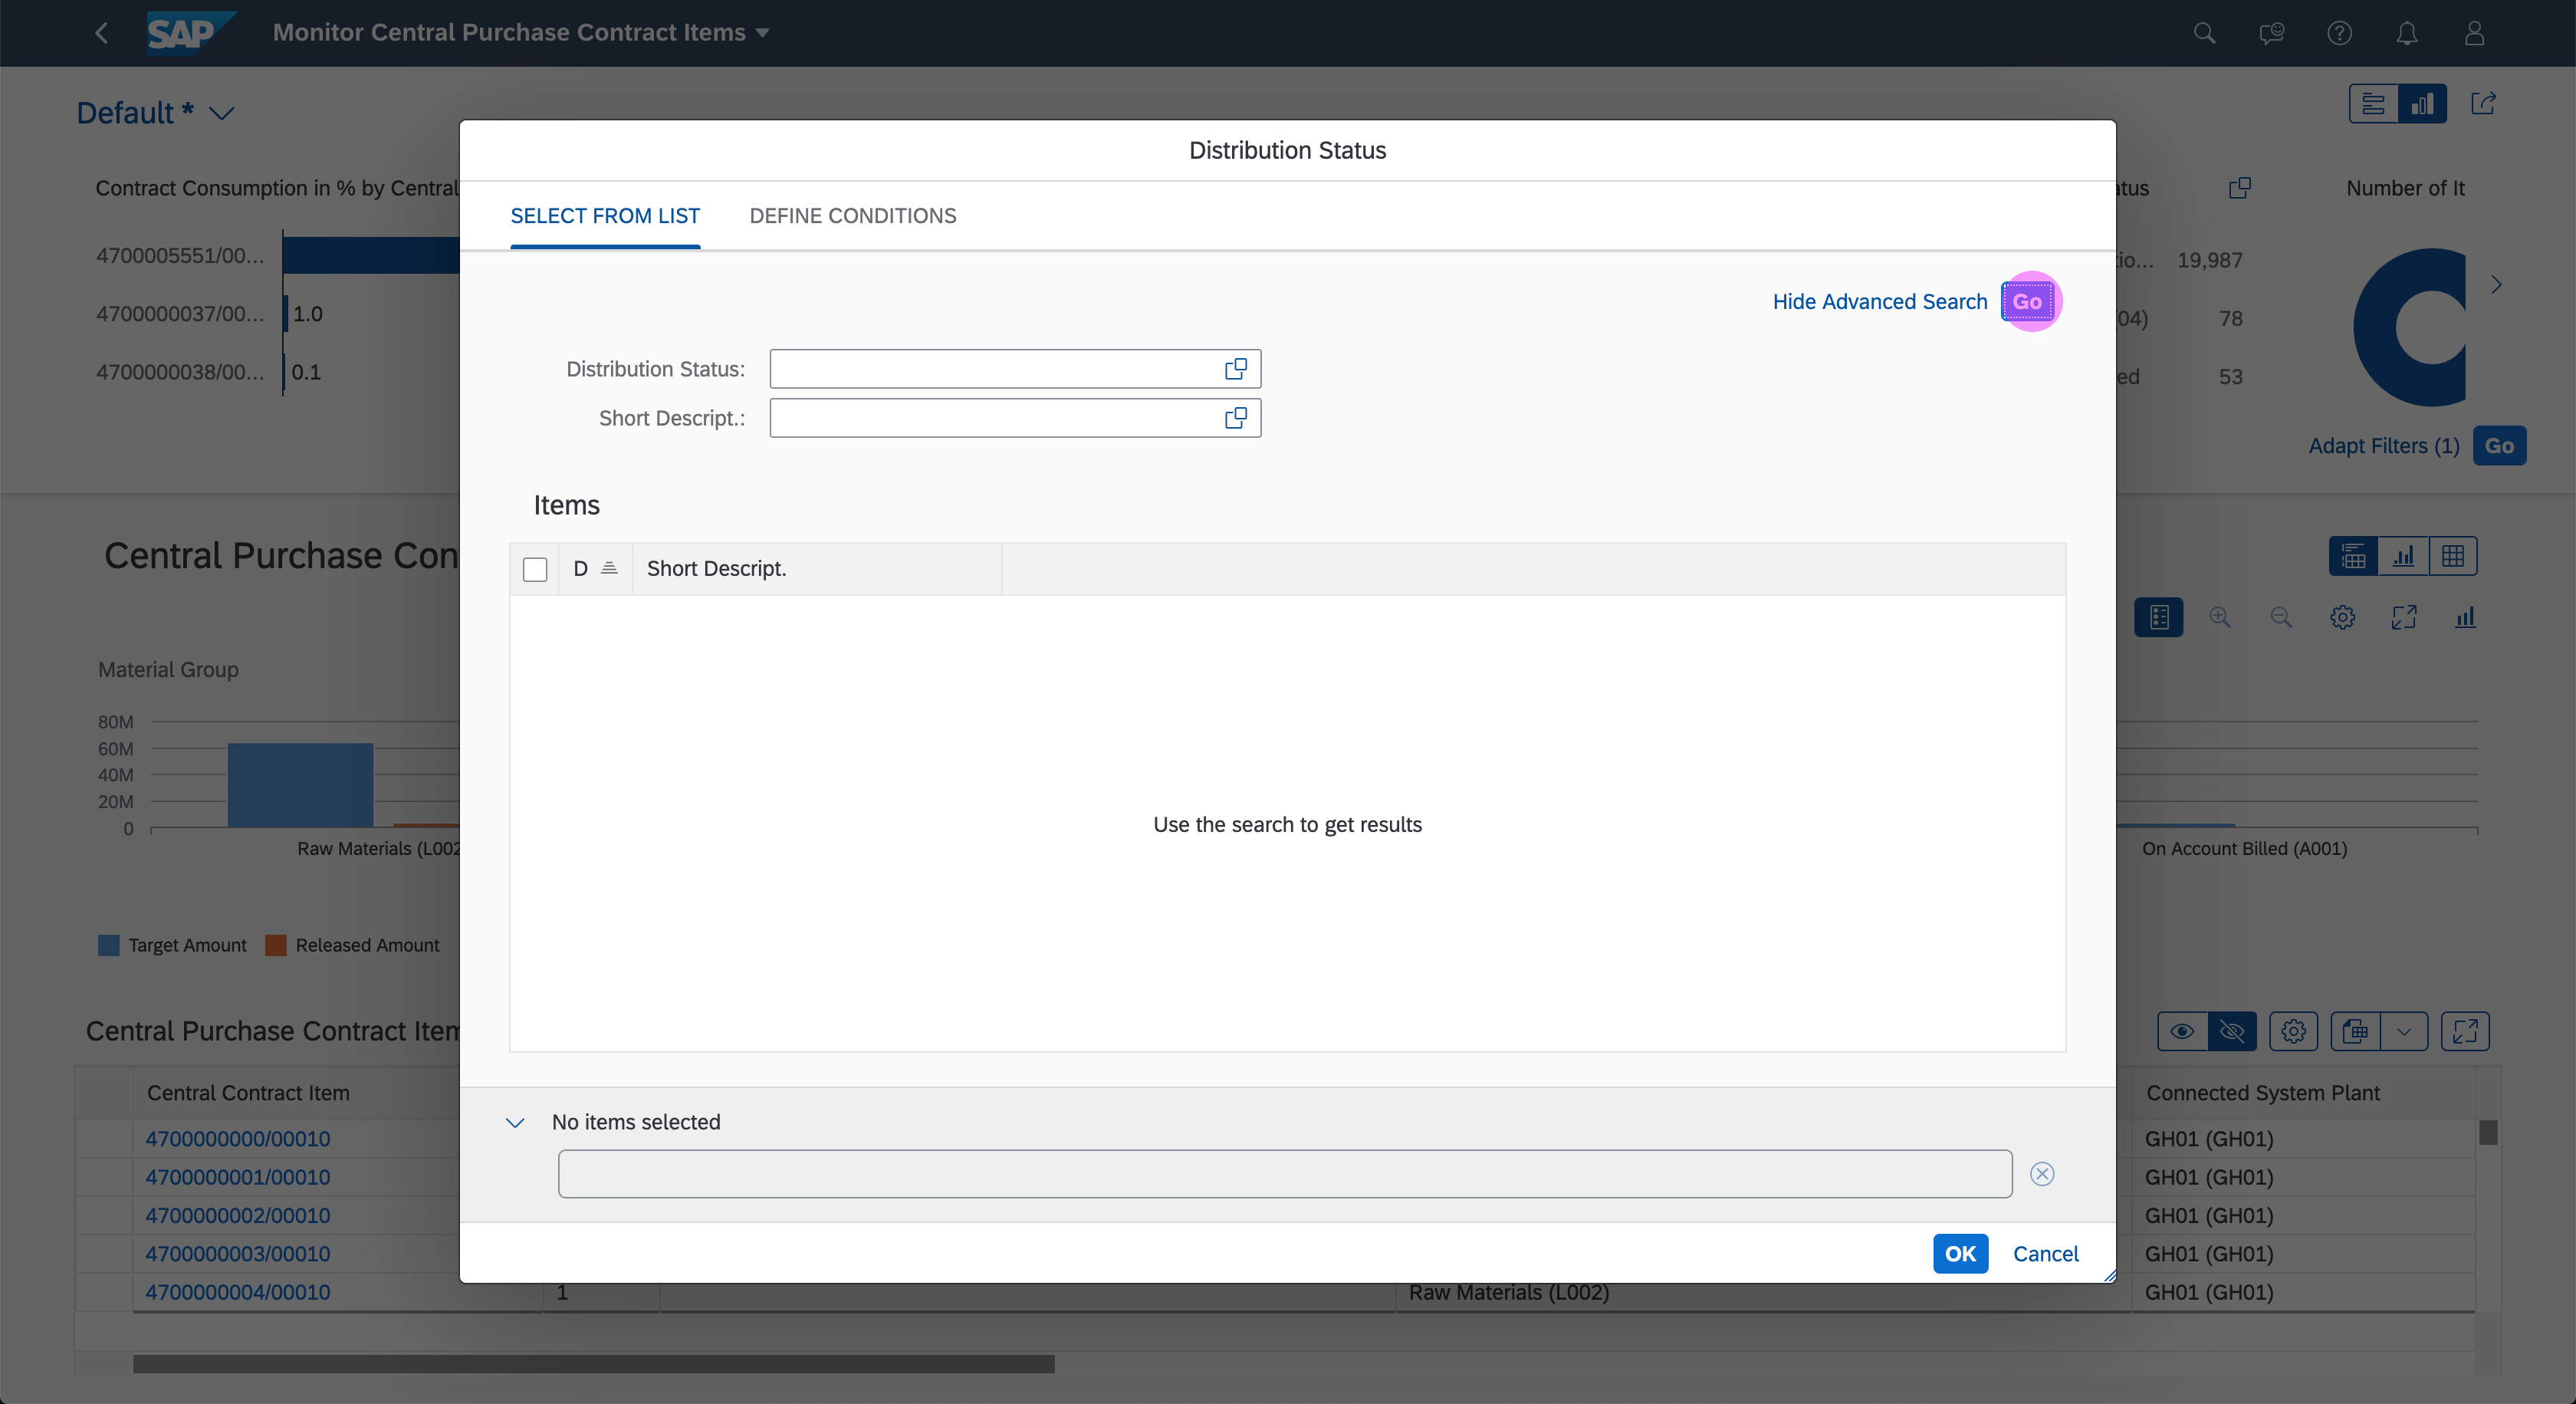
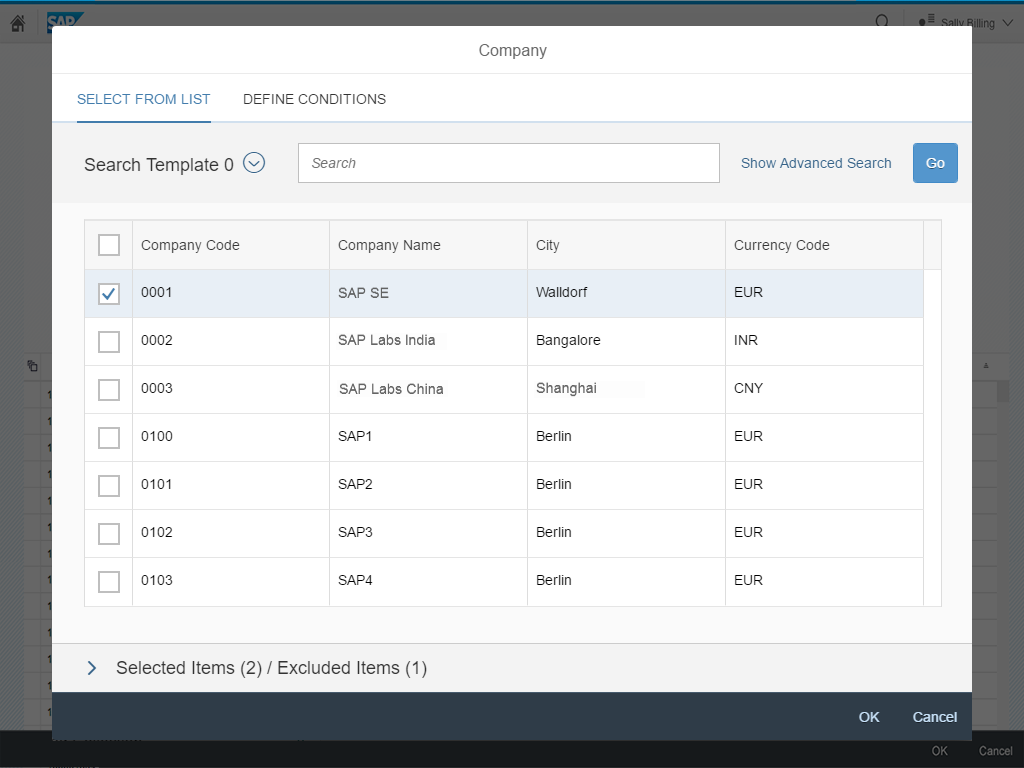
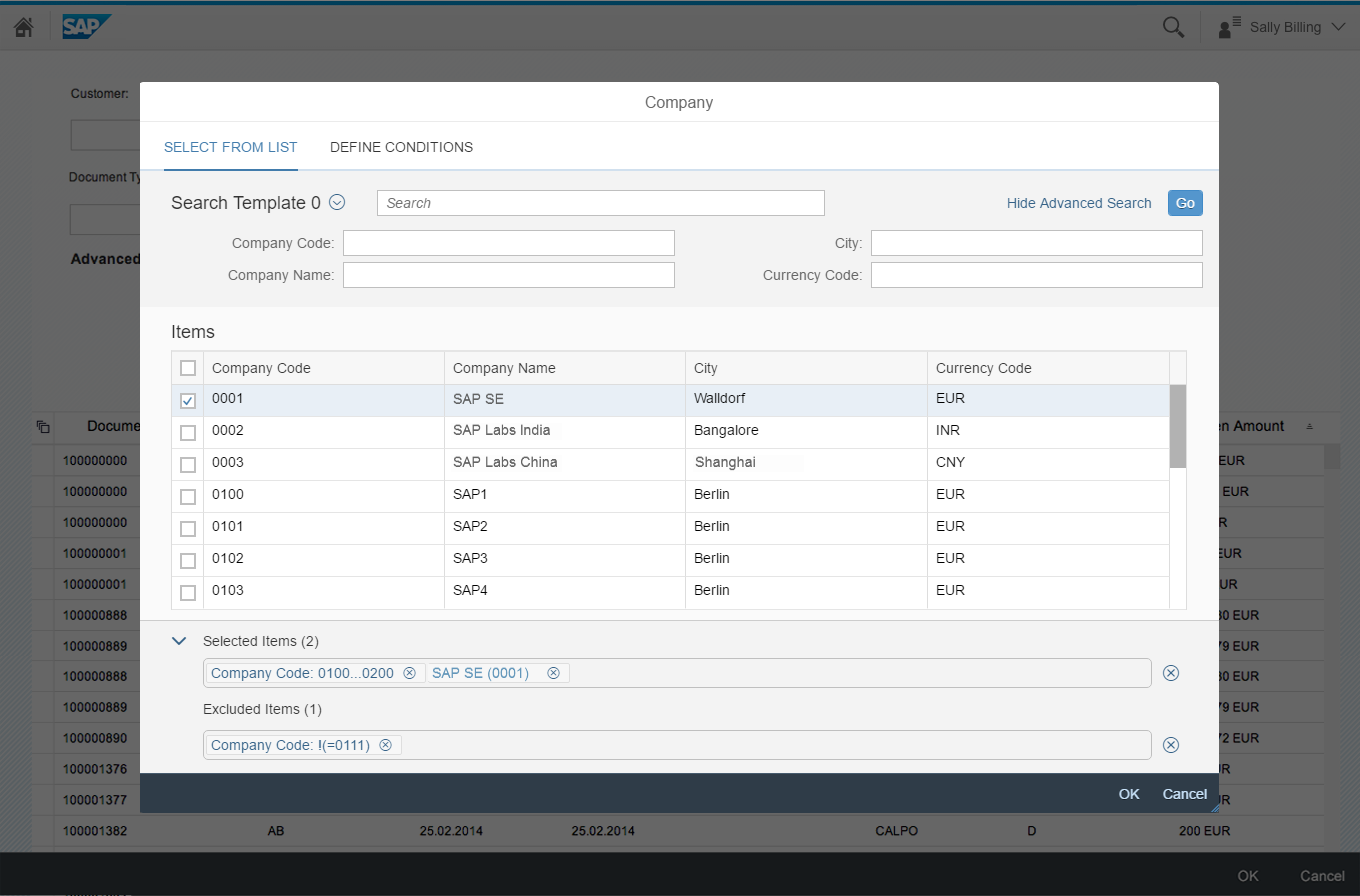
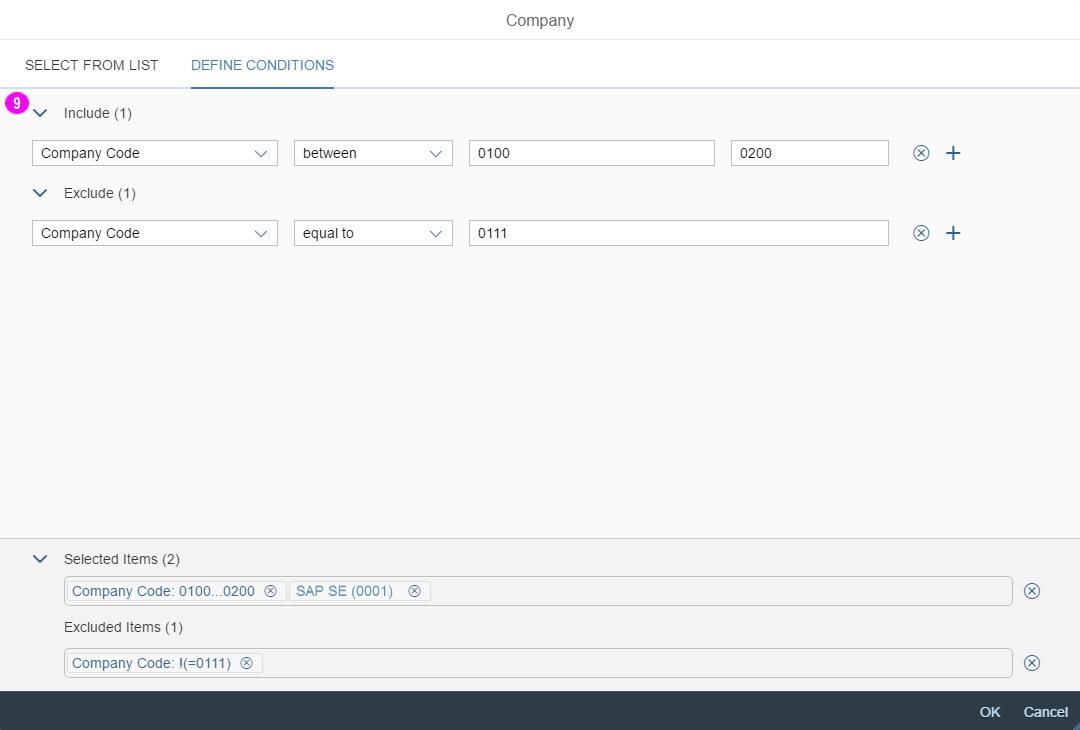
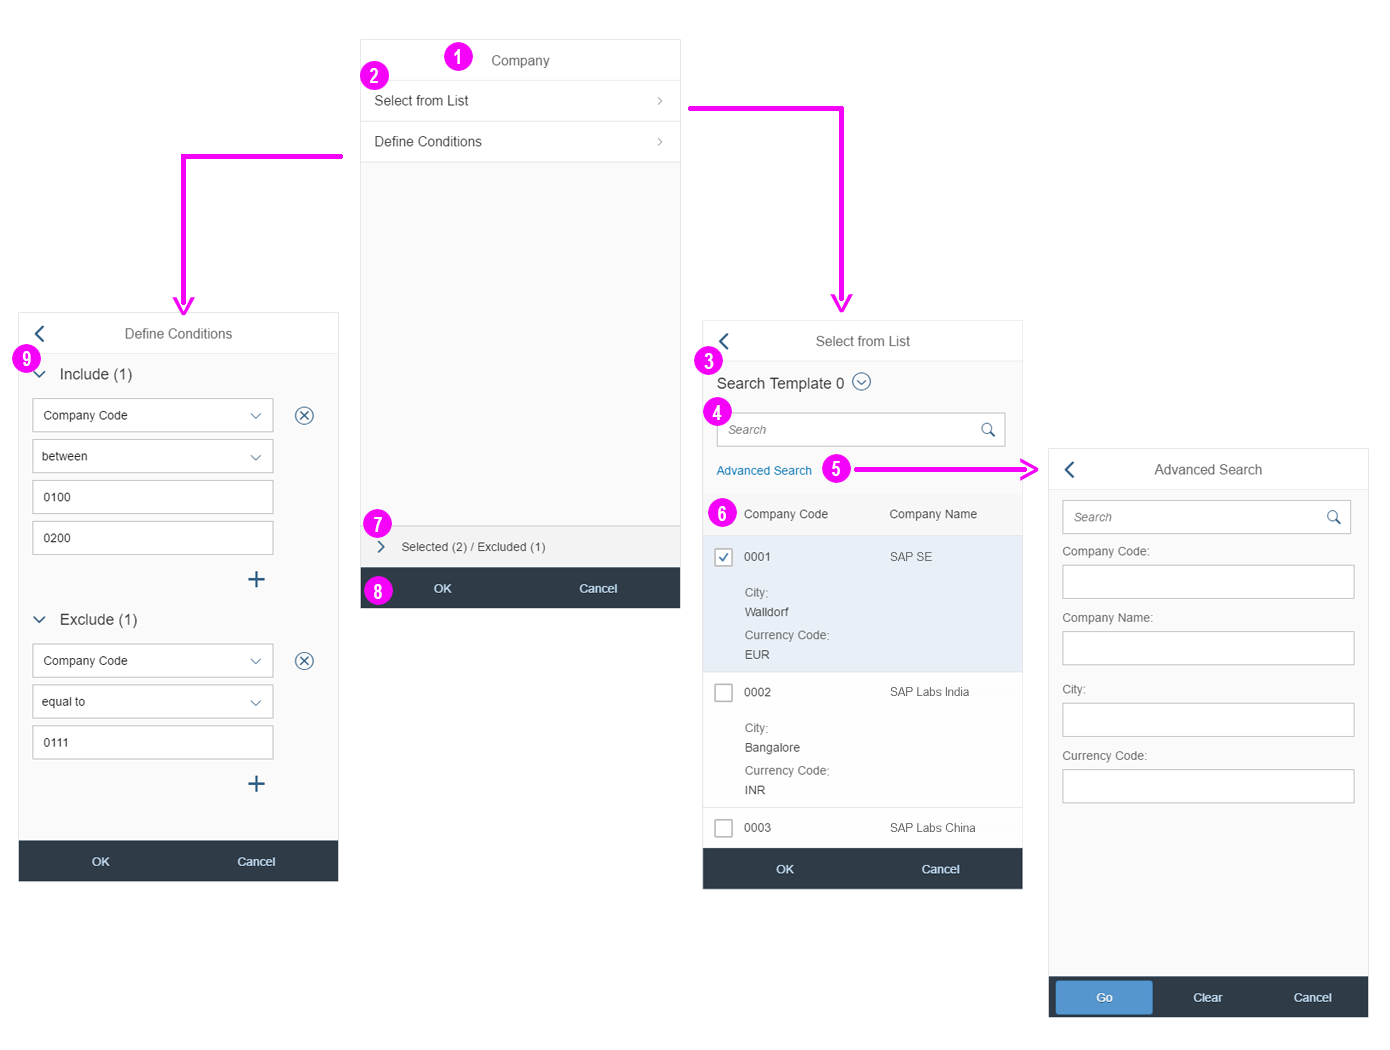
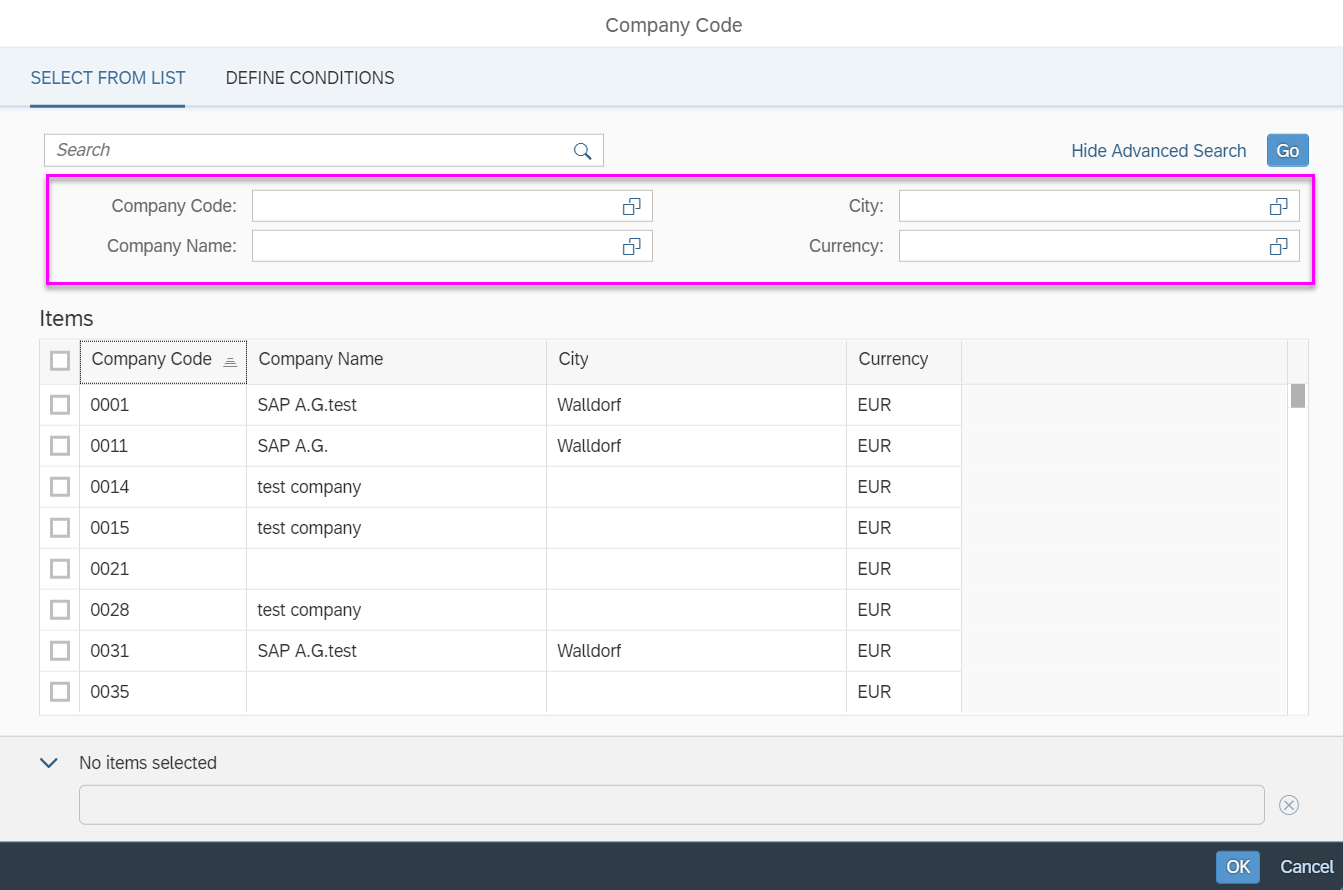
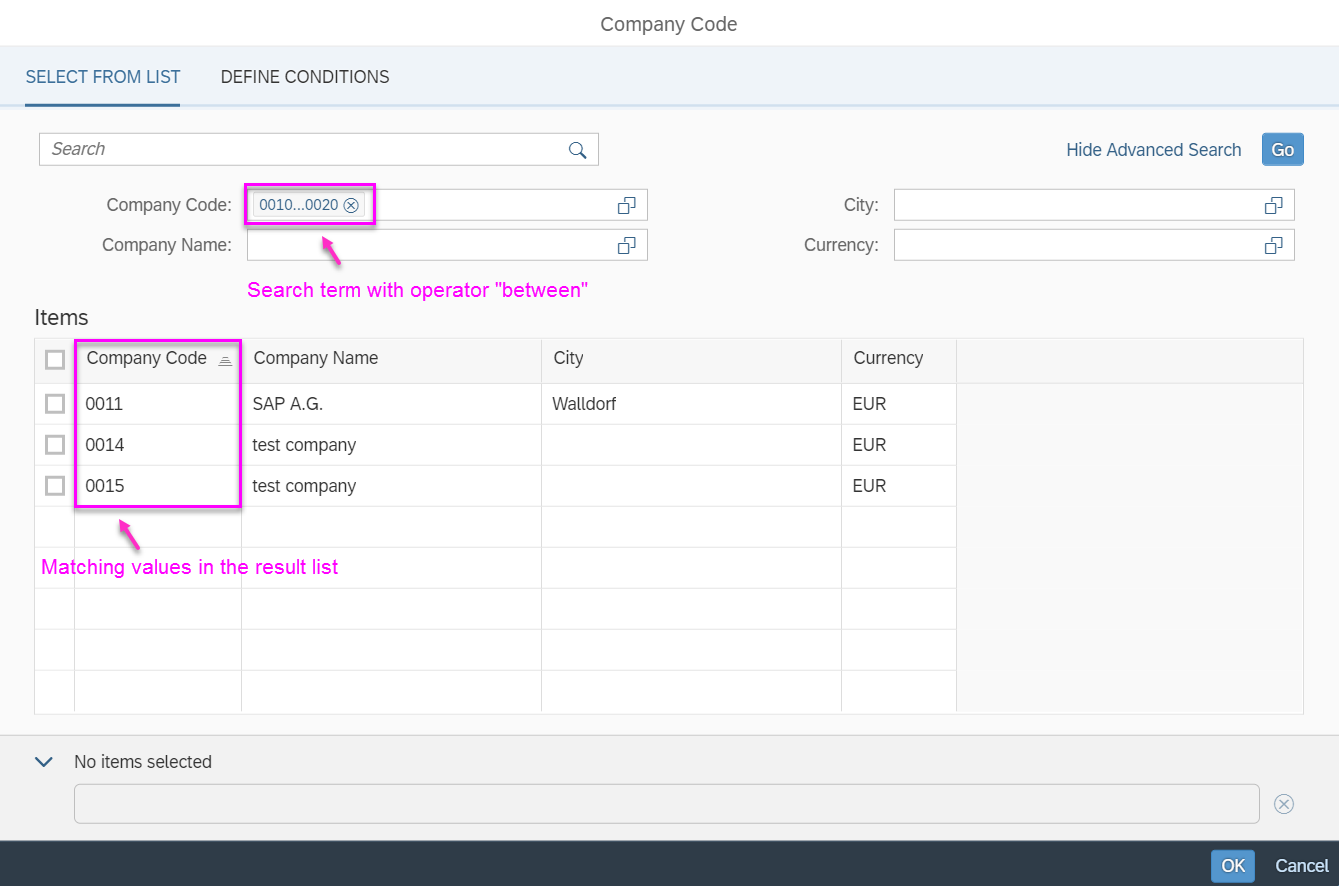
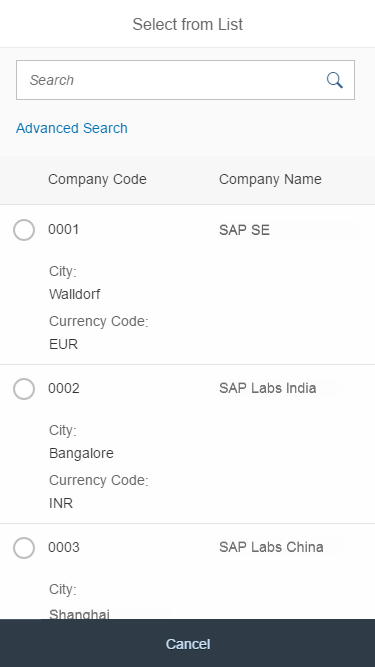
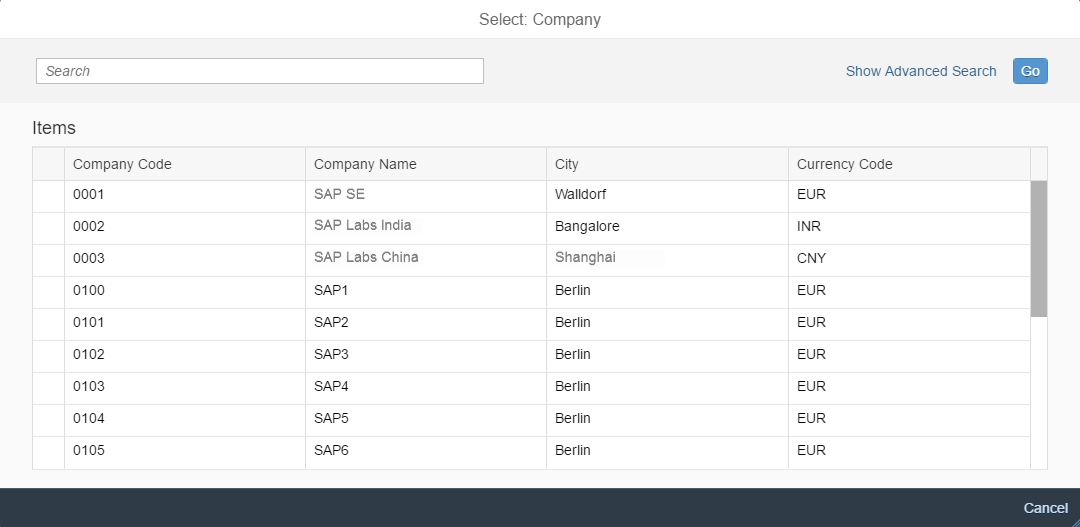
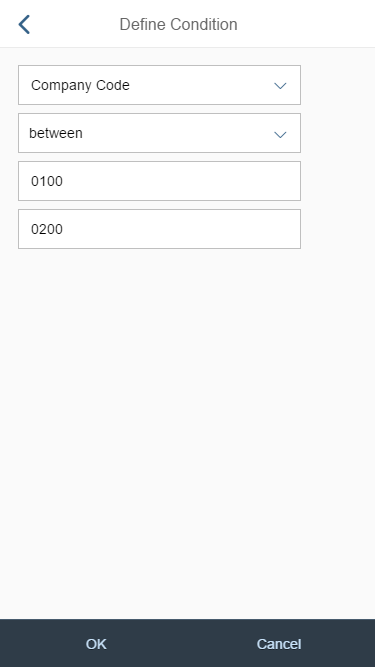
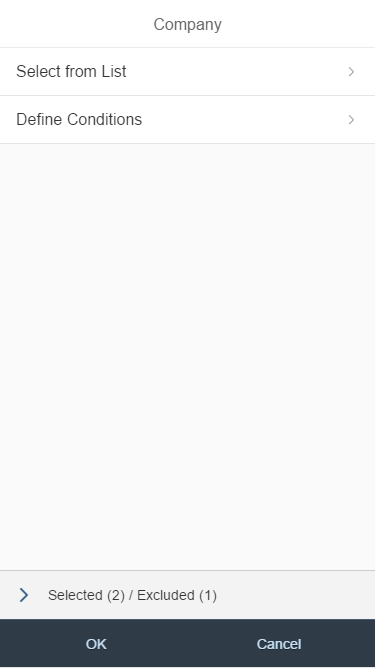
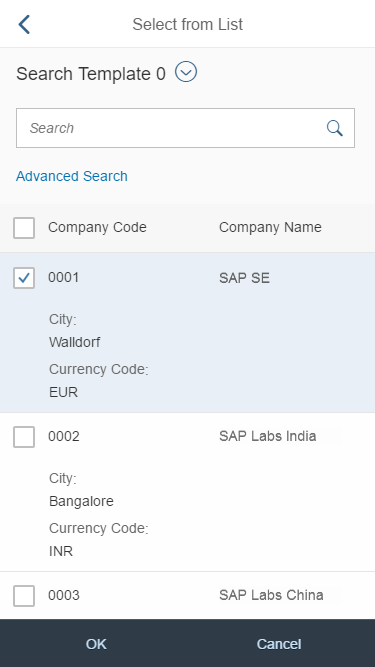
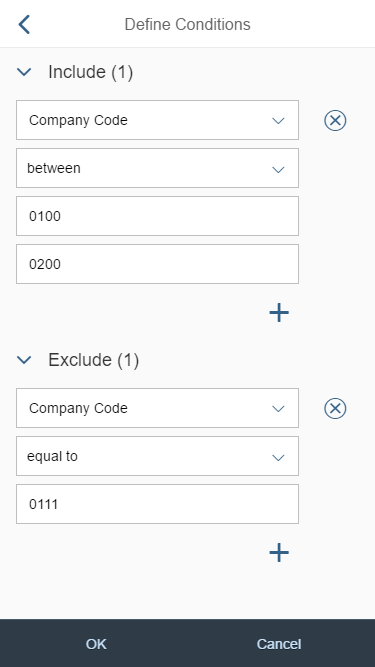
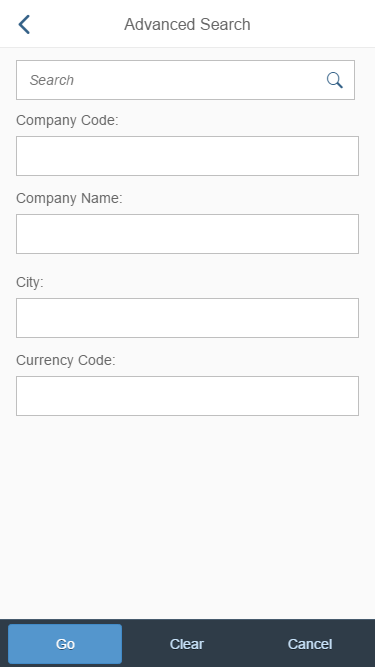
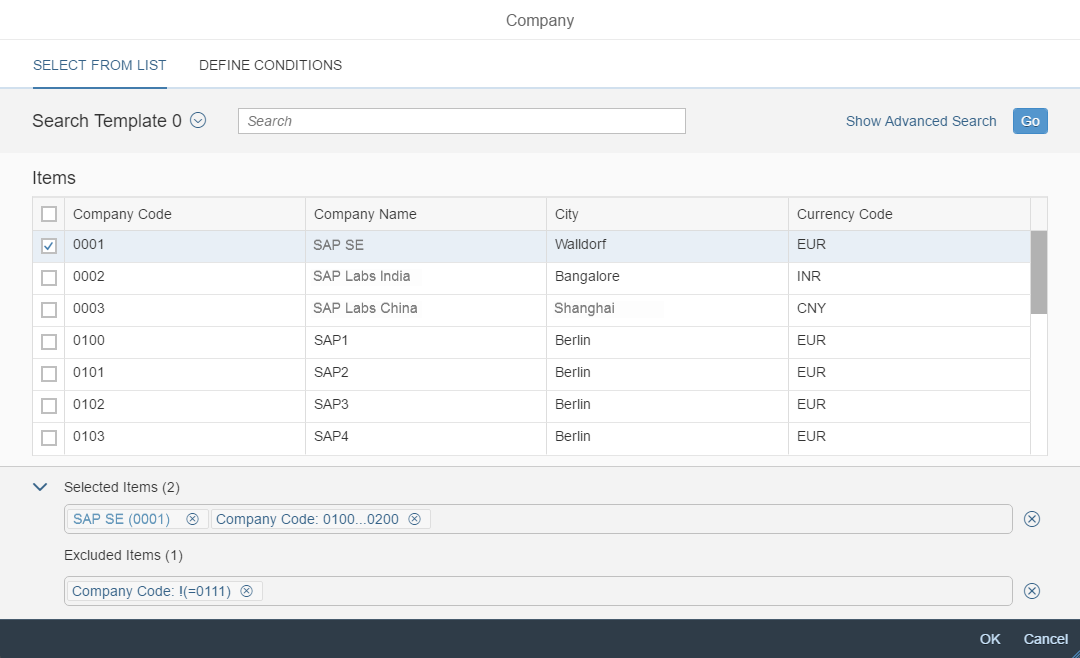
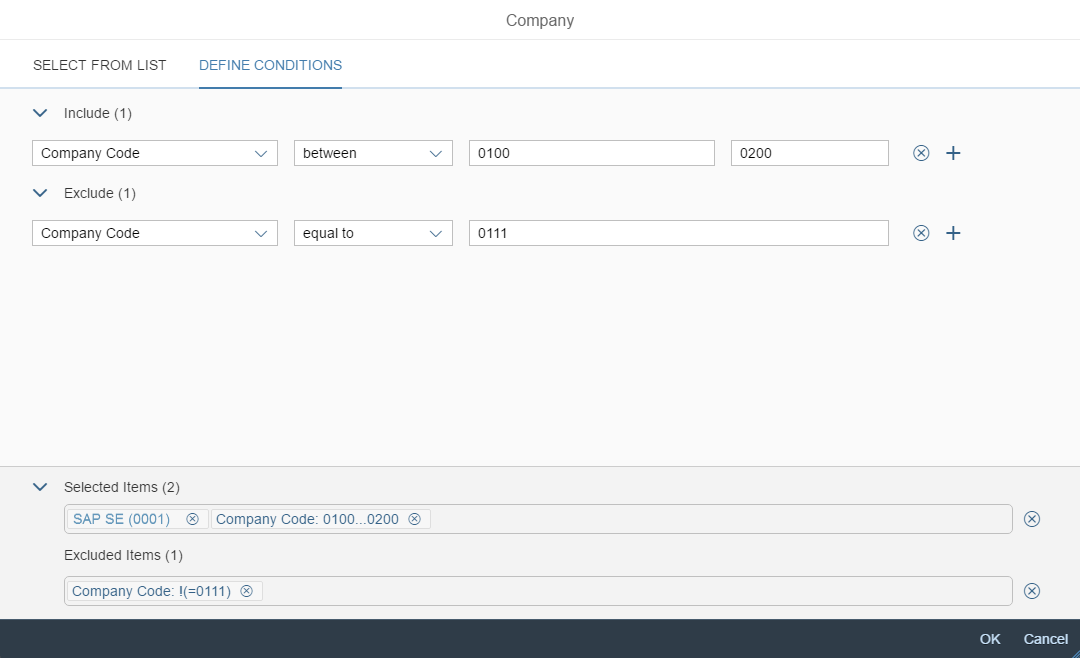
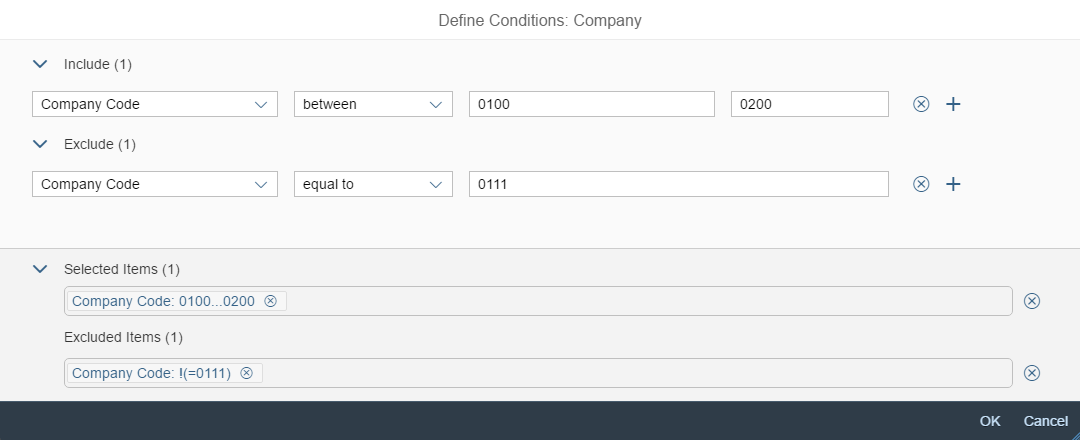
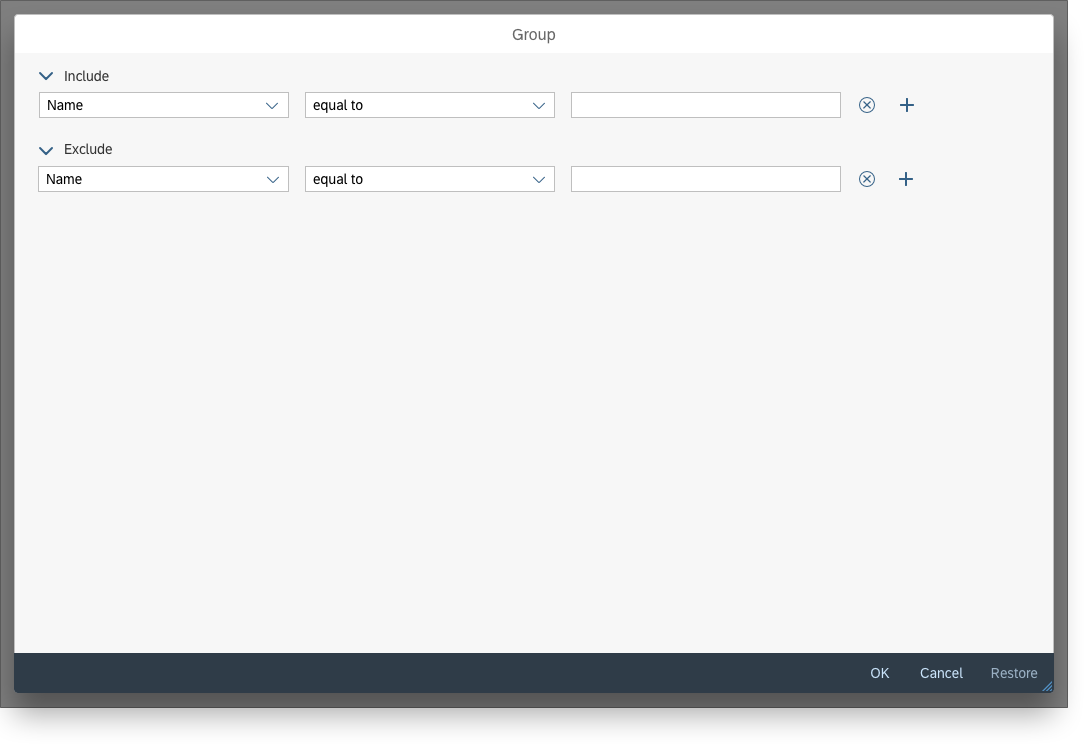
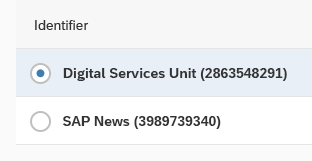
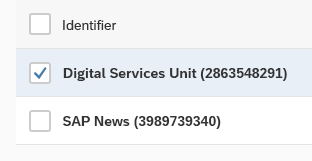
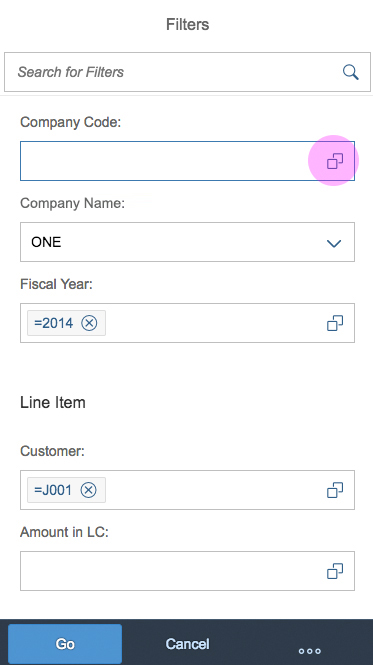
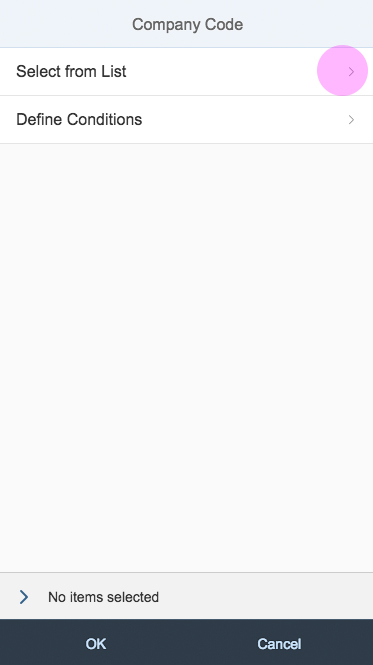
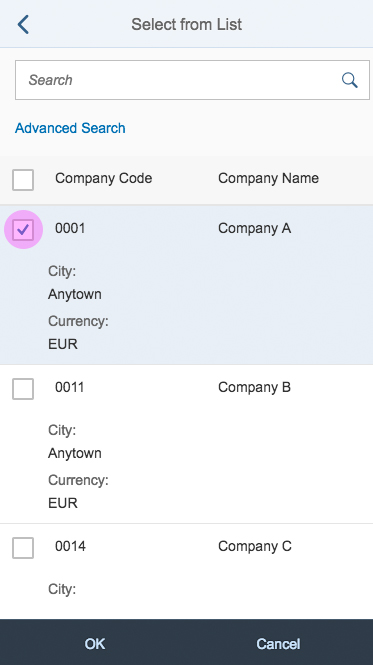
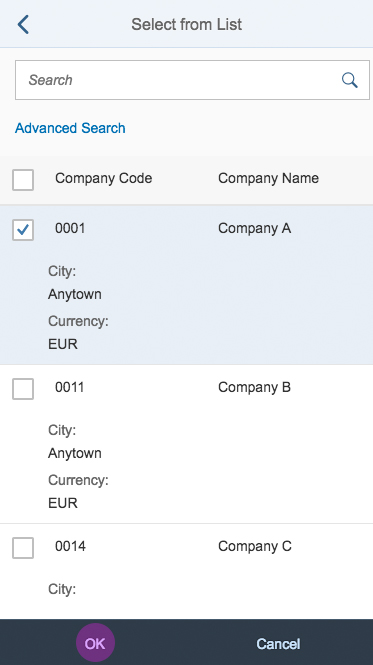
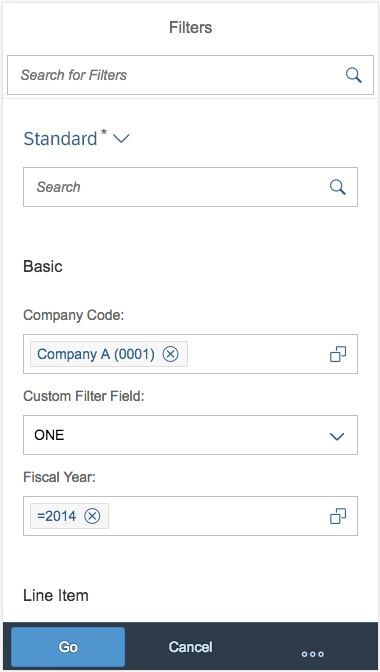
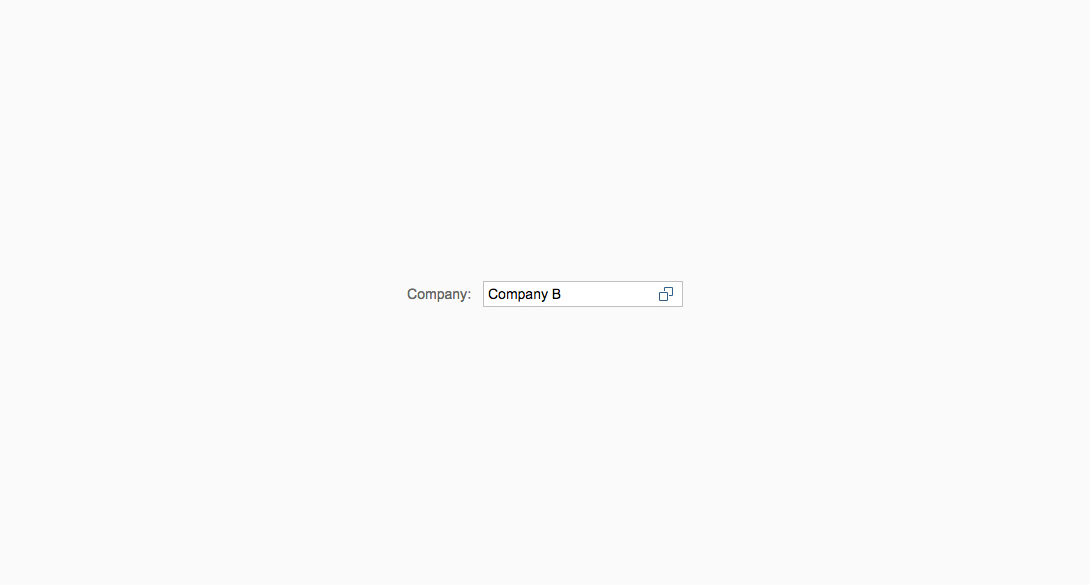
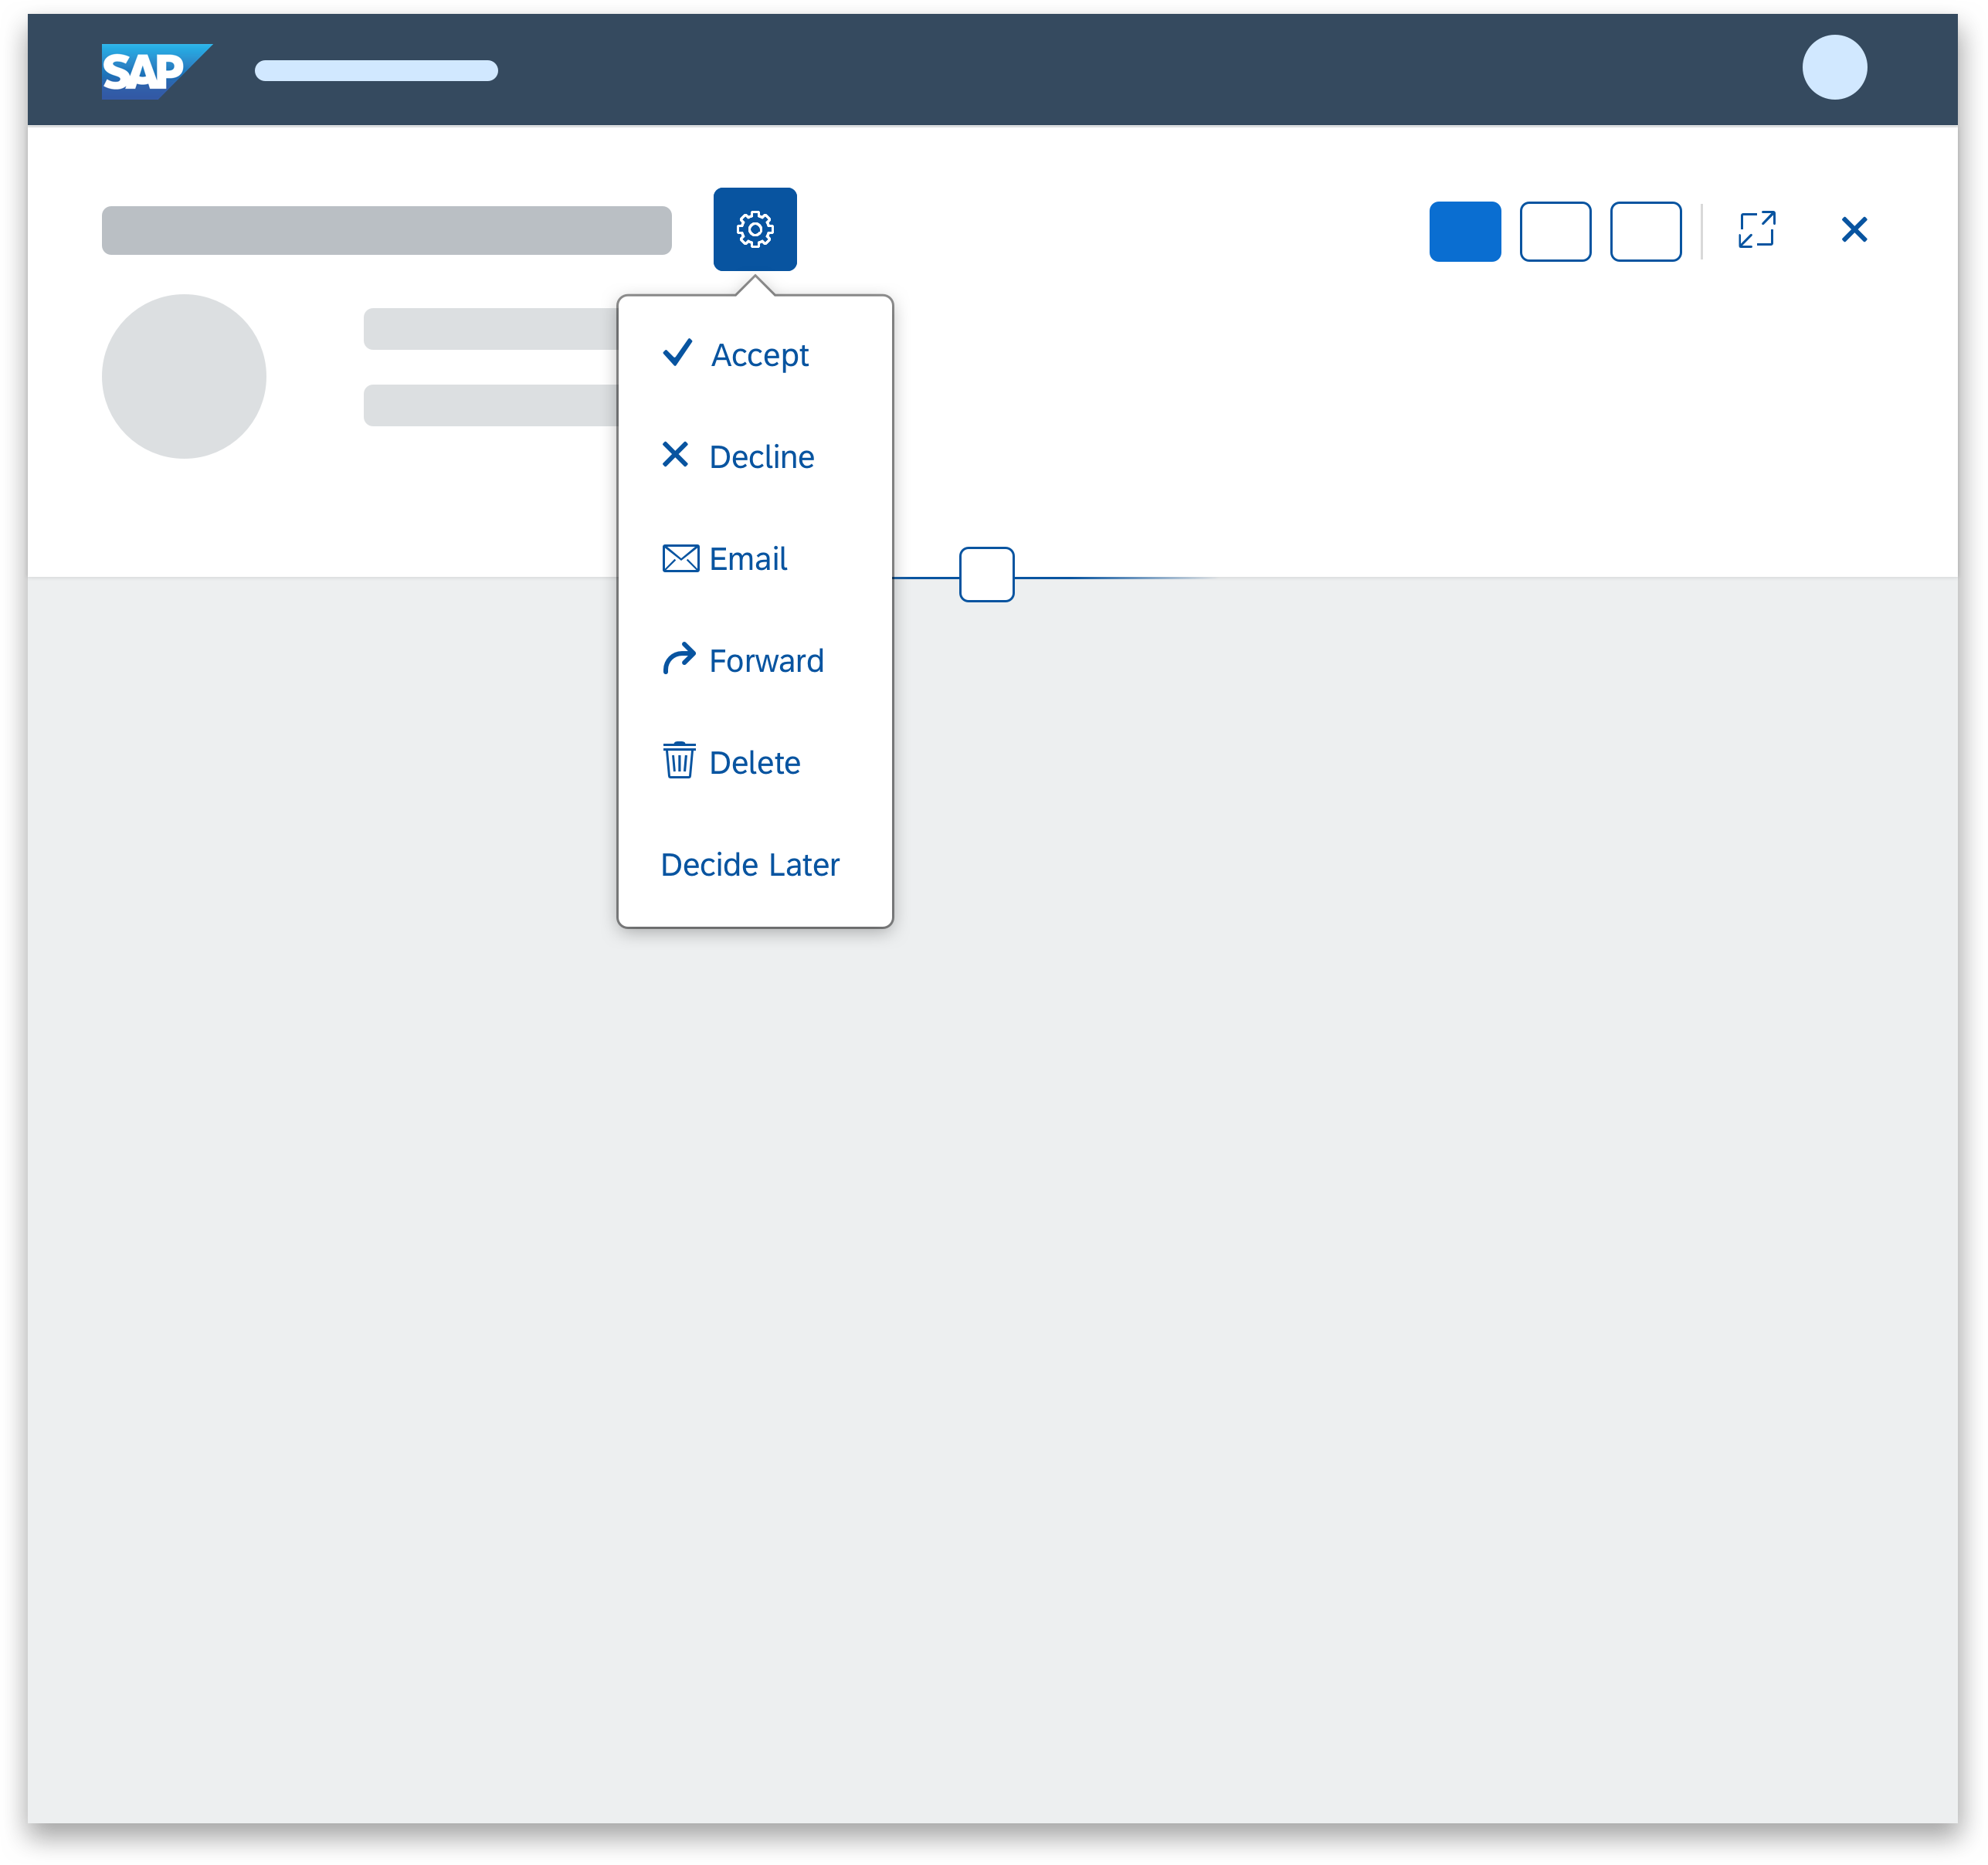
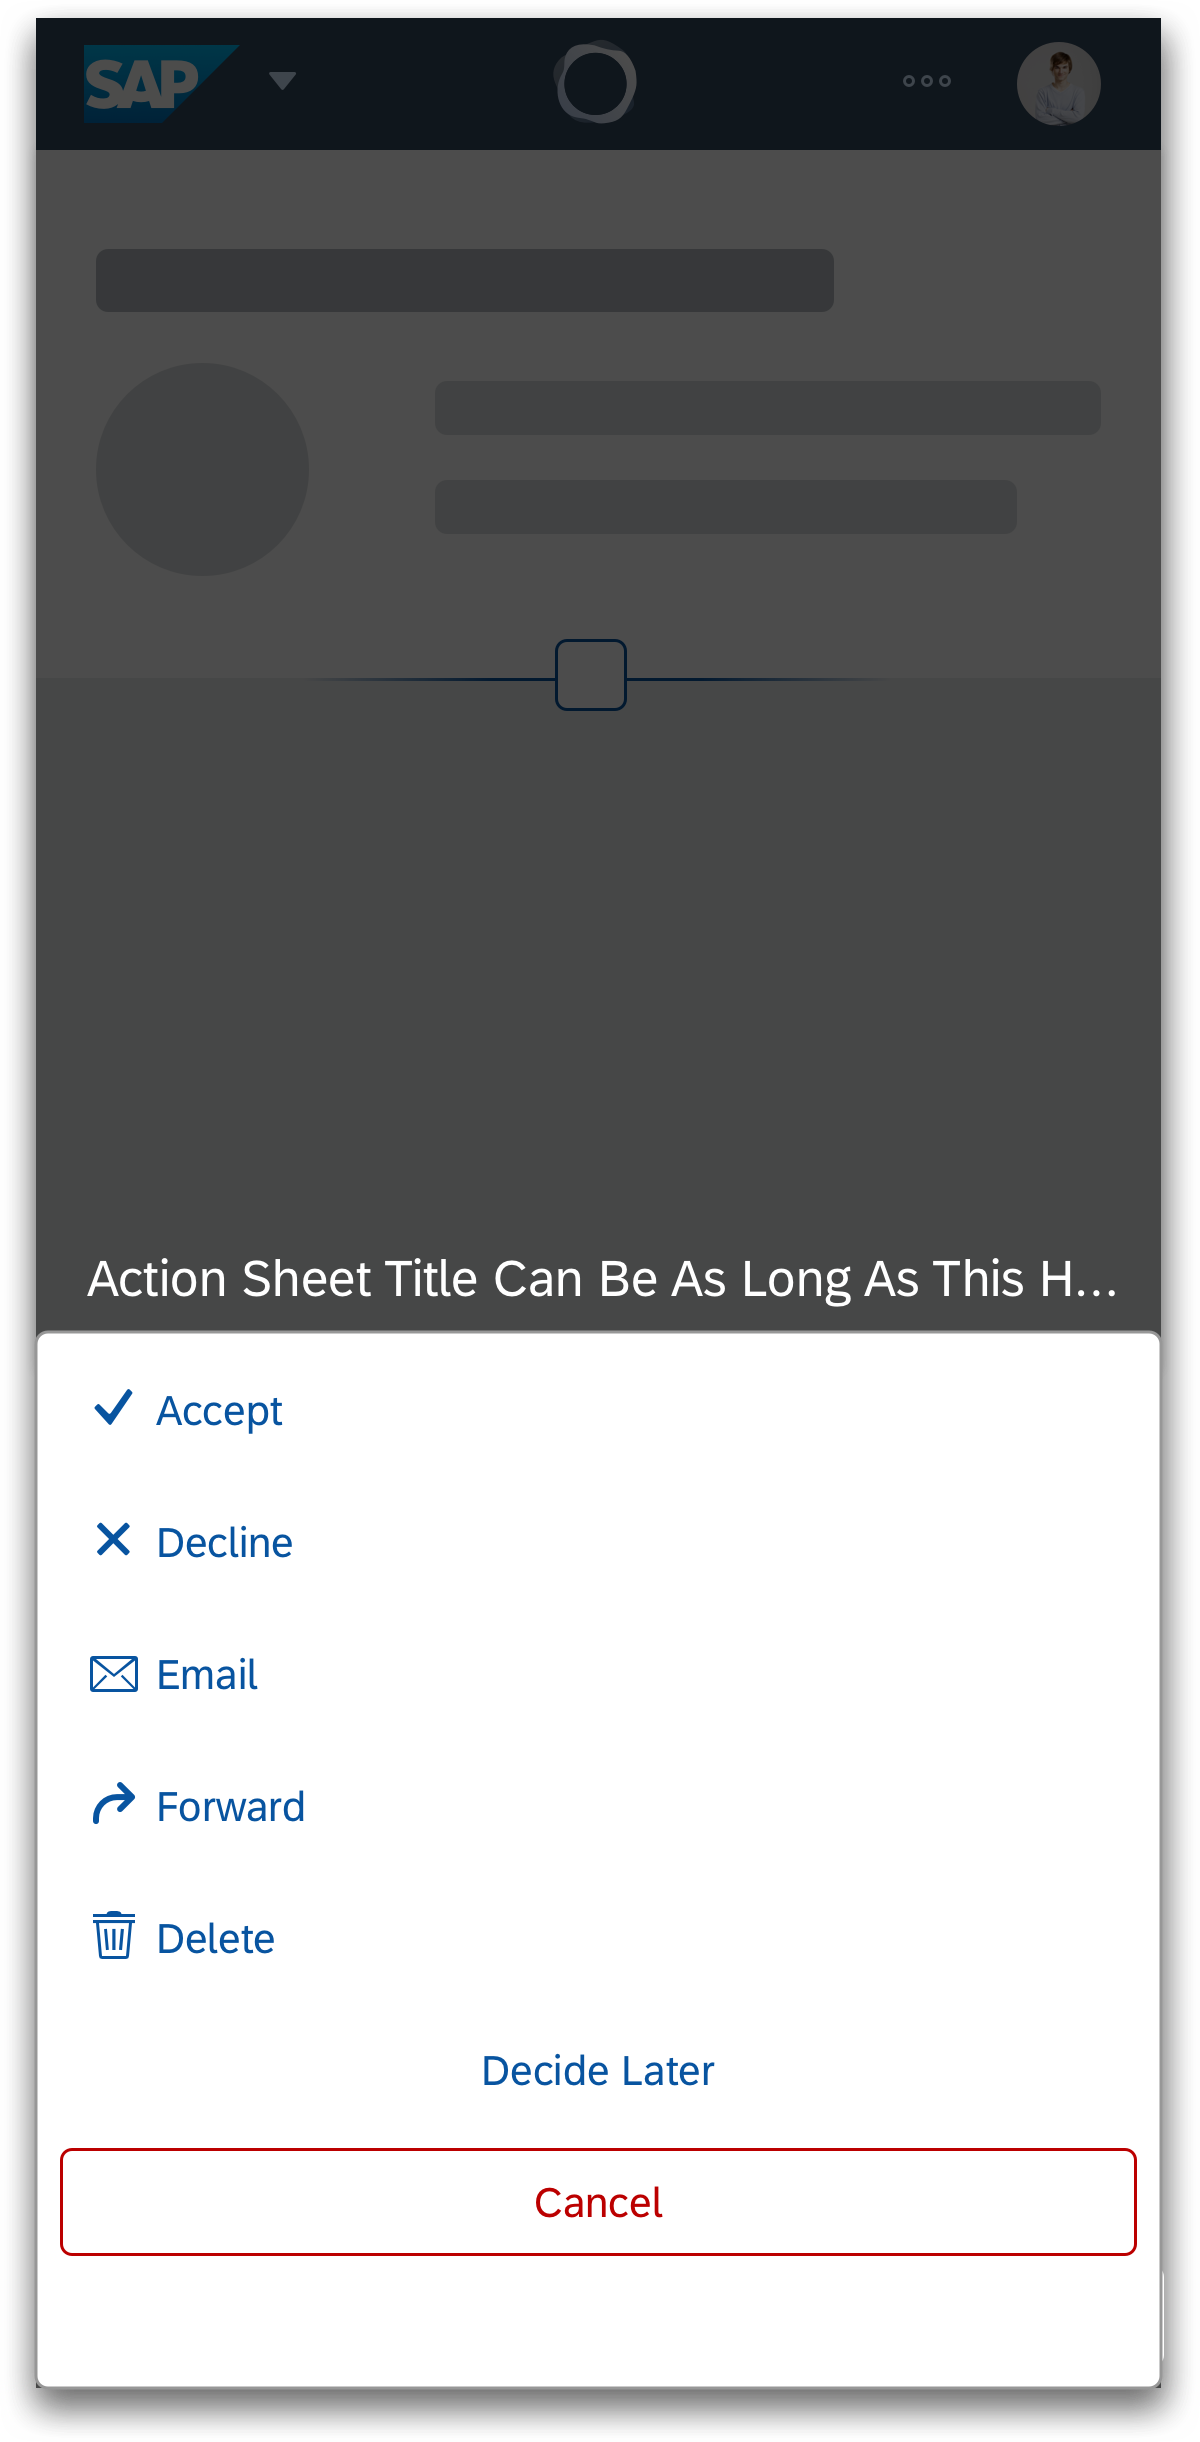
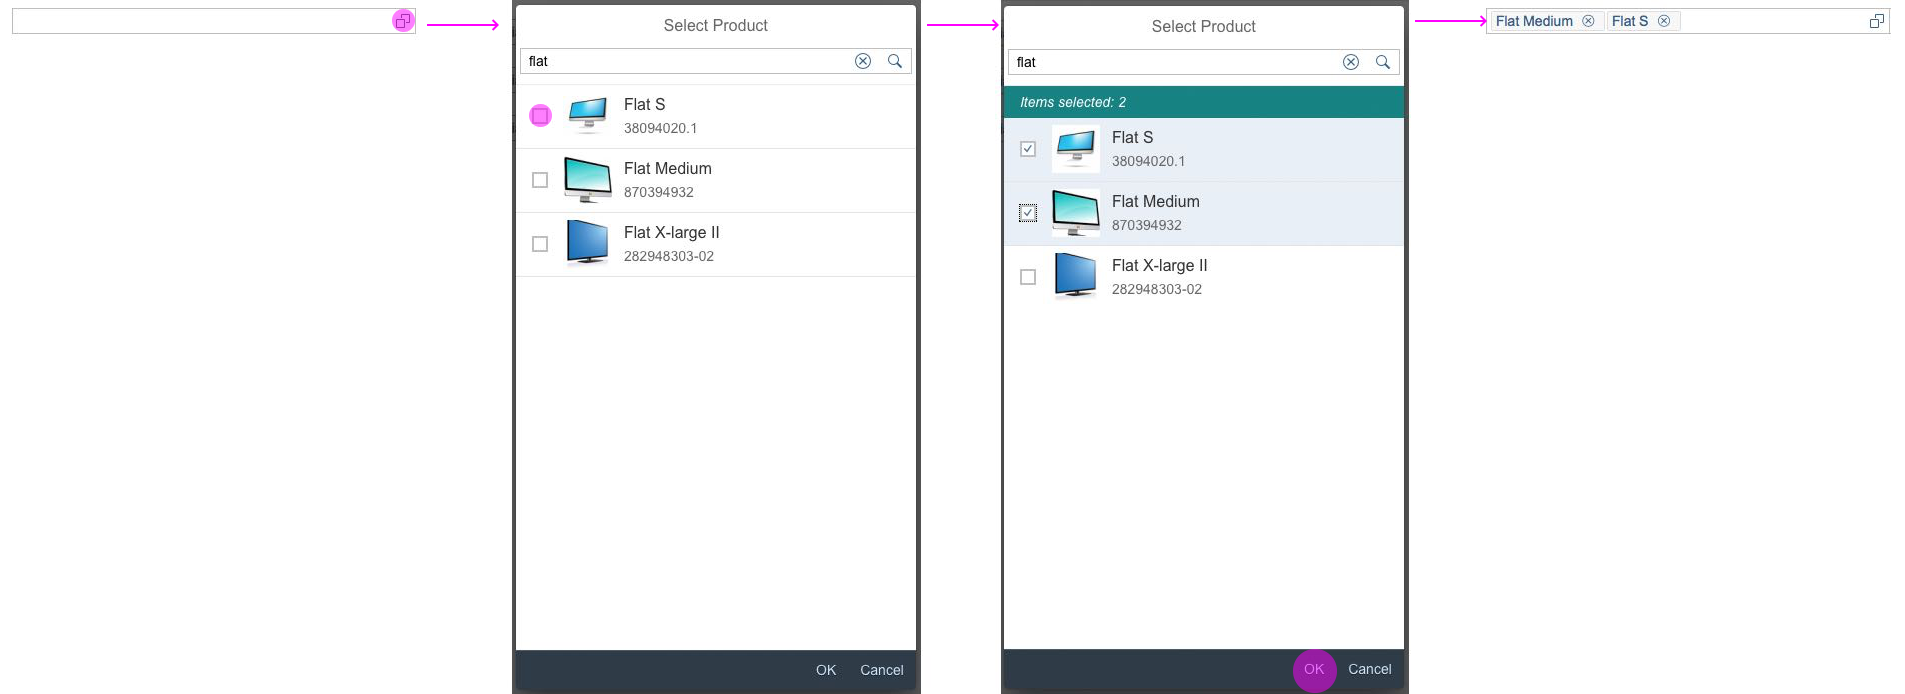
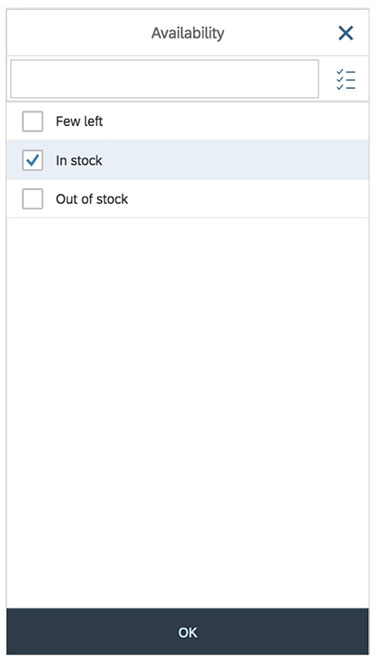
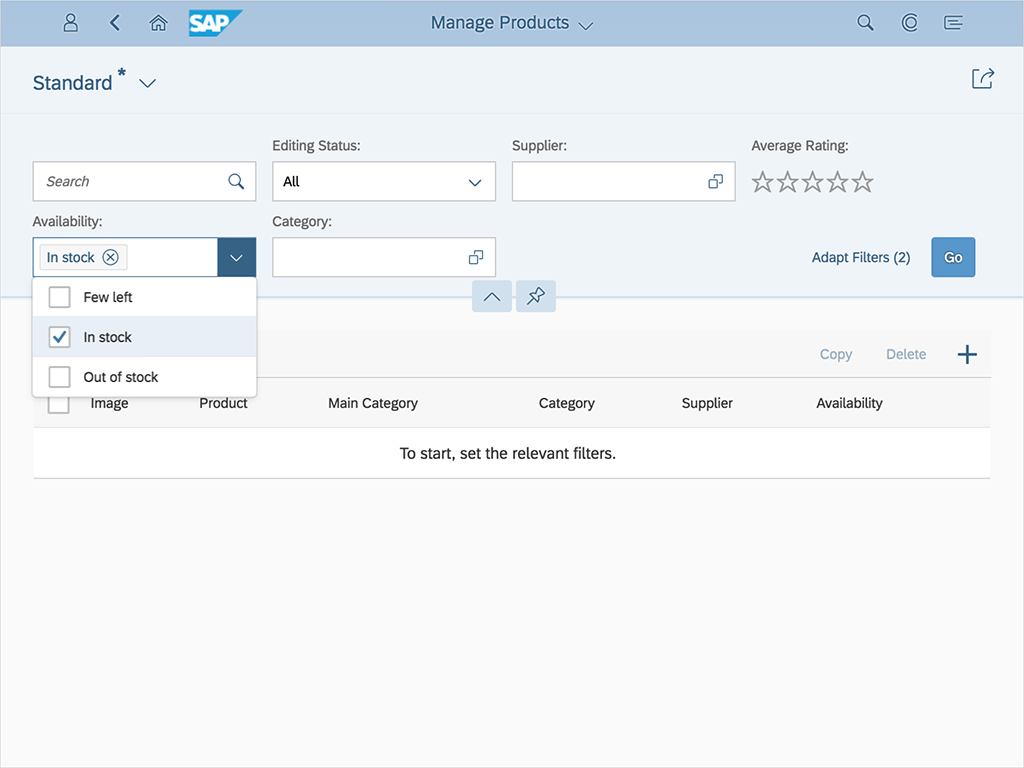
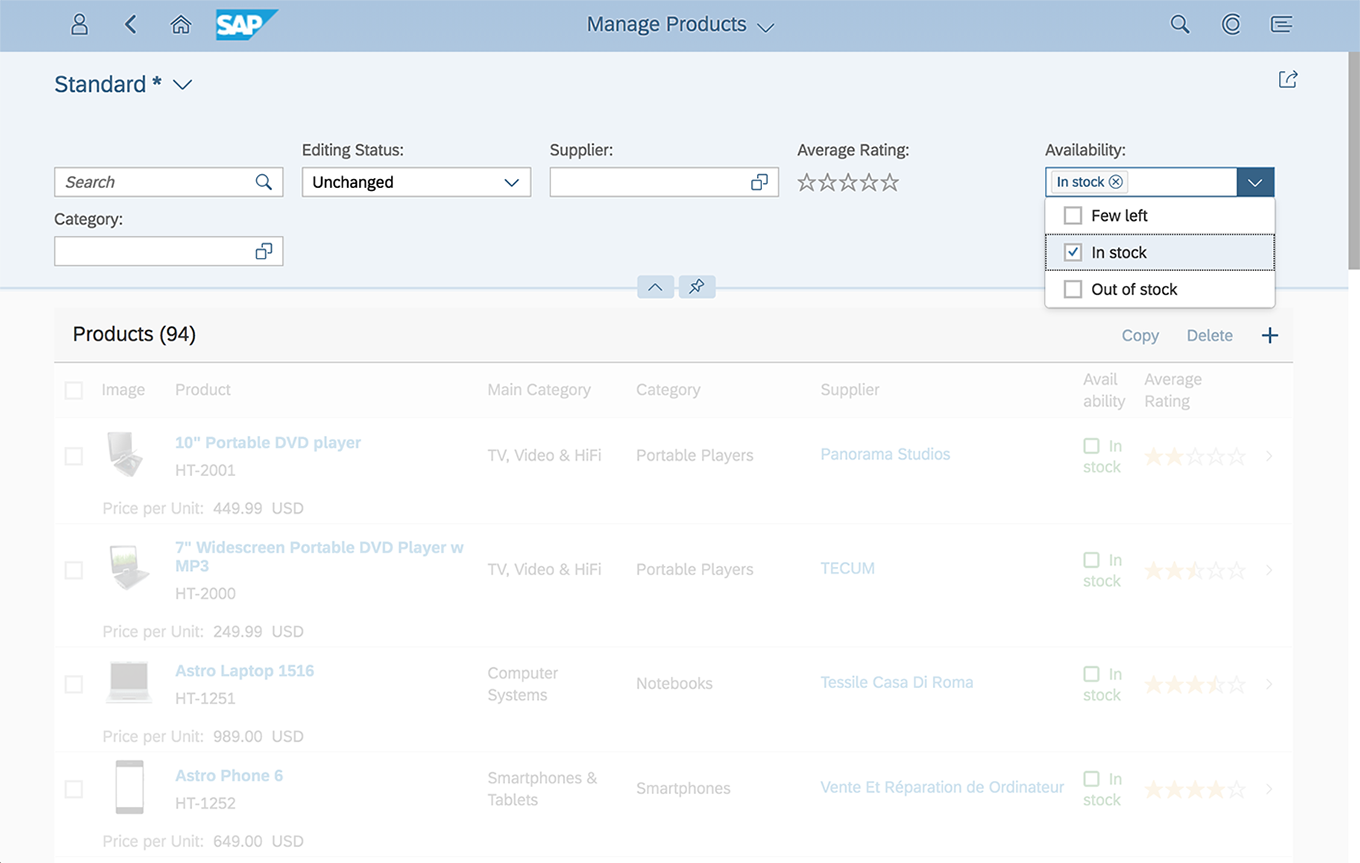
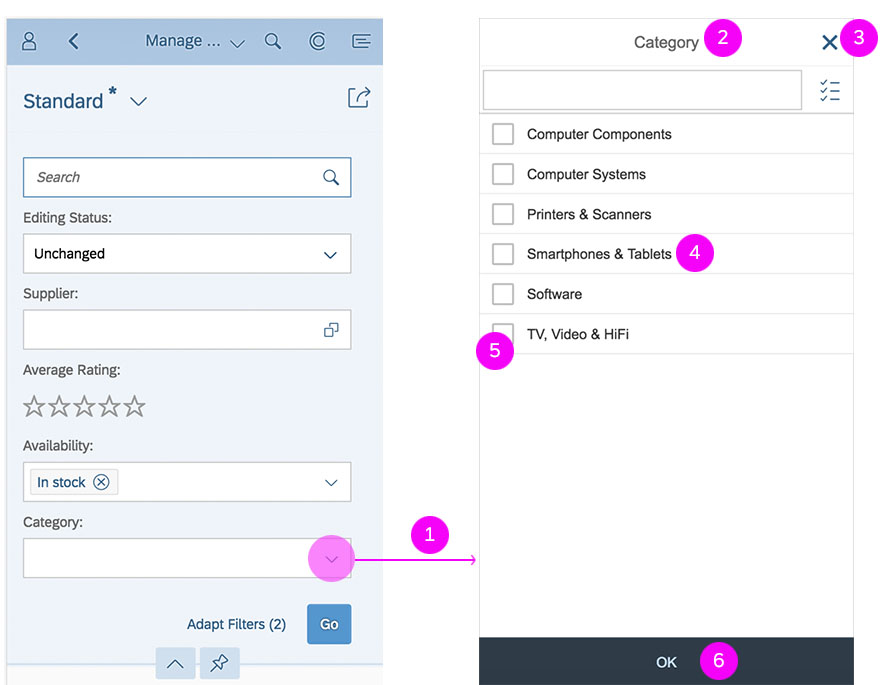
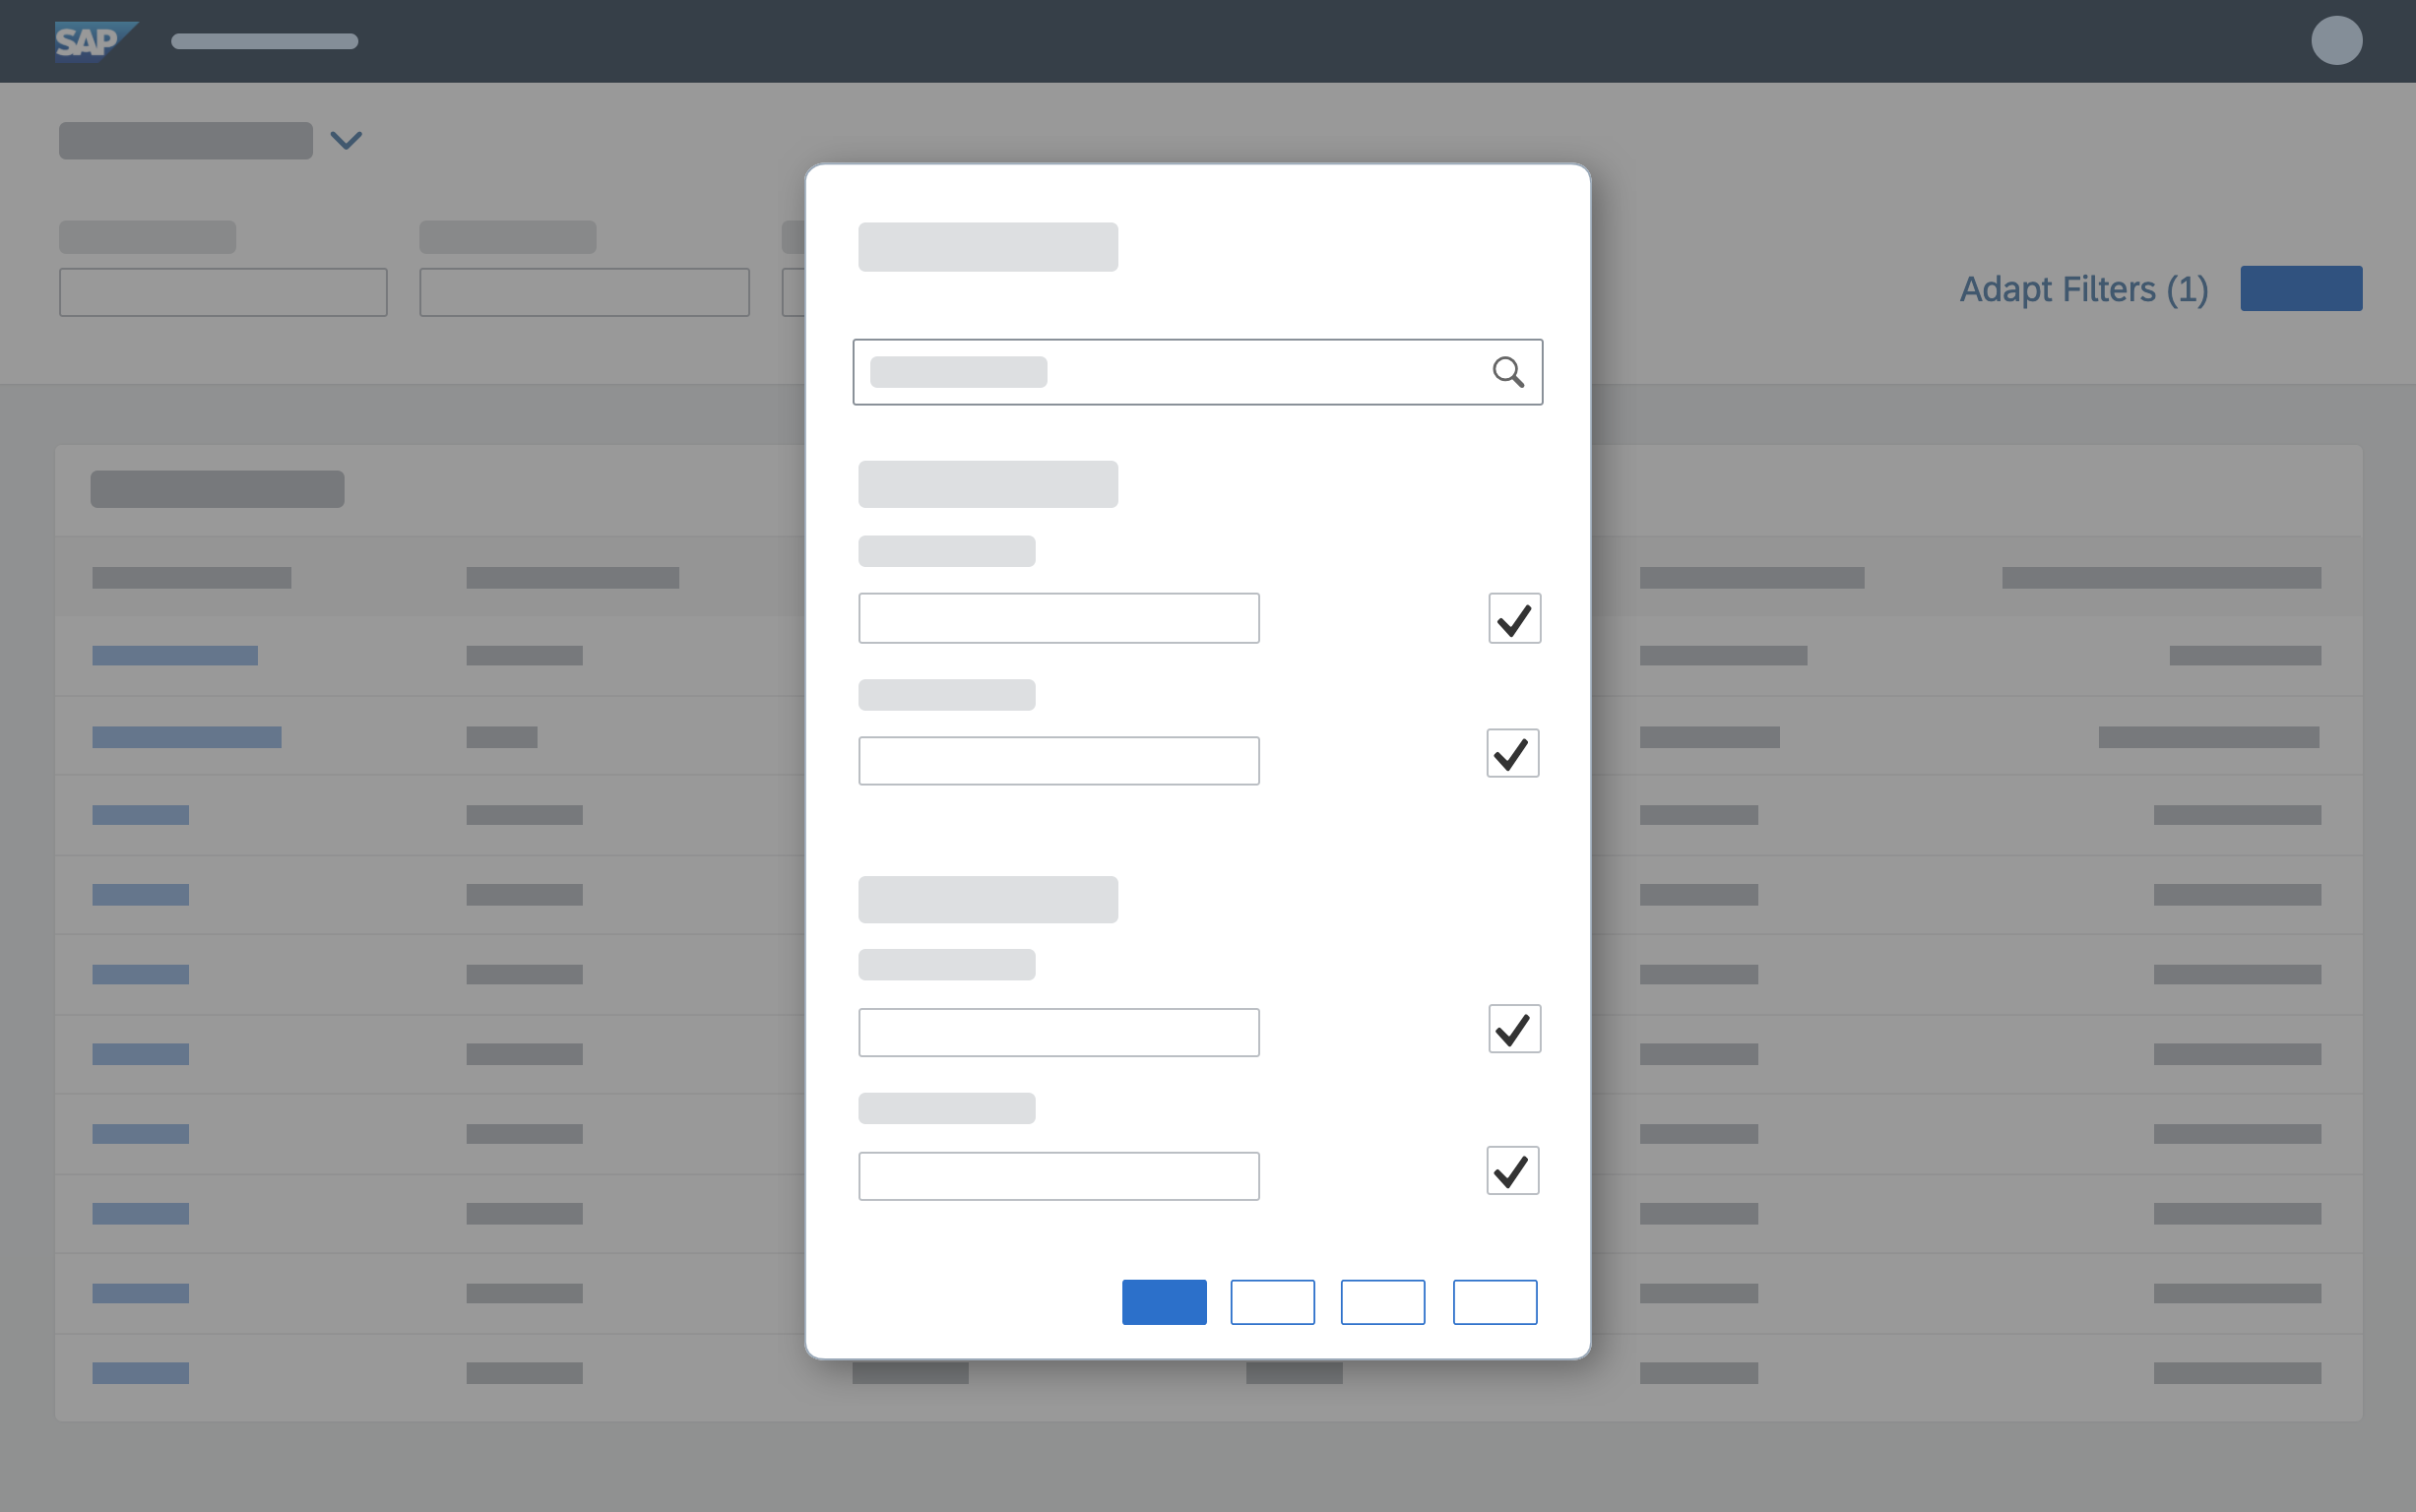
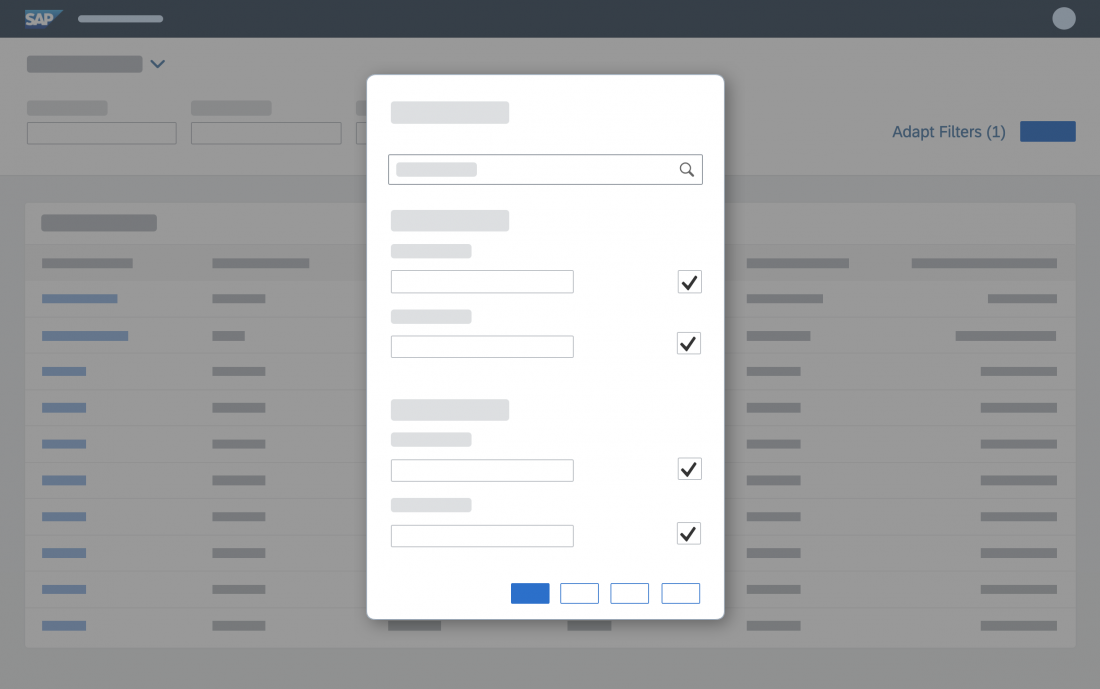
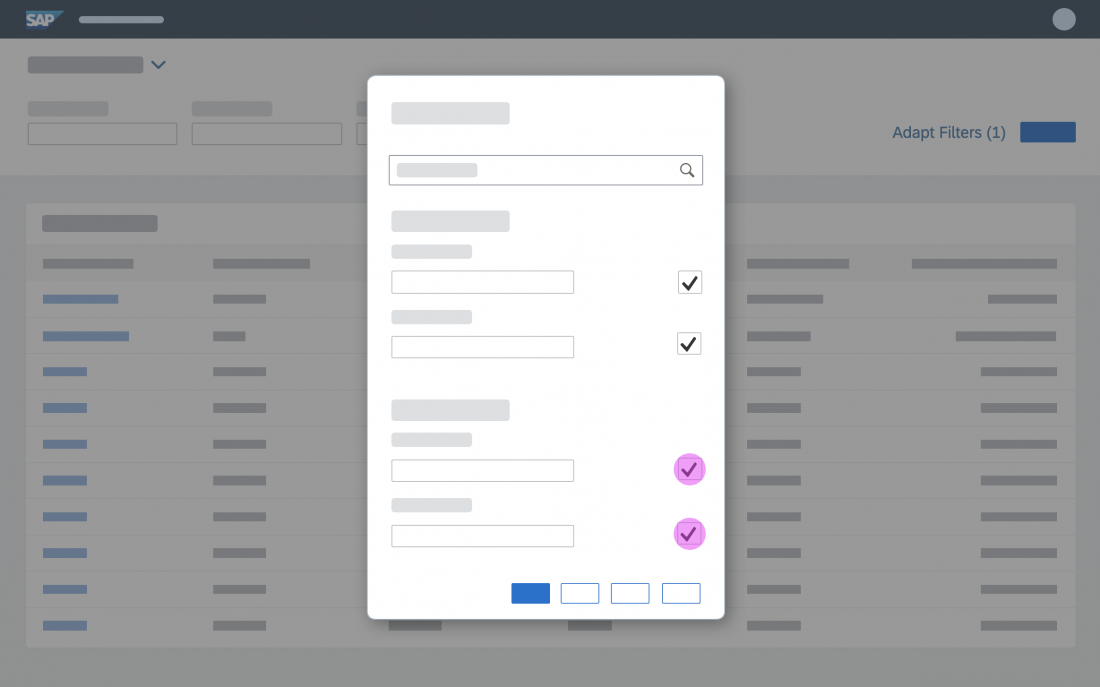
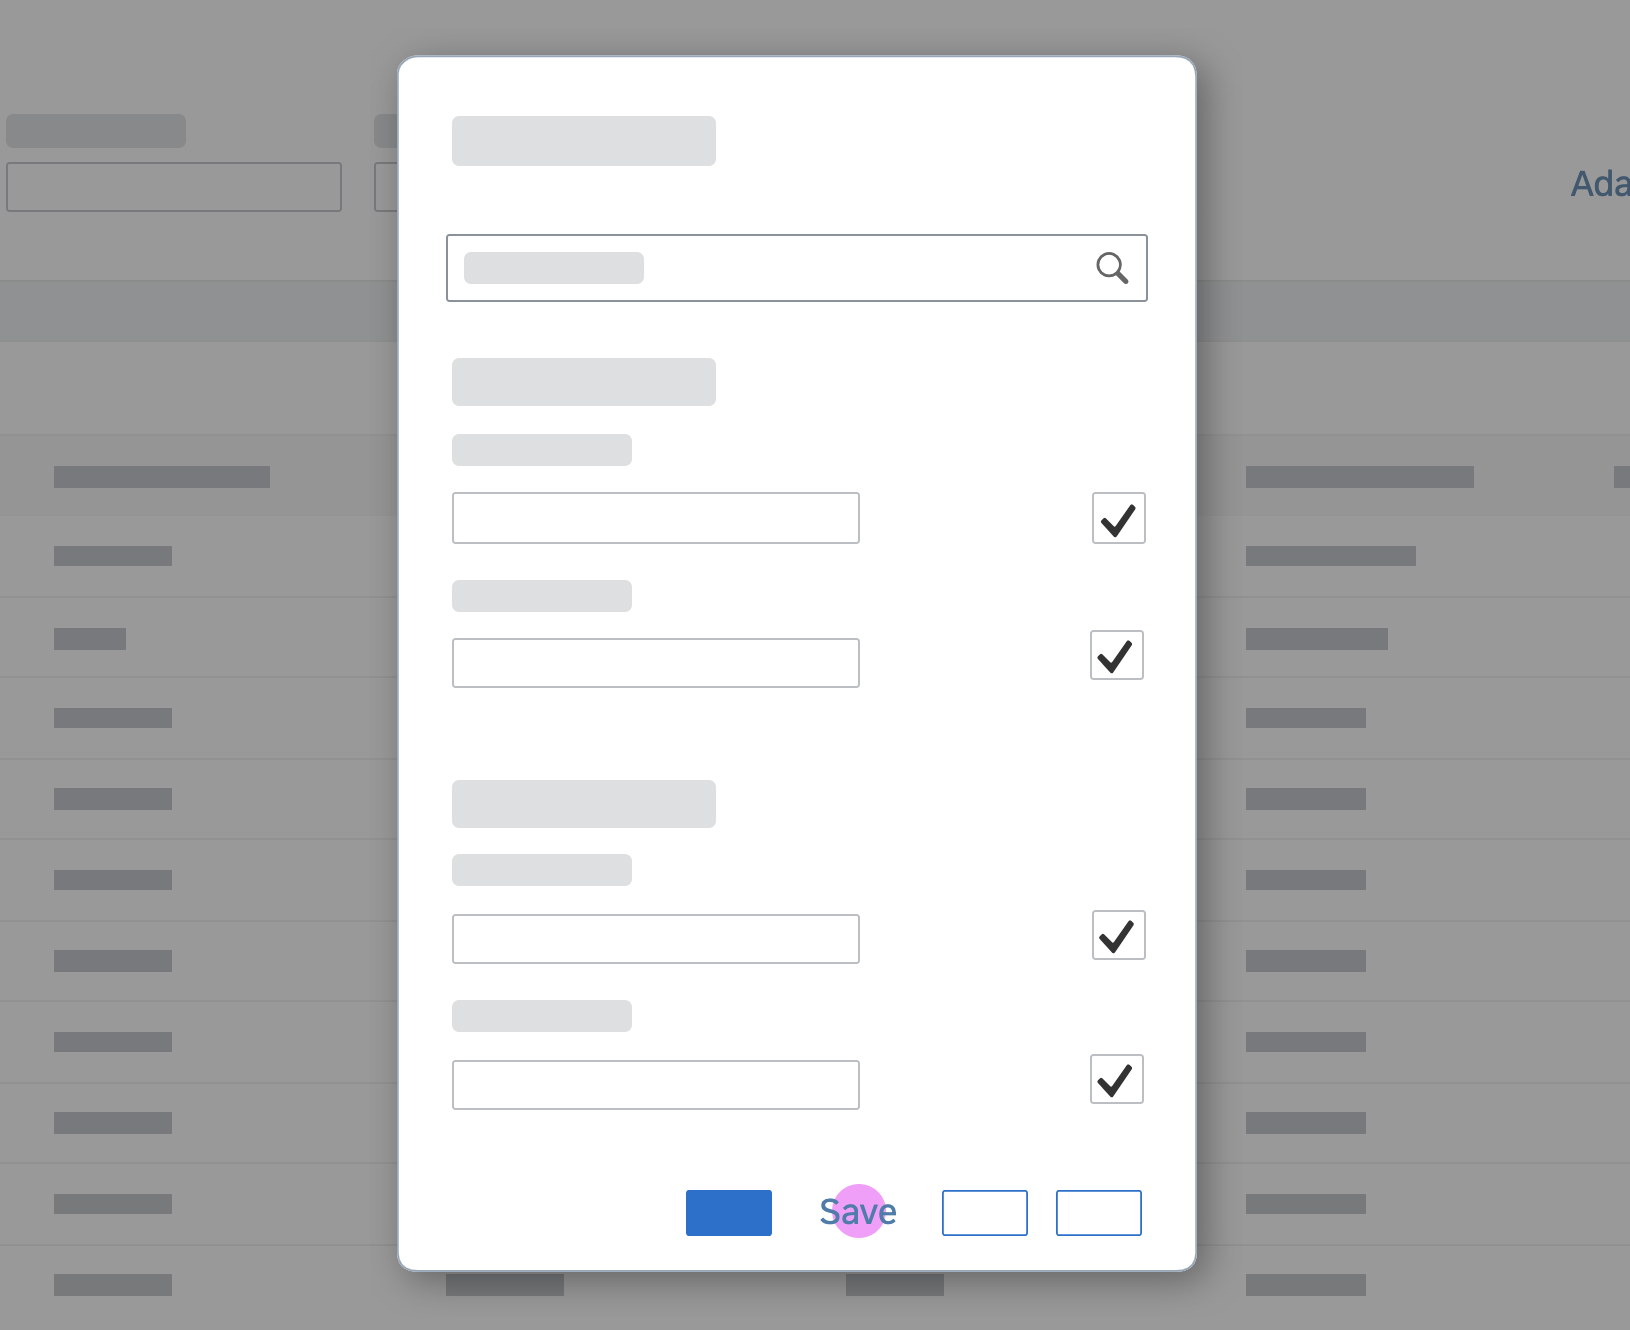
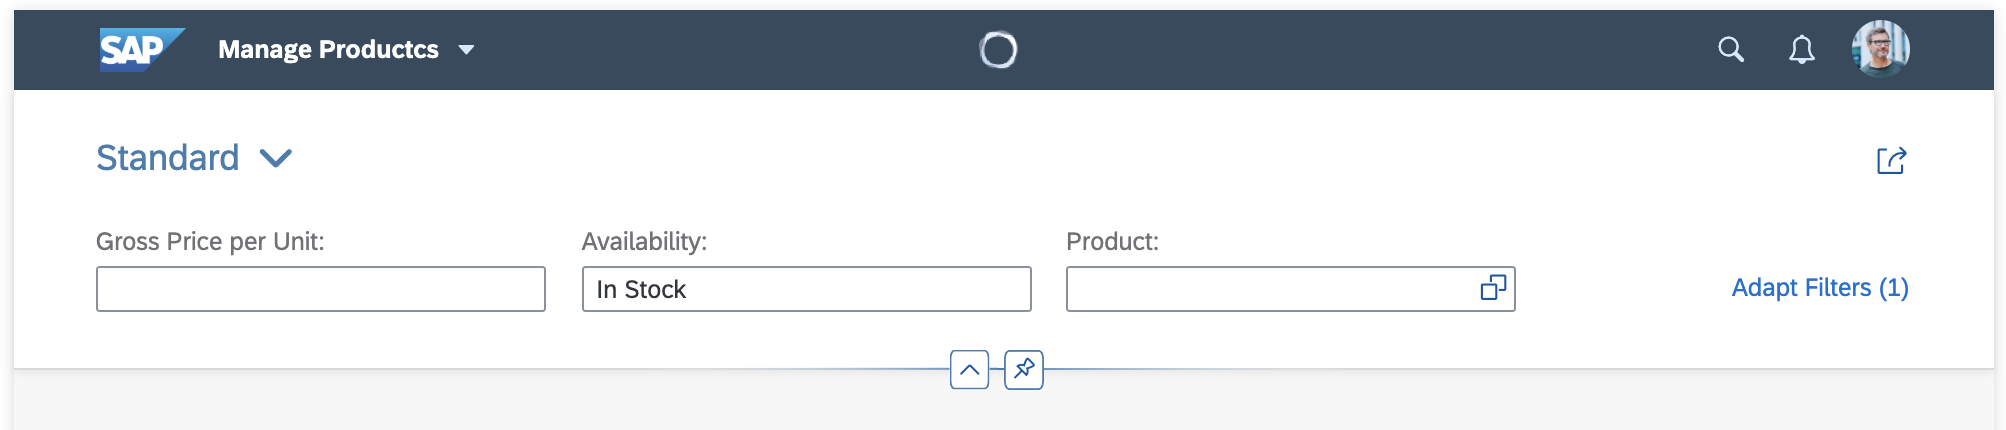
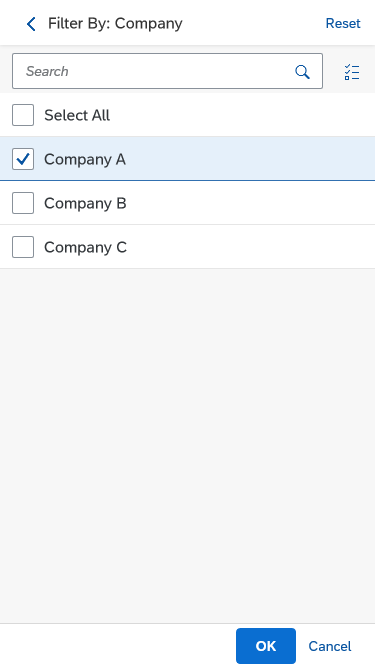
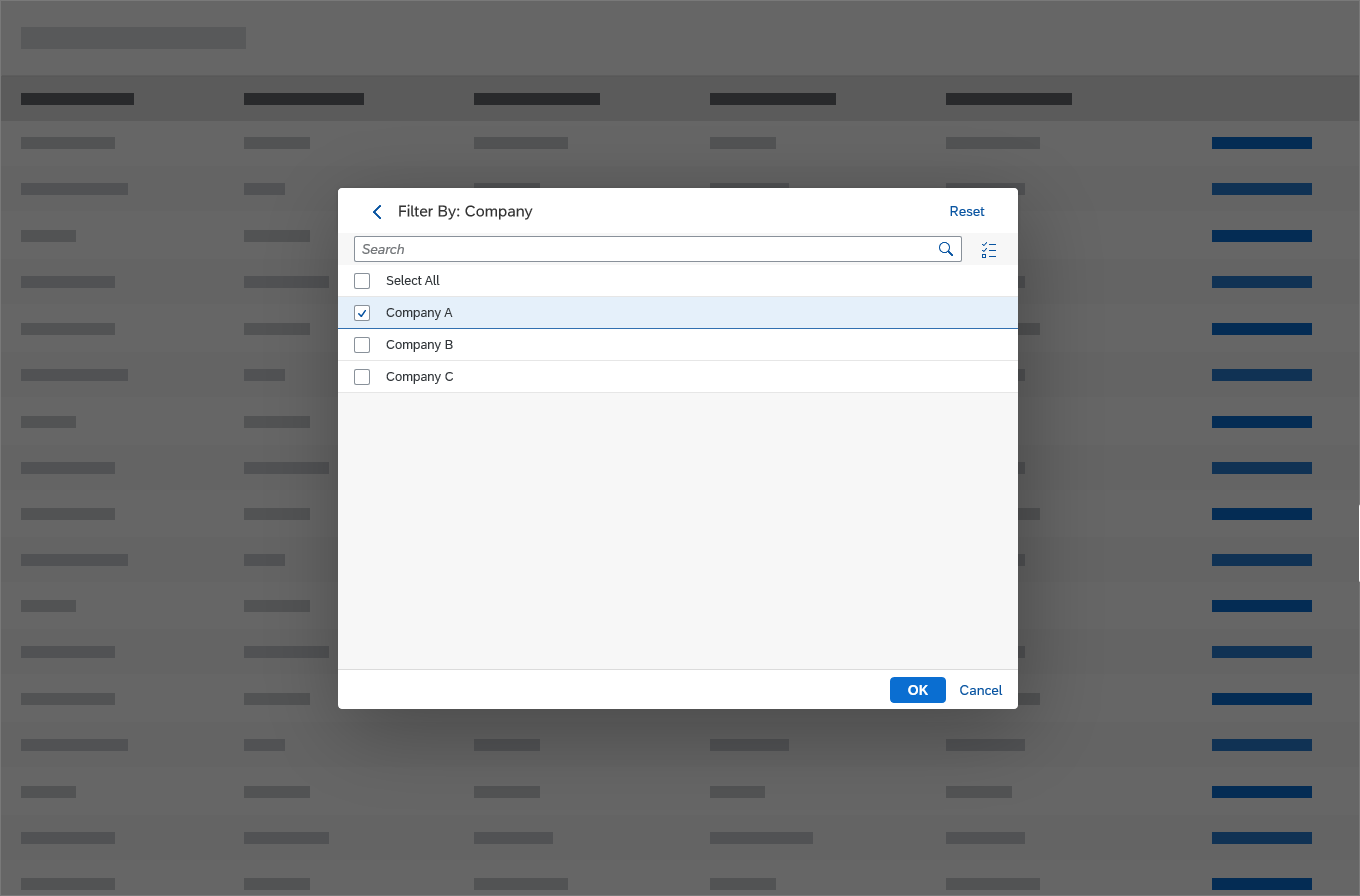
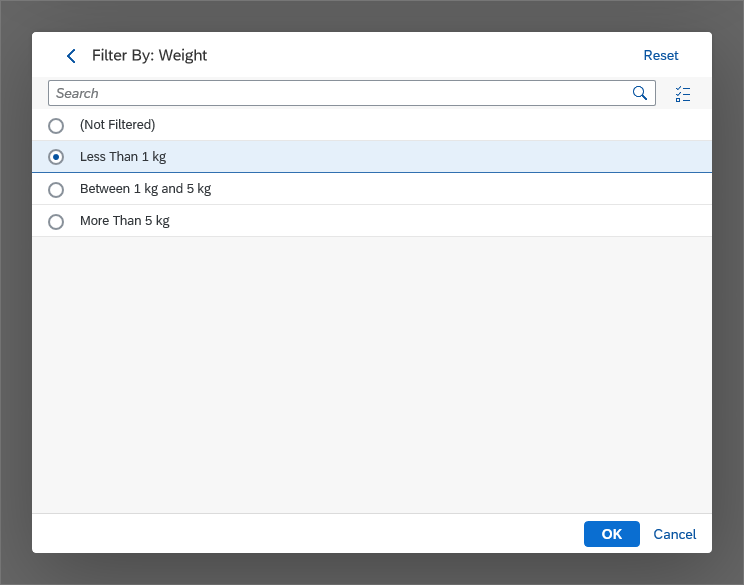
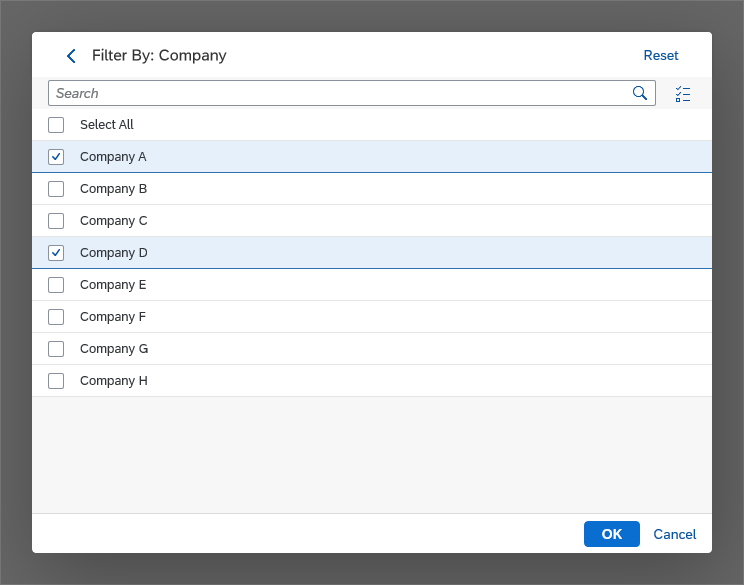
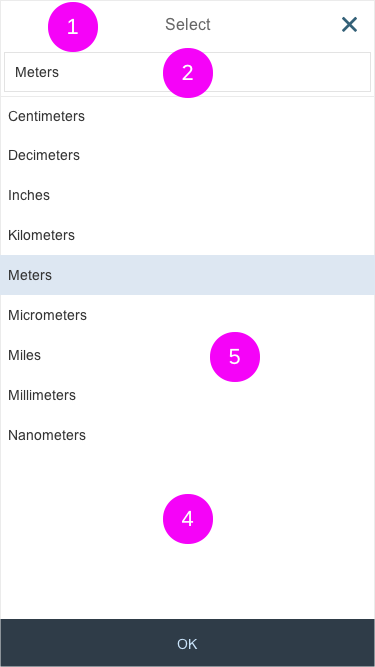
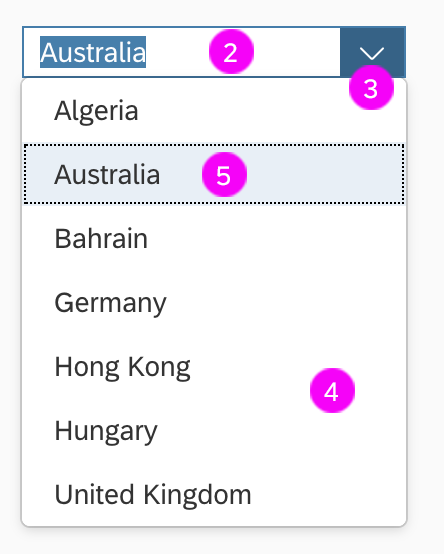
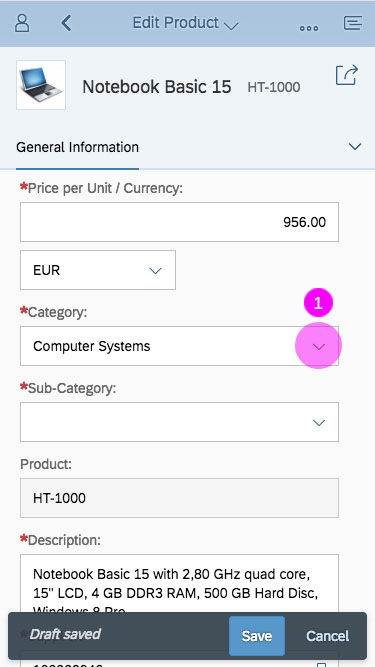
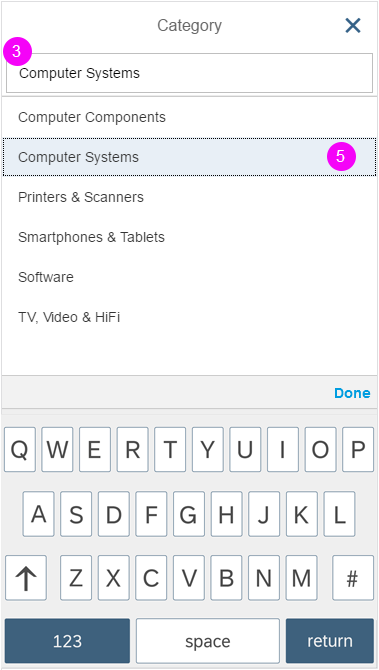
Using Value Help
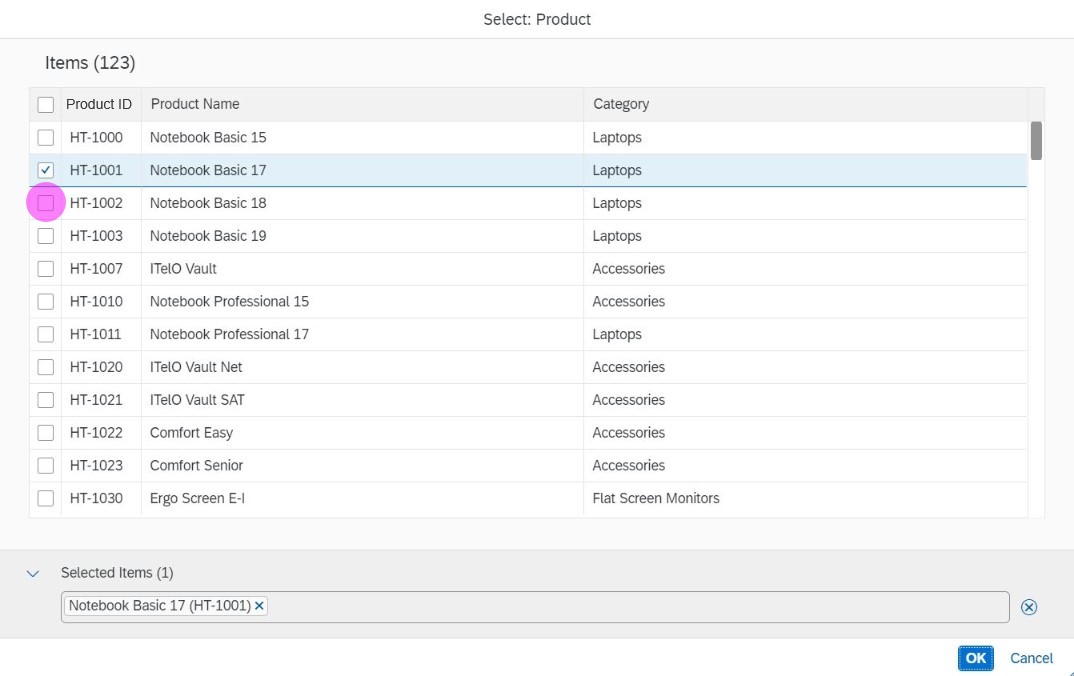
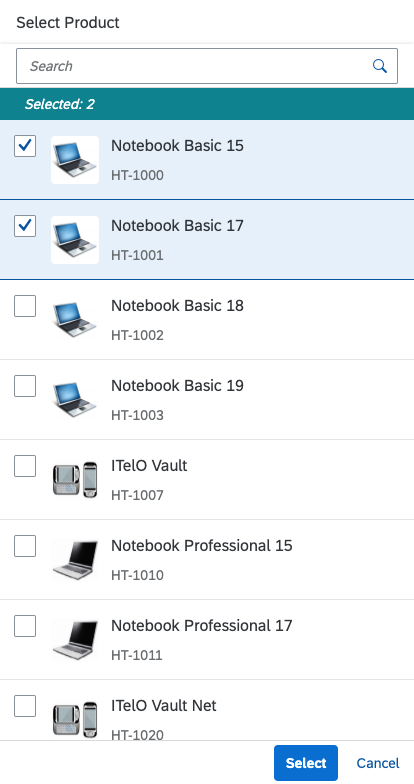
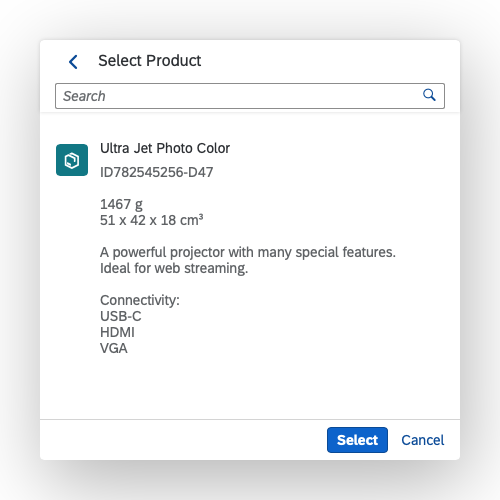
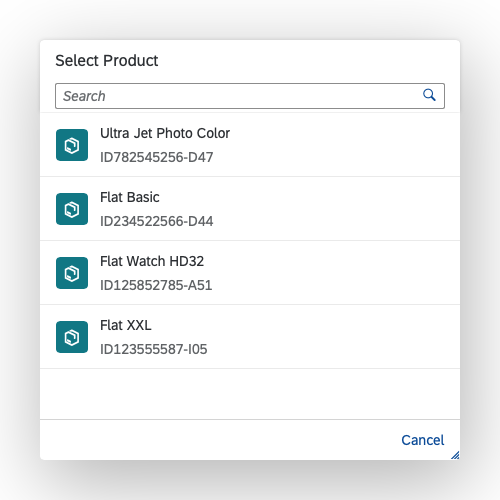
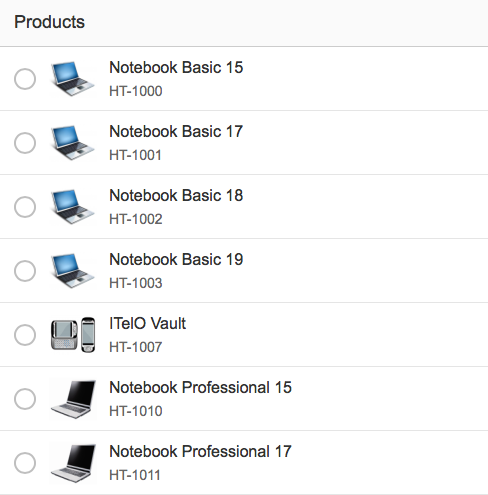
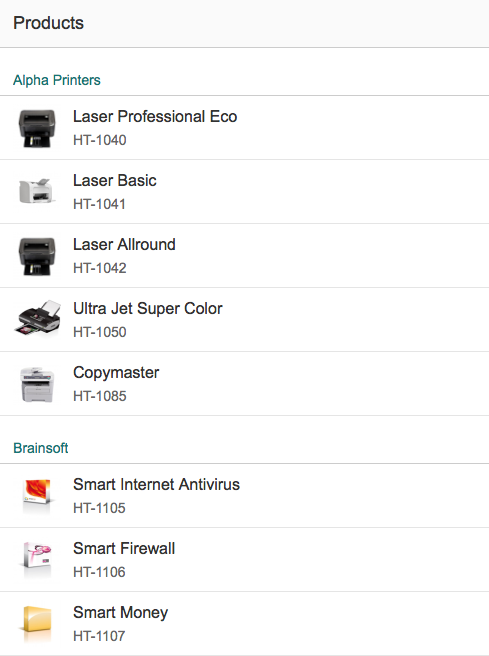
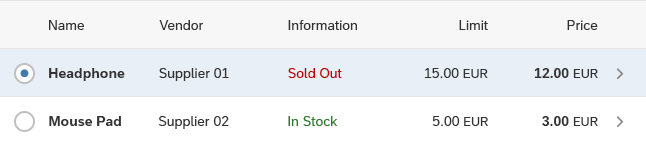
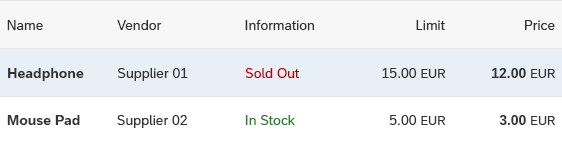
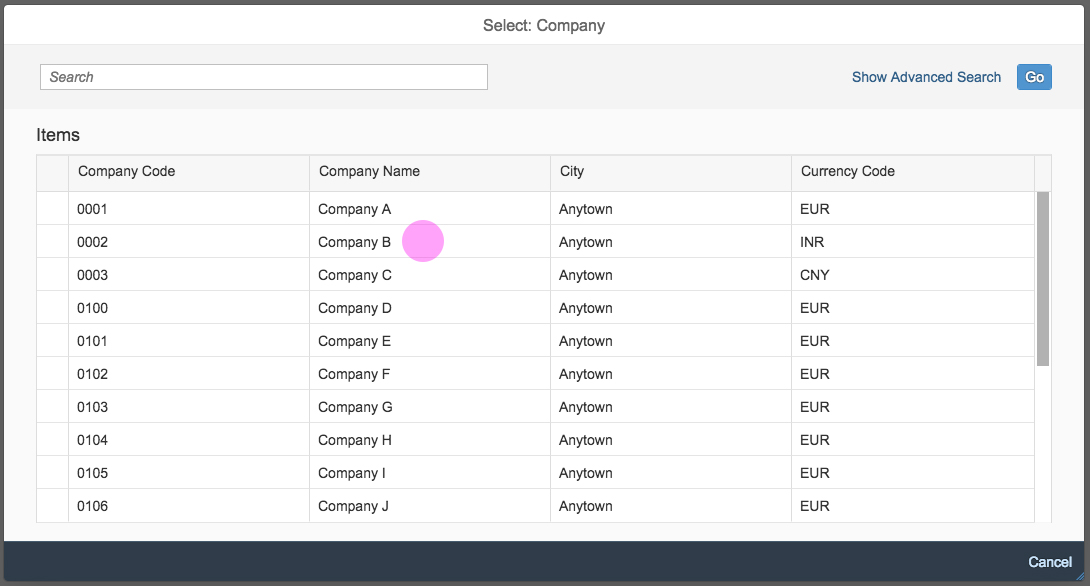
You can enable the value help option to provide a more advanced dialog for finding the relevant business object. Two dialogs can be used at present:
- Select dialog (simple)
- Value help dialog (complex)
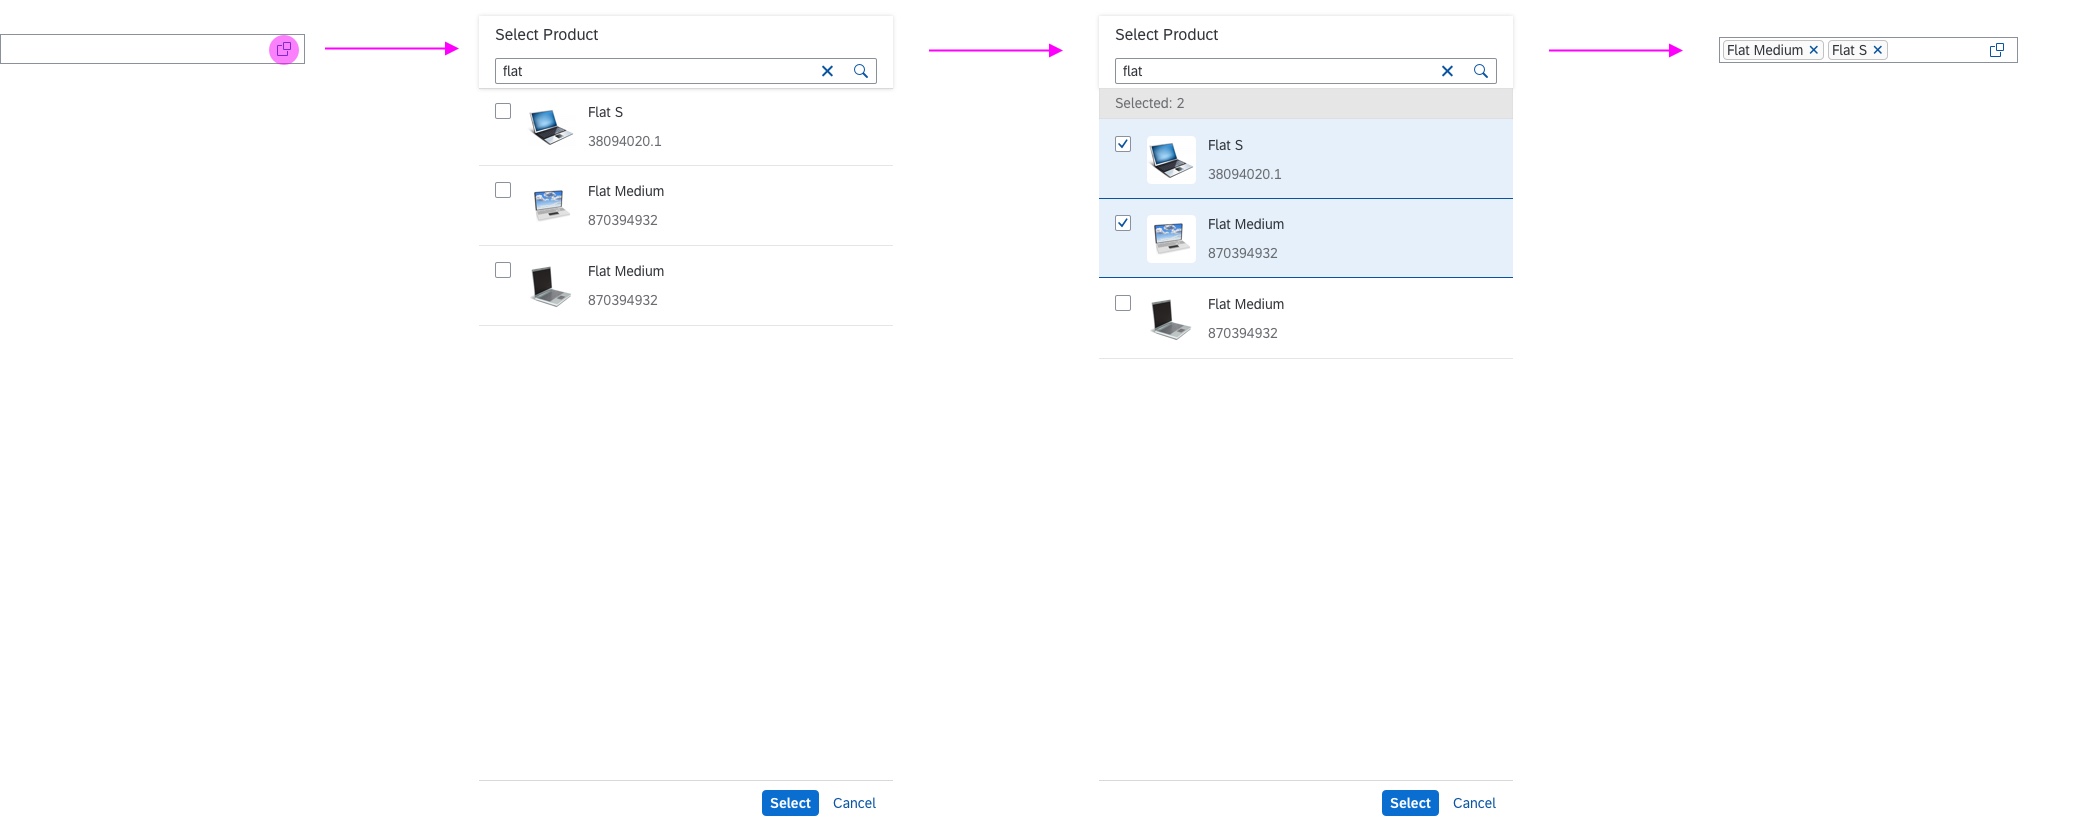
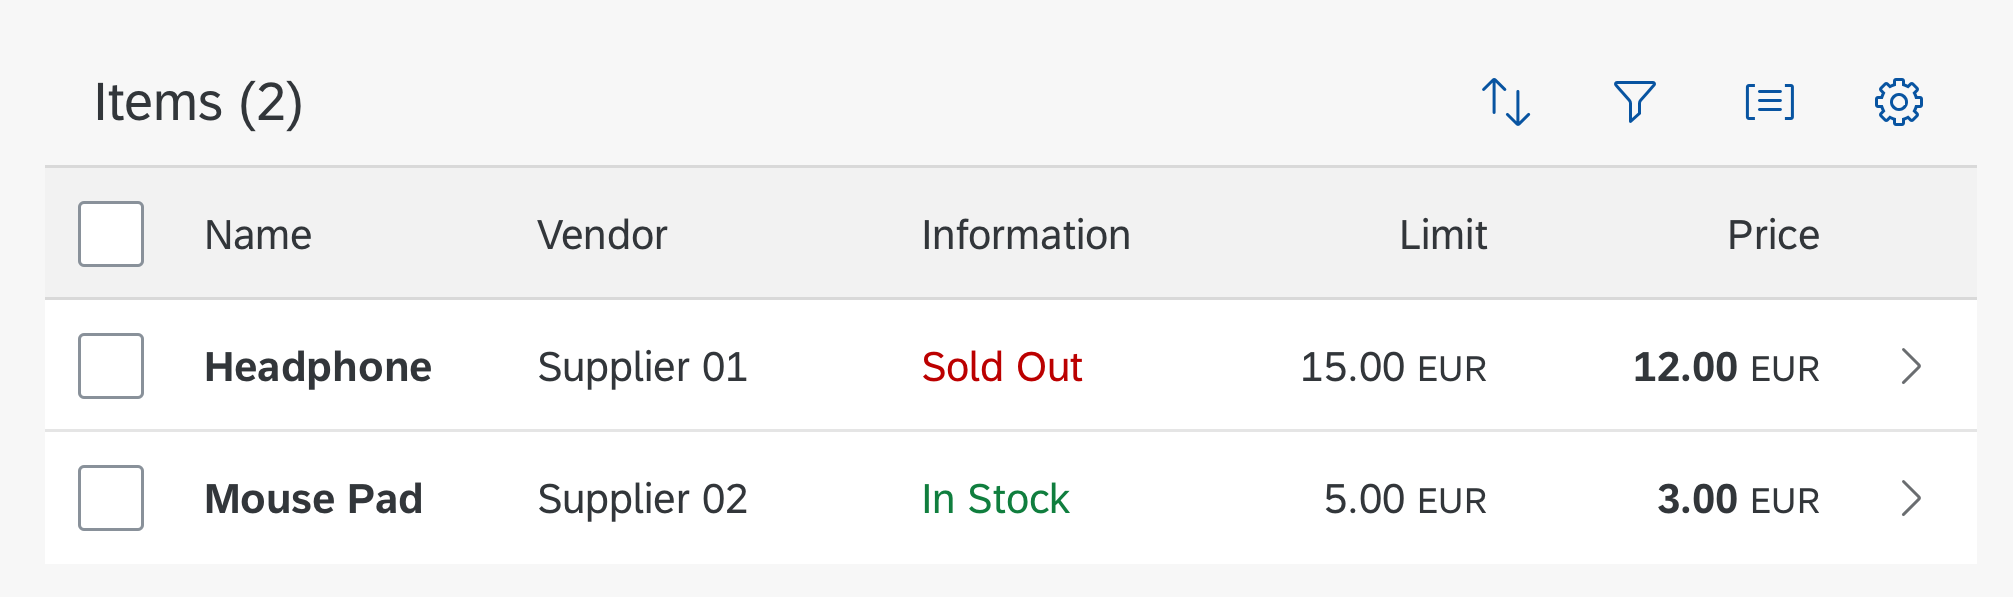
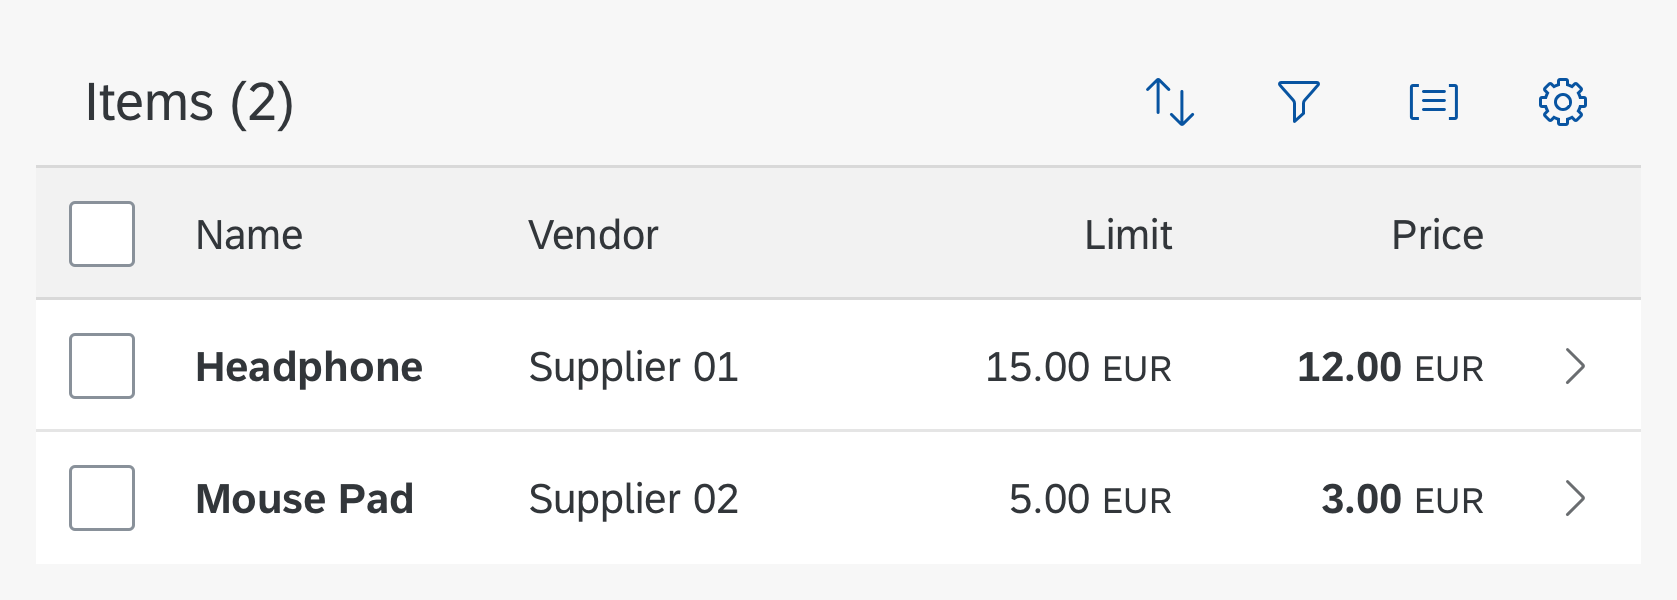
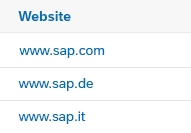
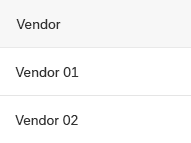
Value help with select dialog

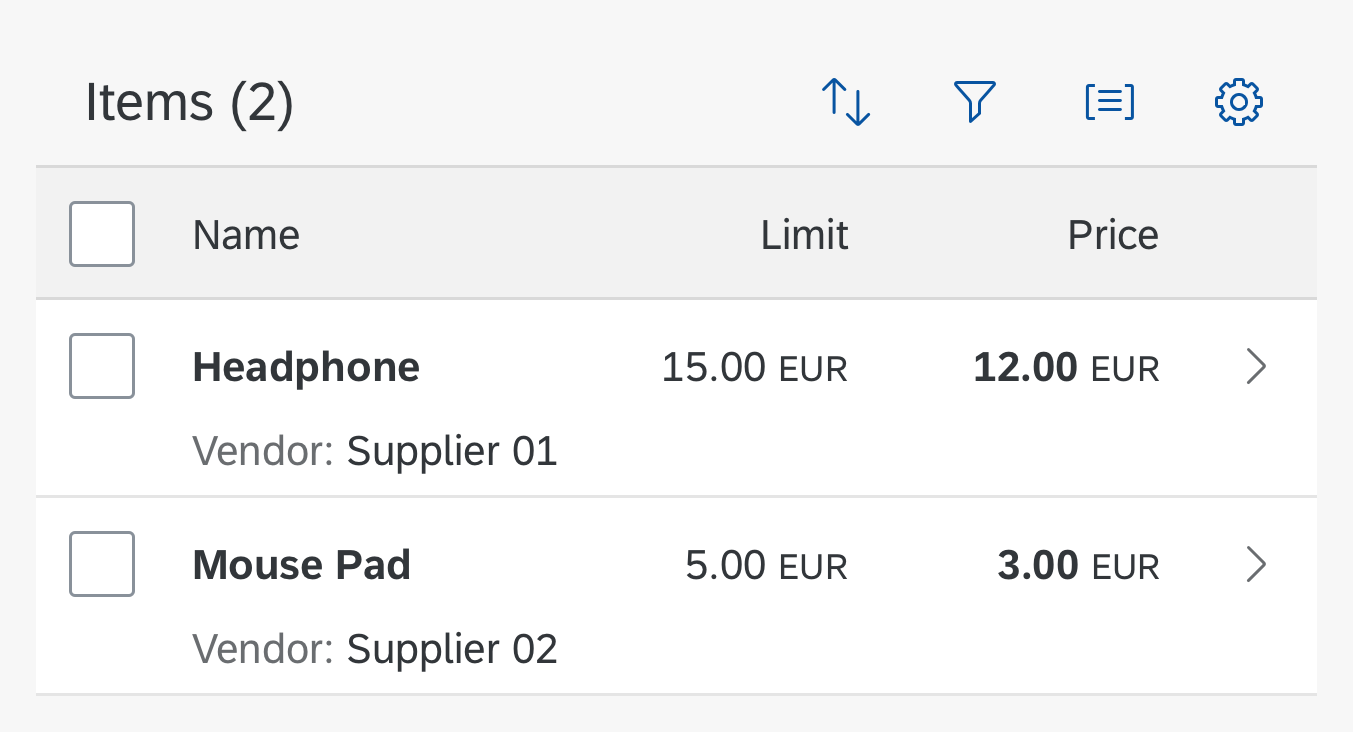
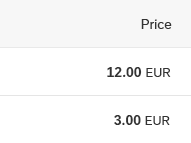
Value help with value help dialog
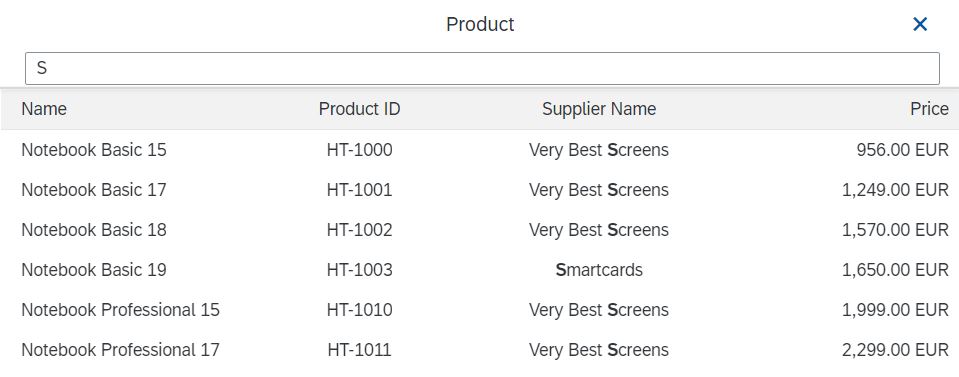
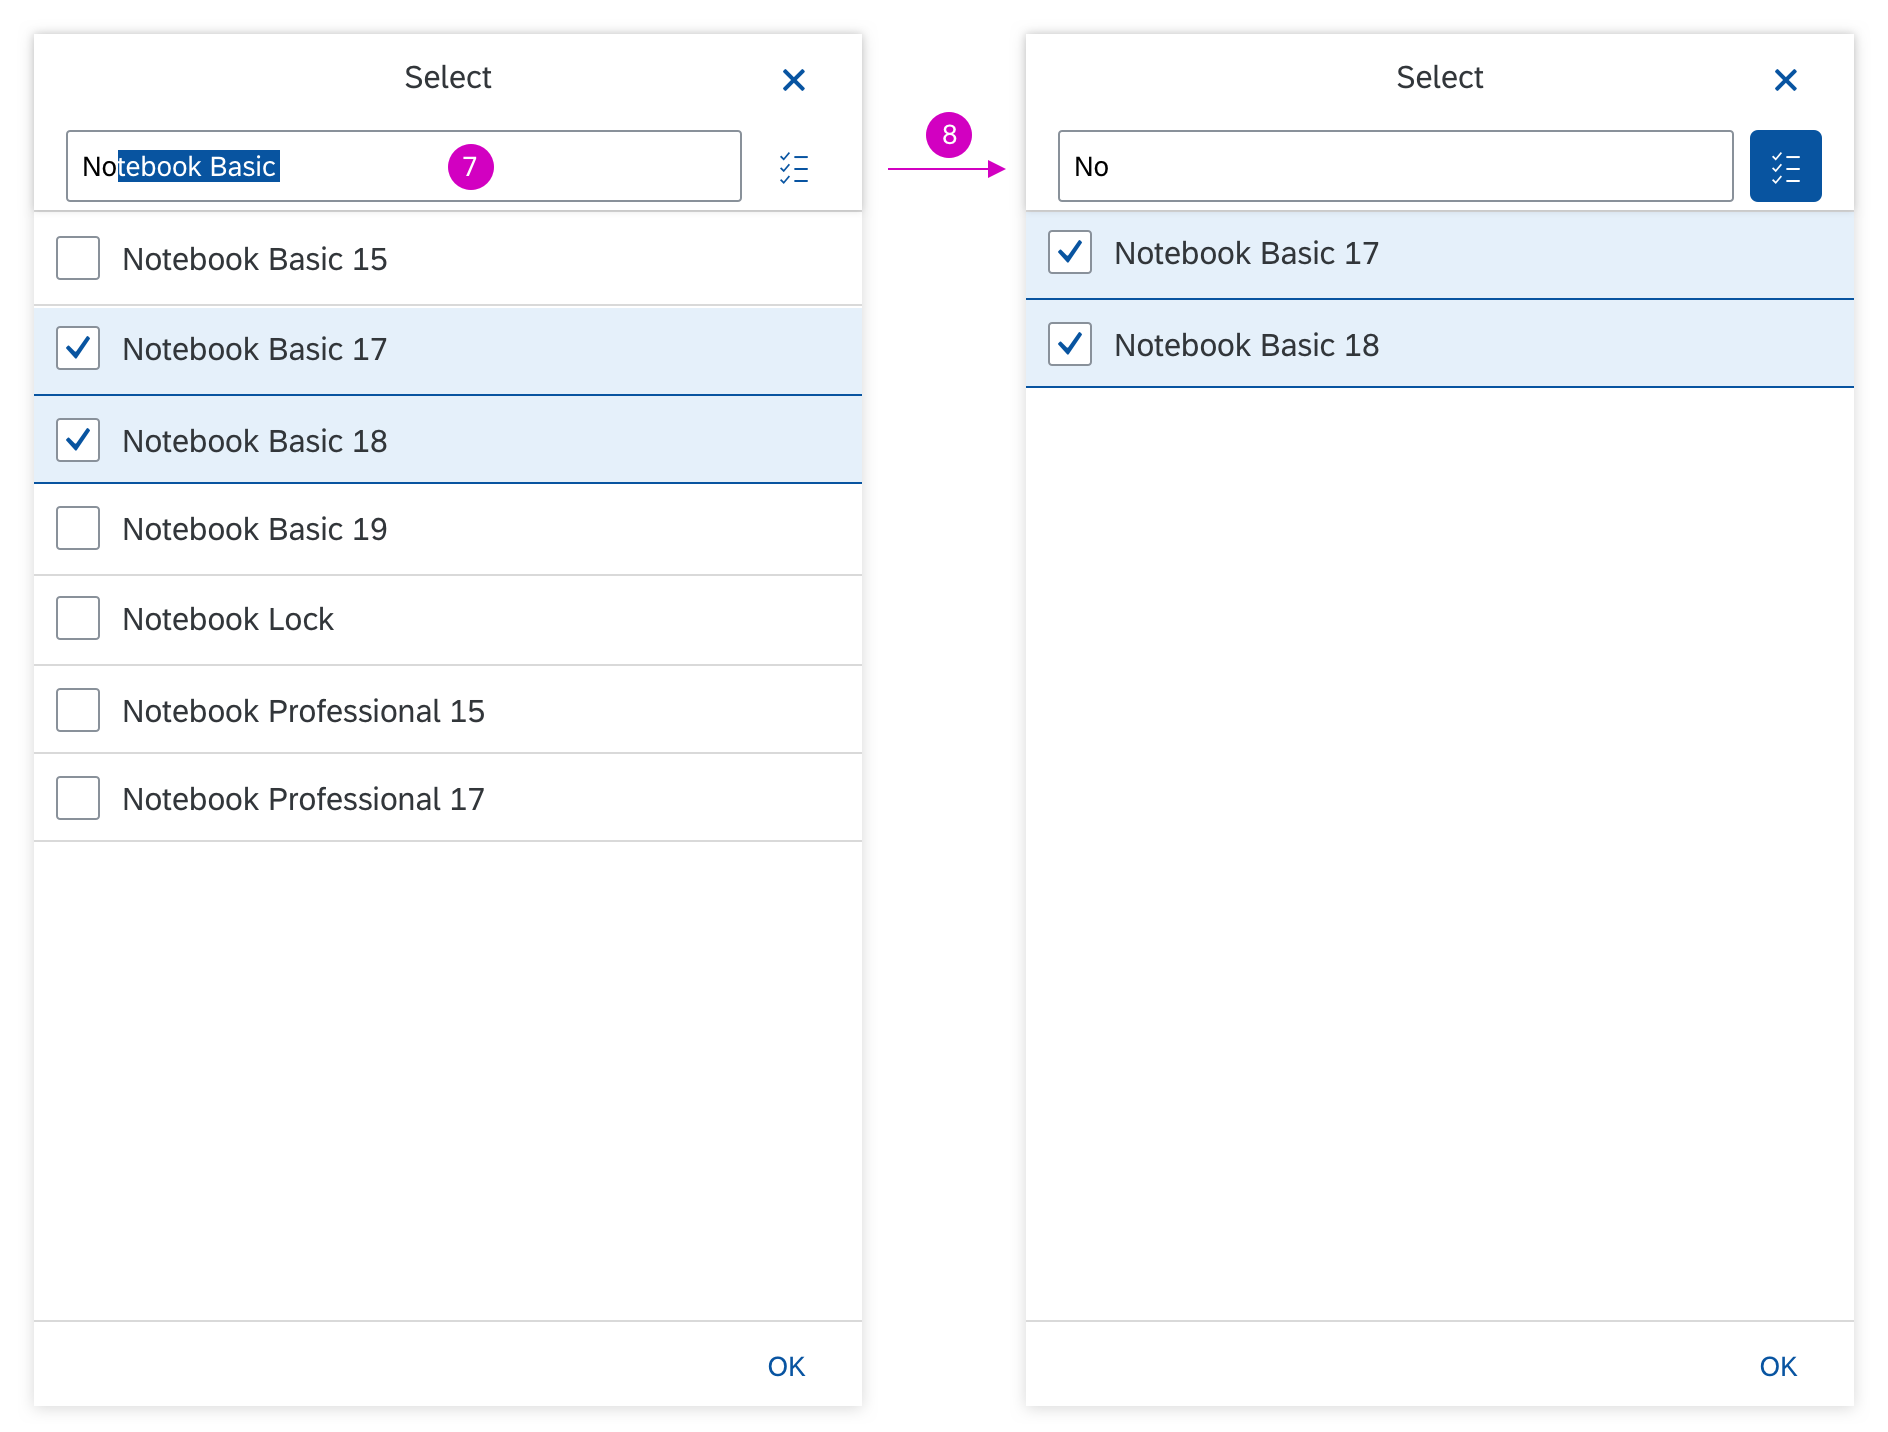
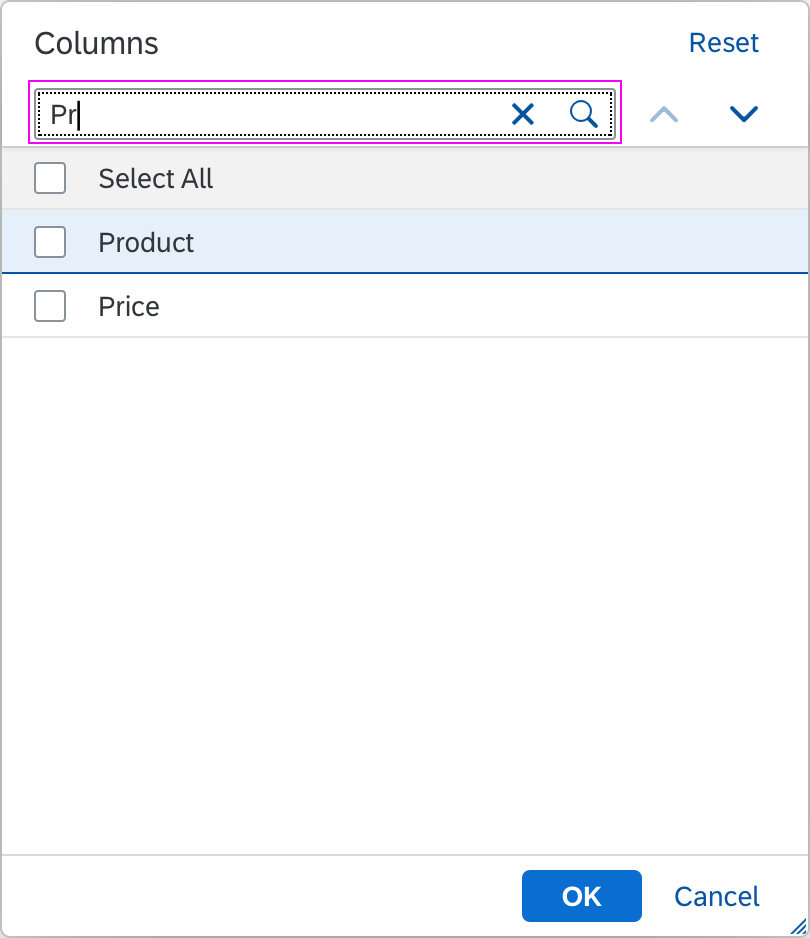
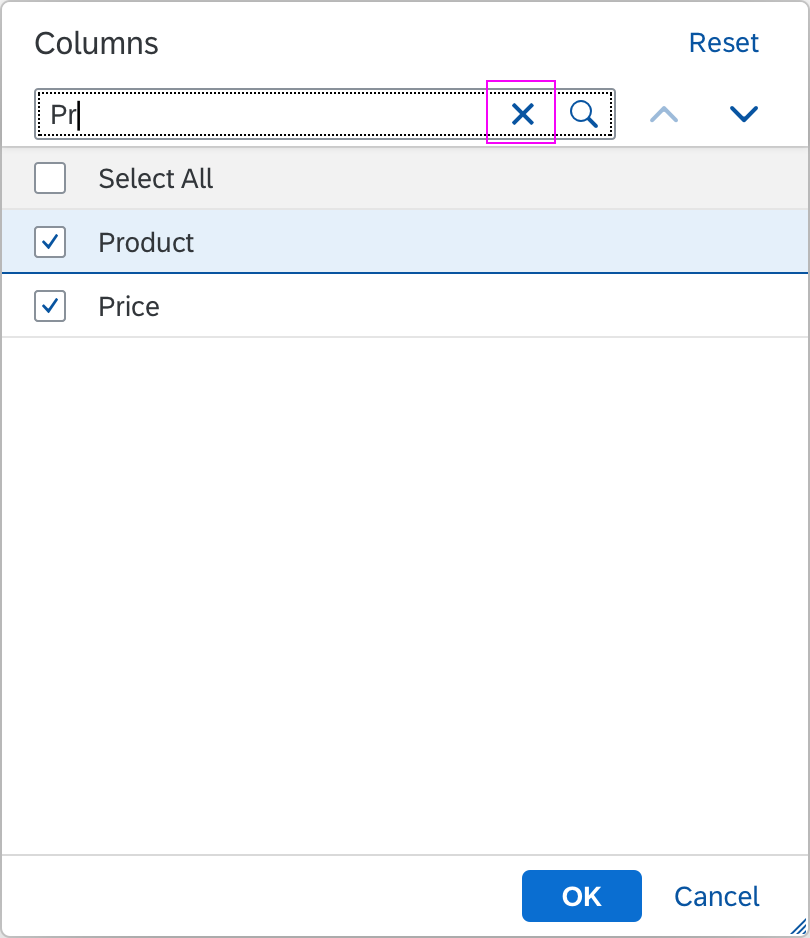
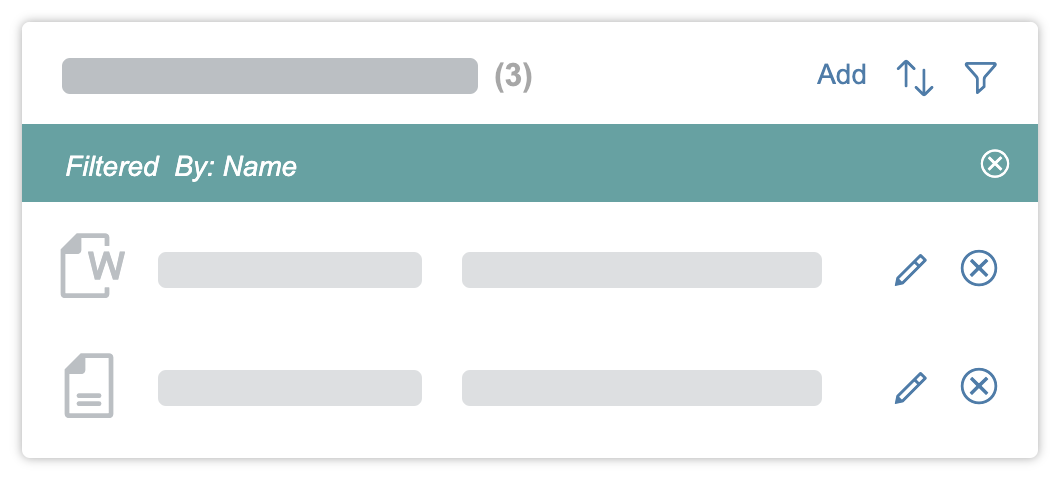
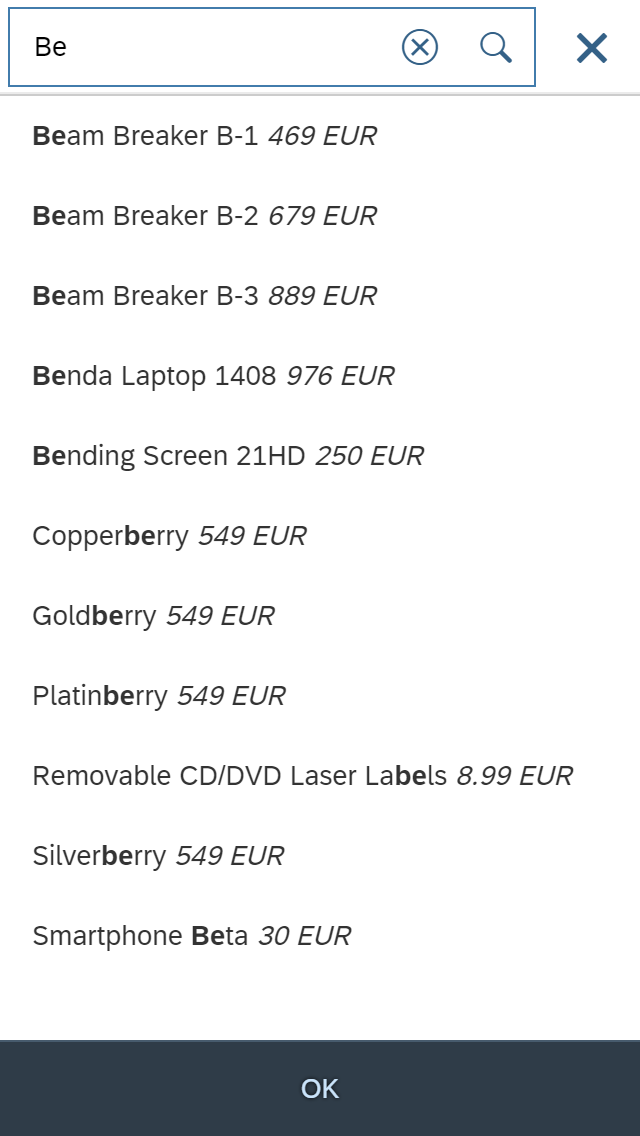
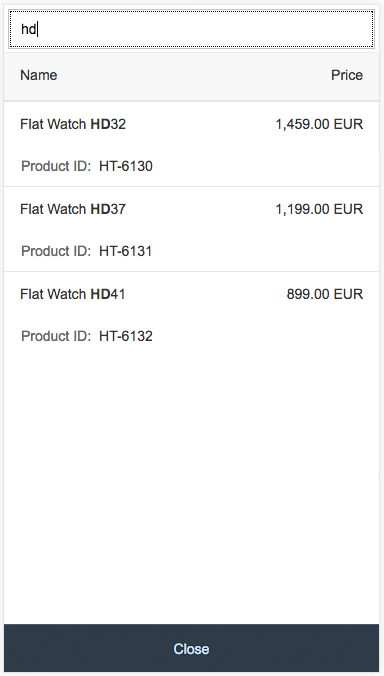
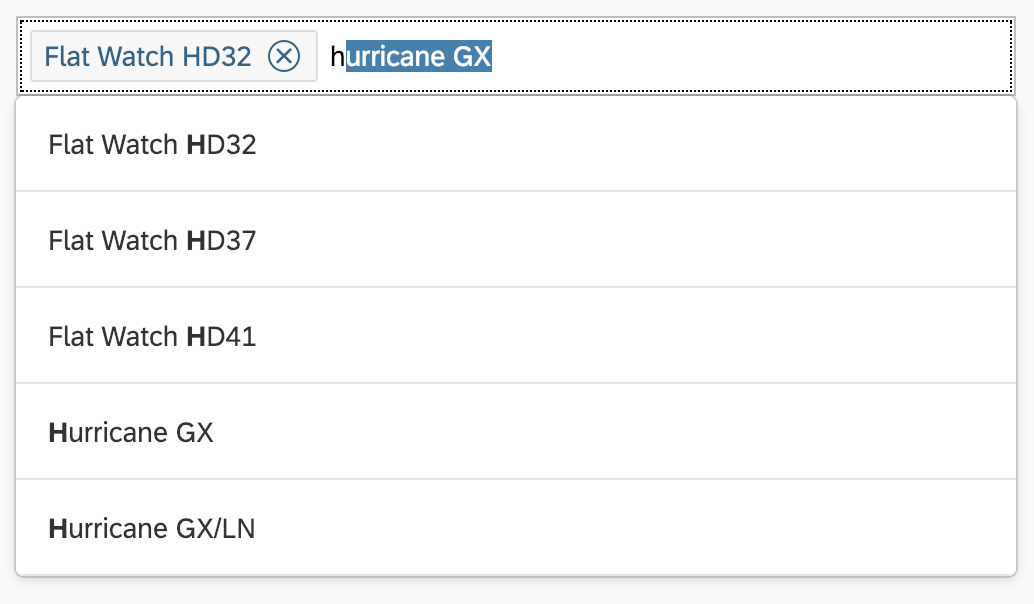
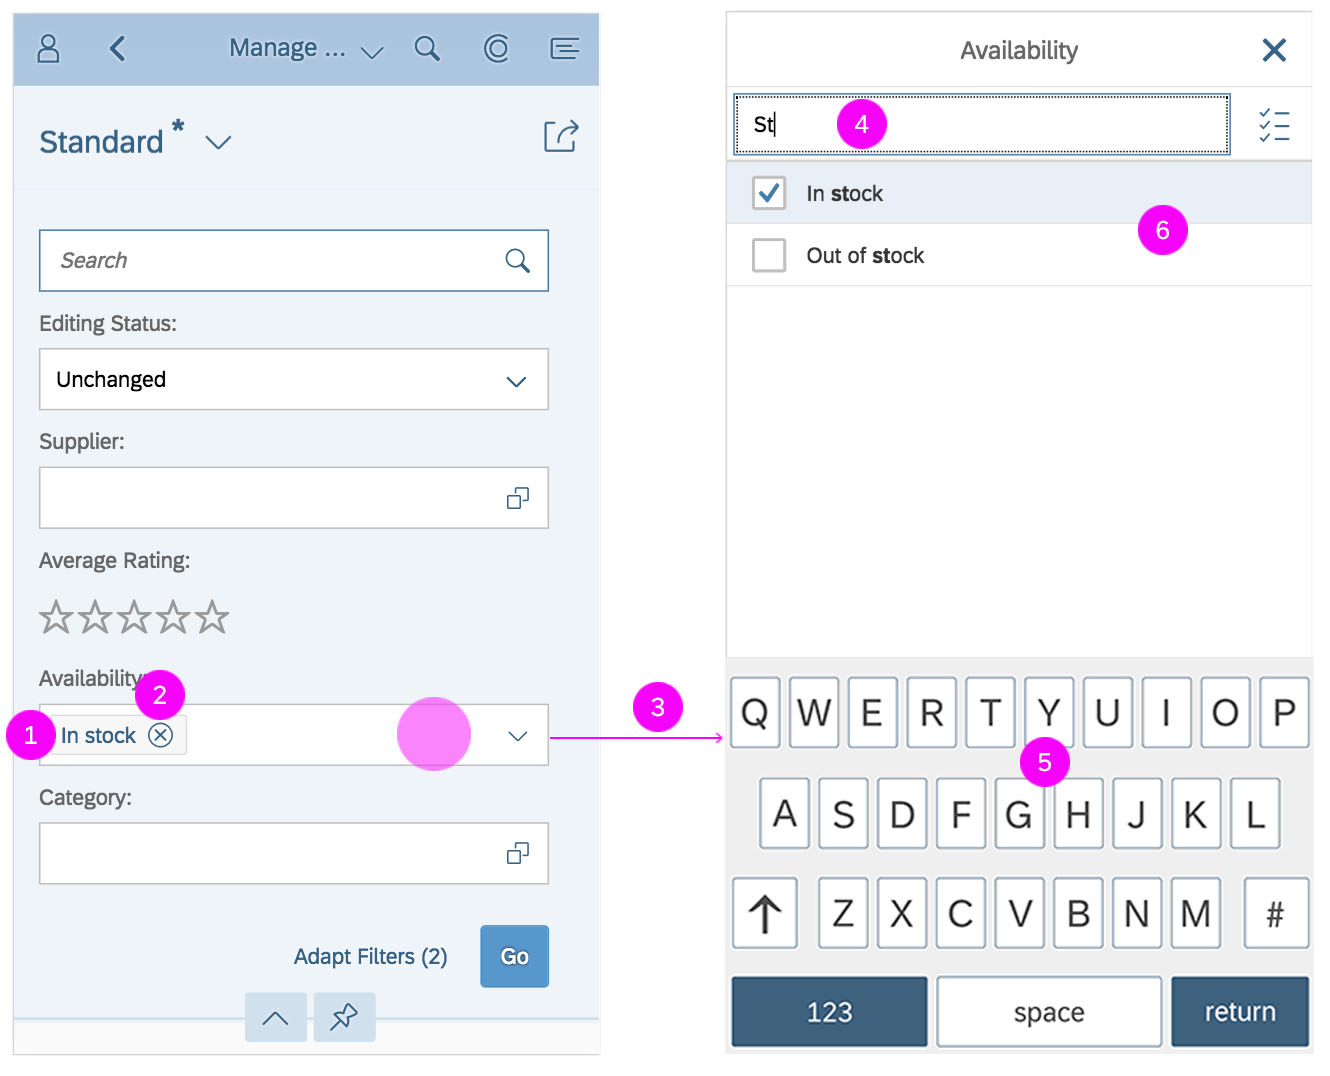
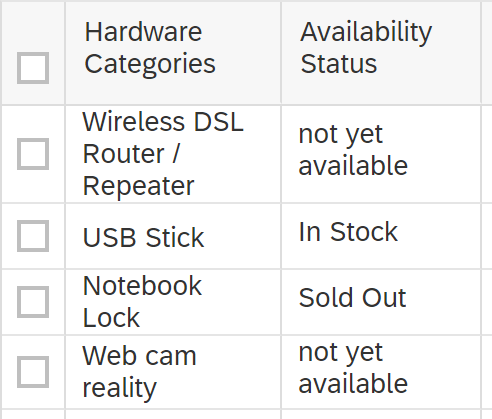
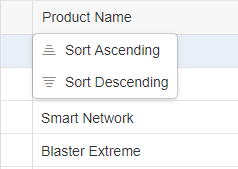
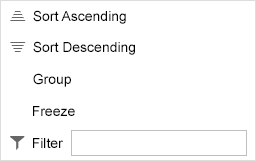
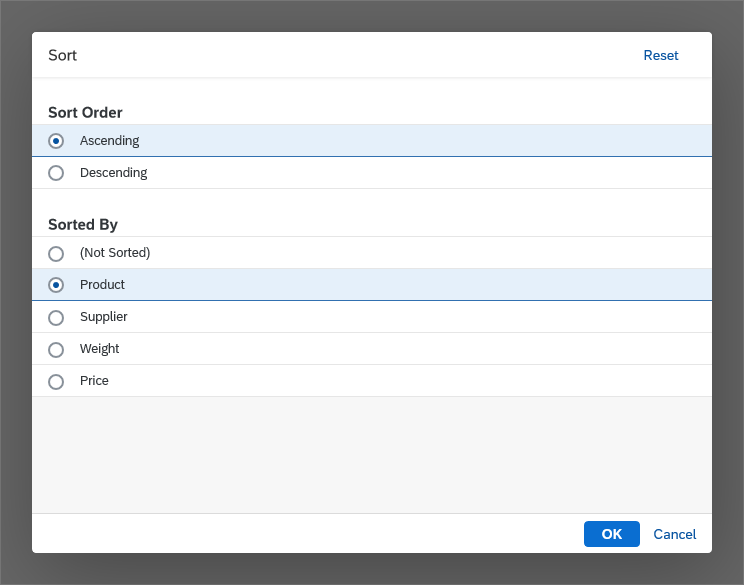
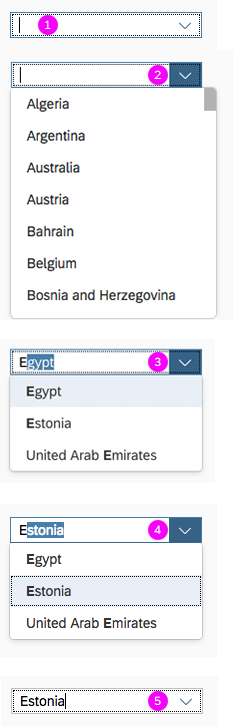
Filtering
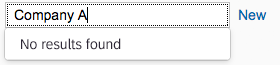
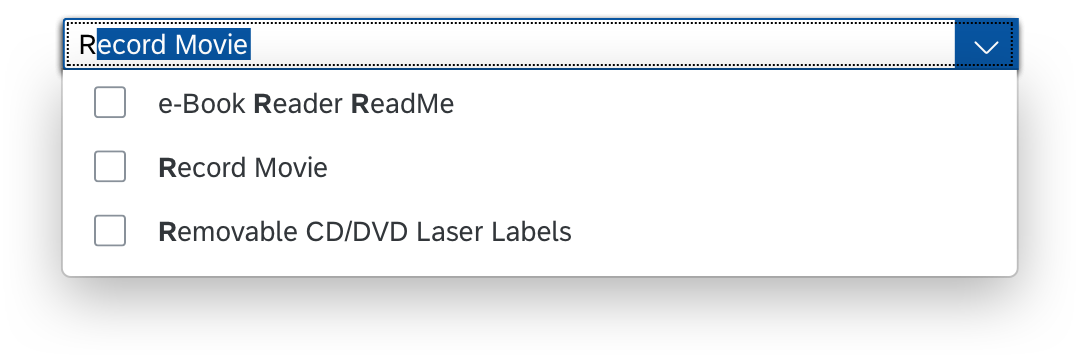
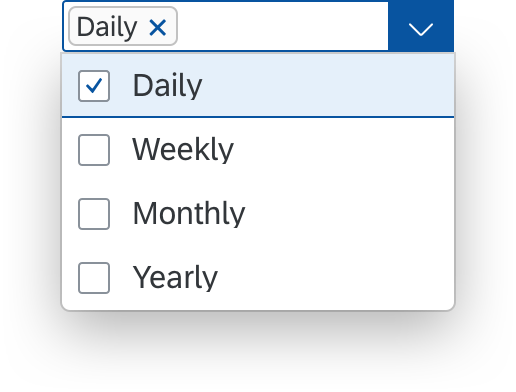
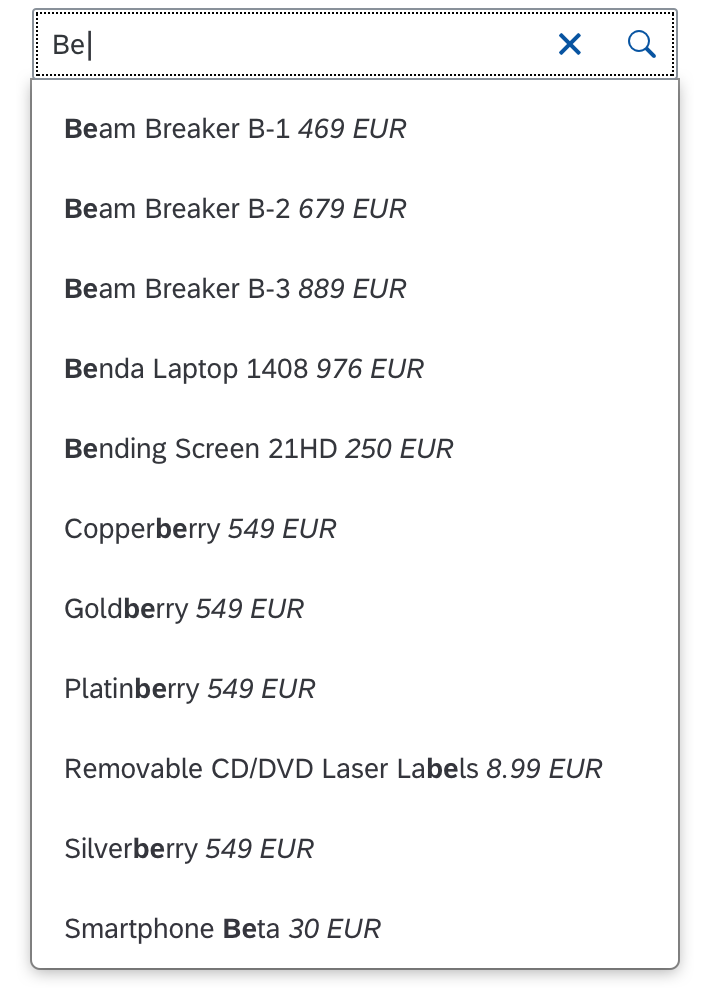
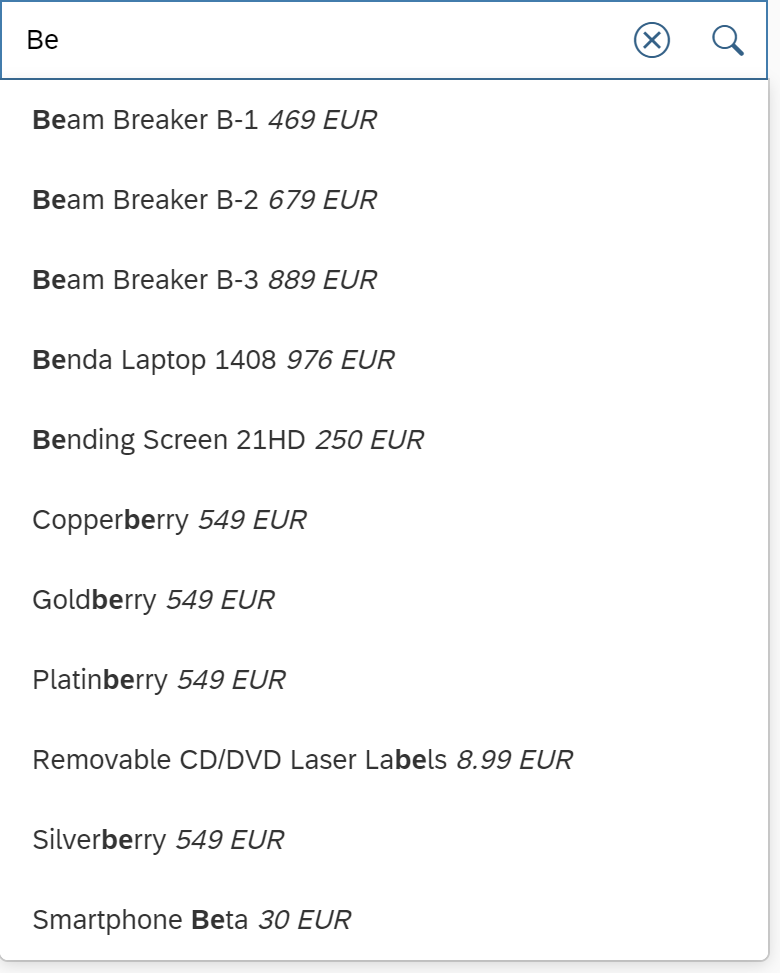
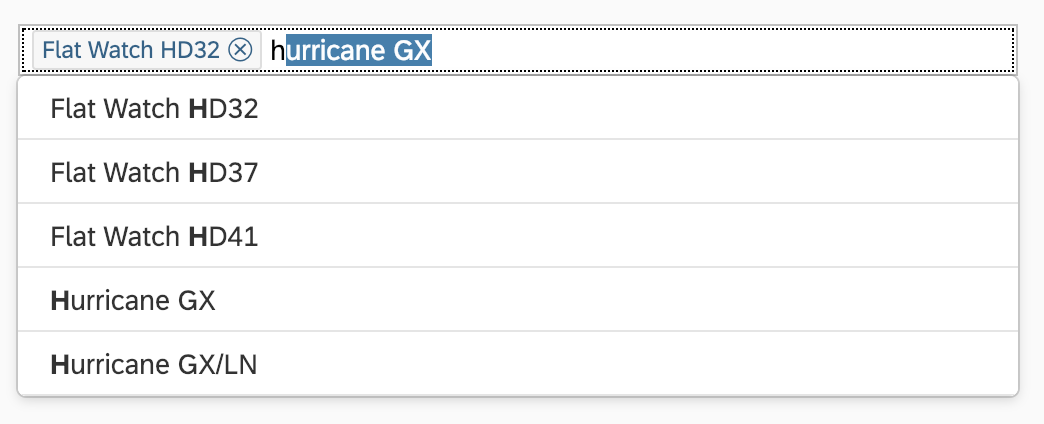
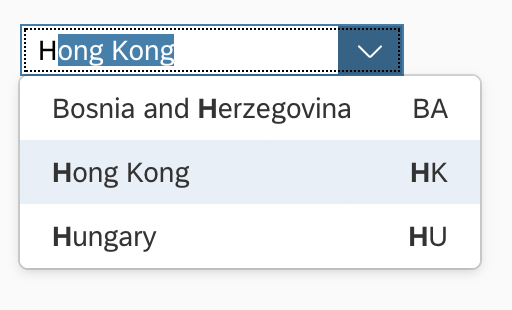
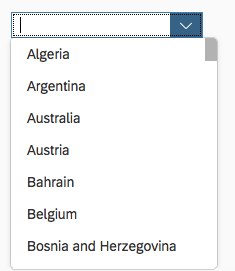
When the user starts typing in the input field, the list is filtered. Only items that match the character or characters entered are shown in the dropdown list. The default filtering method is “starts with per term”, which matches the beginning of each word in an item’s text.
In addition, application developers can set a custom filtering method “starts with” or “contains” (method: setFilterFunction). The “starts with” approach filters only for items where the beginning of the label matches the query entered. The “contains” approach searches the full label for a match.
As a visual hint for the user, the matched characters are highlighted (bold) in the option list items. The highlighting works on the basis of “starts with per term”, regardless of the filtering method.

Multi-input field - Default filtering, autocomplete in the input field is switched off
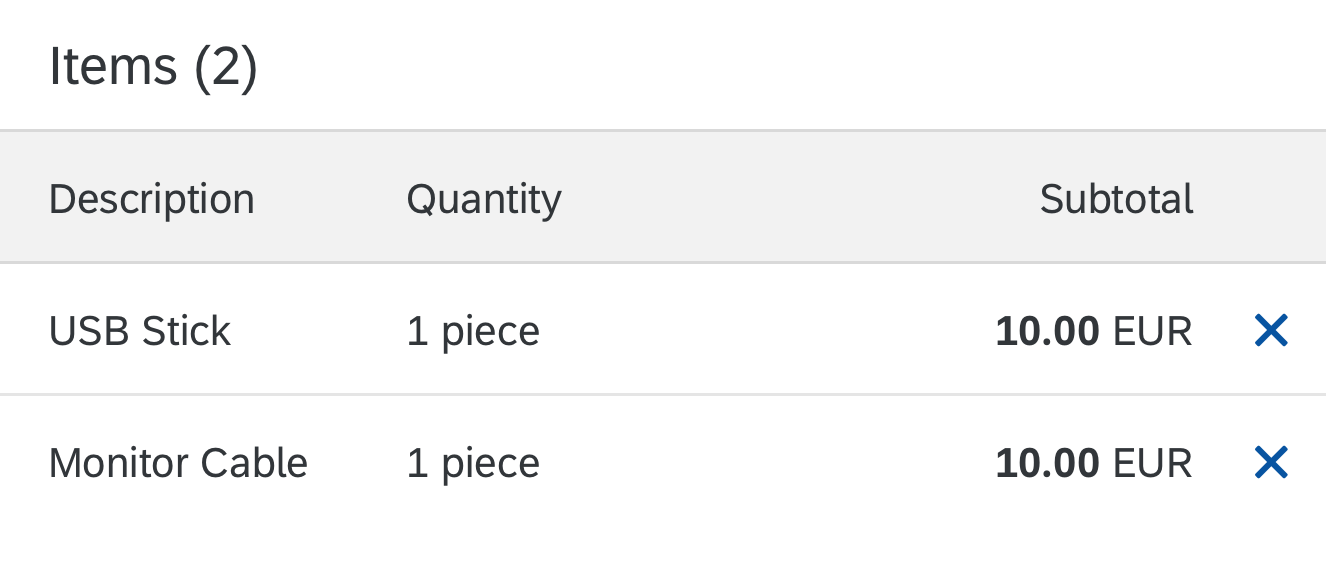
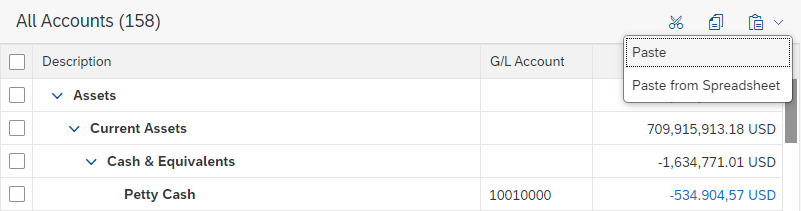
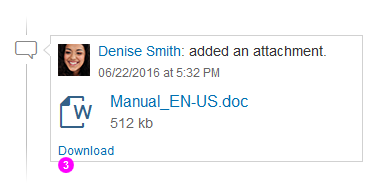
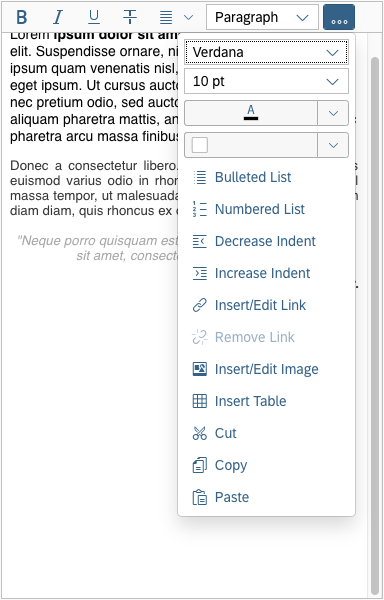
Copying and Pasting Data from a Spreadsheet or Text File
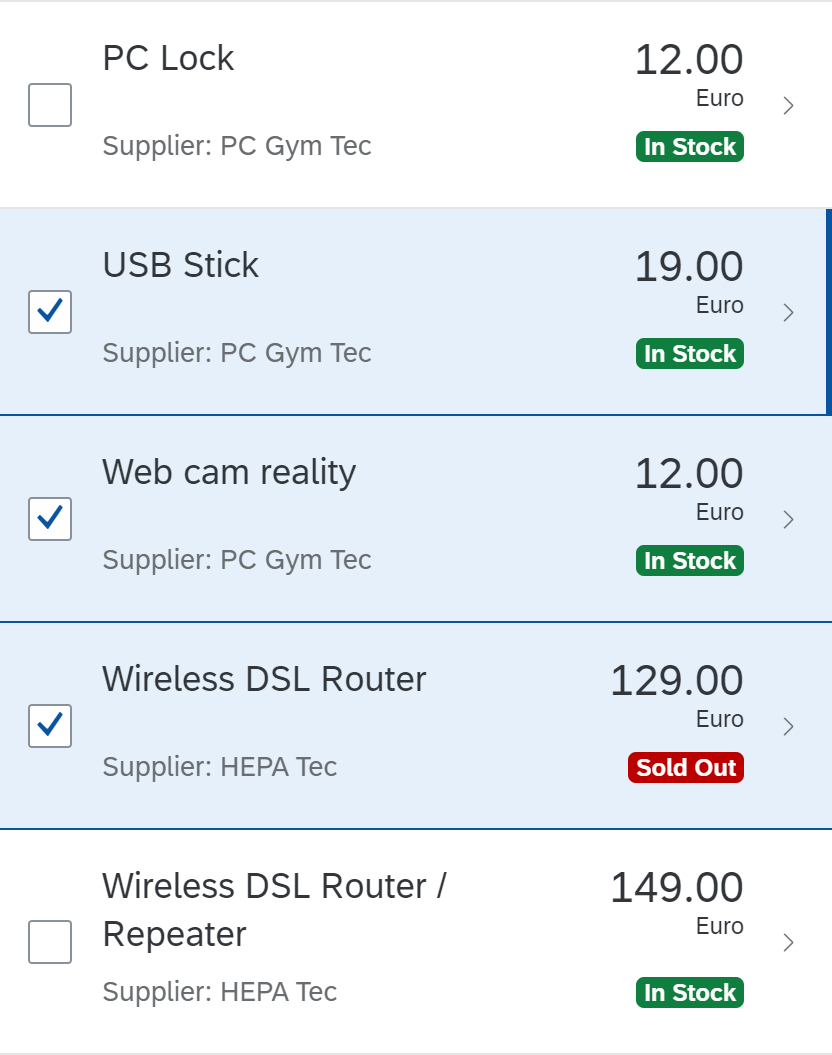
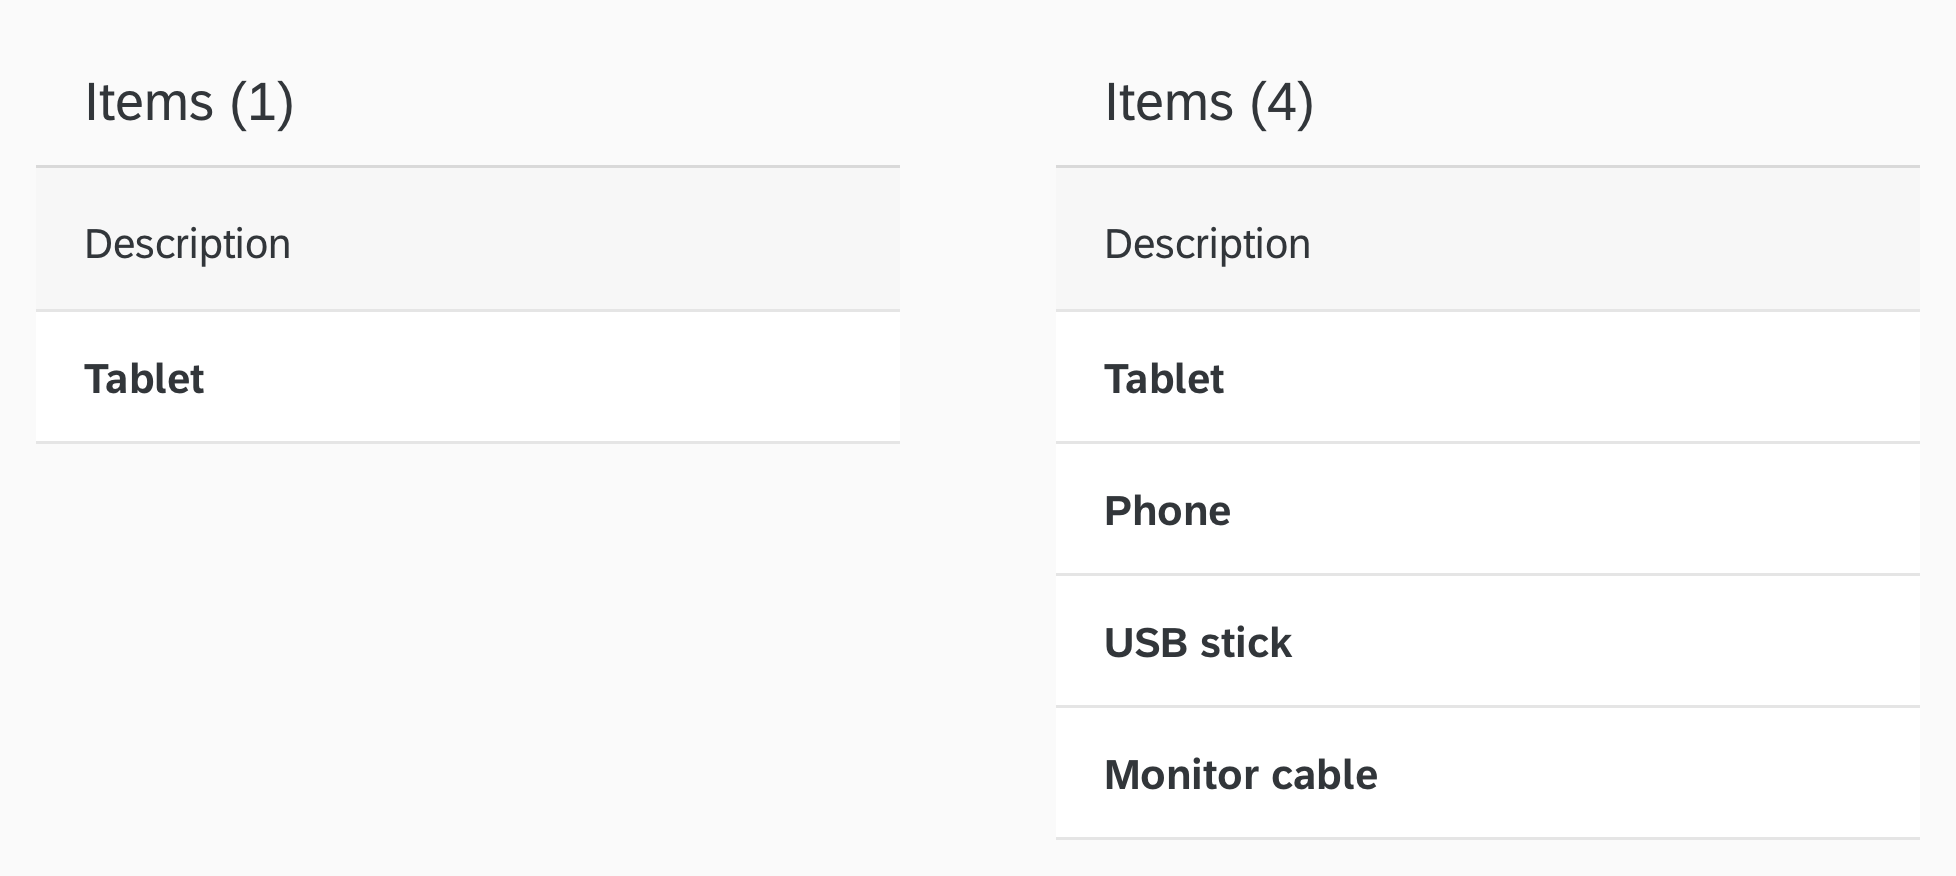
The multi-input field can handle paste actions containing multiple items, such as items that have been selected in a column of a spreadsheet or text file. The user simply selects a whole column in the spreadsheet, copies it, and then pastes it from the clipboard into the multi-input field. Each item is represented as a token. If a single value is copied and pasted into the field, it is shown as a text value, as further editing might be required before it is converted into a token.
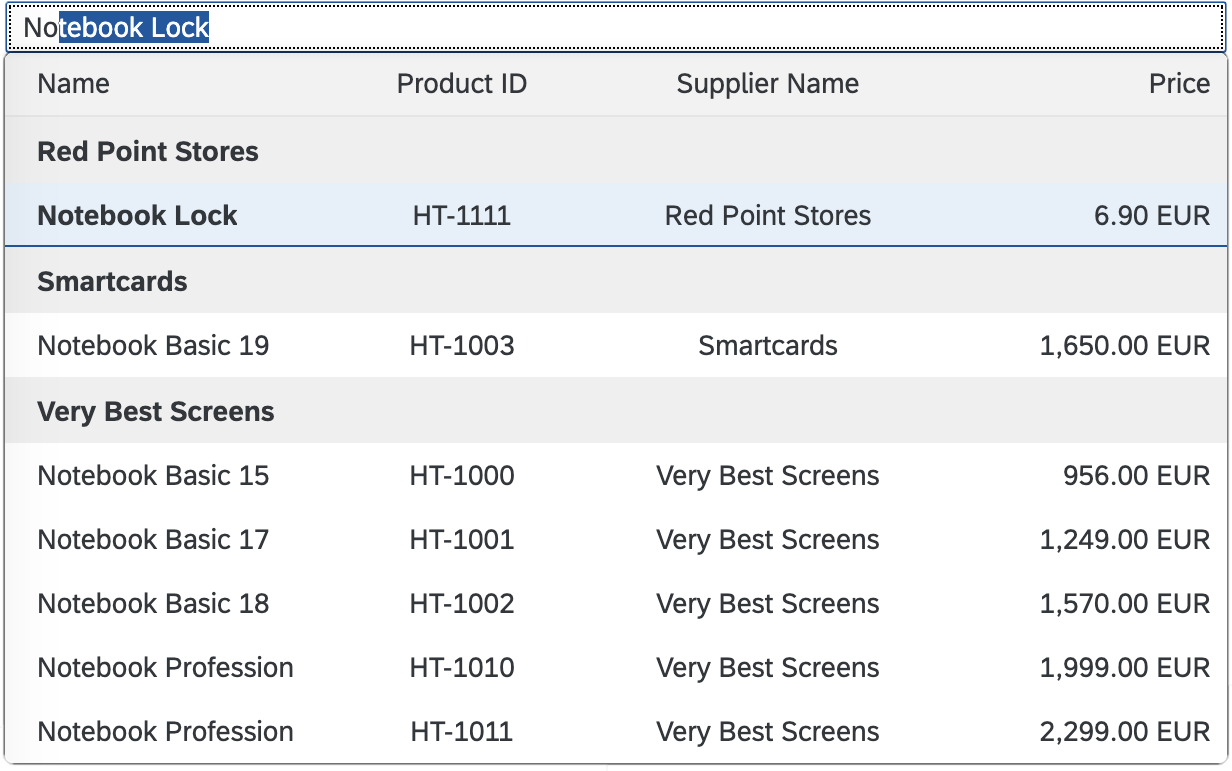
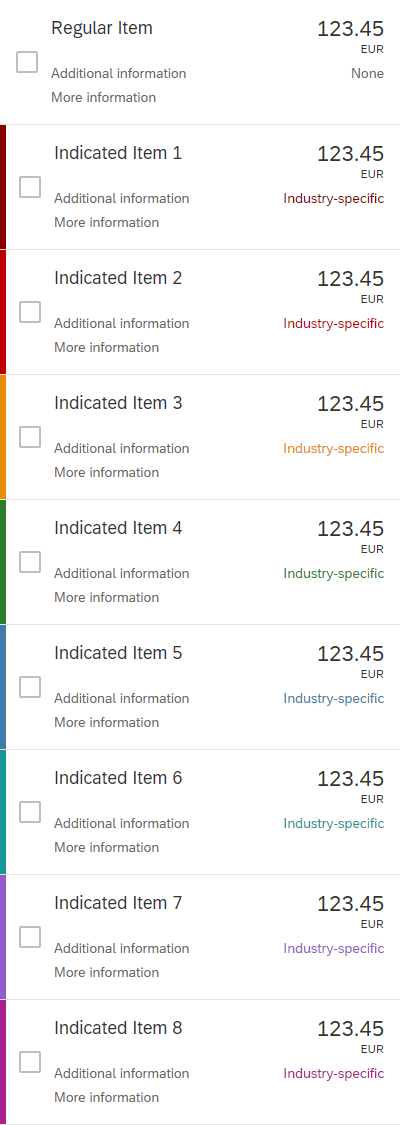
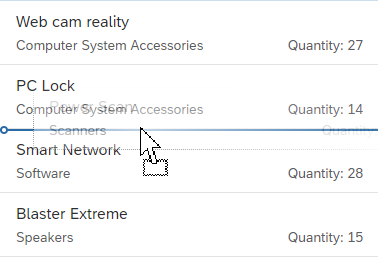
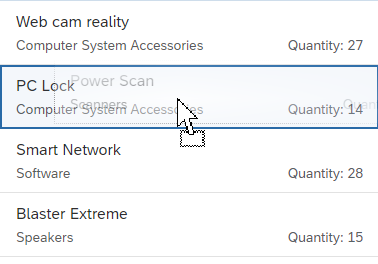
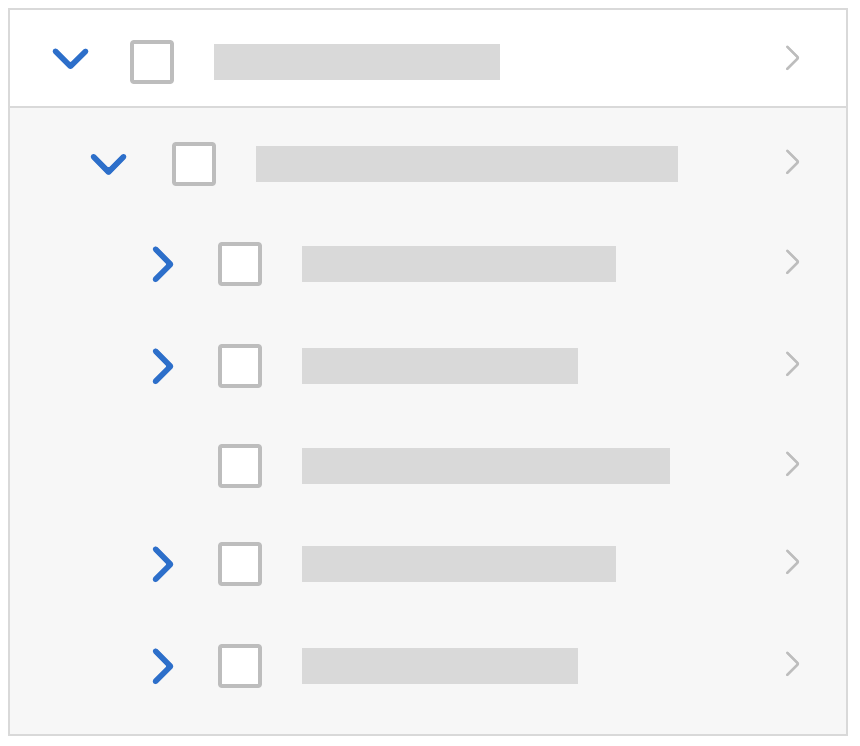
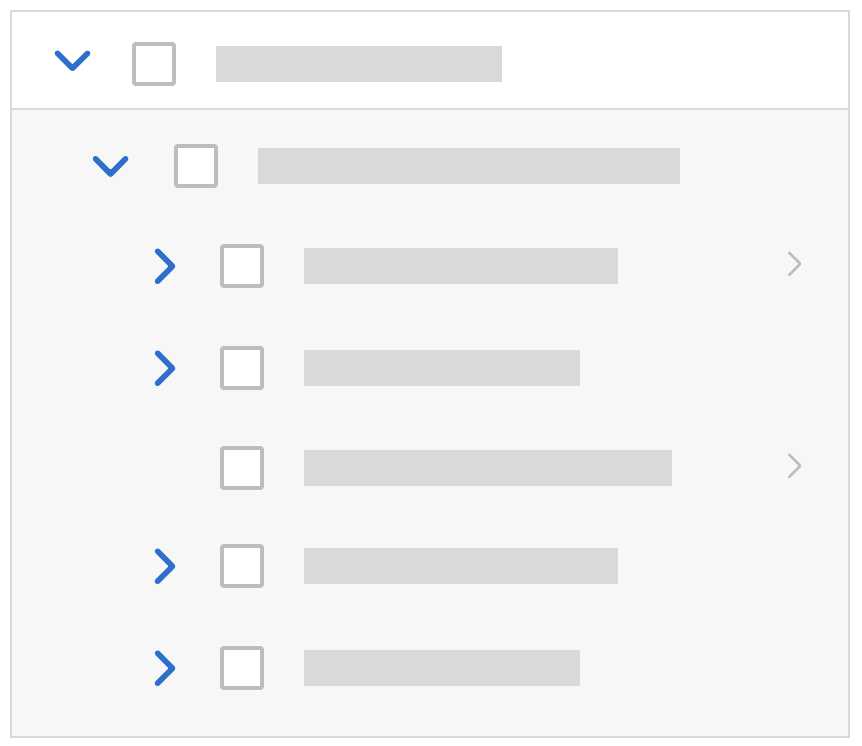
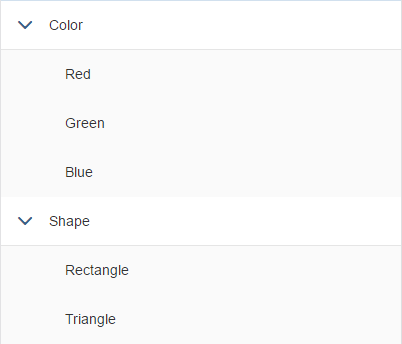
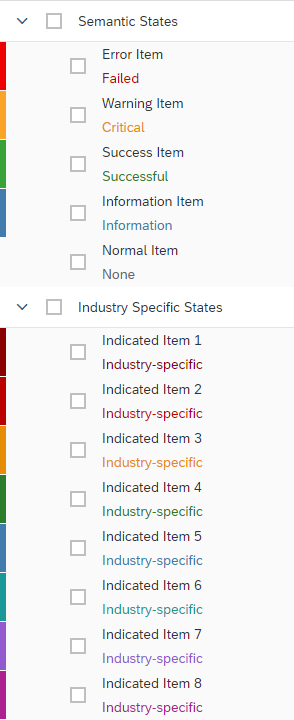
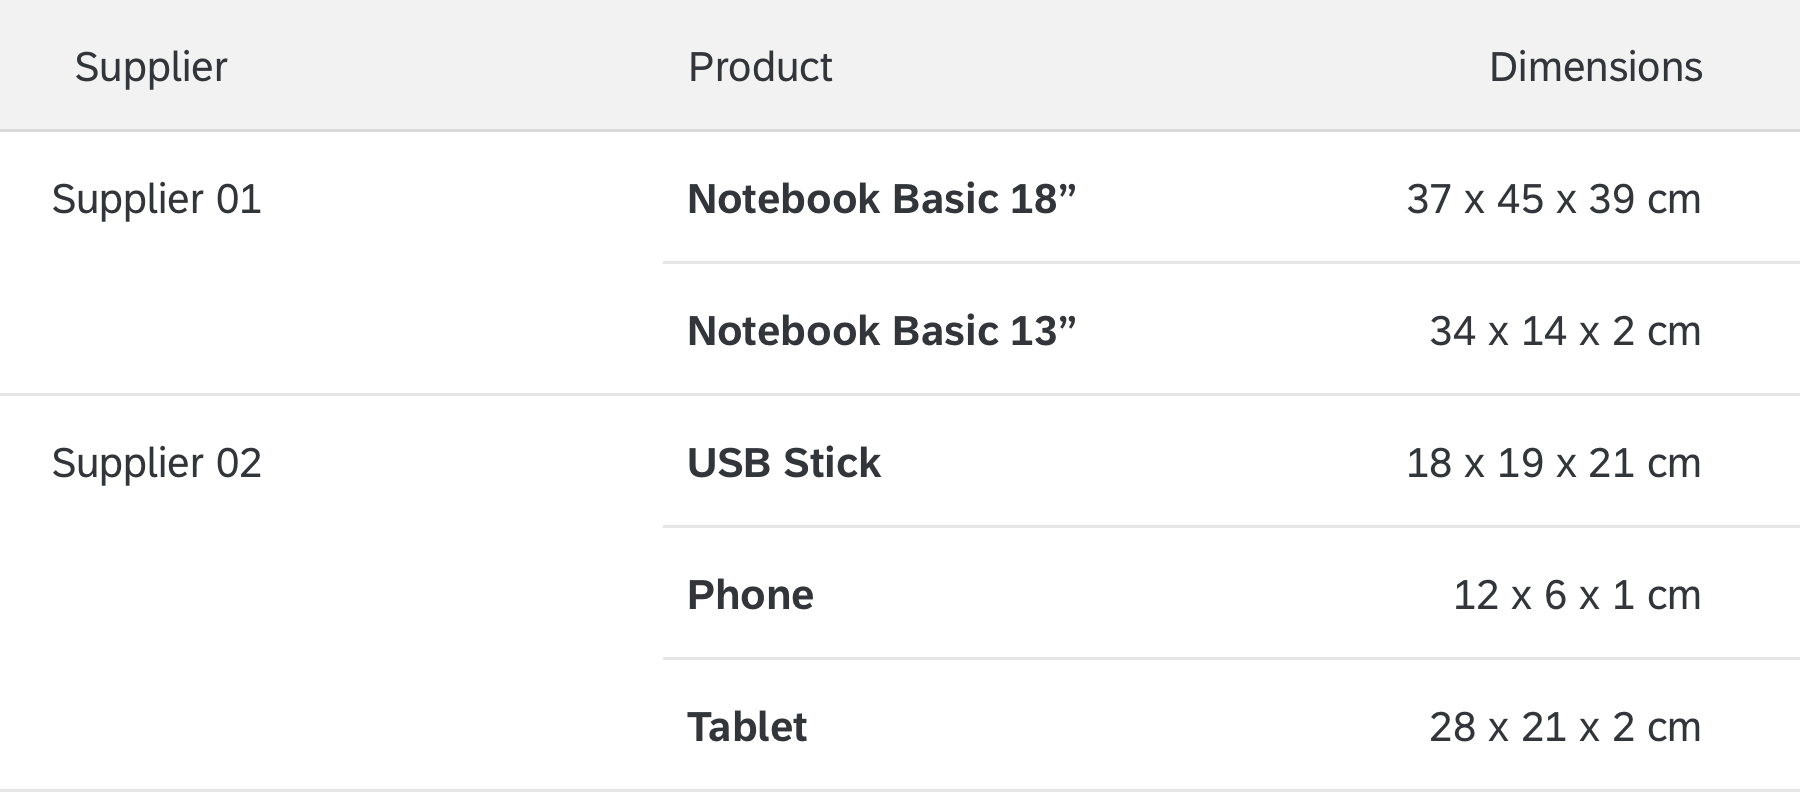
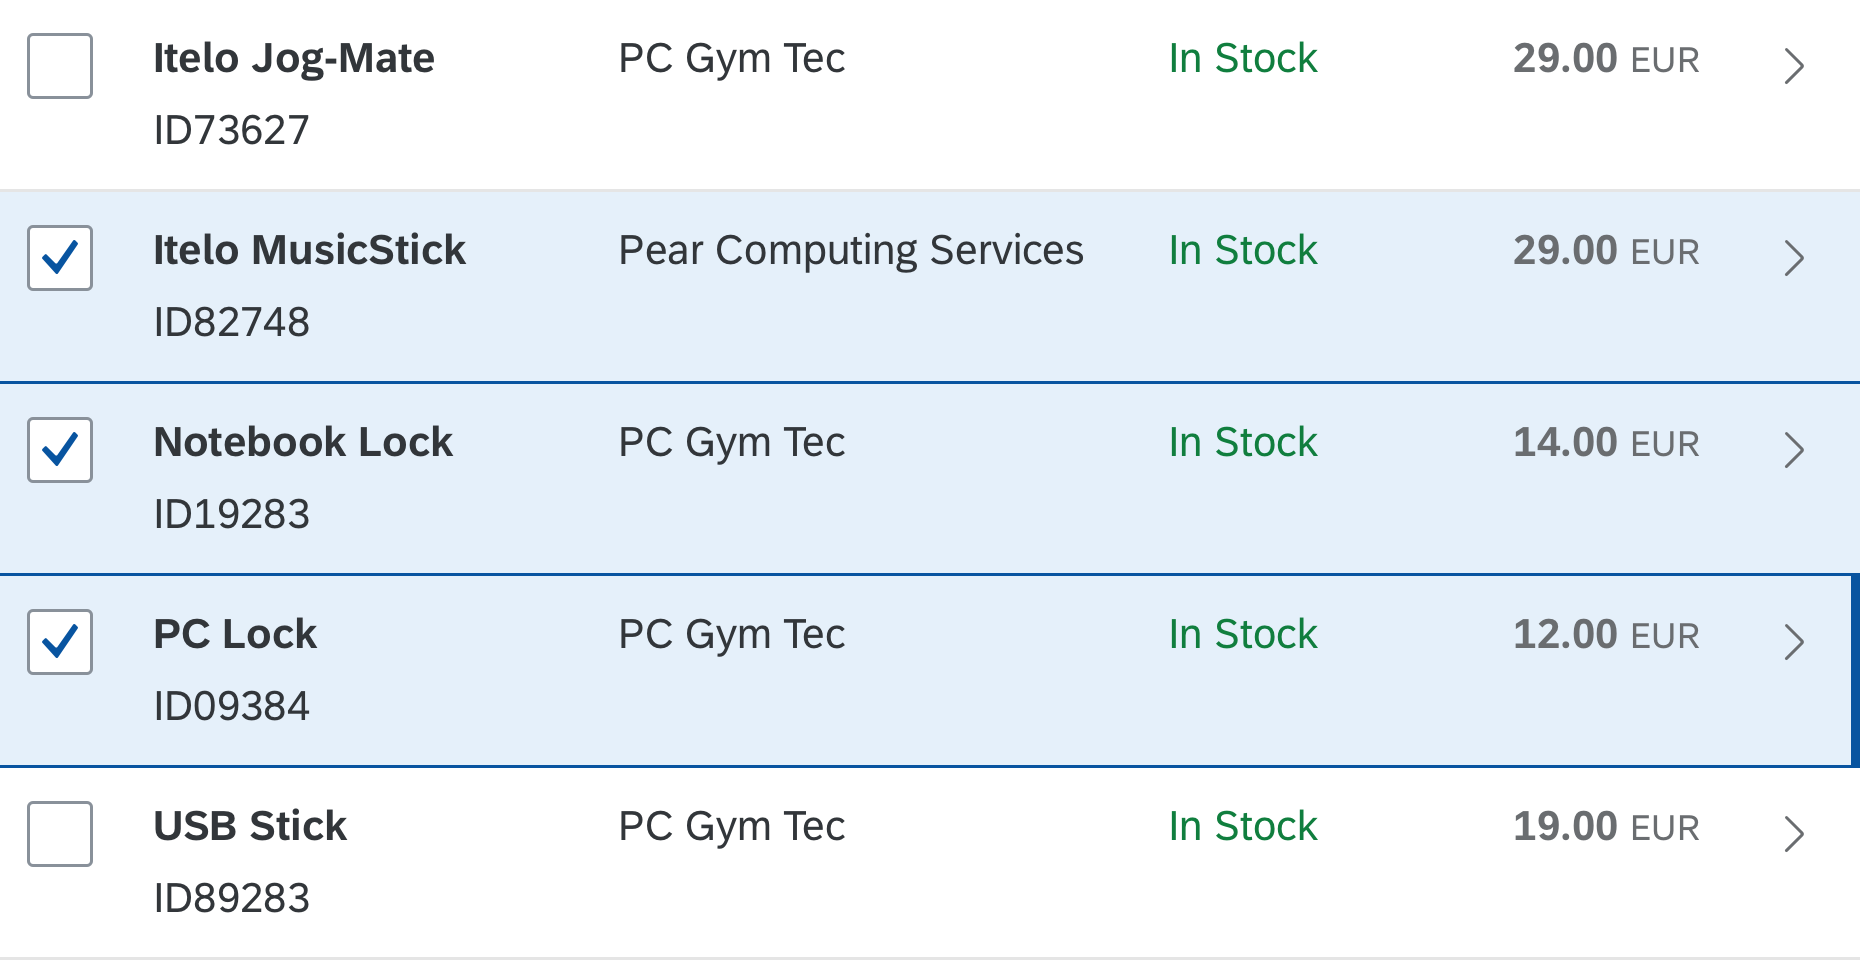
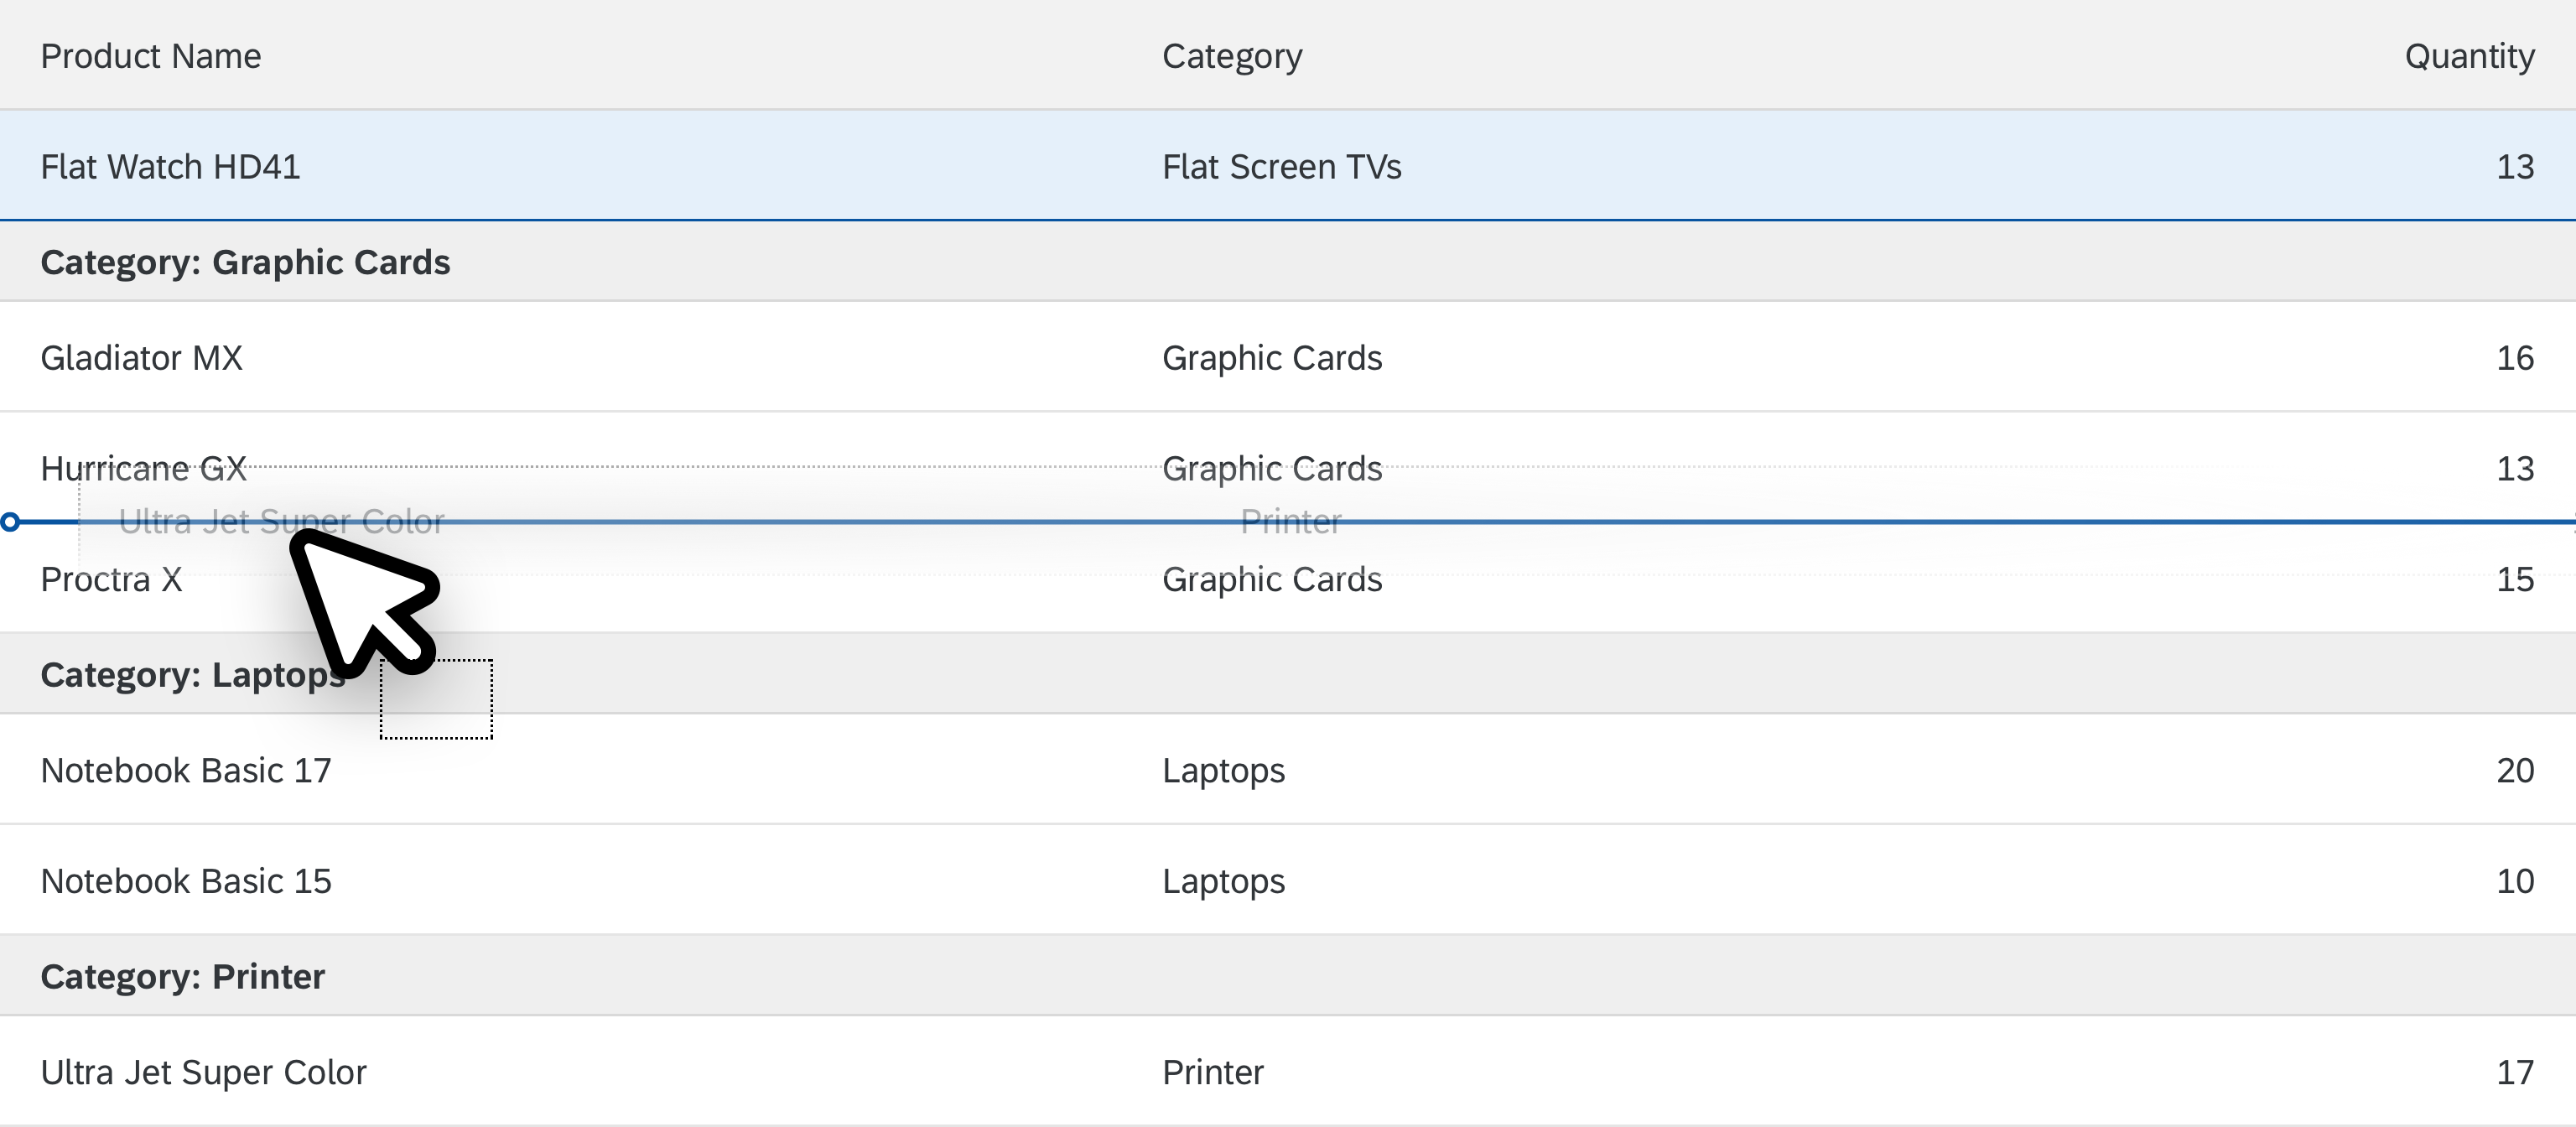
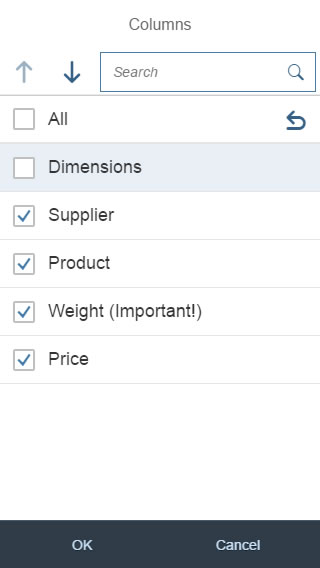
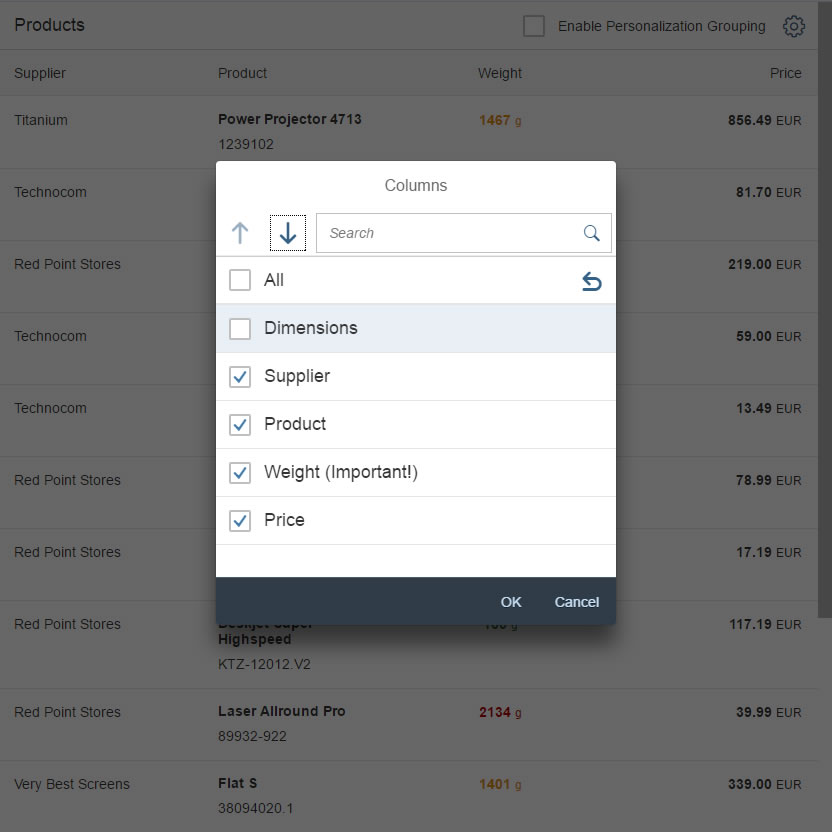
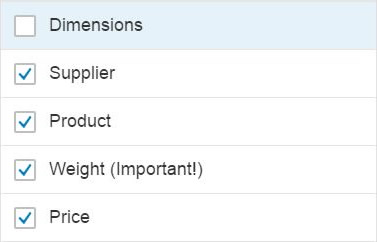
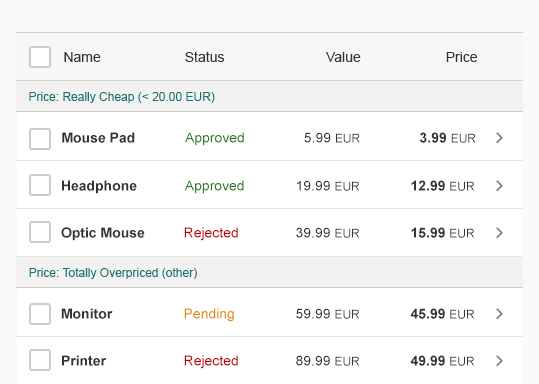
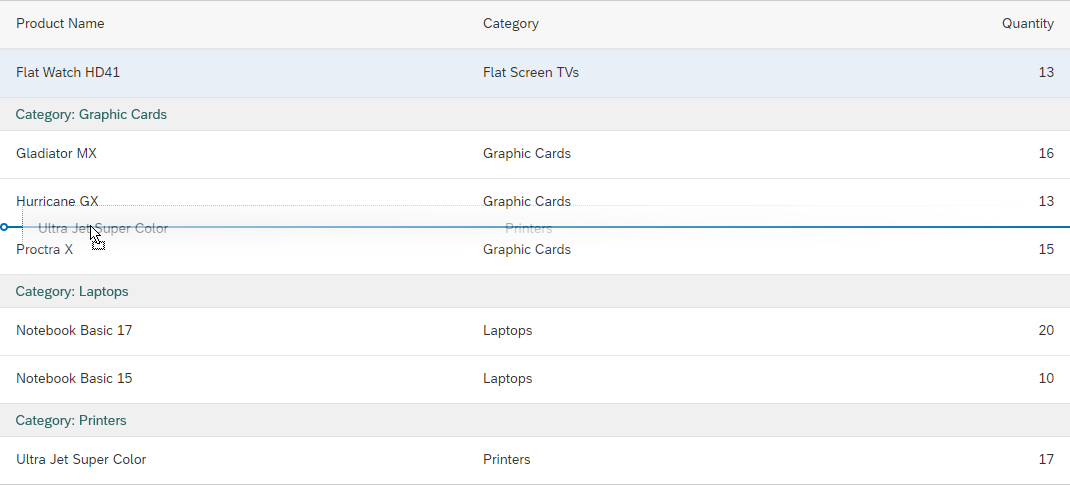
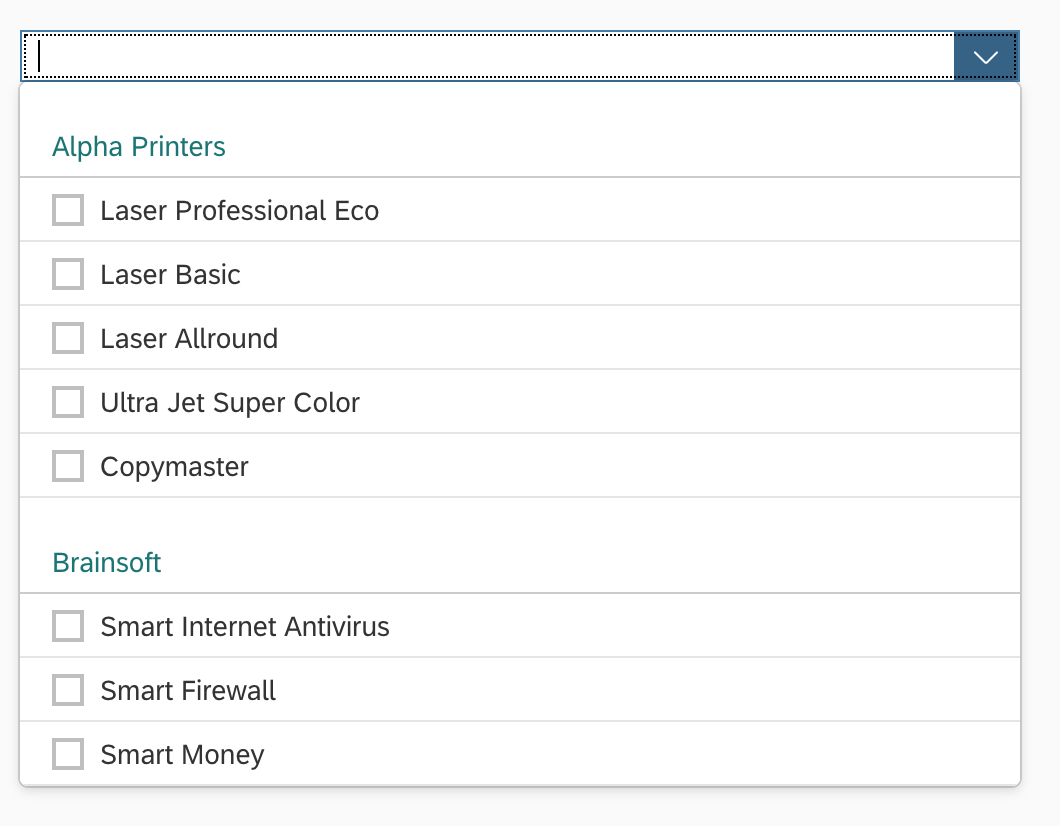
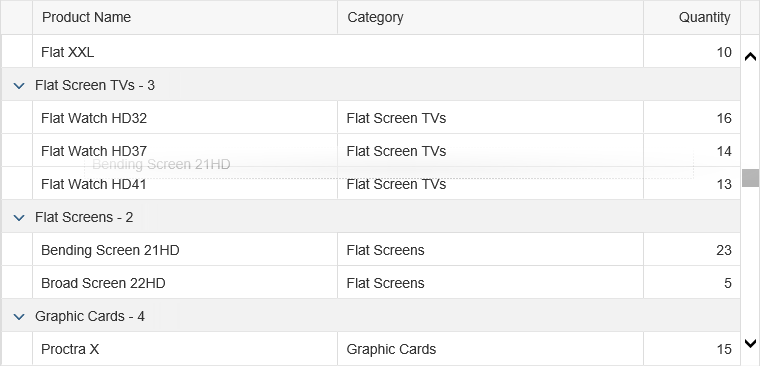
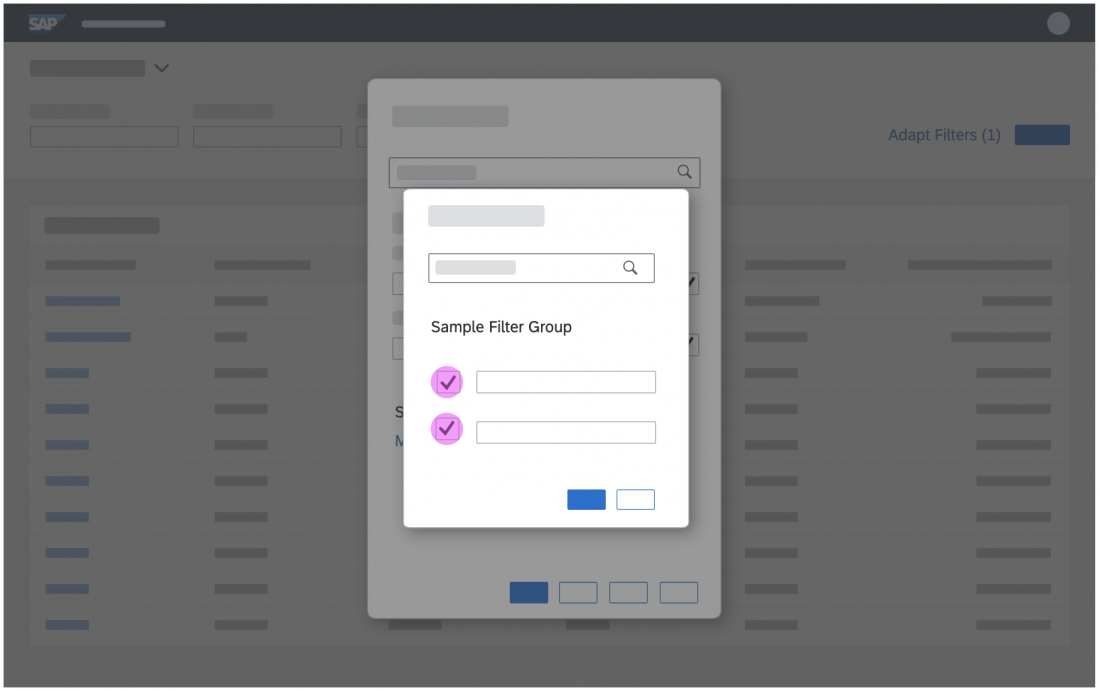
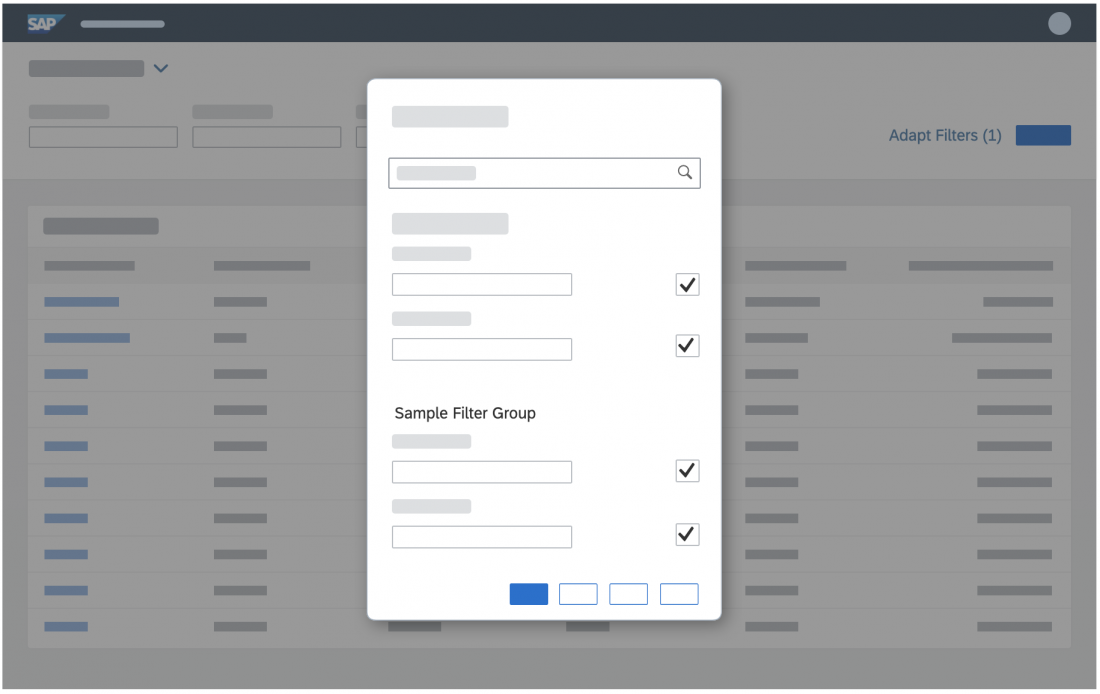
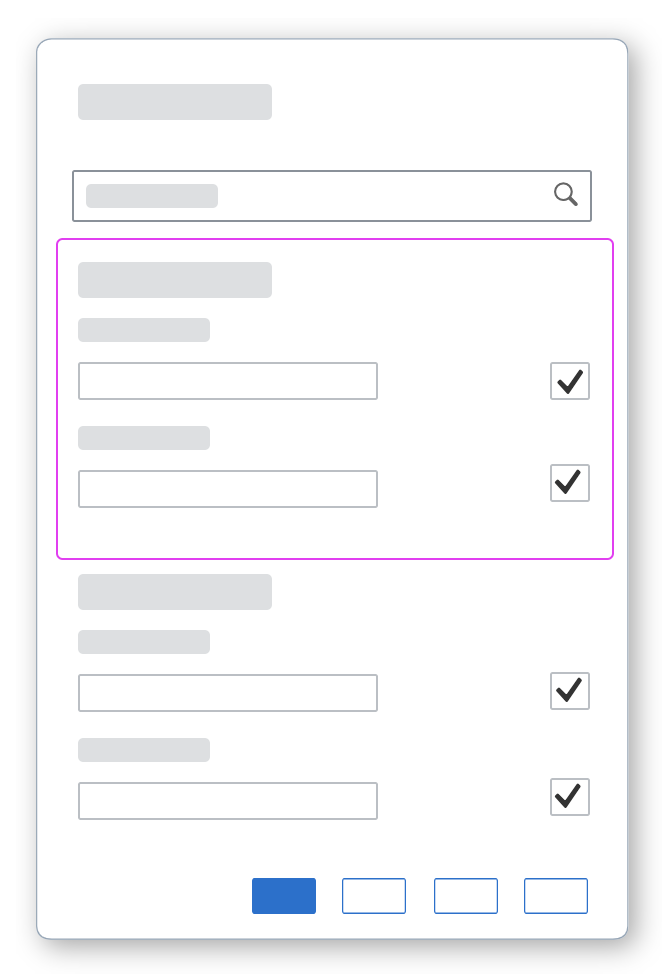
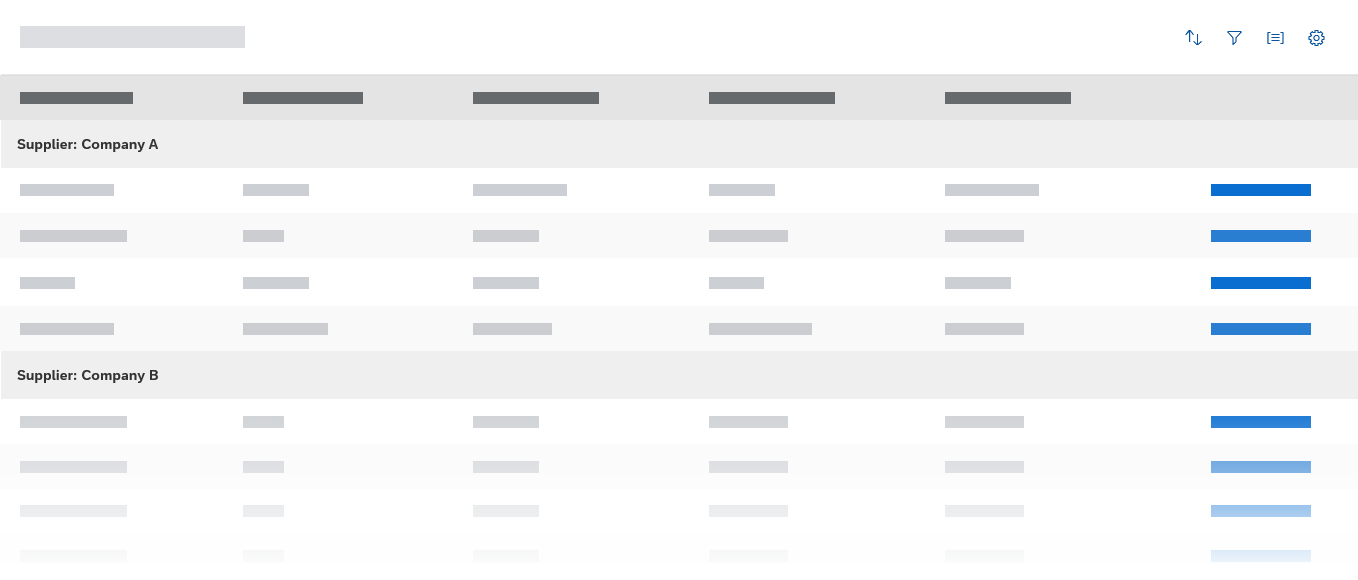
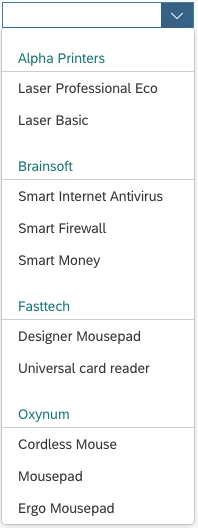
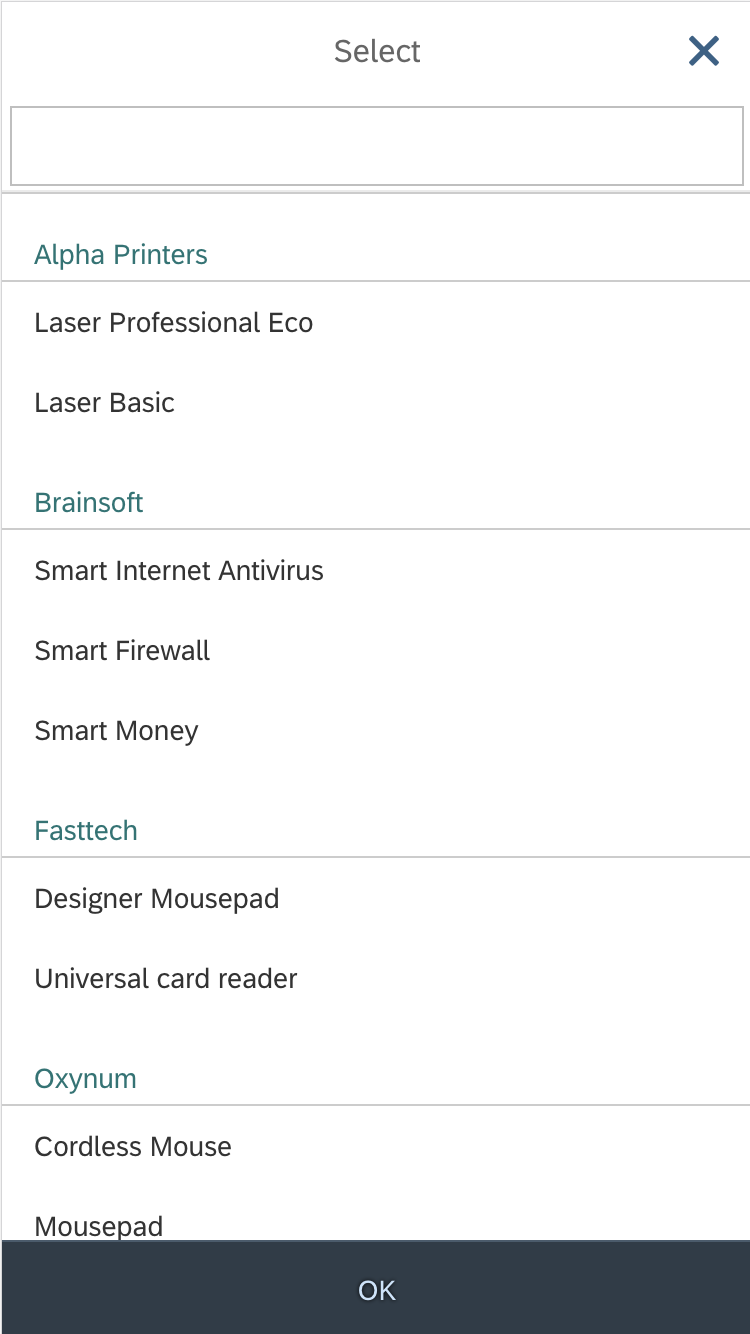
Grouping
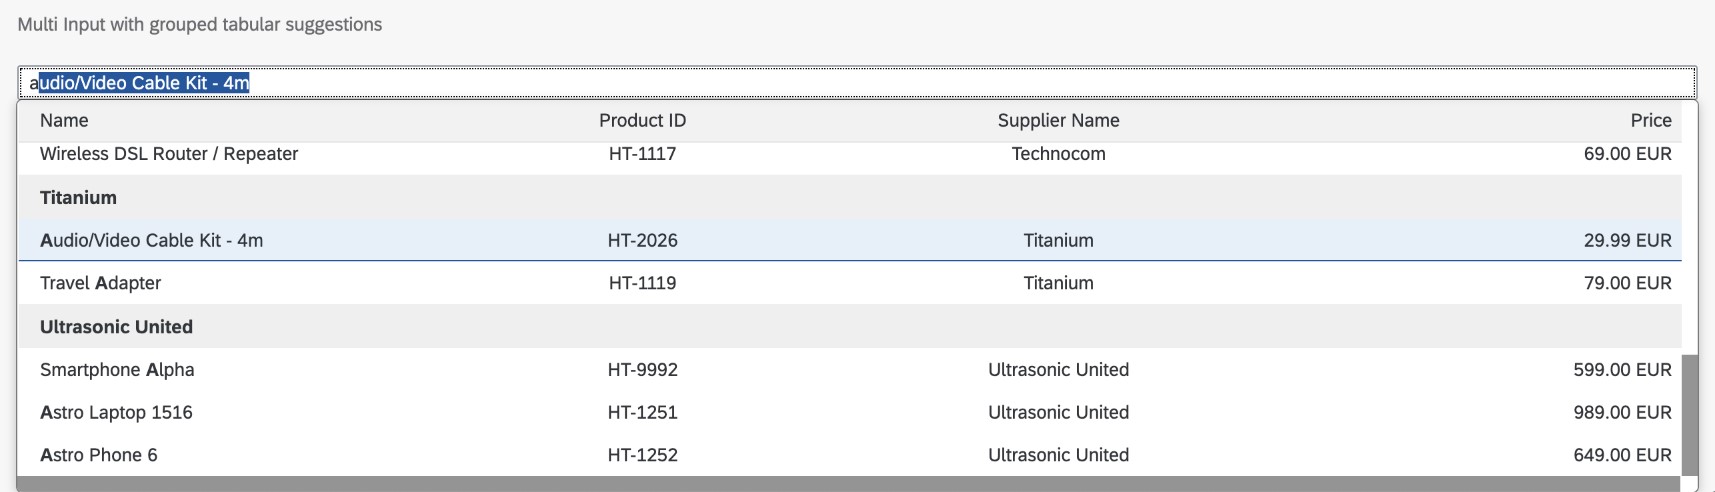
You can group the items in a suggestion list by a specific attribute and separate each group visually with a group header. This feature is also available for tabular suggestion lists.
The group headers are not interactive.
The column headers within the tabular suggestion list remain in place when the list is scrolled (“sticky” behavior).
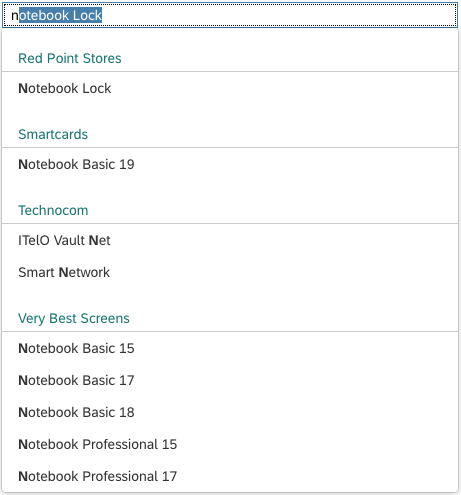
Multi-input with grouped suggestions
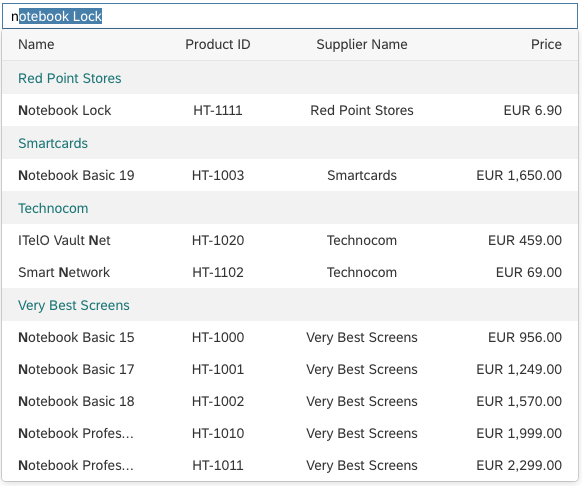
Multi-input with grouped tabular suggestions
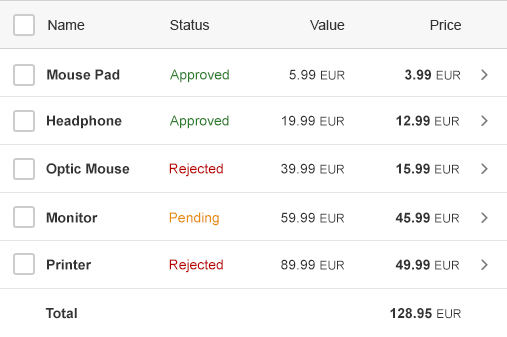
Due to a technical limitation, the group headers are not visible when clicking on the n More text.
Group headers not shown when clicking on 'n More' items
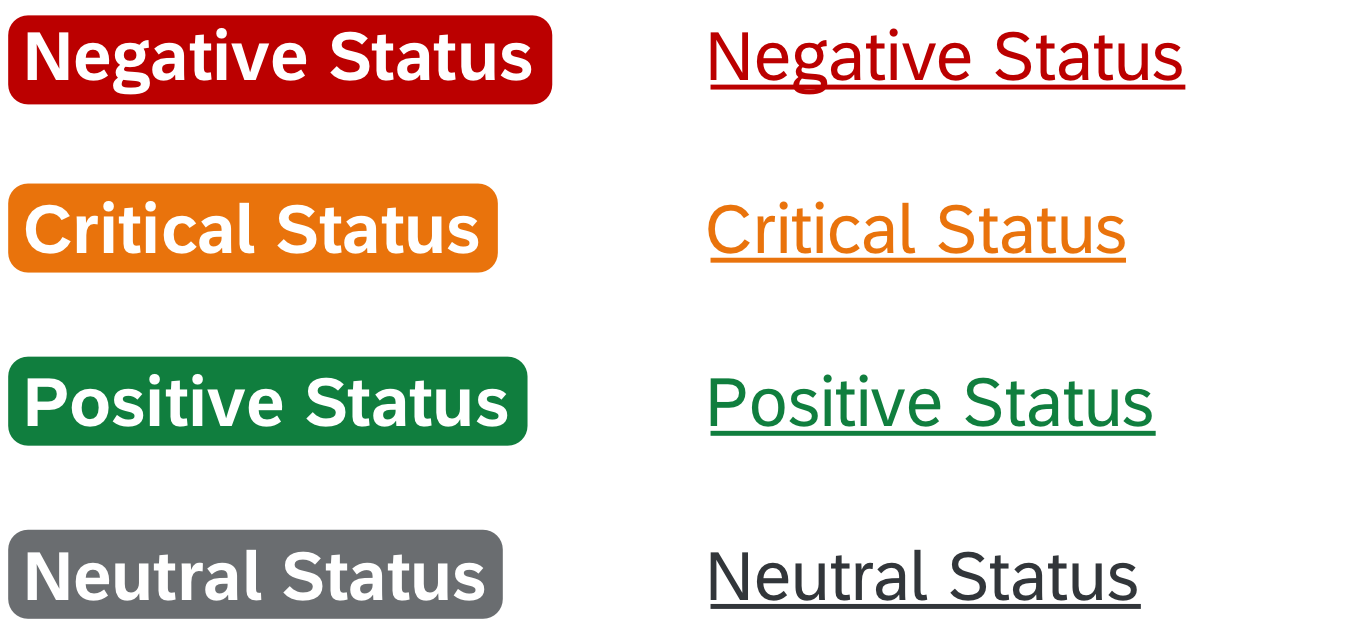
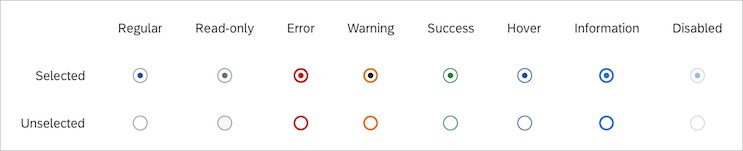
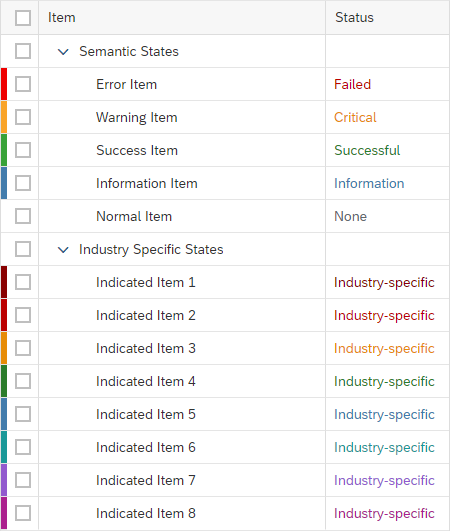
Styles
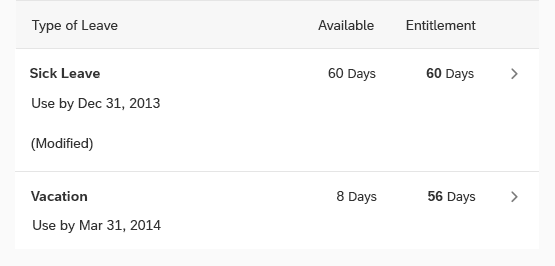
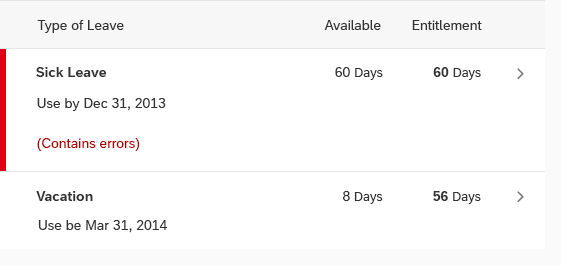
The following images show how the states of the multi-input field are styled.

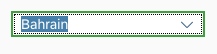
Unselected

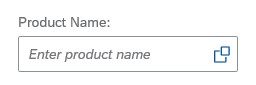
Unselected with predefined placeholder

Unselected on hover

In focus

Selected items shown as tokens
Expanded multi-selection

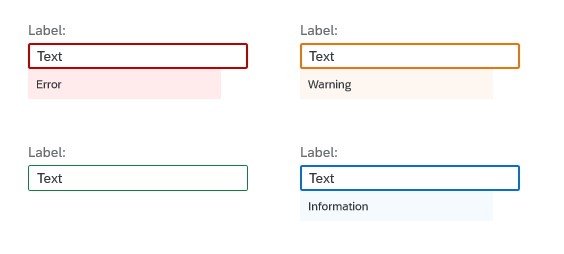
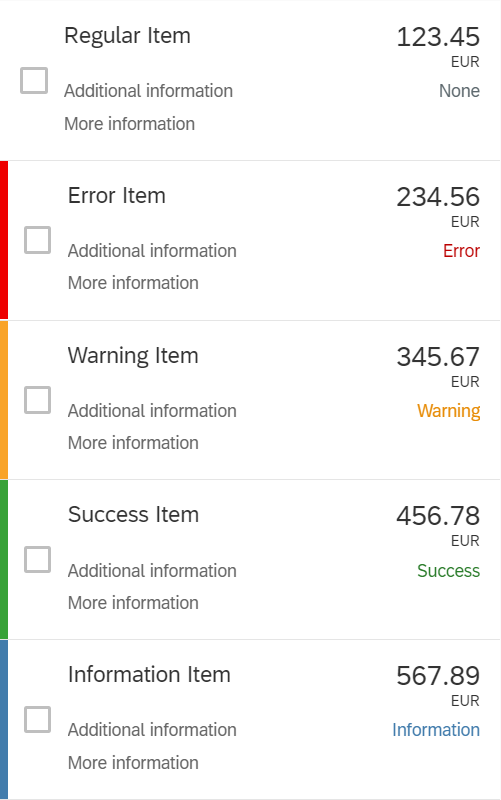
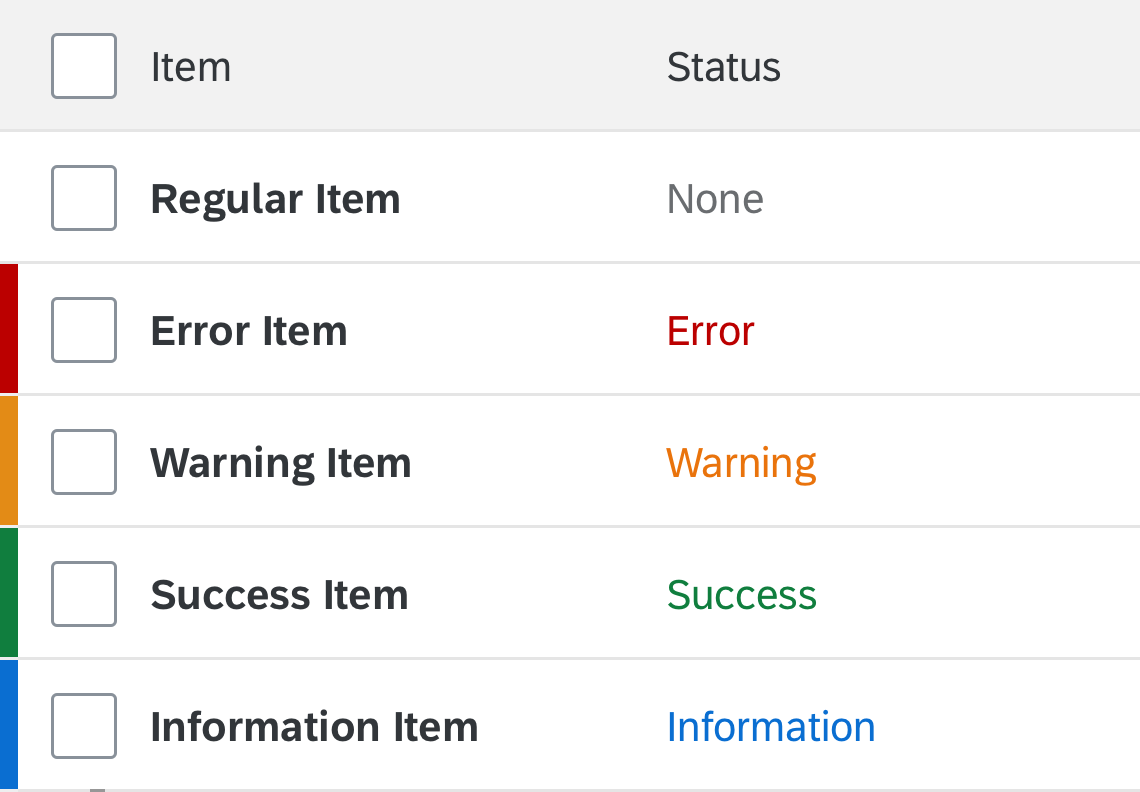
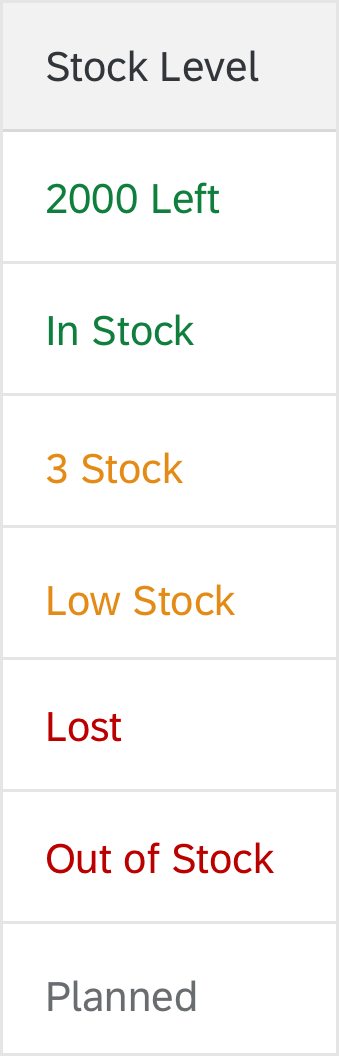
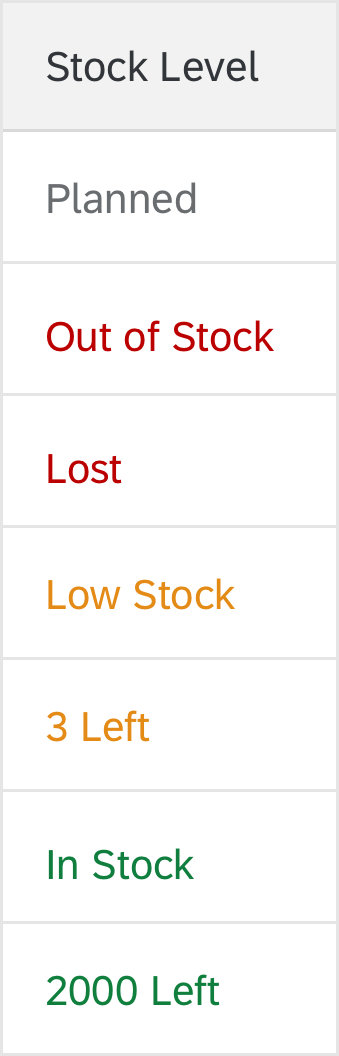
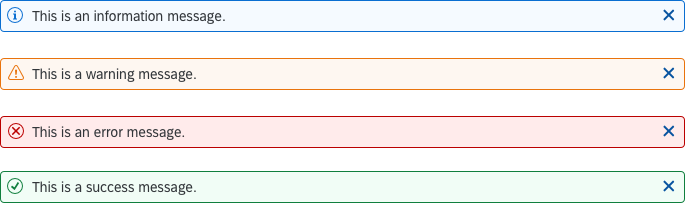
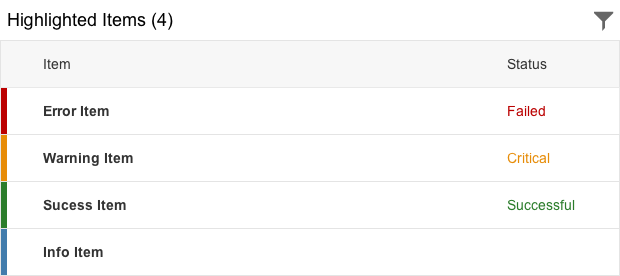
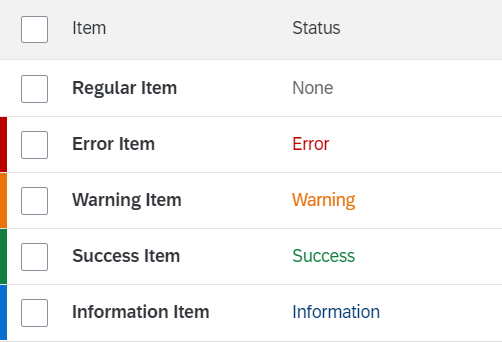
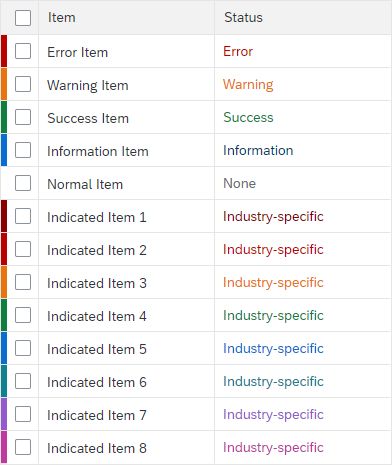
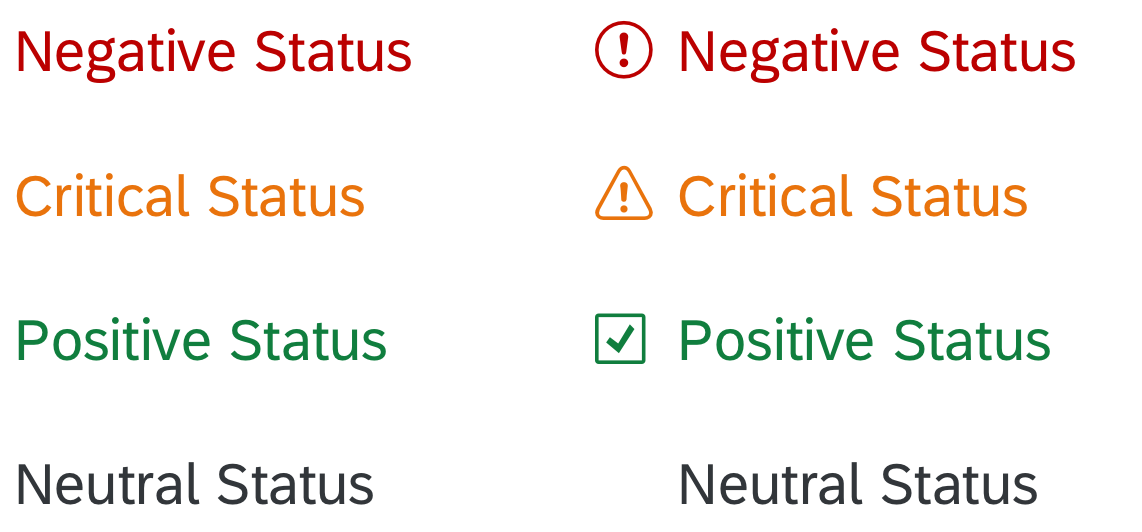
Error

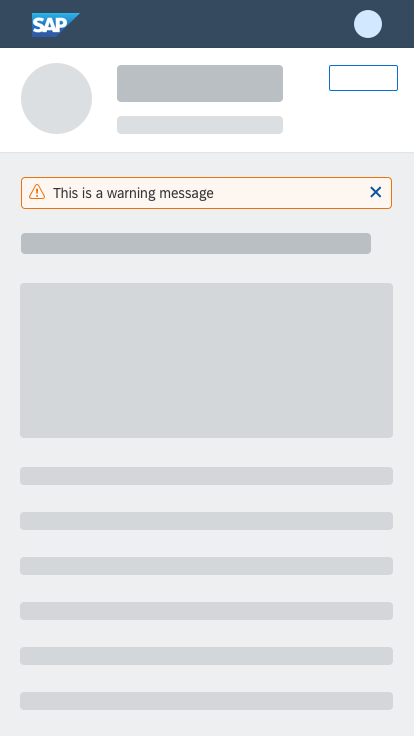
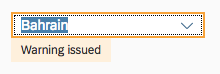
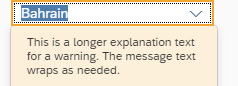
Warning

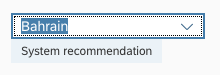
Success

Information
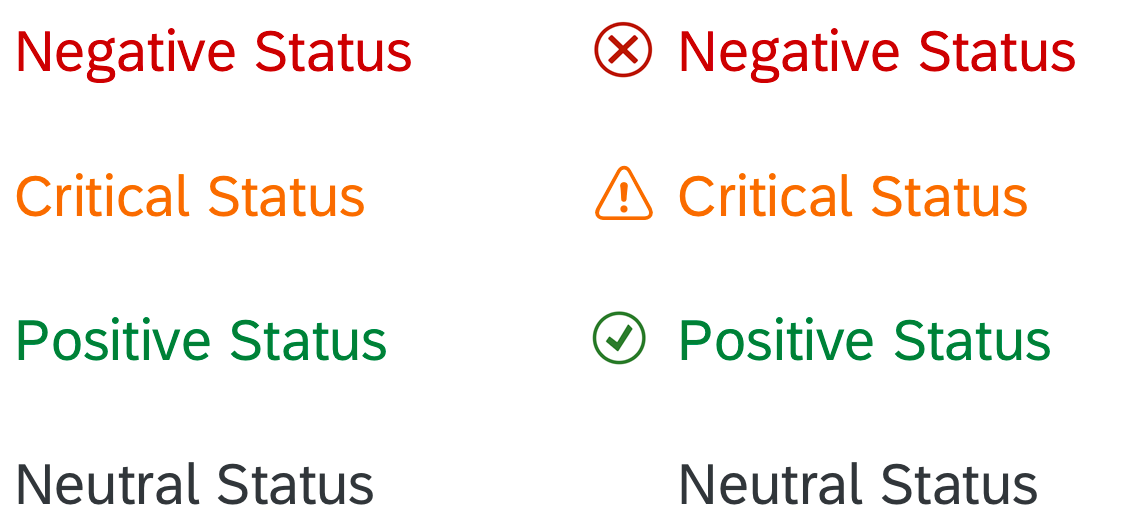
For details on the different states, see UI Element States.
For more information on semantic colors for value states, see How to Use Semantic Colors.
Guidelines
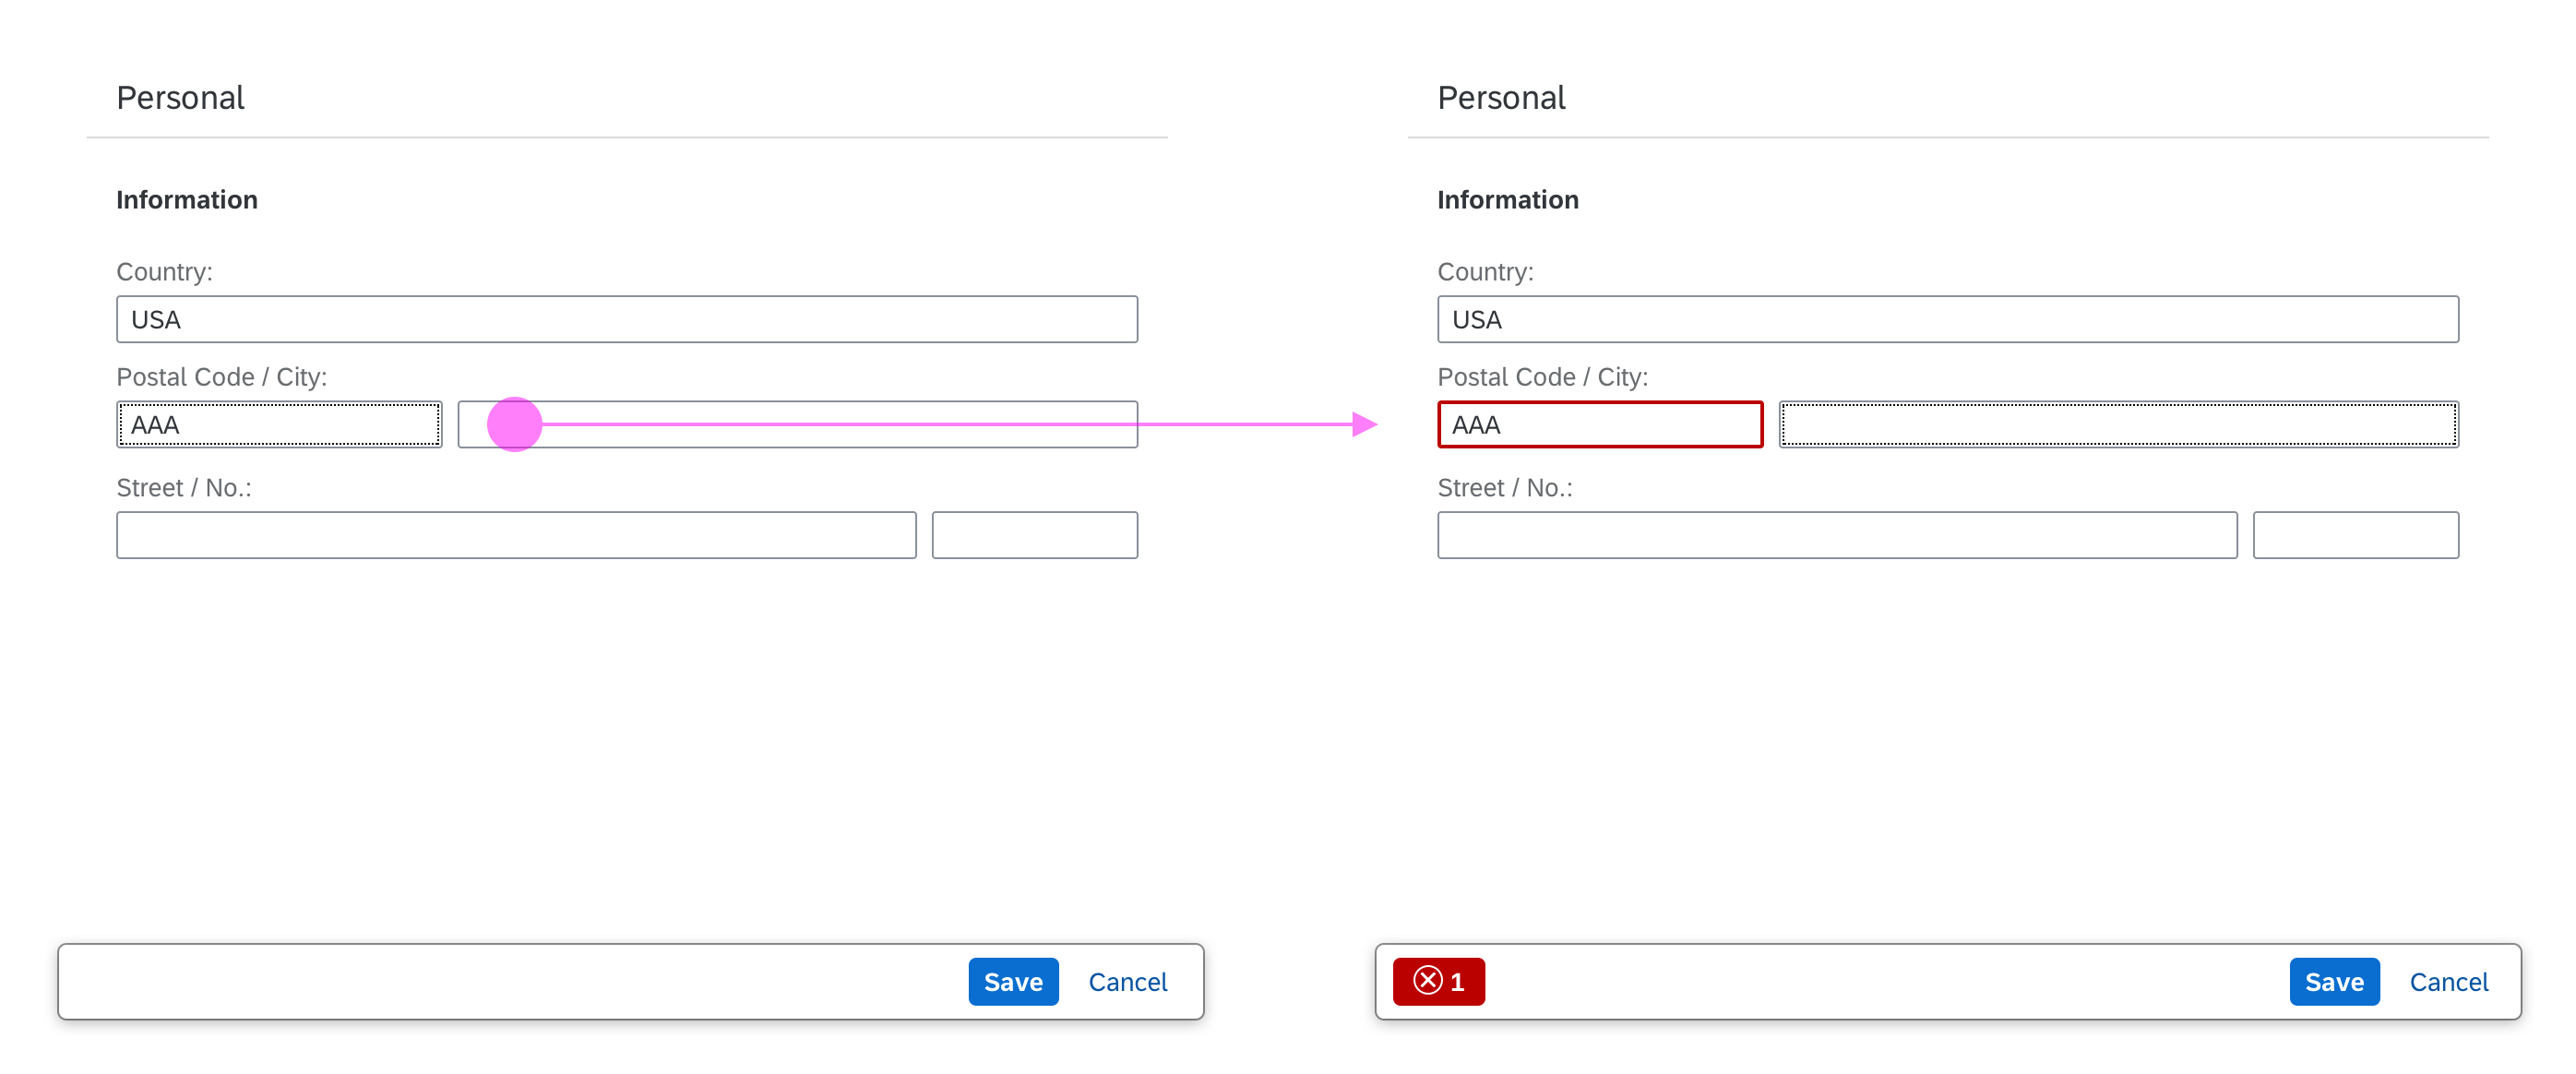
- Give the control a width that is appropriate for the range of values that are going to be entered. Try to avoid setting a fixed width on this control. Instead, embed it in a proper layout (such as a form, simple form, or grid layout) and work with the layout data property.
- Provide meaningful labels for all input fields. Do not use the placeholder as a replacement for the label. The placeholder should only provide an additional hint.
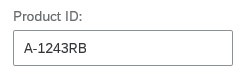
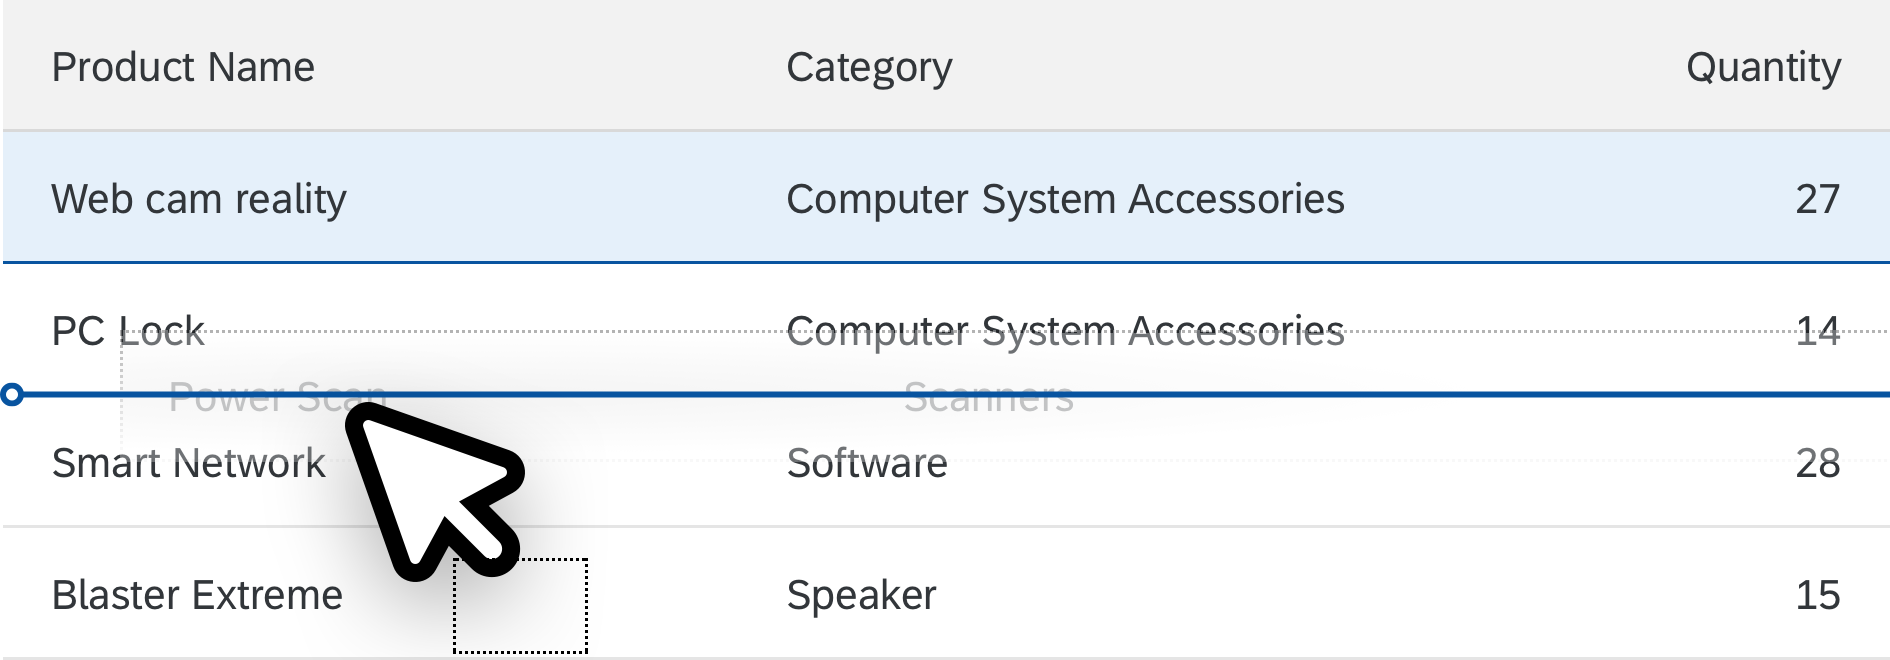
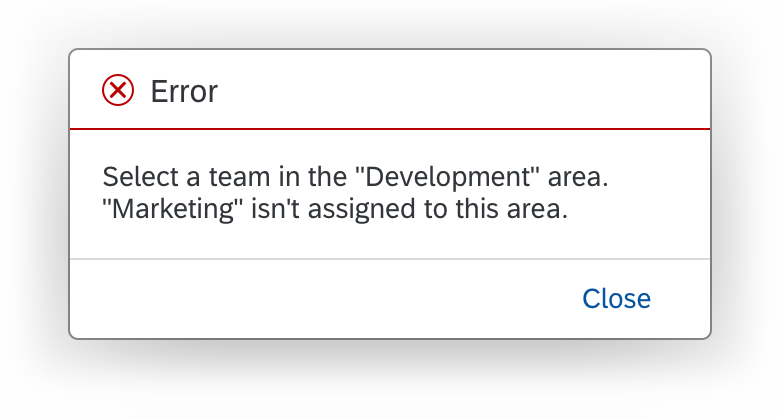
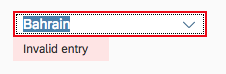
- The multi-input field can currently contain tokens and one free text value. If you allow only validated values, display an error or warning when the user tries to leave the field to indicate that the value entered is invalid, or remove the value.
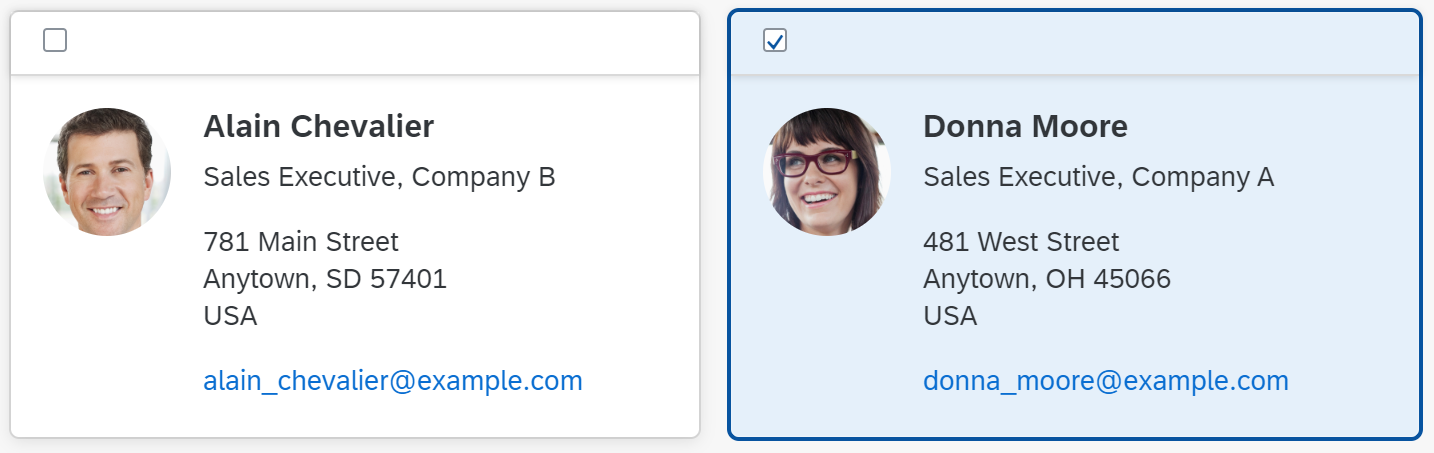
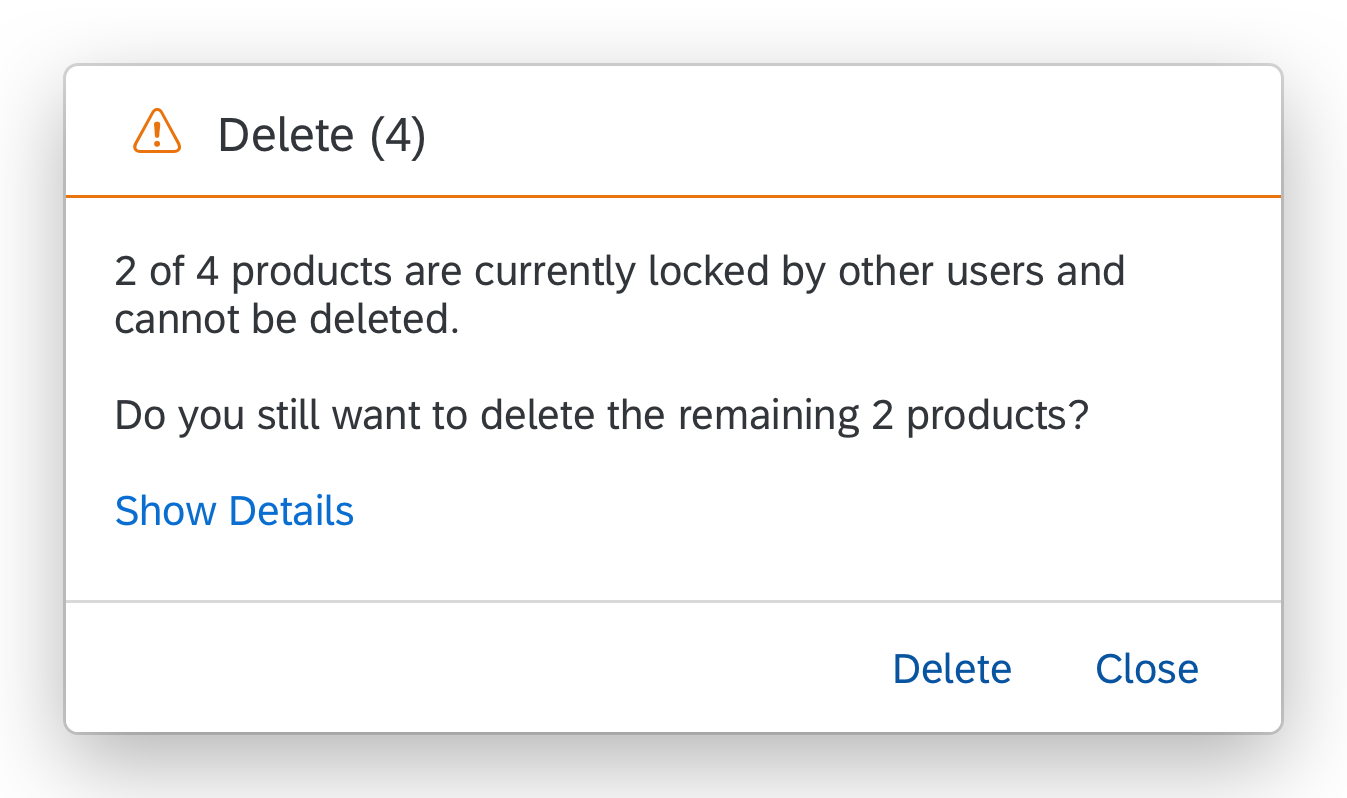
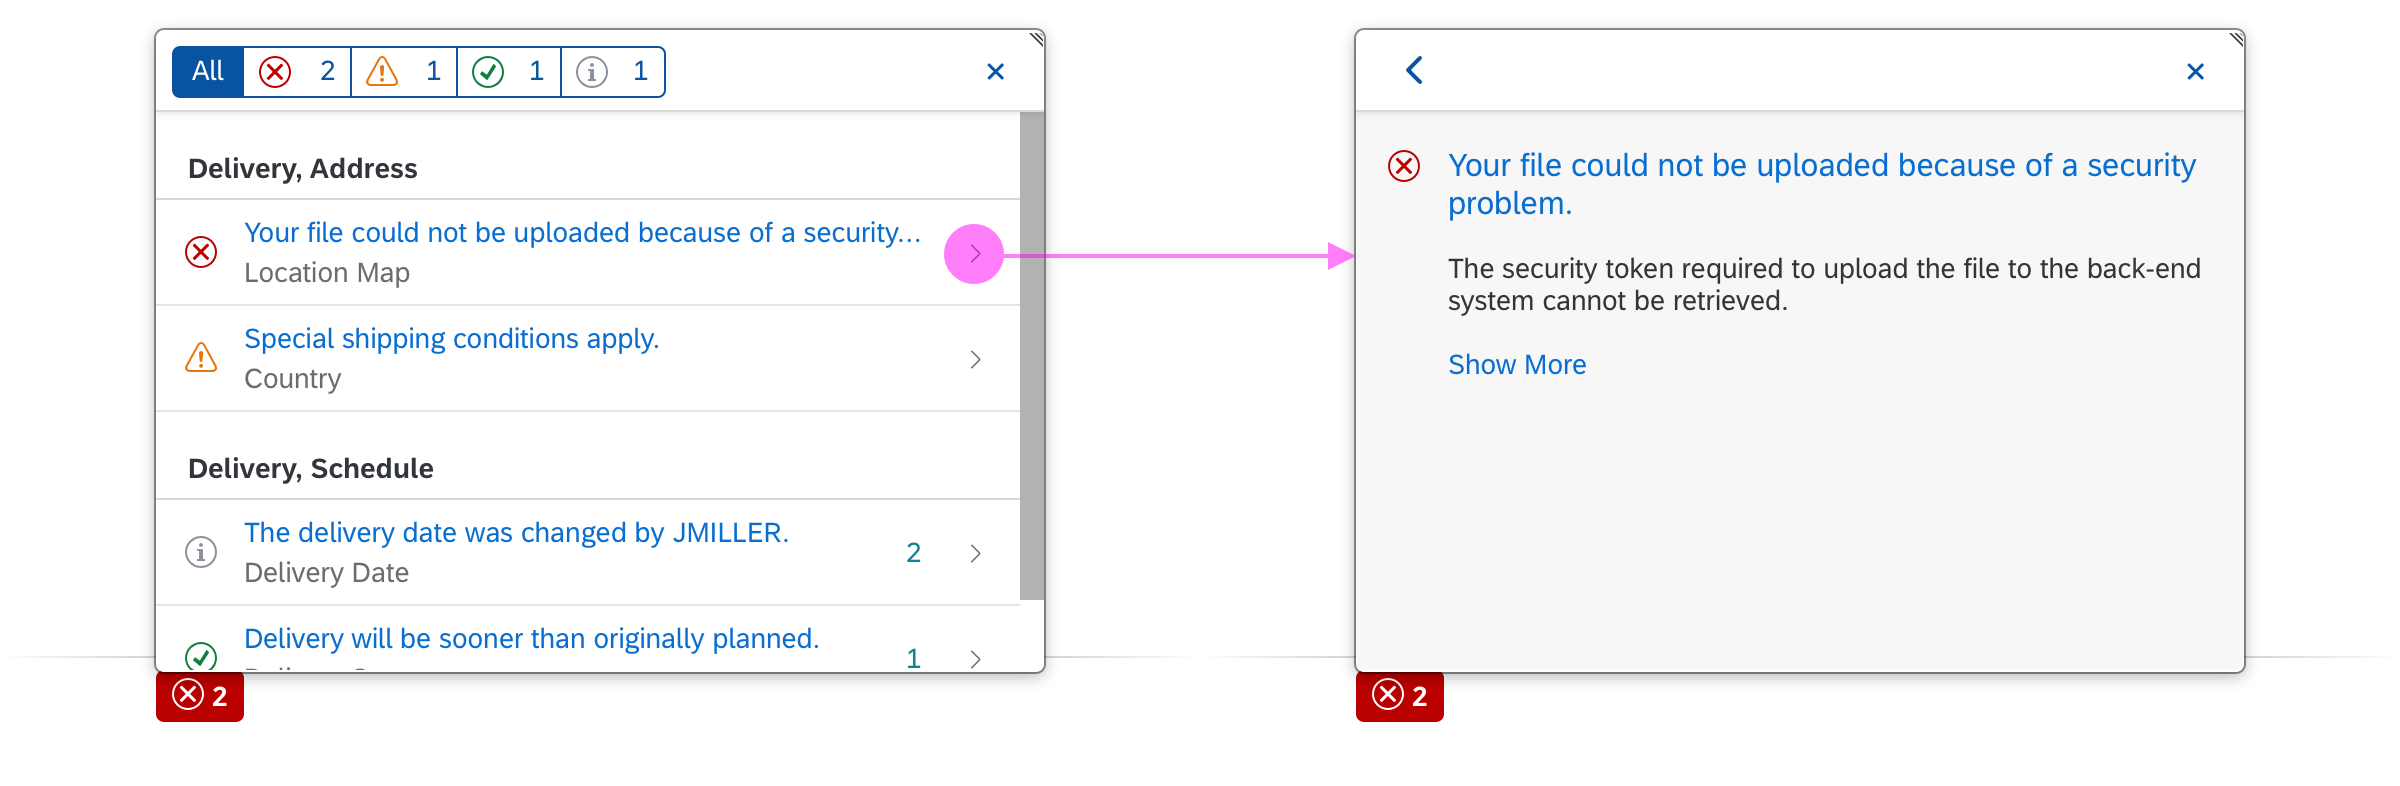
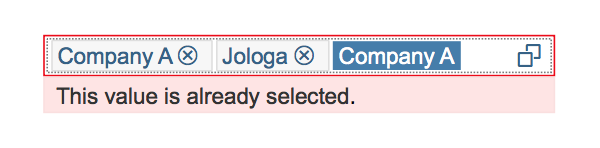
- If users try to select an item that has been selected before, we recommend setting an error state and providing a meaningful message.

Multi-input - Error state for an item that has already been selected
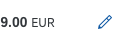
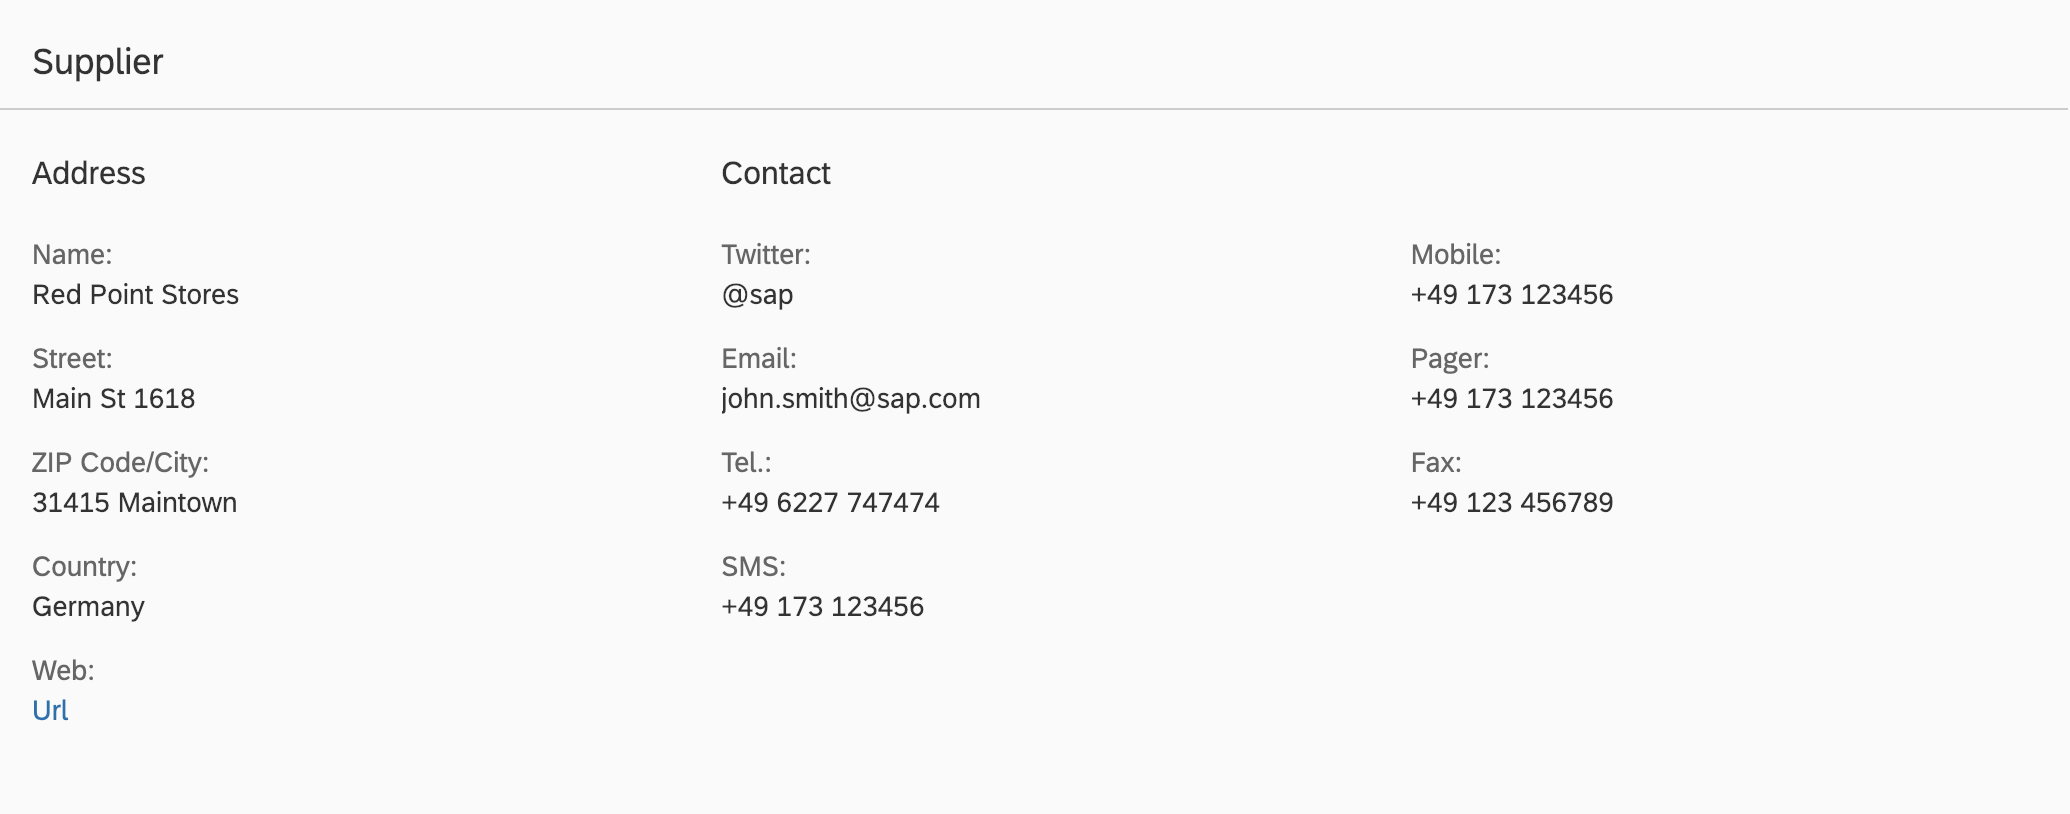
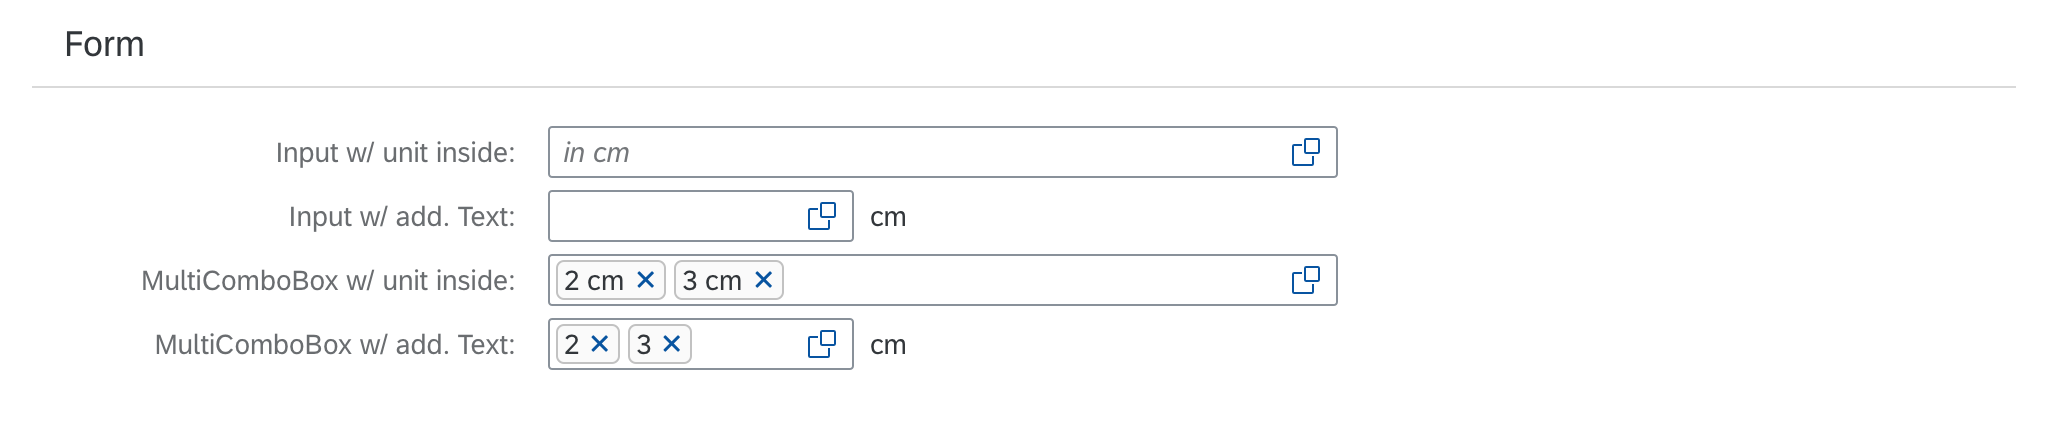
- You can use the layout options of the form to add the unit of measurement (UoM) after the multi-input control. Apps can use the label-field ratio to show the UoM after the field. However, you must make sure that the UoM is properly visualized and doesn’t wrap to the next row.
- The multi-input field can be used in the grid table, analytical table and tree table as well, as condensed mode is already supported, both for desktop and mobile (tablets).
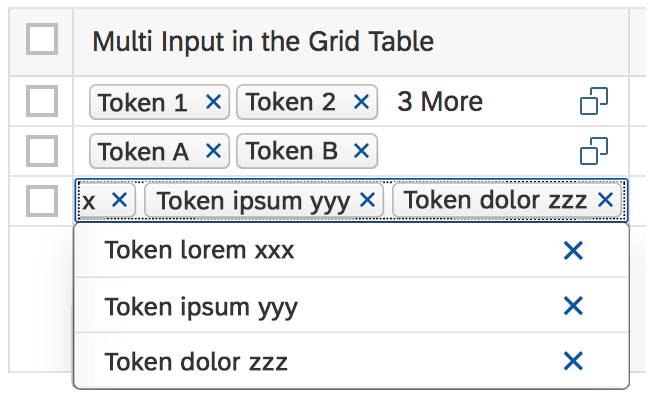
Multi-input field in the grid table in condensed mode
Properties
Since the multi-input field is derived from the input field, refer to the properties in the input field article.
Resources
Want to dive deeper? Follow the links below to find out more about related controls, the SAPUI5 implementation, and the visual design.
Elements and Controls
- Multi-Combo Box (guidelines)
- Input (guidelines)
- Combo Box (guidelines)
- Select (guidelines)
- Select Dialog (guidelines)
- Value Help Dialog (guidelines)
- Tokenizer (guidelines)


 Your feedback has been sent to the SAP Fiori design team.