Document Scanner
Intro
The document scanner leverages Apple’s VisionKit, allowing users to digitize physical documents with an on-device flow. Users can select automatic or manual capture and easily edit, retake, or delete specific or all scanned documents.
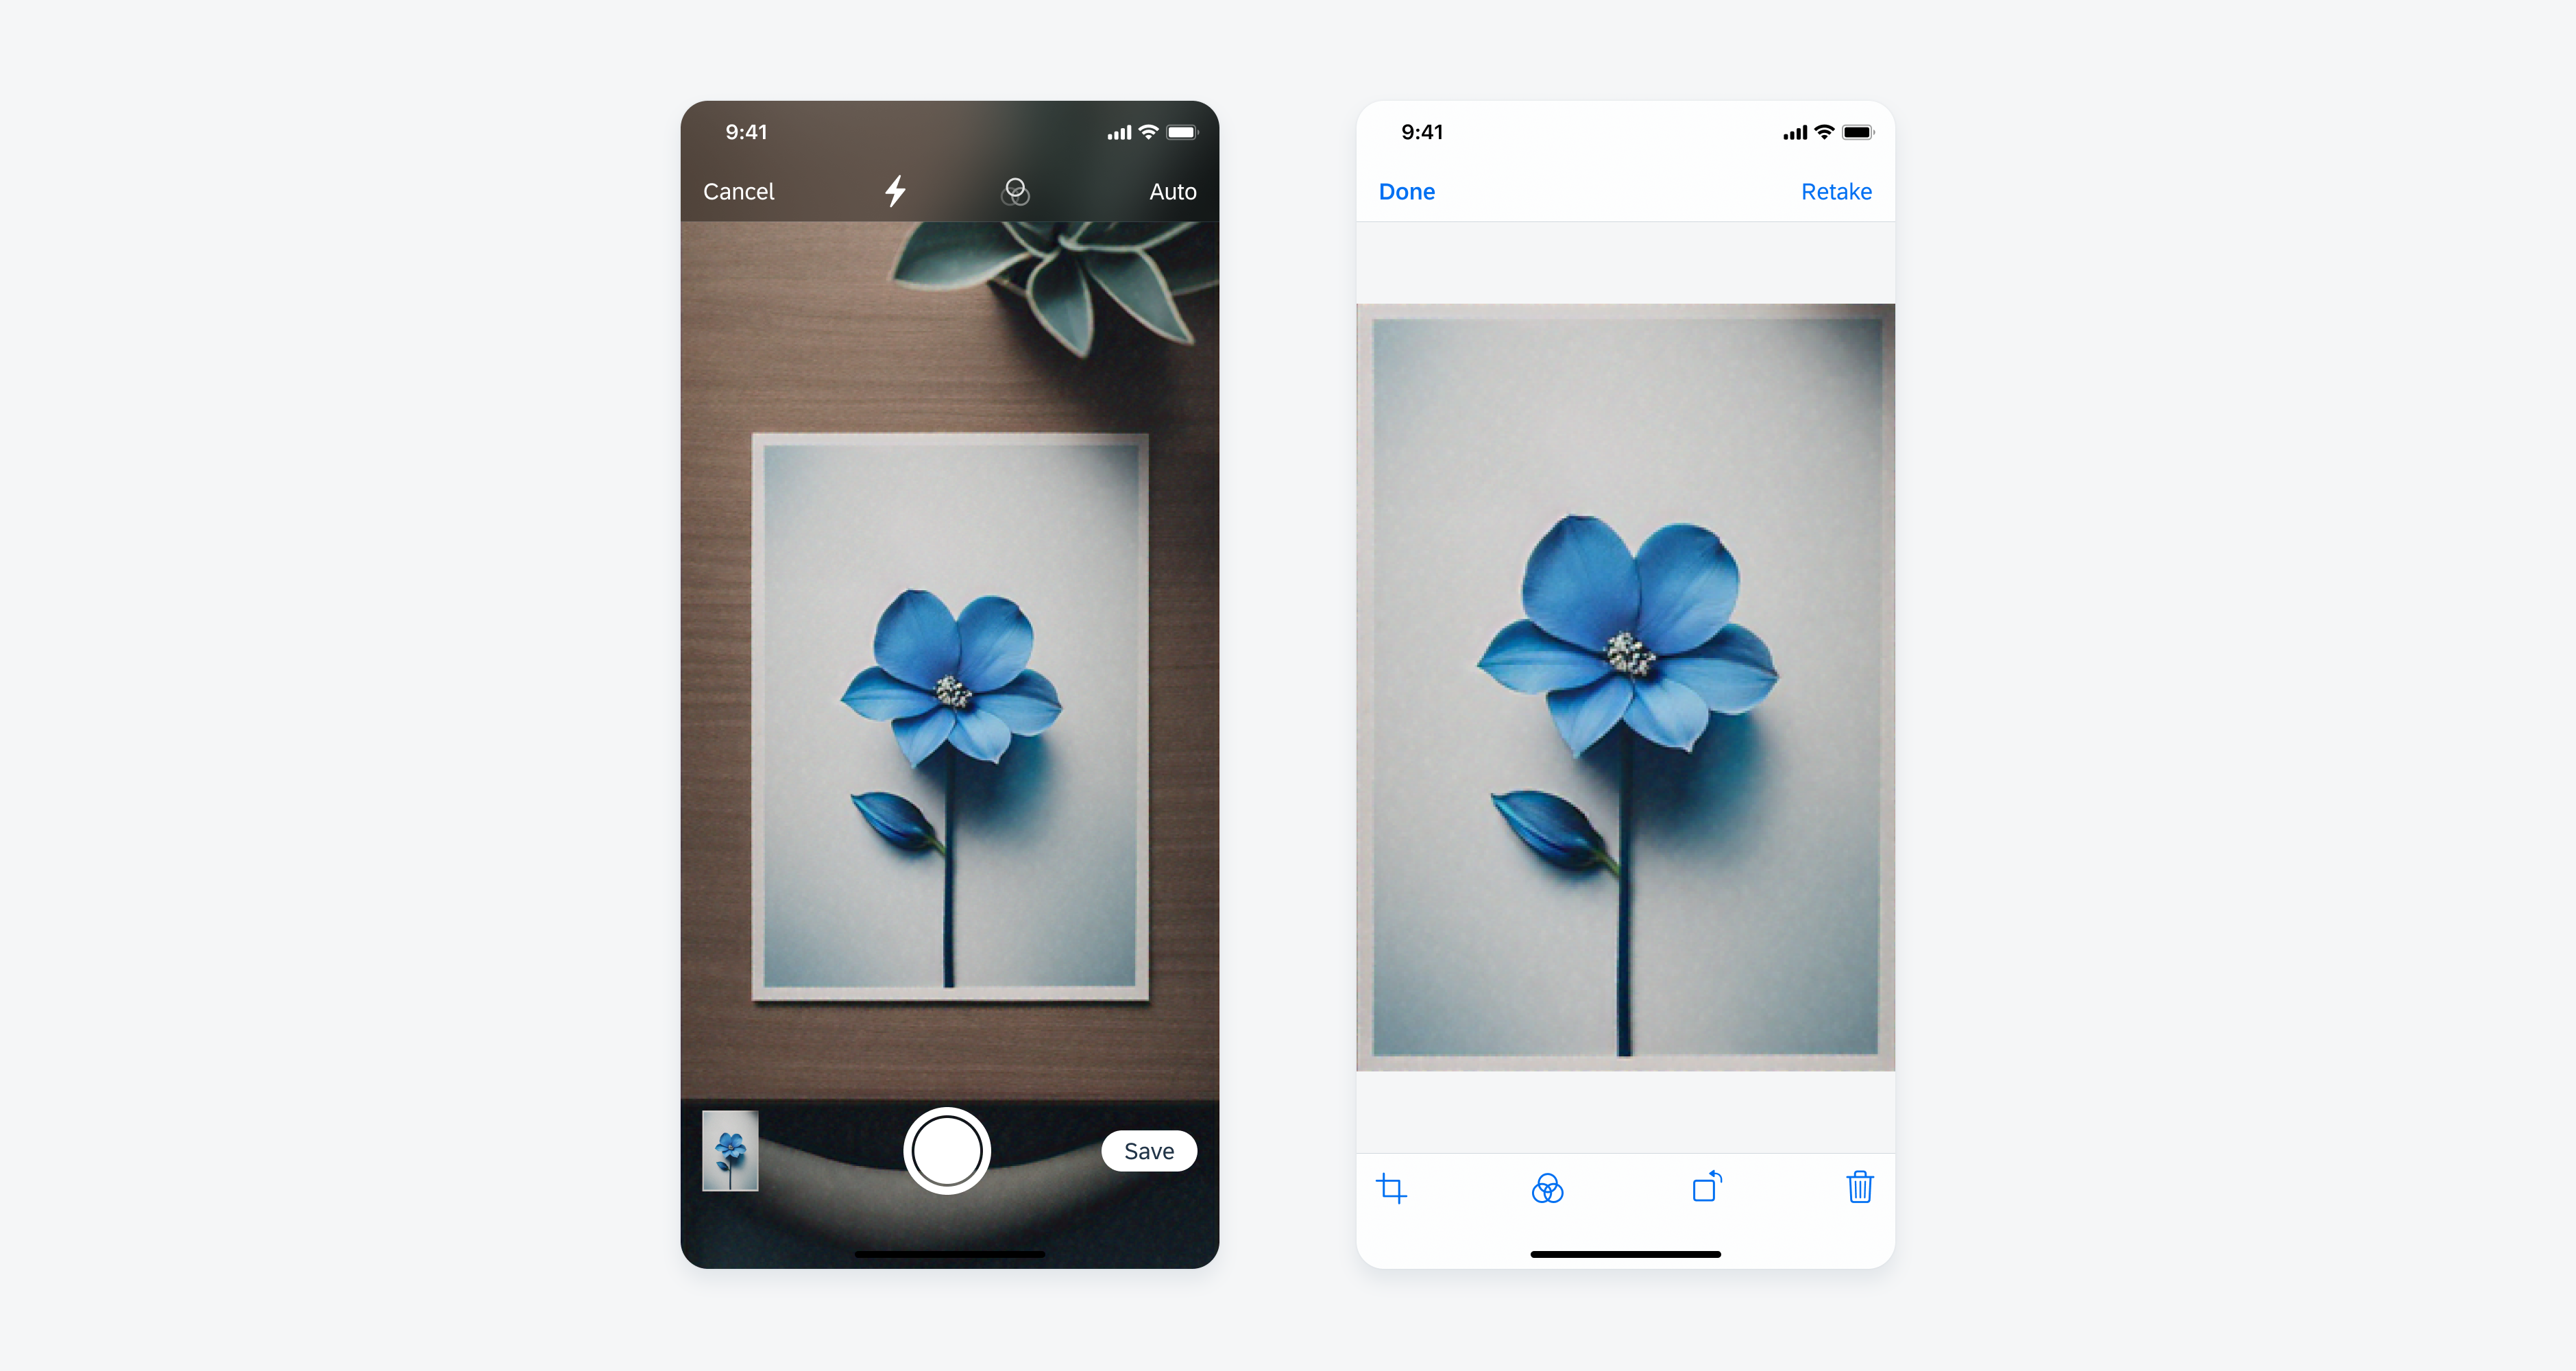
Document scanner examples
A. Camera View
The camera view enables users to focus on and capture their scan through either manual or auto mode. The shutter button allows users to manually capture their scans regardless of the enabled mode. Users can use the phone’s flash to improve the lighting environment during scans or select certain filters to further alter the scanned document. On the bottom left corner, users can see a preview of their scanned documents, which also acts as an entry point for the gallery/edit flow. In the bottom right corner, users can finish and save their scanned documents by tapping on the “Save” button with the number of scans indicated.
B. Gallery/Edit View
The gallery view provides a view of all the user’s captured scans in that current session, and enables users to adjust, filter, rotate, retake, and delete their scans. Once the user feels their scans are sufficient, the “Done” button brings the user back to the camera view for final save.
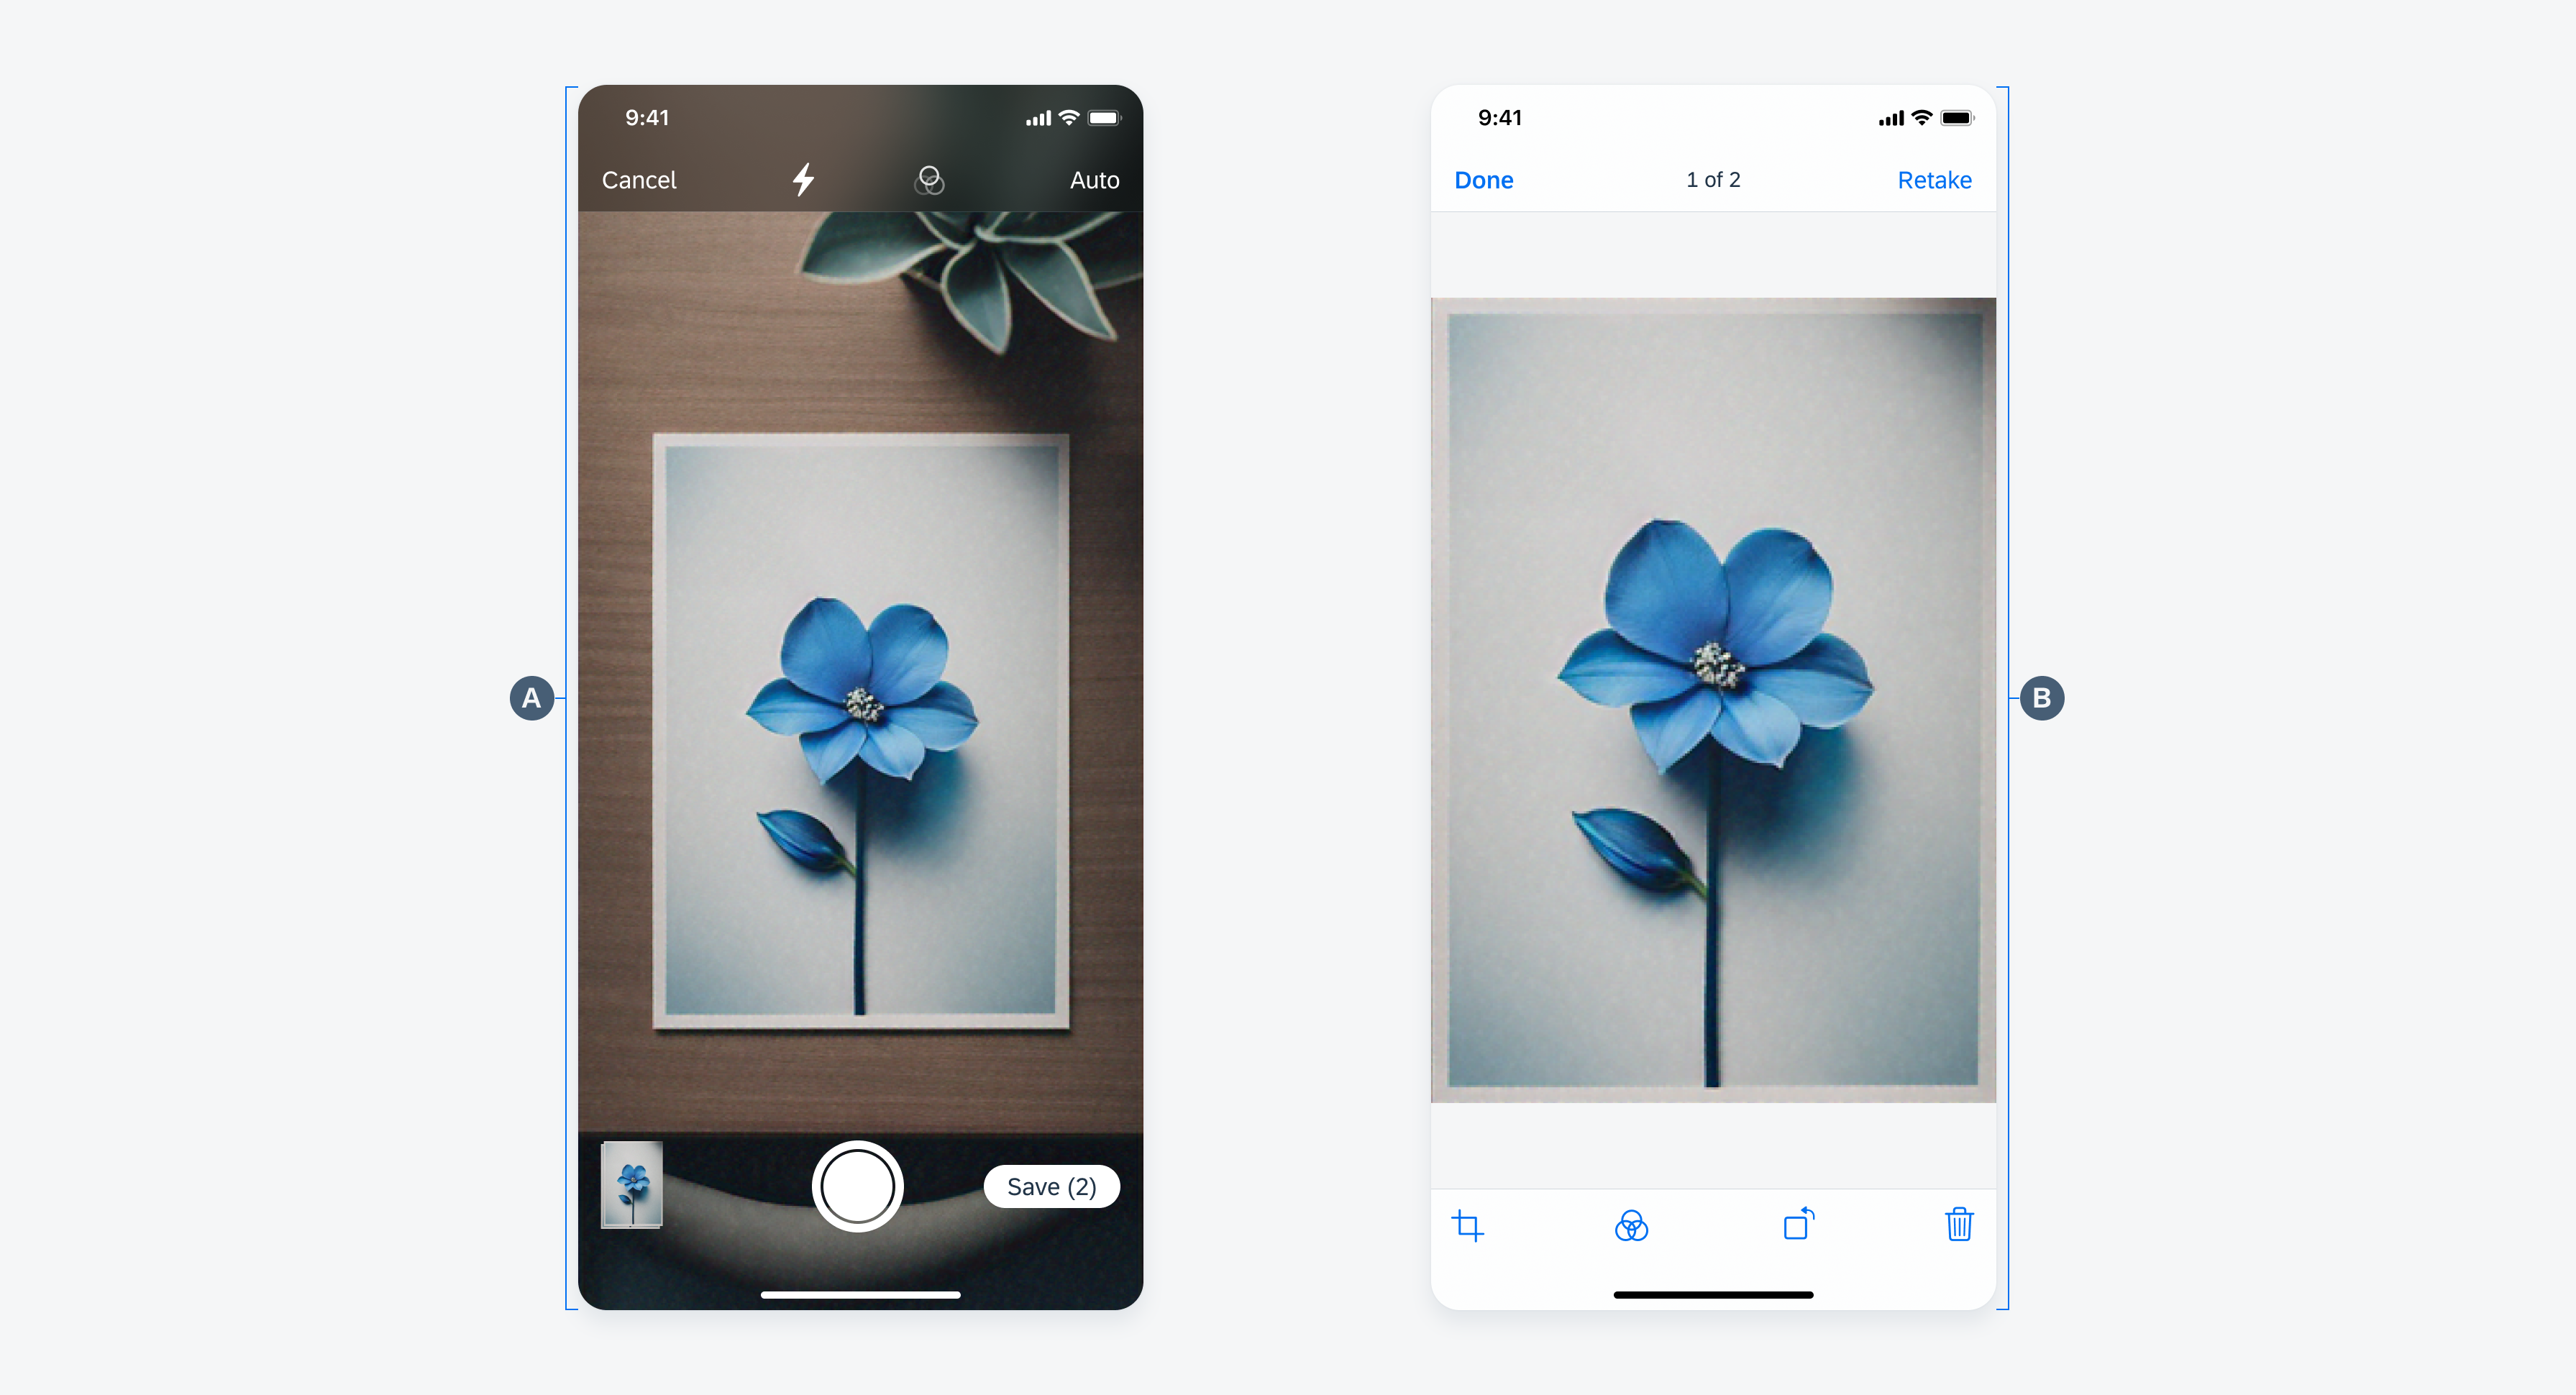
Document scanner anatomy
Opening the document scanner defaults to the auto-capture mode and prompts the user to position the document within the frame. As soon as a potential document is detected, a blue outline appears, instructing the user to hold the camera steady as the document is being scanned. Once the document is captured, the scanned document is shown on the bottom left scanned documents preview.
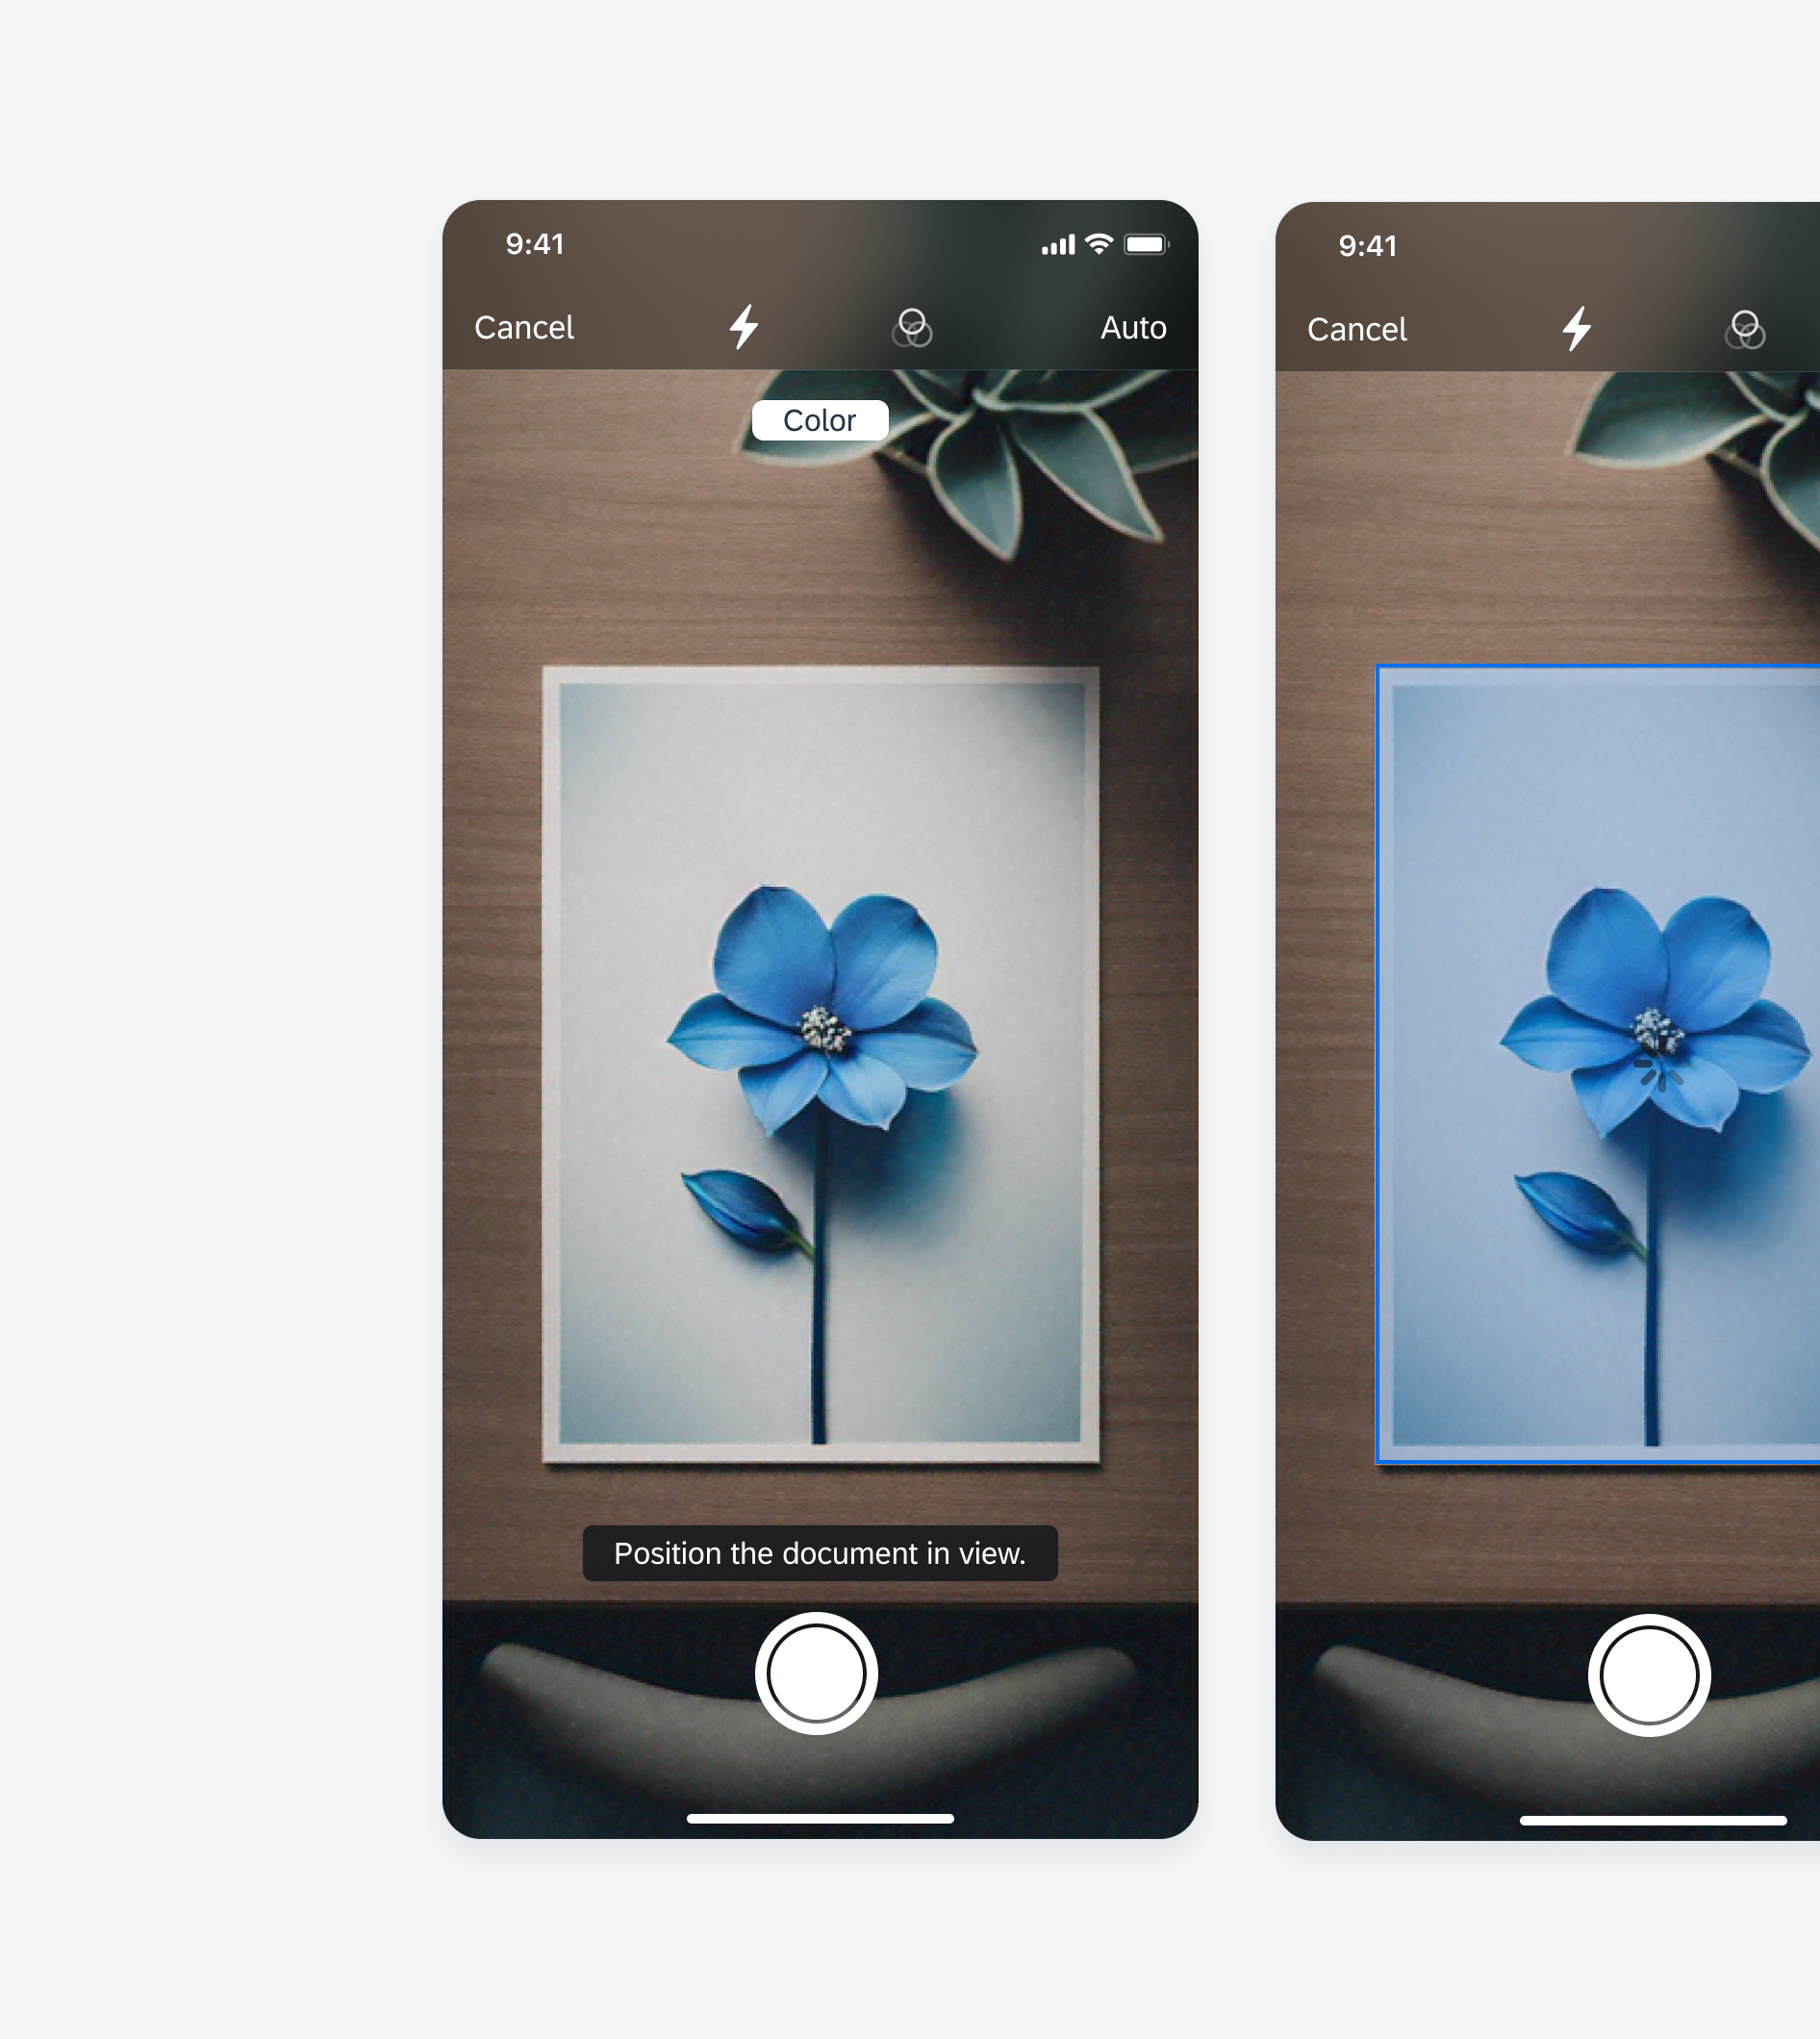
Automatic capture scan view
Manual Capture
Users can switch to manual capture mode by tapping on the “Manual” button located on the top right corner. In manual mode, the user is prompted to position the document within the camera’s view. Once a potential document is detected, a blue outline is overlayed over the targeted document, and the user can tap on the shutter button to capture the scan.
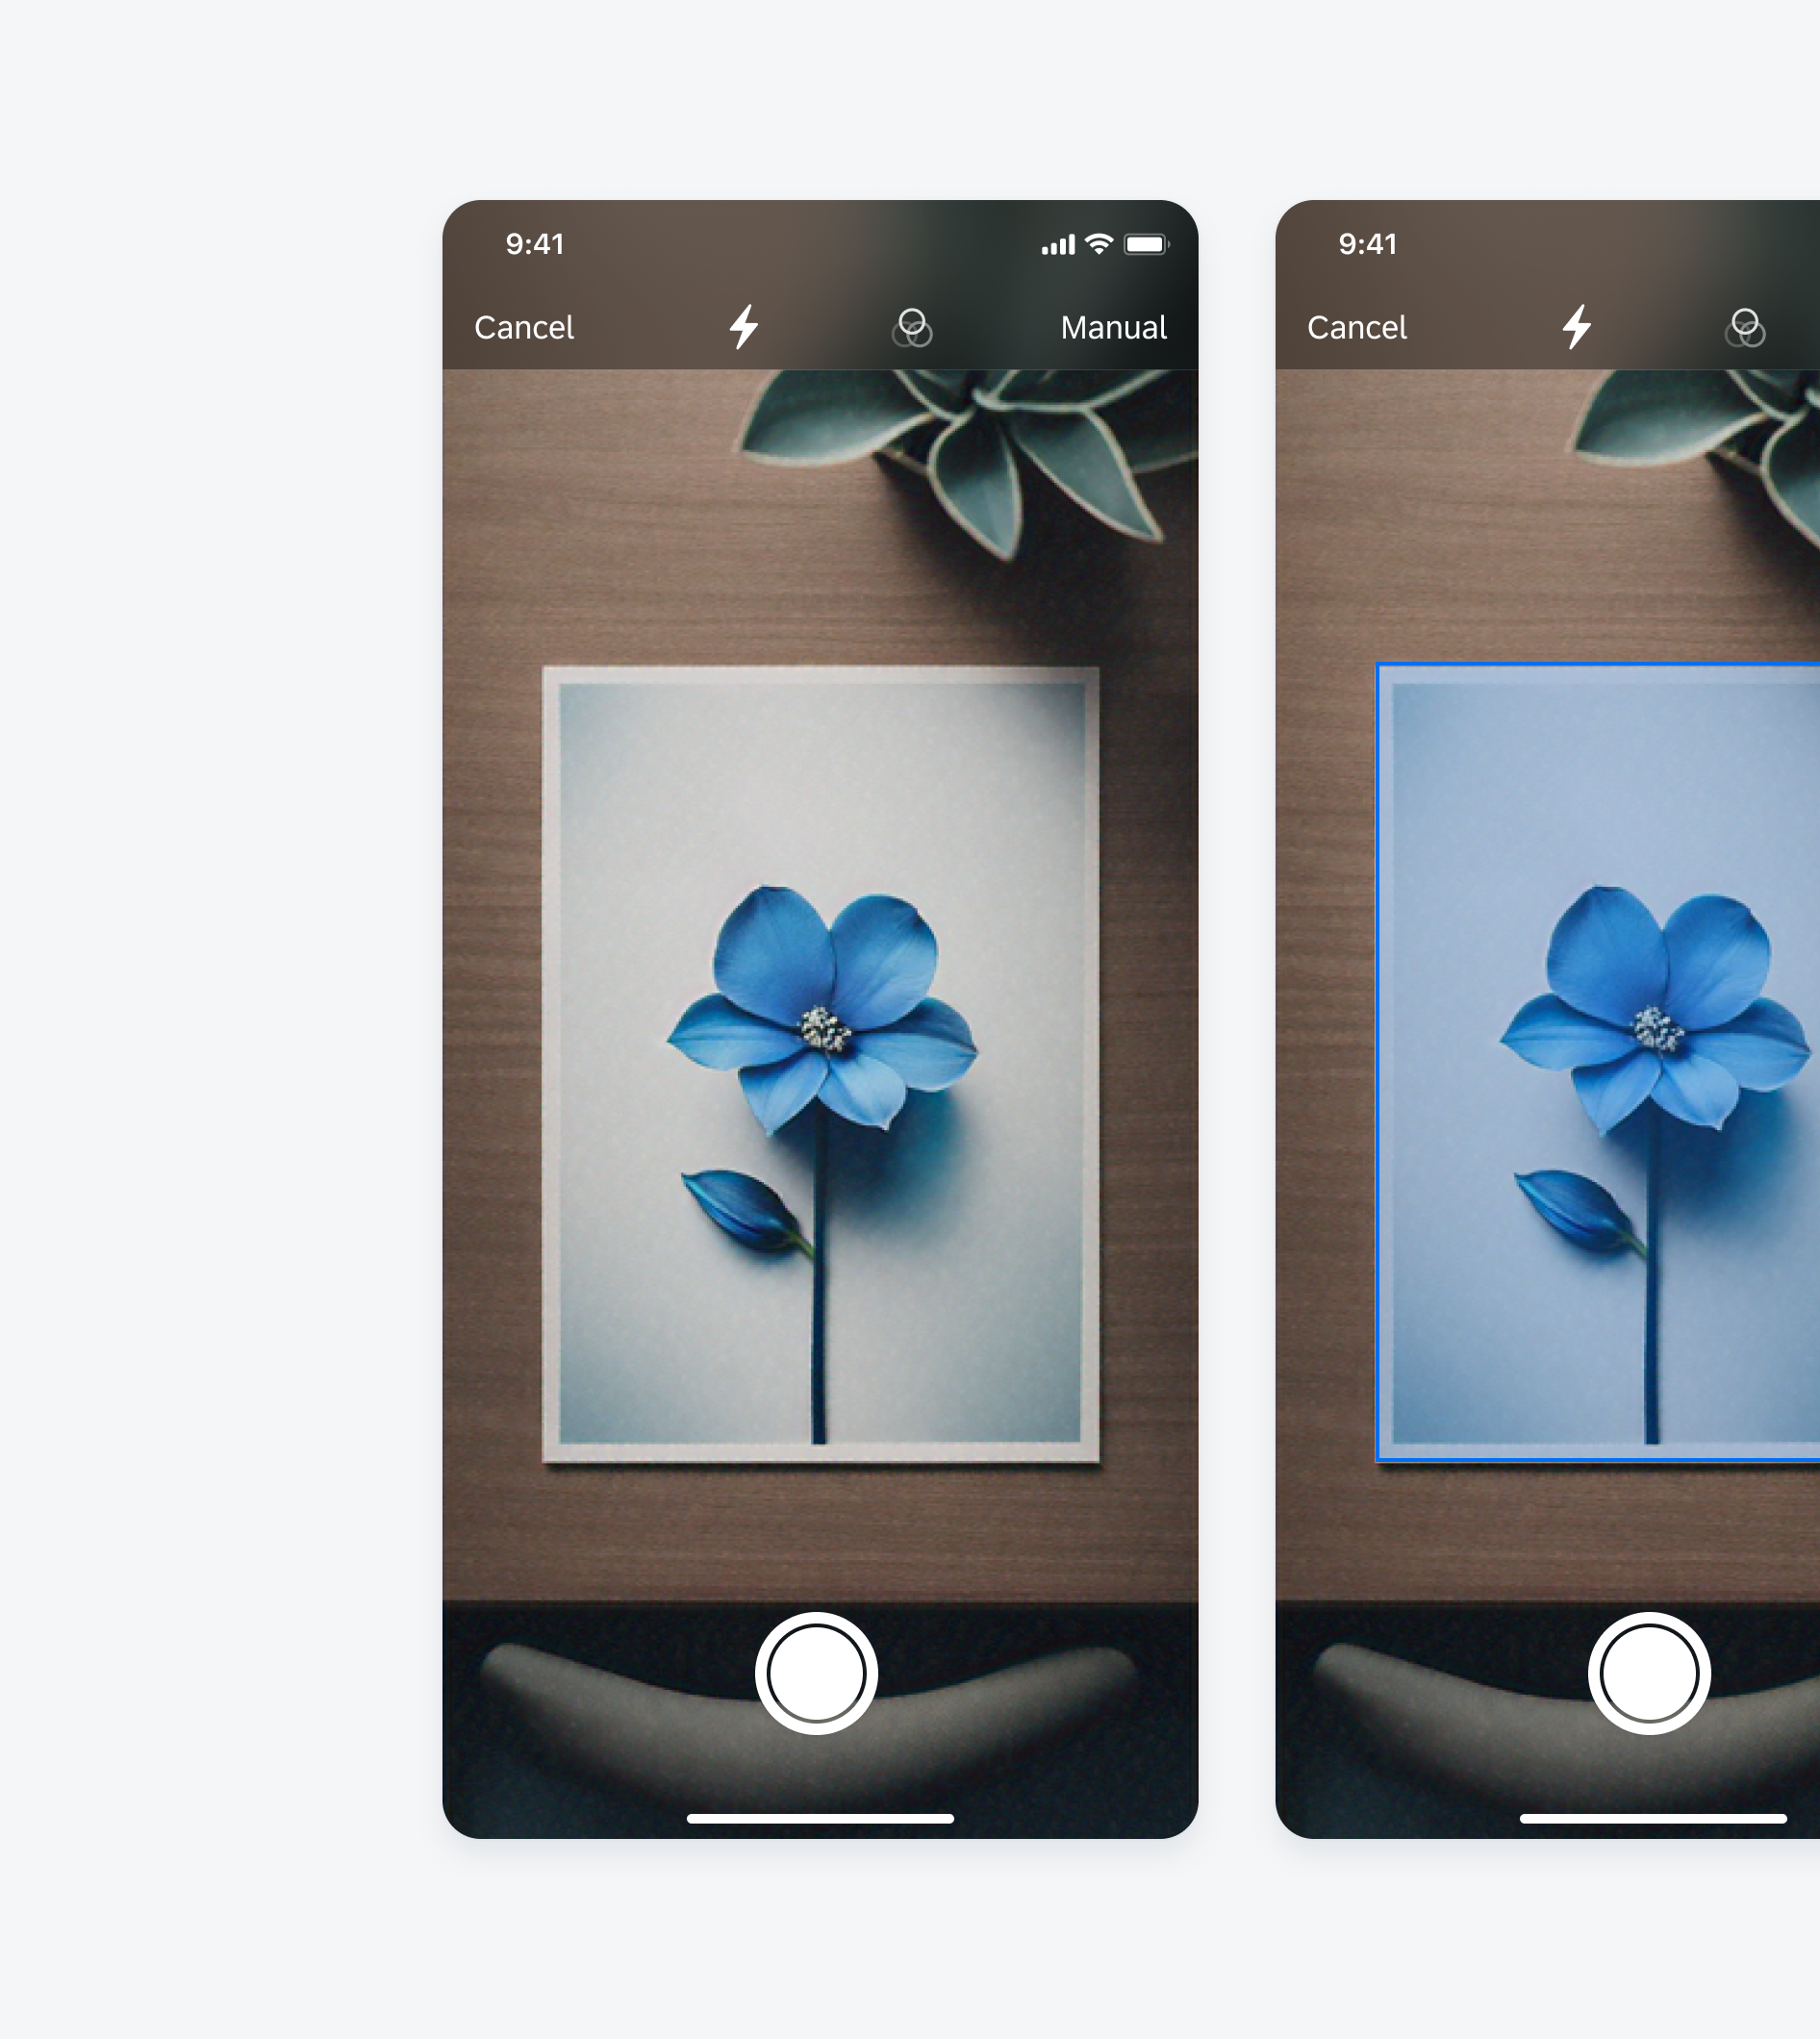
Manual capture scan view
Scan Confirmation
After capturing, users have the opportunity to adjust the scan. Once satisfied, they can either save the scan or retake it if needed.
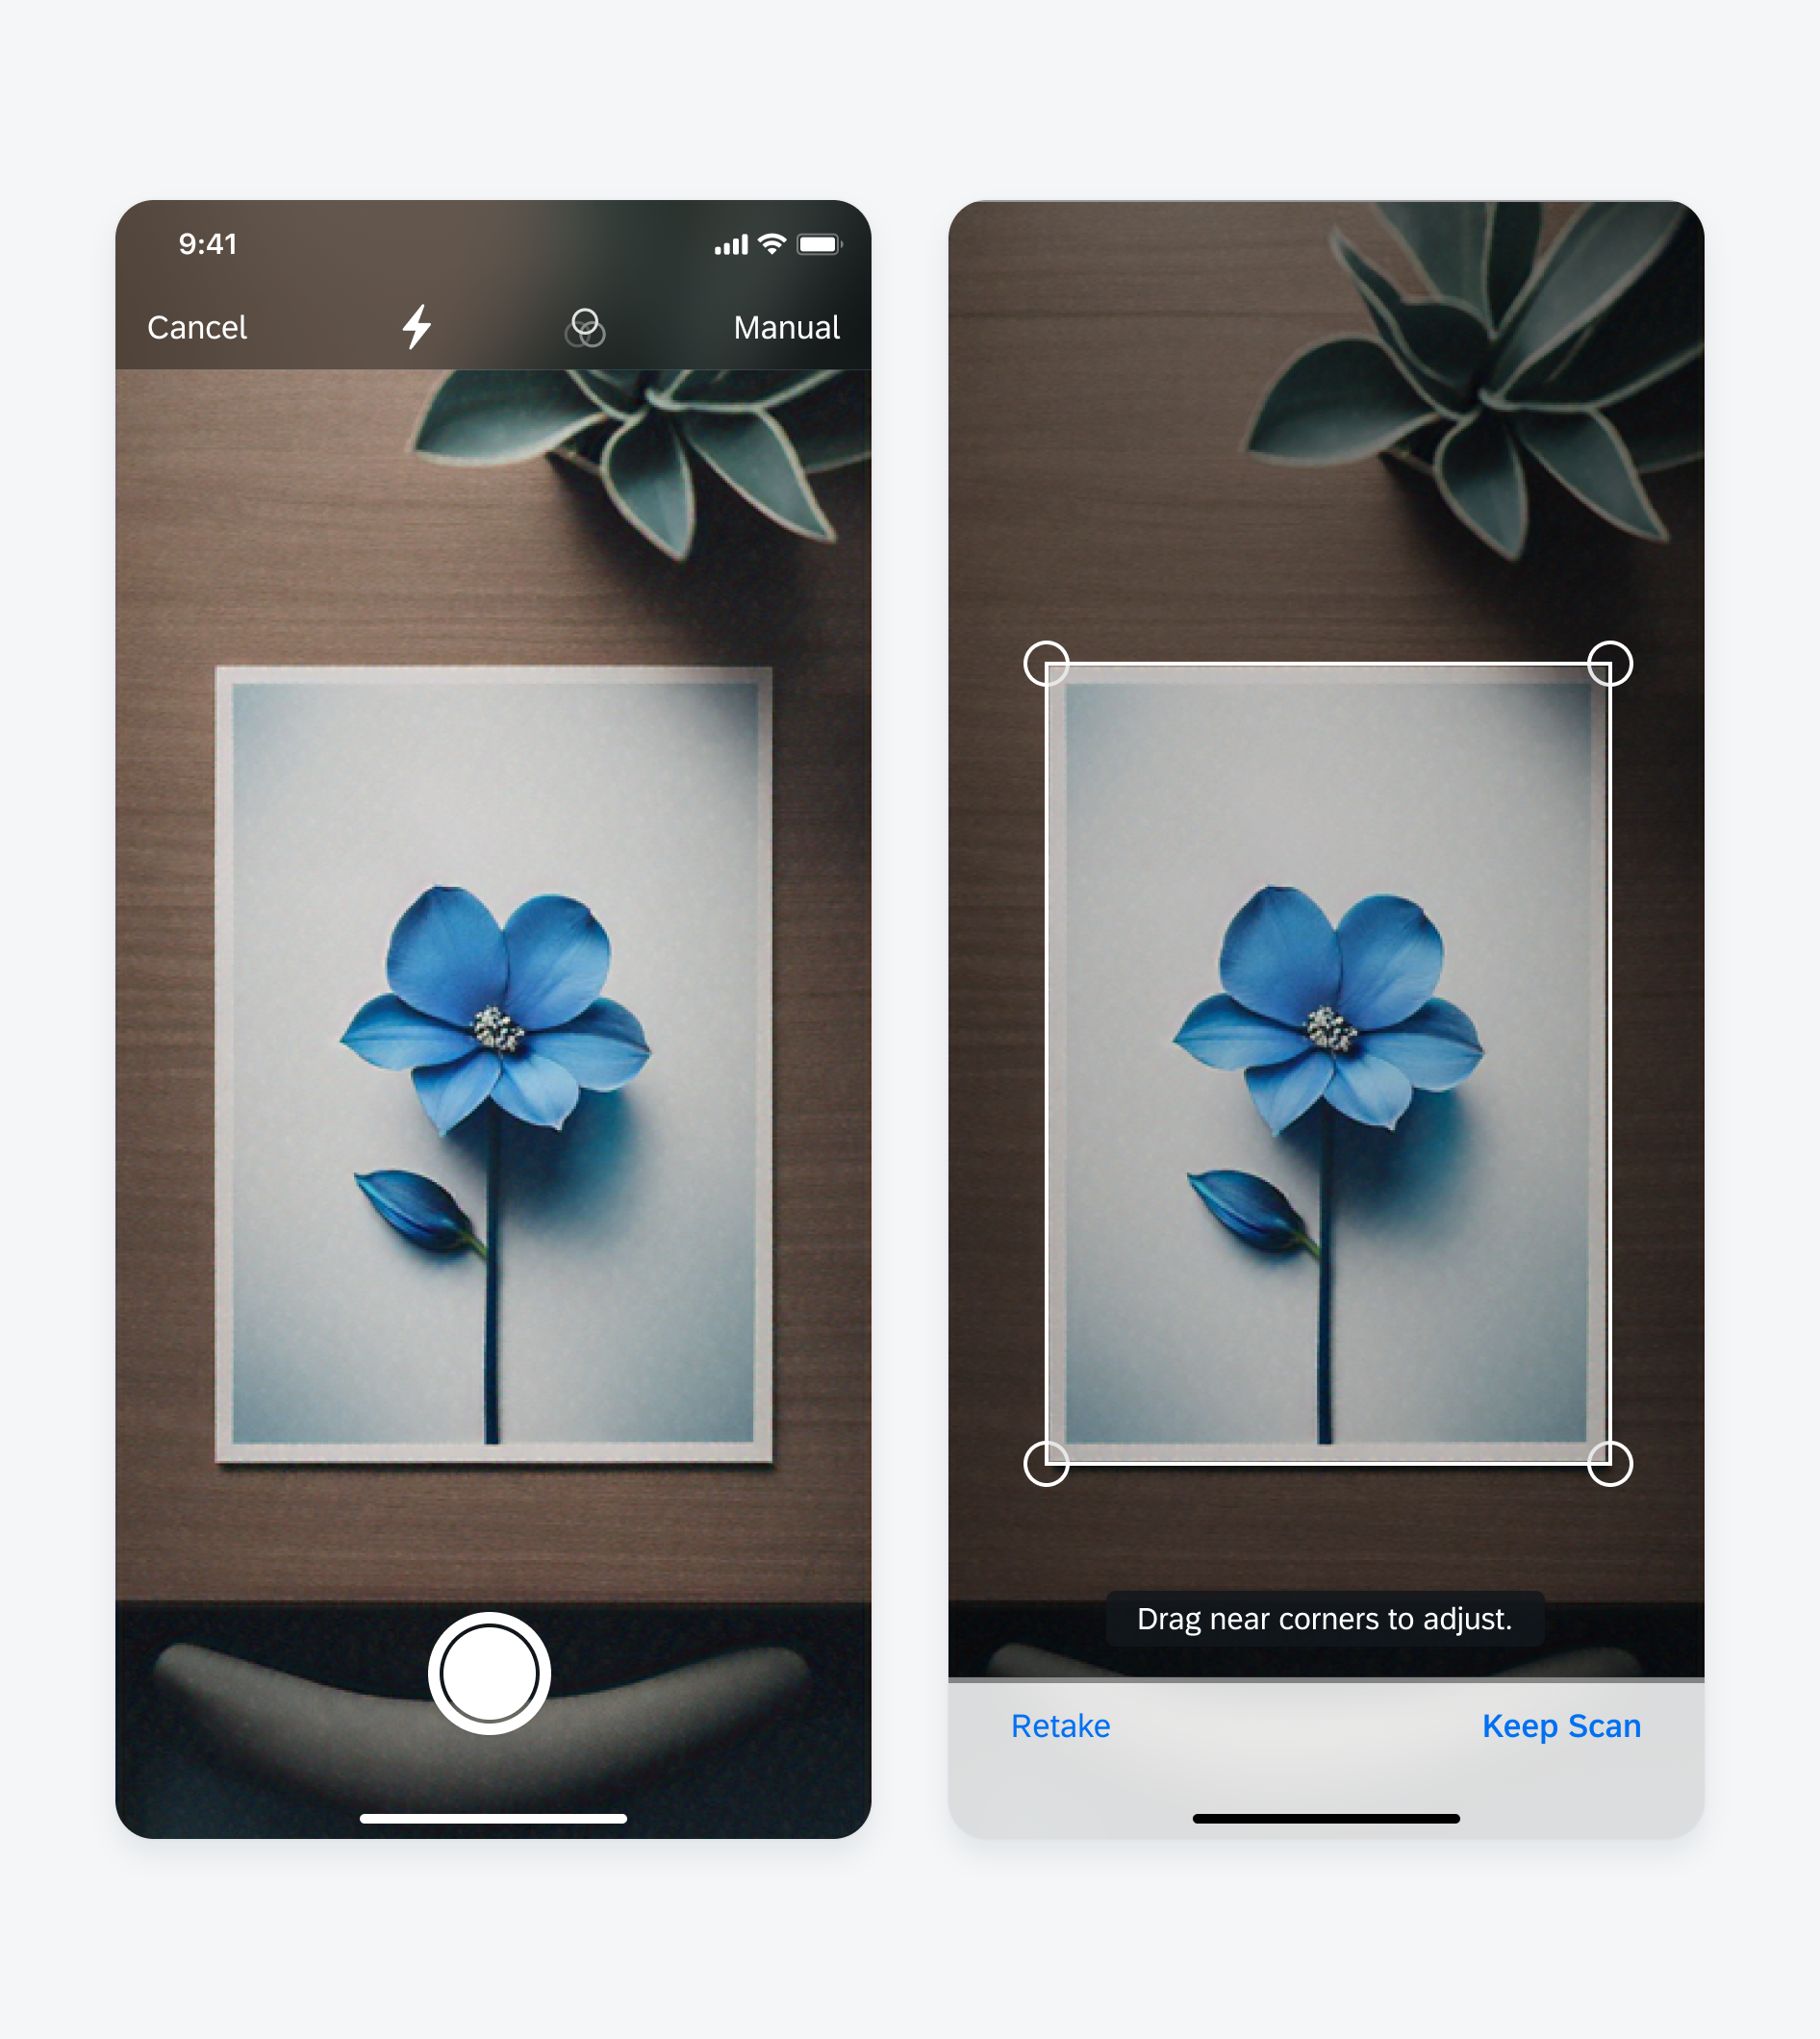
Confirming or retaking a scan
Preview Scans
Users can preview and edit their scanned documents by tapping on the bottom-left scan thumbnail.
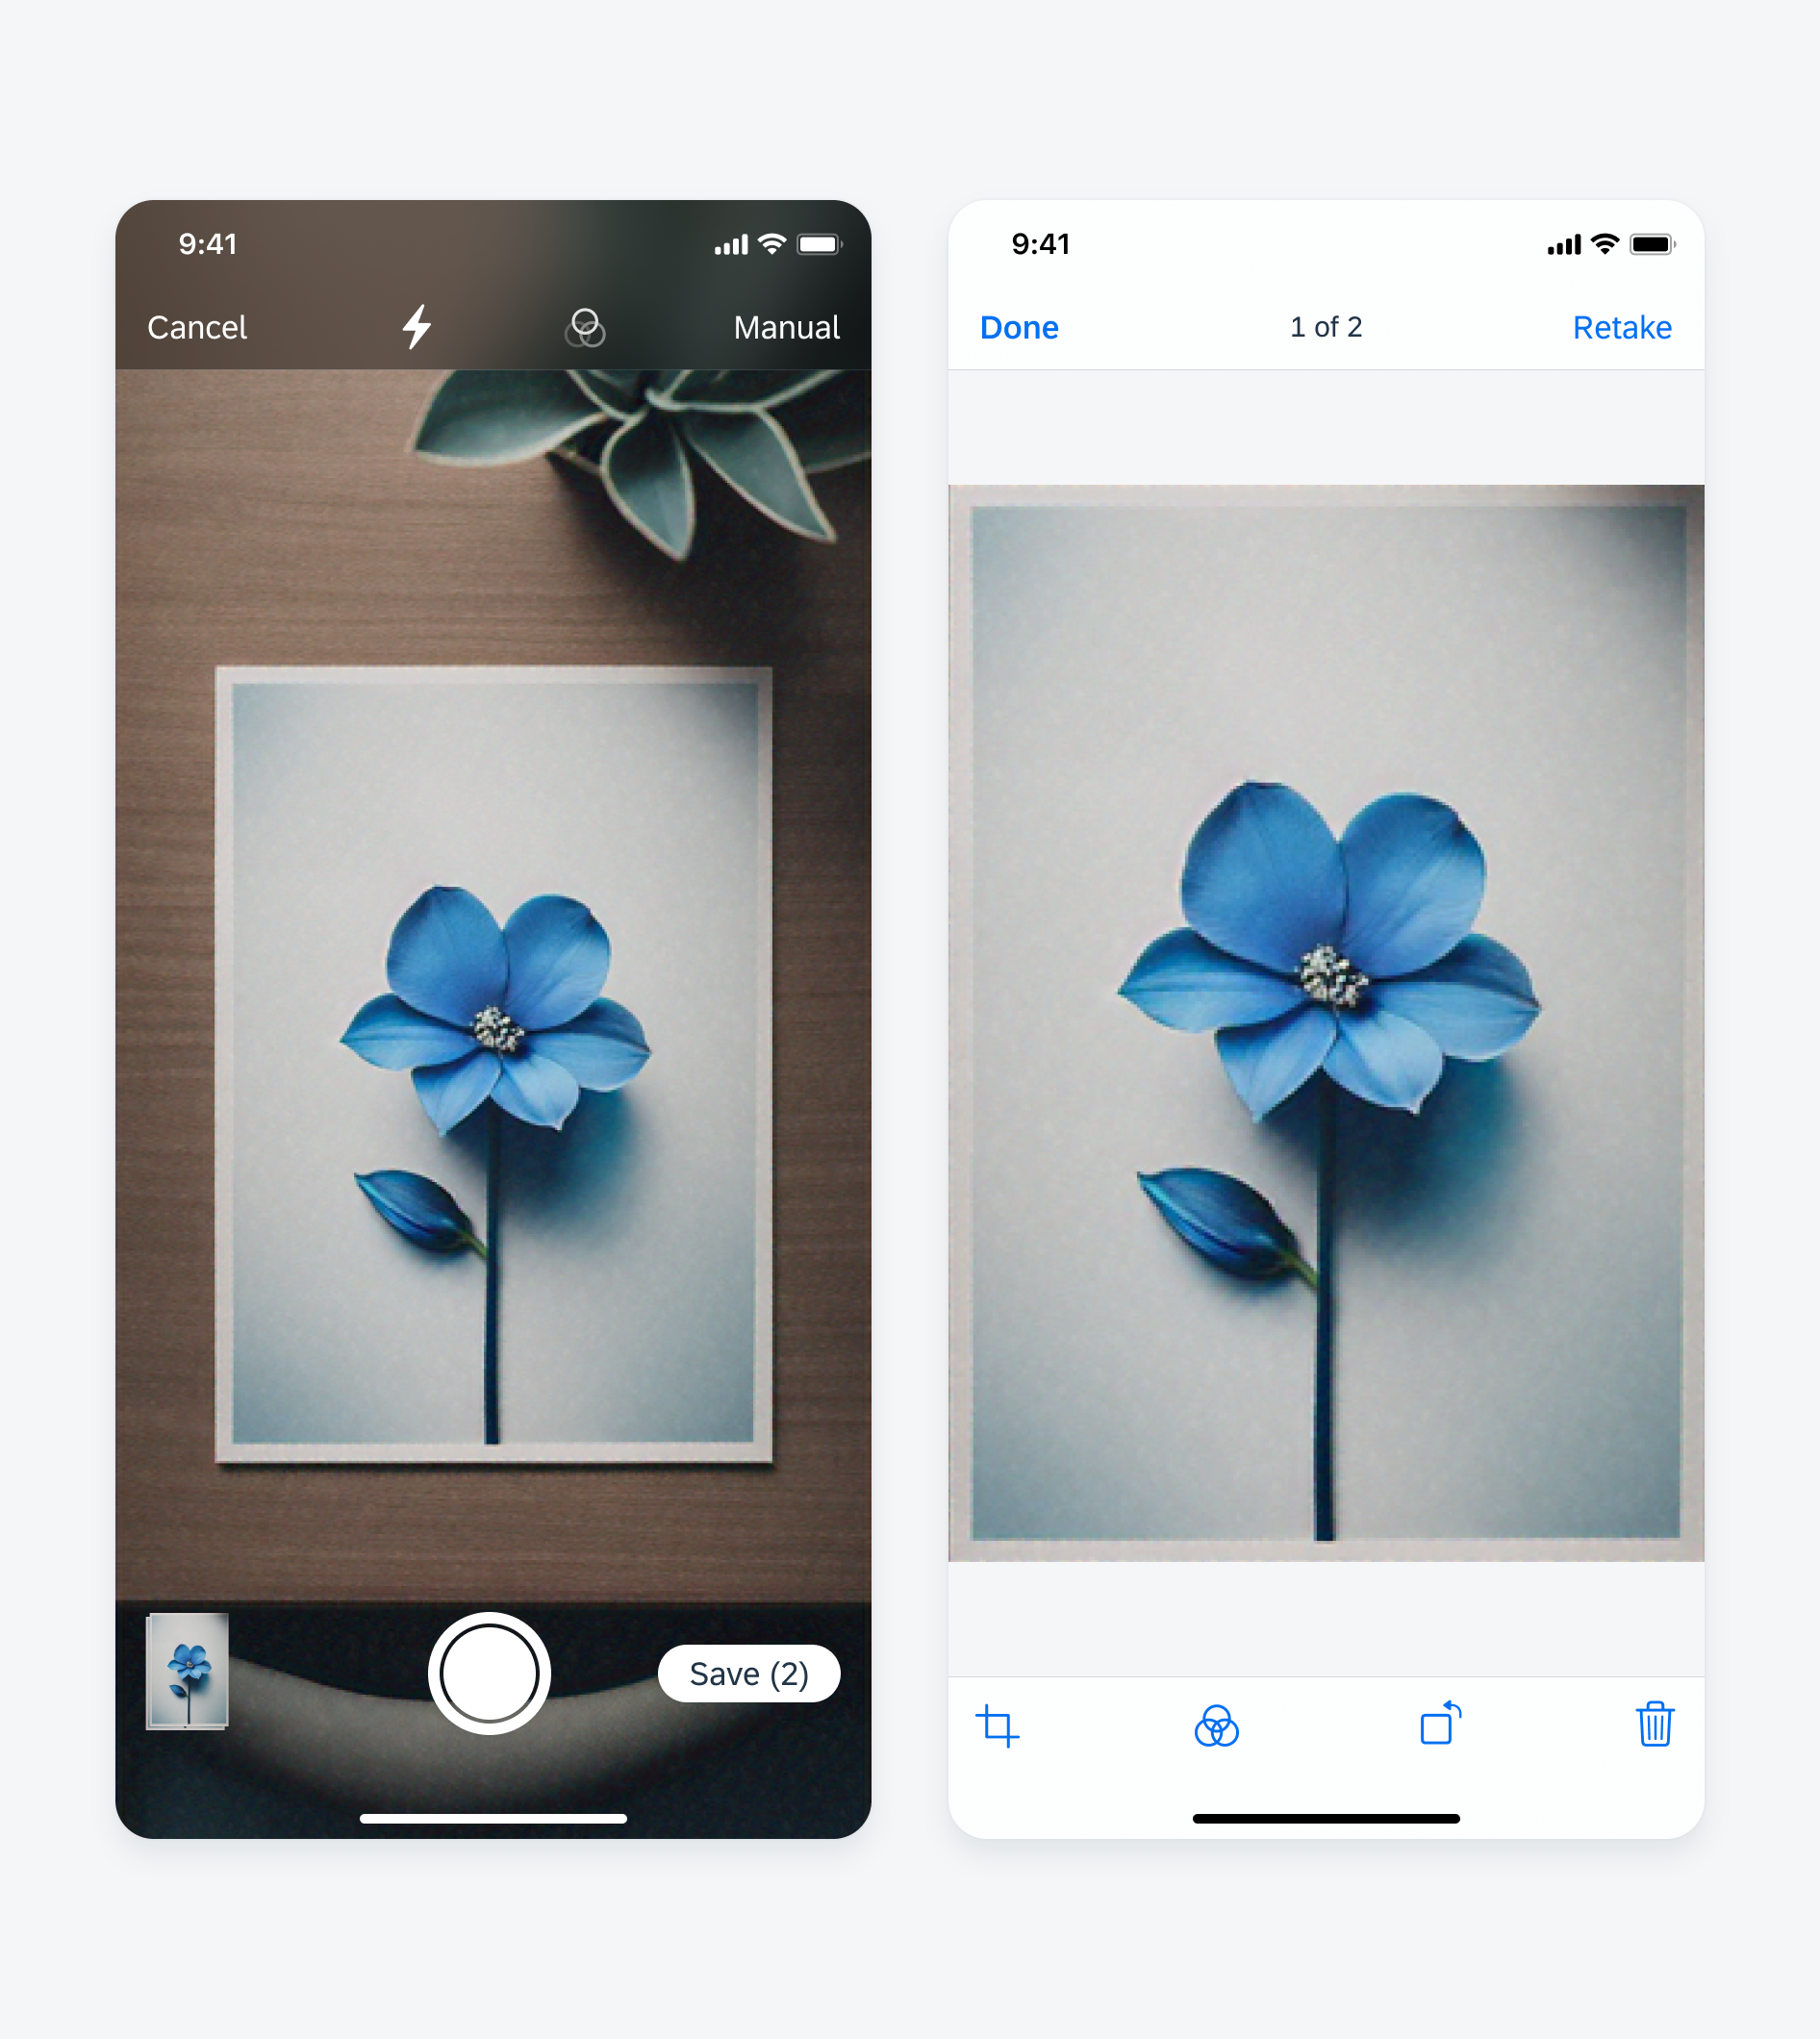
Previewing scanned documents
Adjust Scan
The “Adjust scan” feature allows users to adjust or crop imperfect scans. Users can adjust the selected scan by dragging the corners of the overlay to their desired positions. Once satisfied, they can finish by tapping on “Done“ on the bottom right or cancel the entire adjustment if needed.
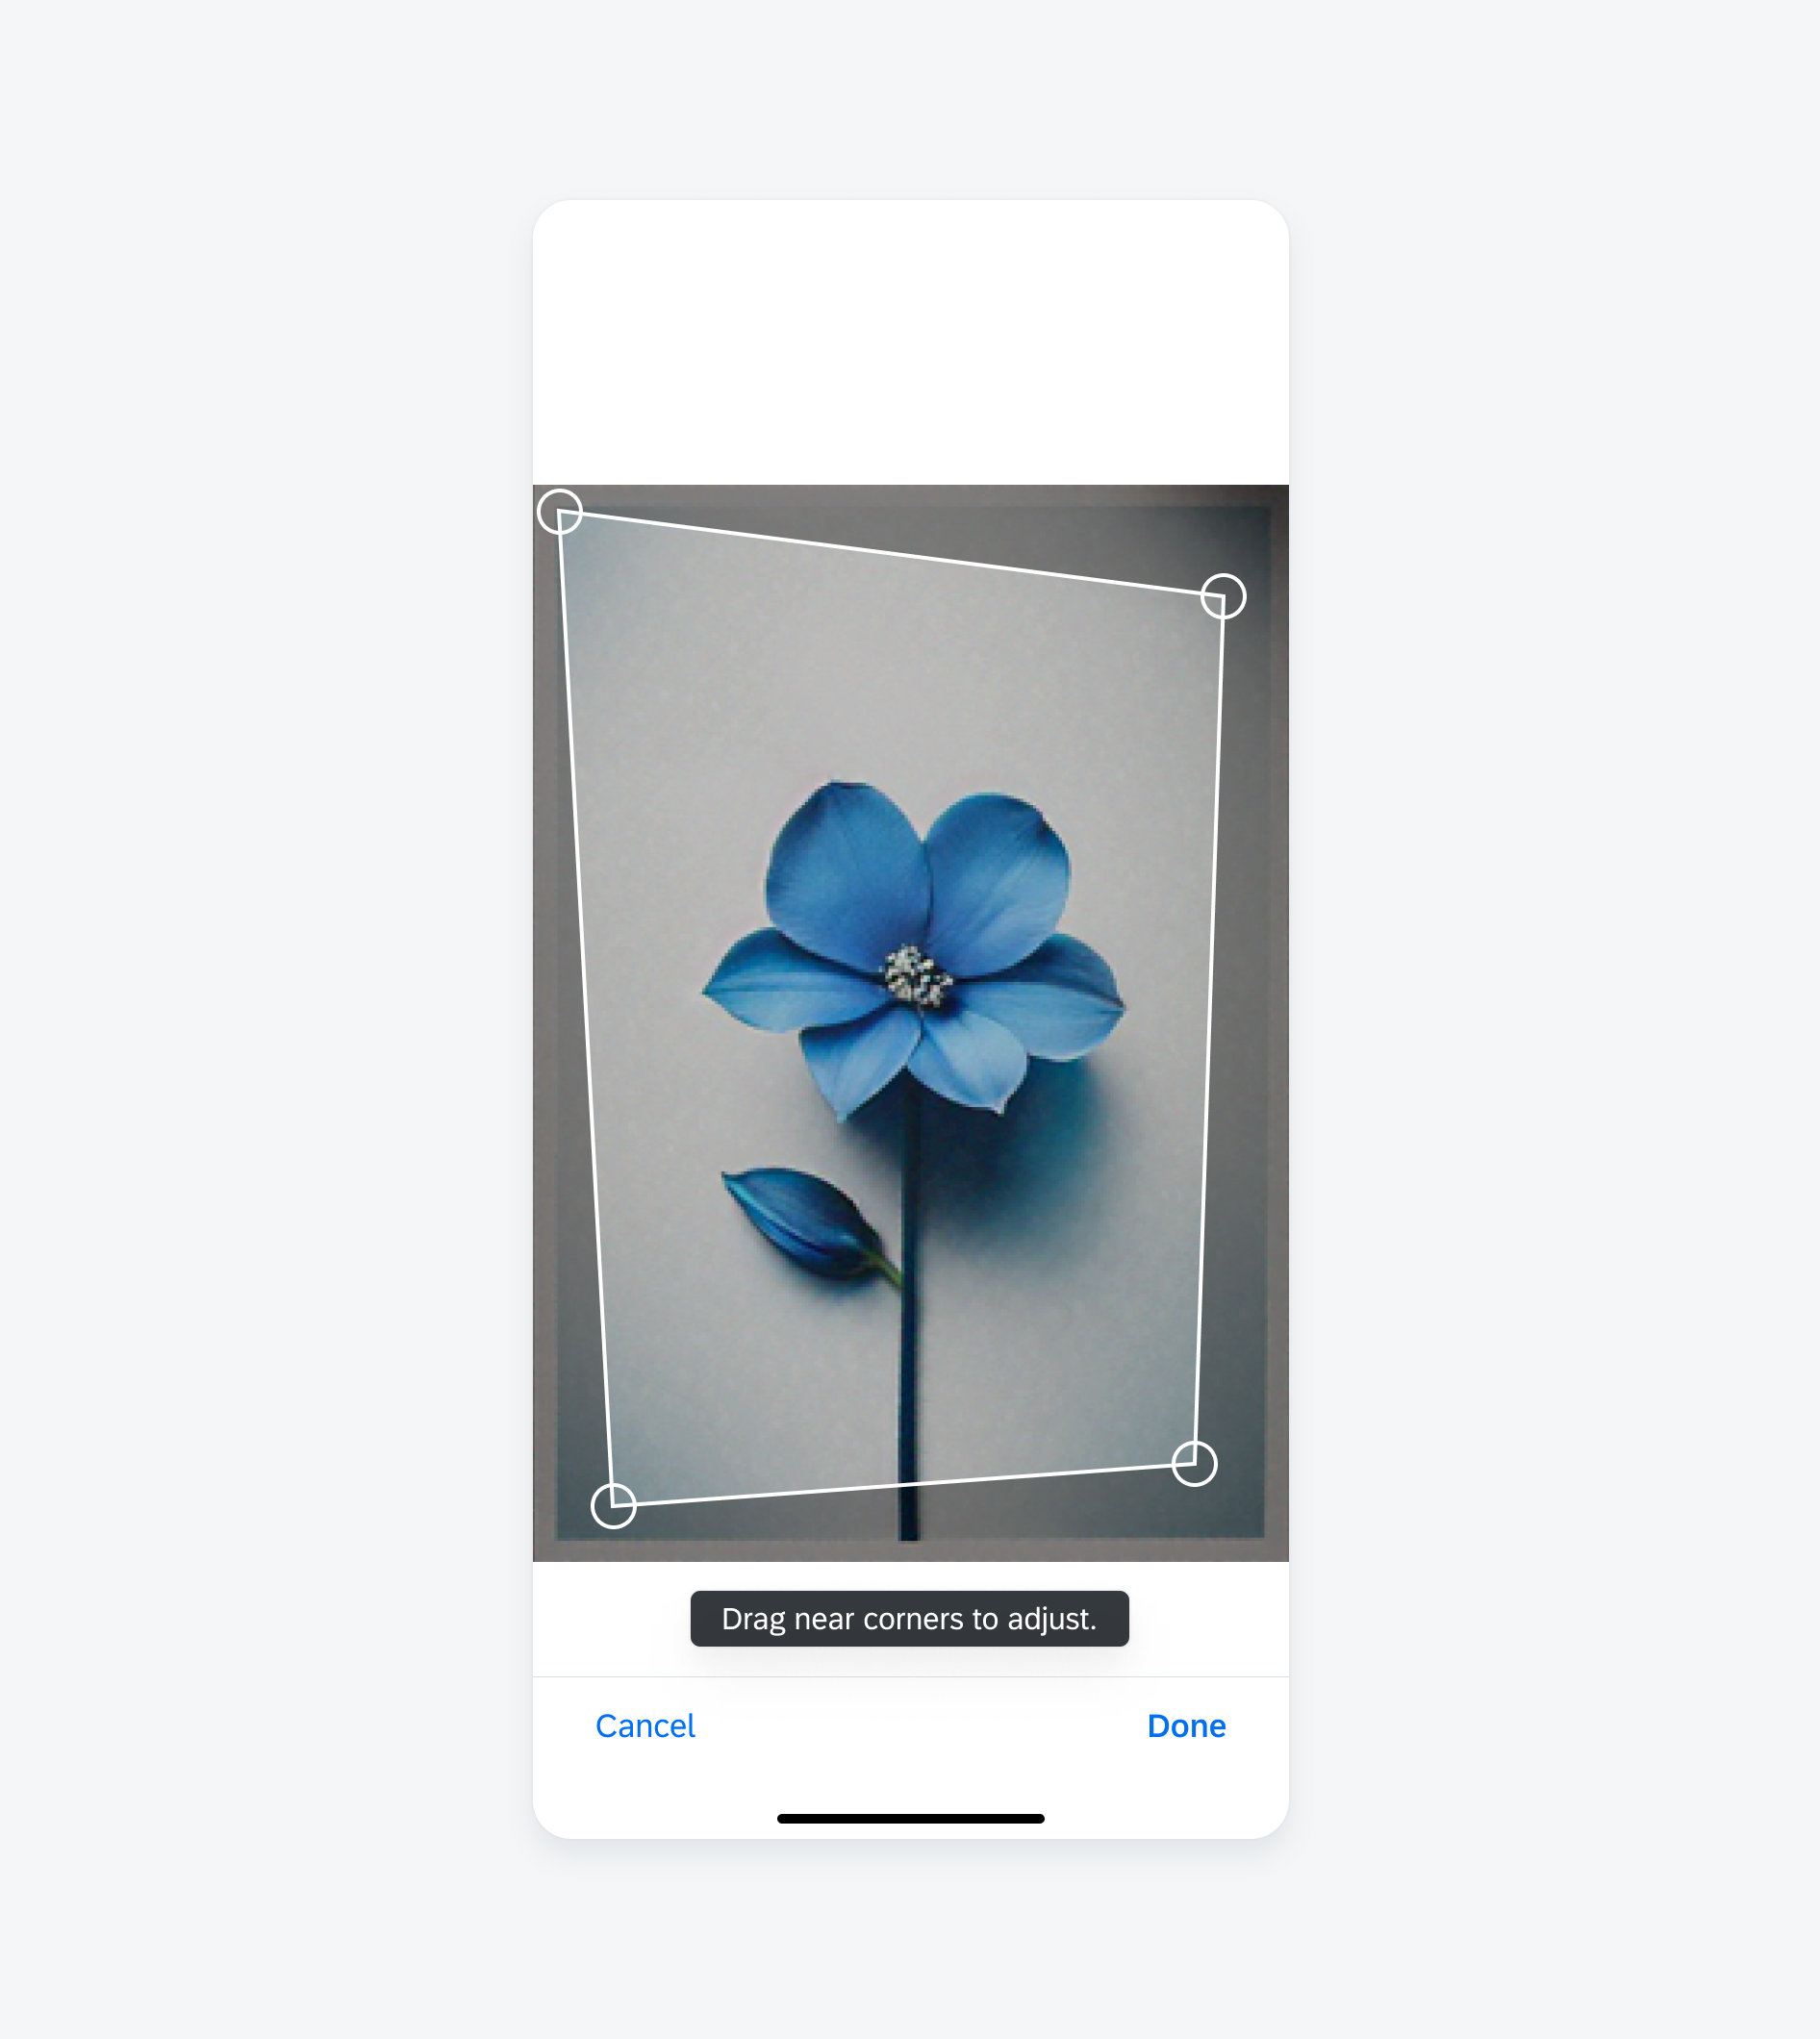
Adjusting a scanned document
Filter
The filter feature in the iOS document scanner enhances scanned documents by applying visual adjustments to improve their readability and appearance.
The four filter options:
- Color: Retains the original colors of the document.
- Grayscale: Converts the document to shades of gray for a cleaner, professional look.
- Black & White: Optimizes contrast by removing all colors, making text sharper and more distinct, especially for text-heavy documents.
- Photo: Preserves the details and colors of images for a more natural appearance.

Applying filters to a scanned document
Rotate
The “Rotate” feature allows users to adjust the orientation of a scanned document by rotating it in 90-degree increments. This ensures that the document appears correctly aligned for viewing, sharing, or printing, especially if it was scanned at an angle or upside down.
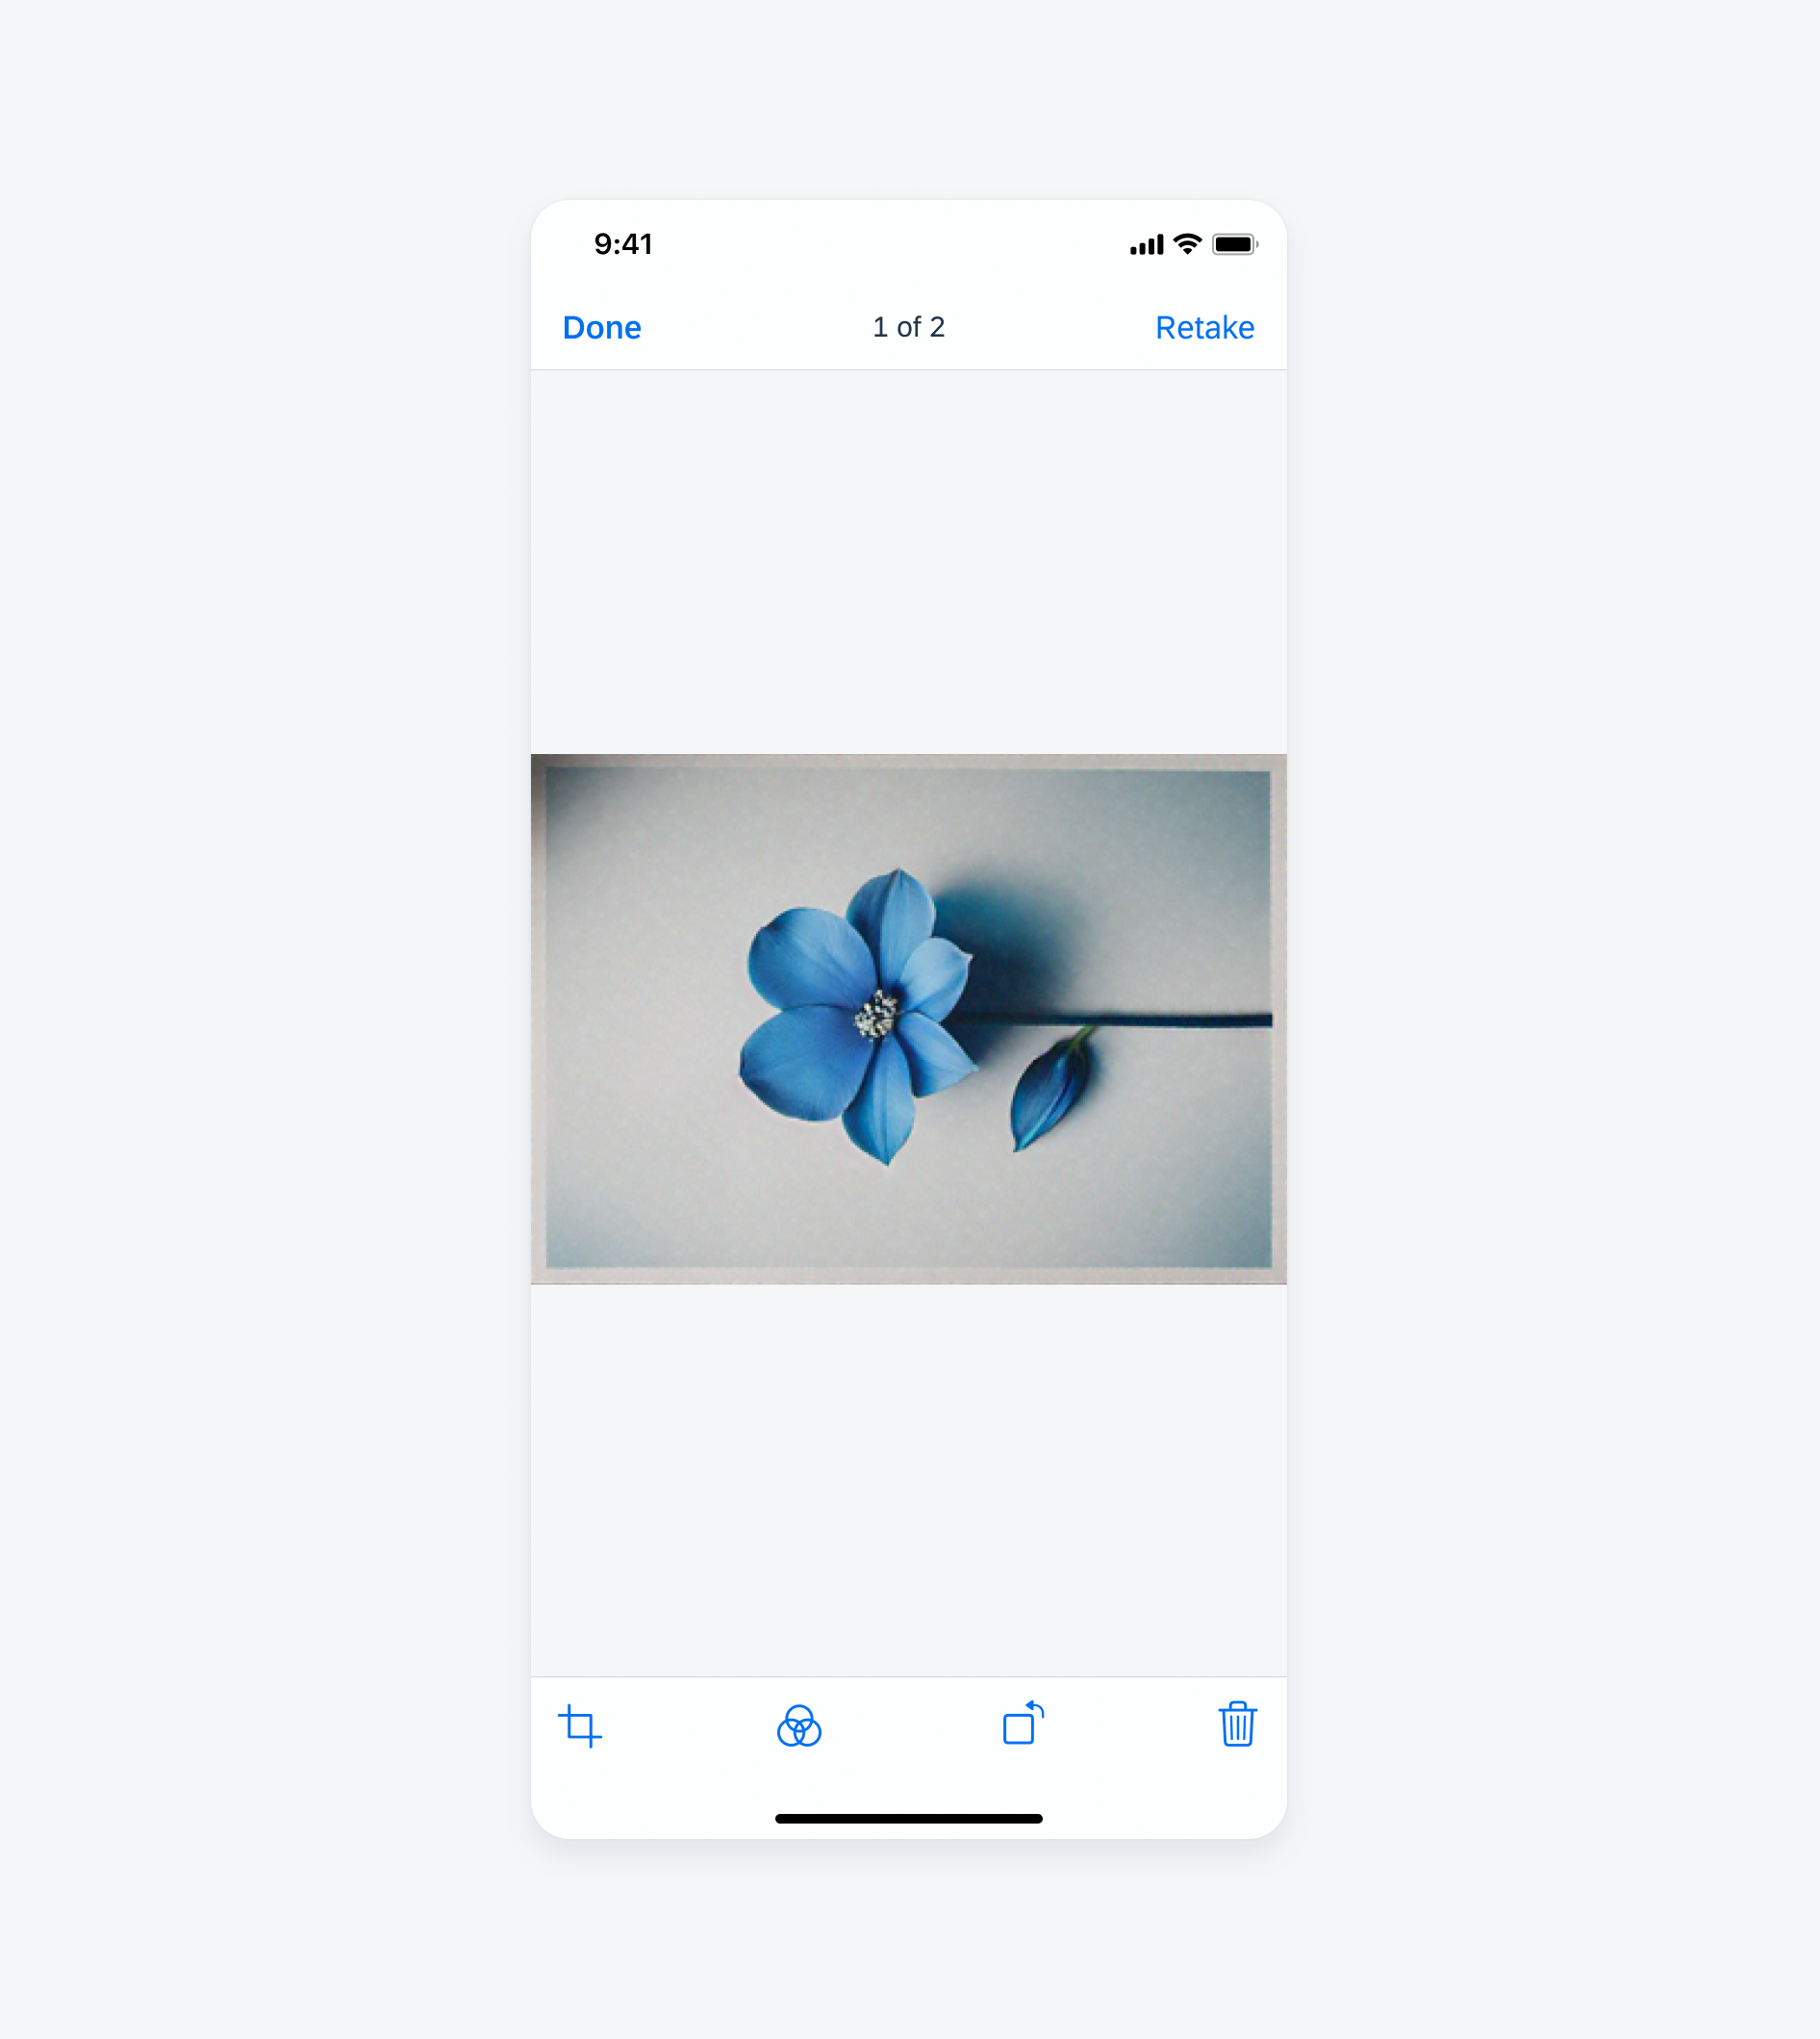
Rotating a scanned document
Delete
Users can delete the selected scan from the overall collection of scans from the session by tapping on the trashcan icon.
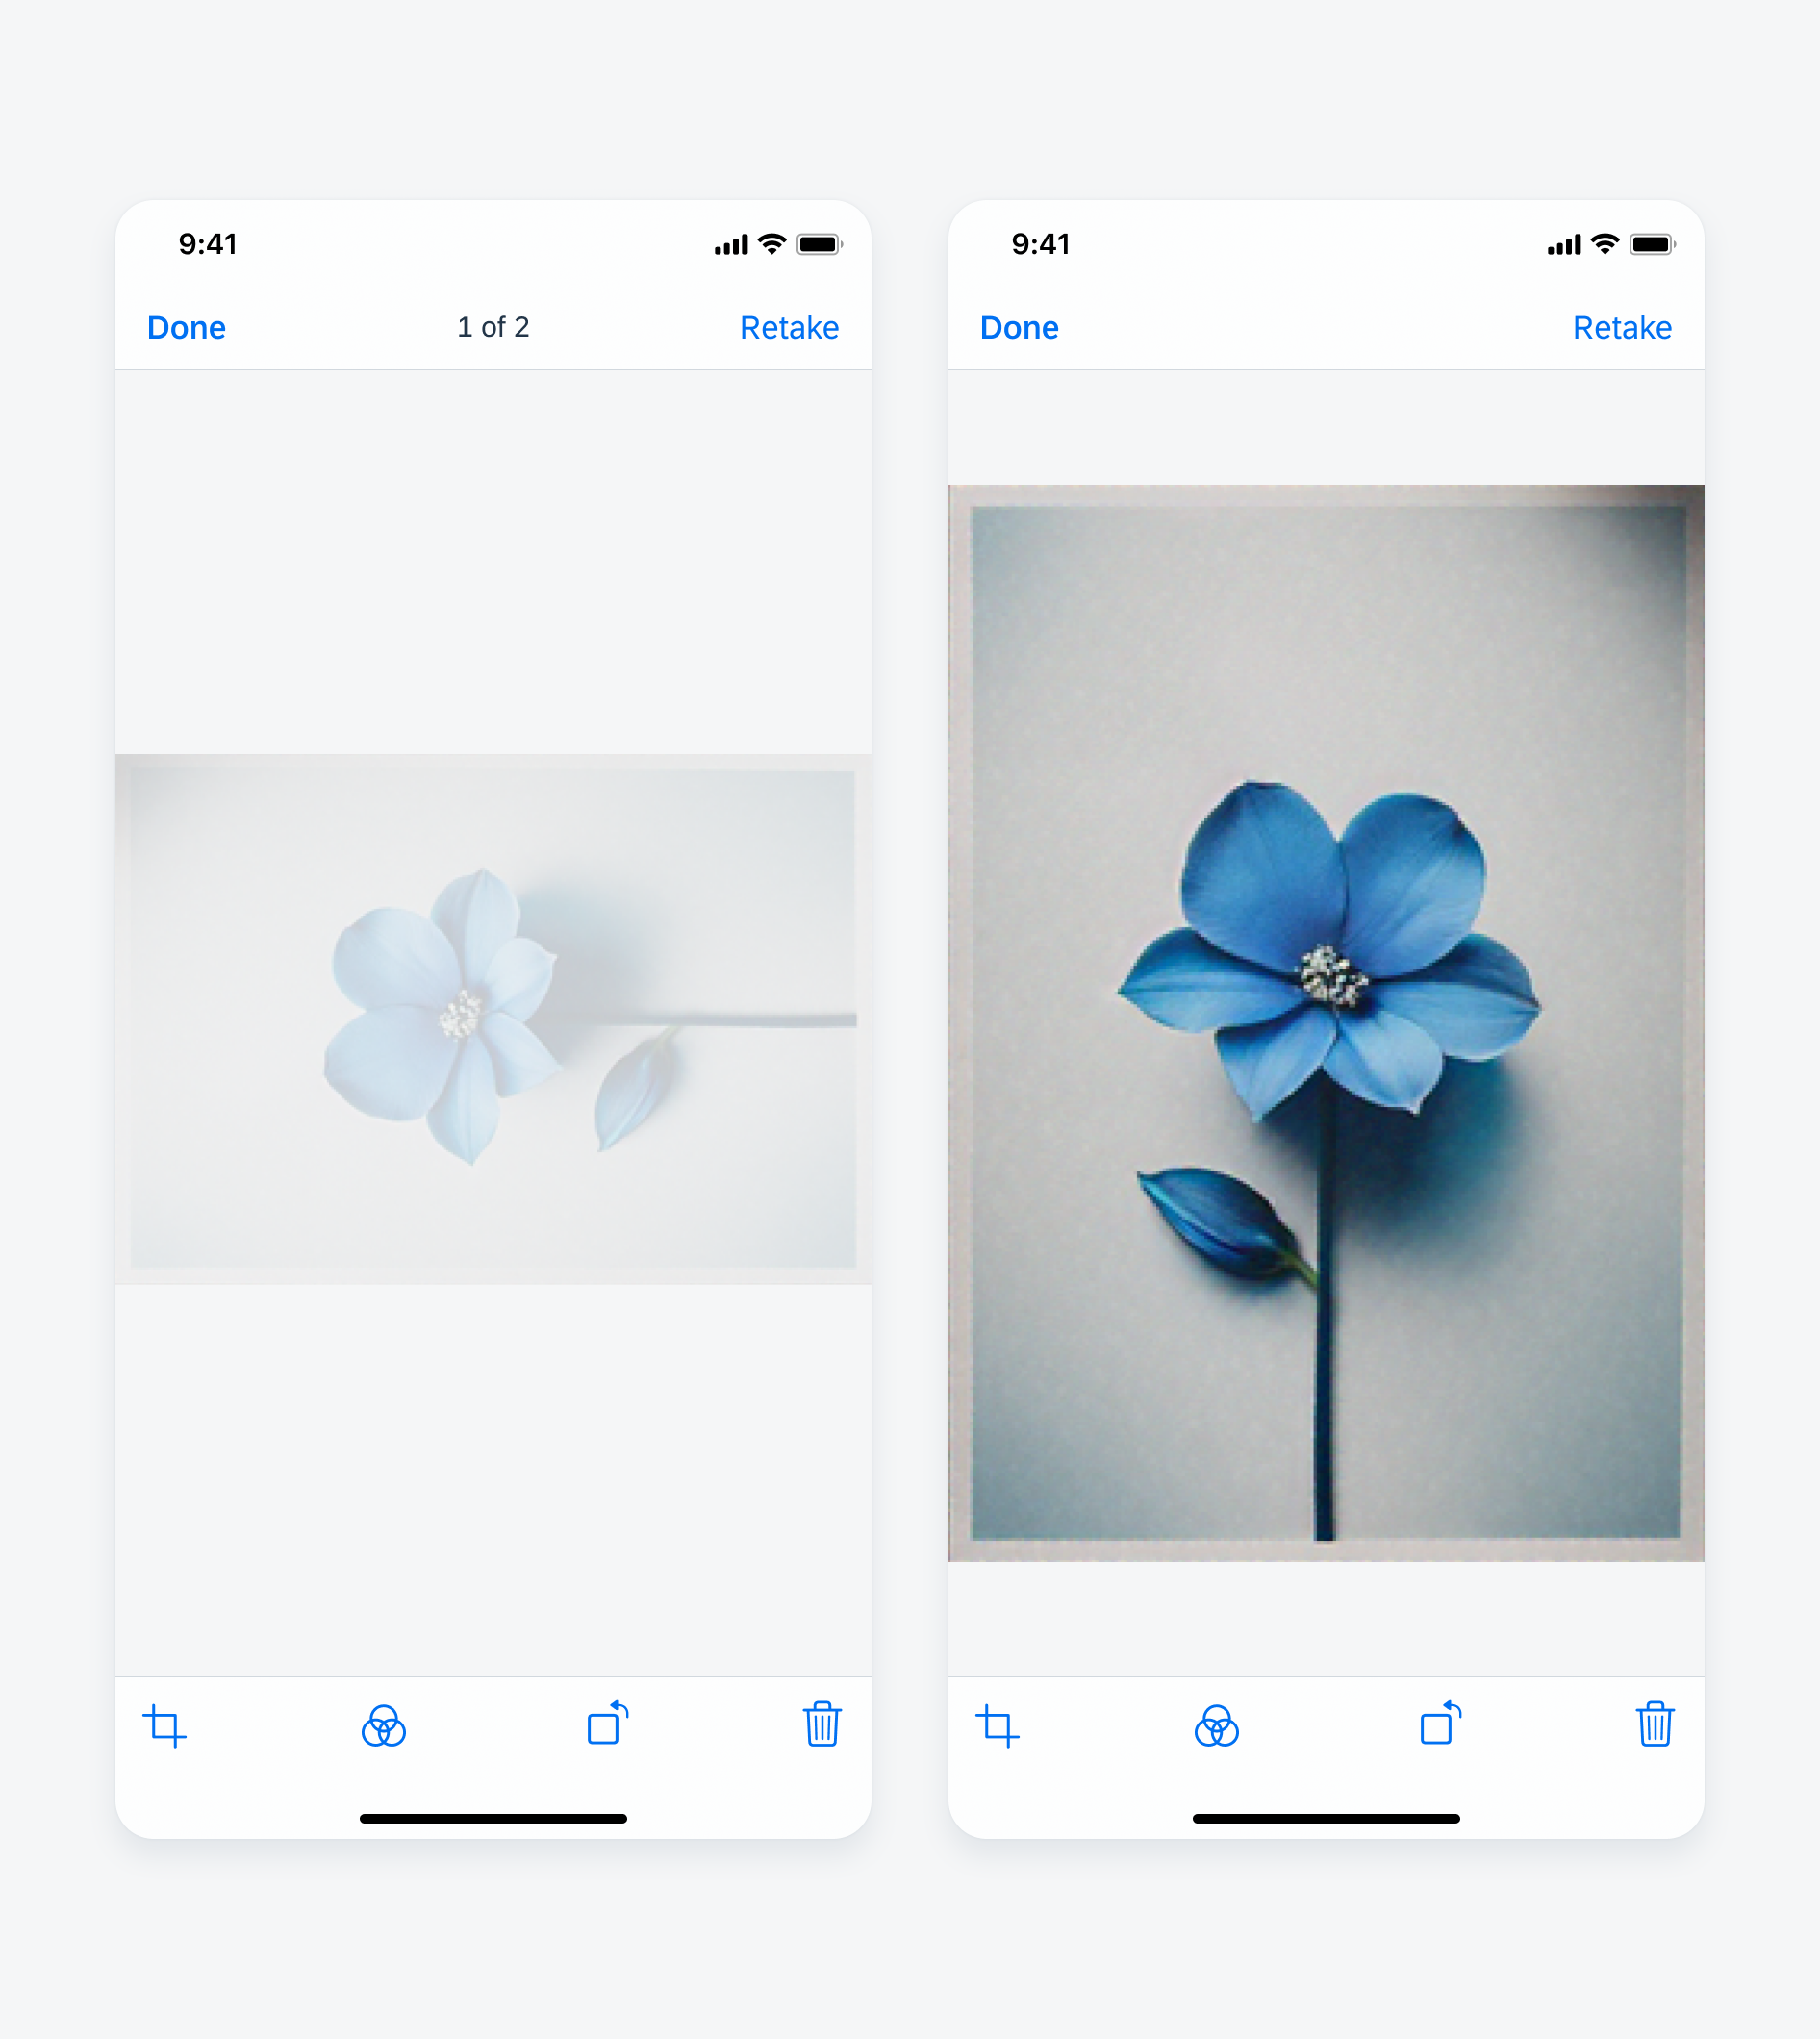
Deleting a scanned document
Retake
Users can retake the selected scan by tapping on the retake button on the top right-hand corner, performing this action takes the user back to the scanning camera view.
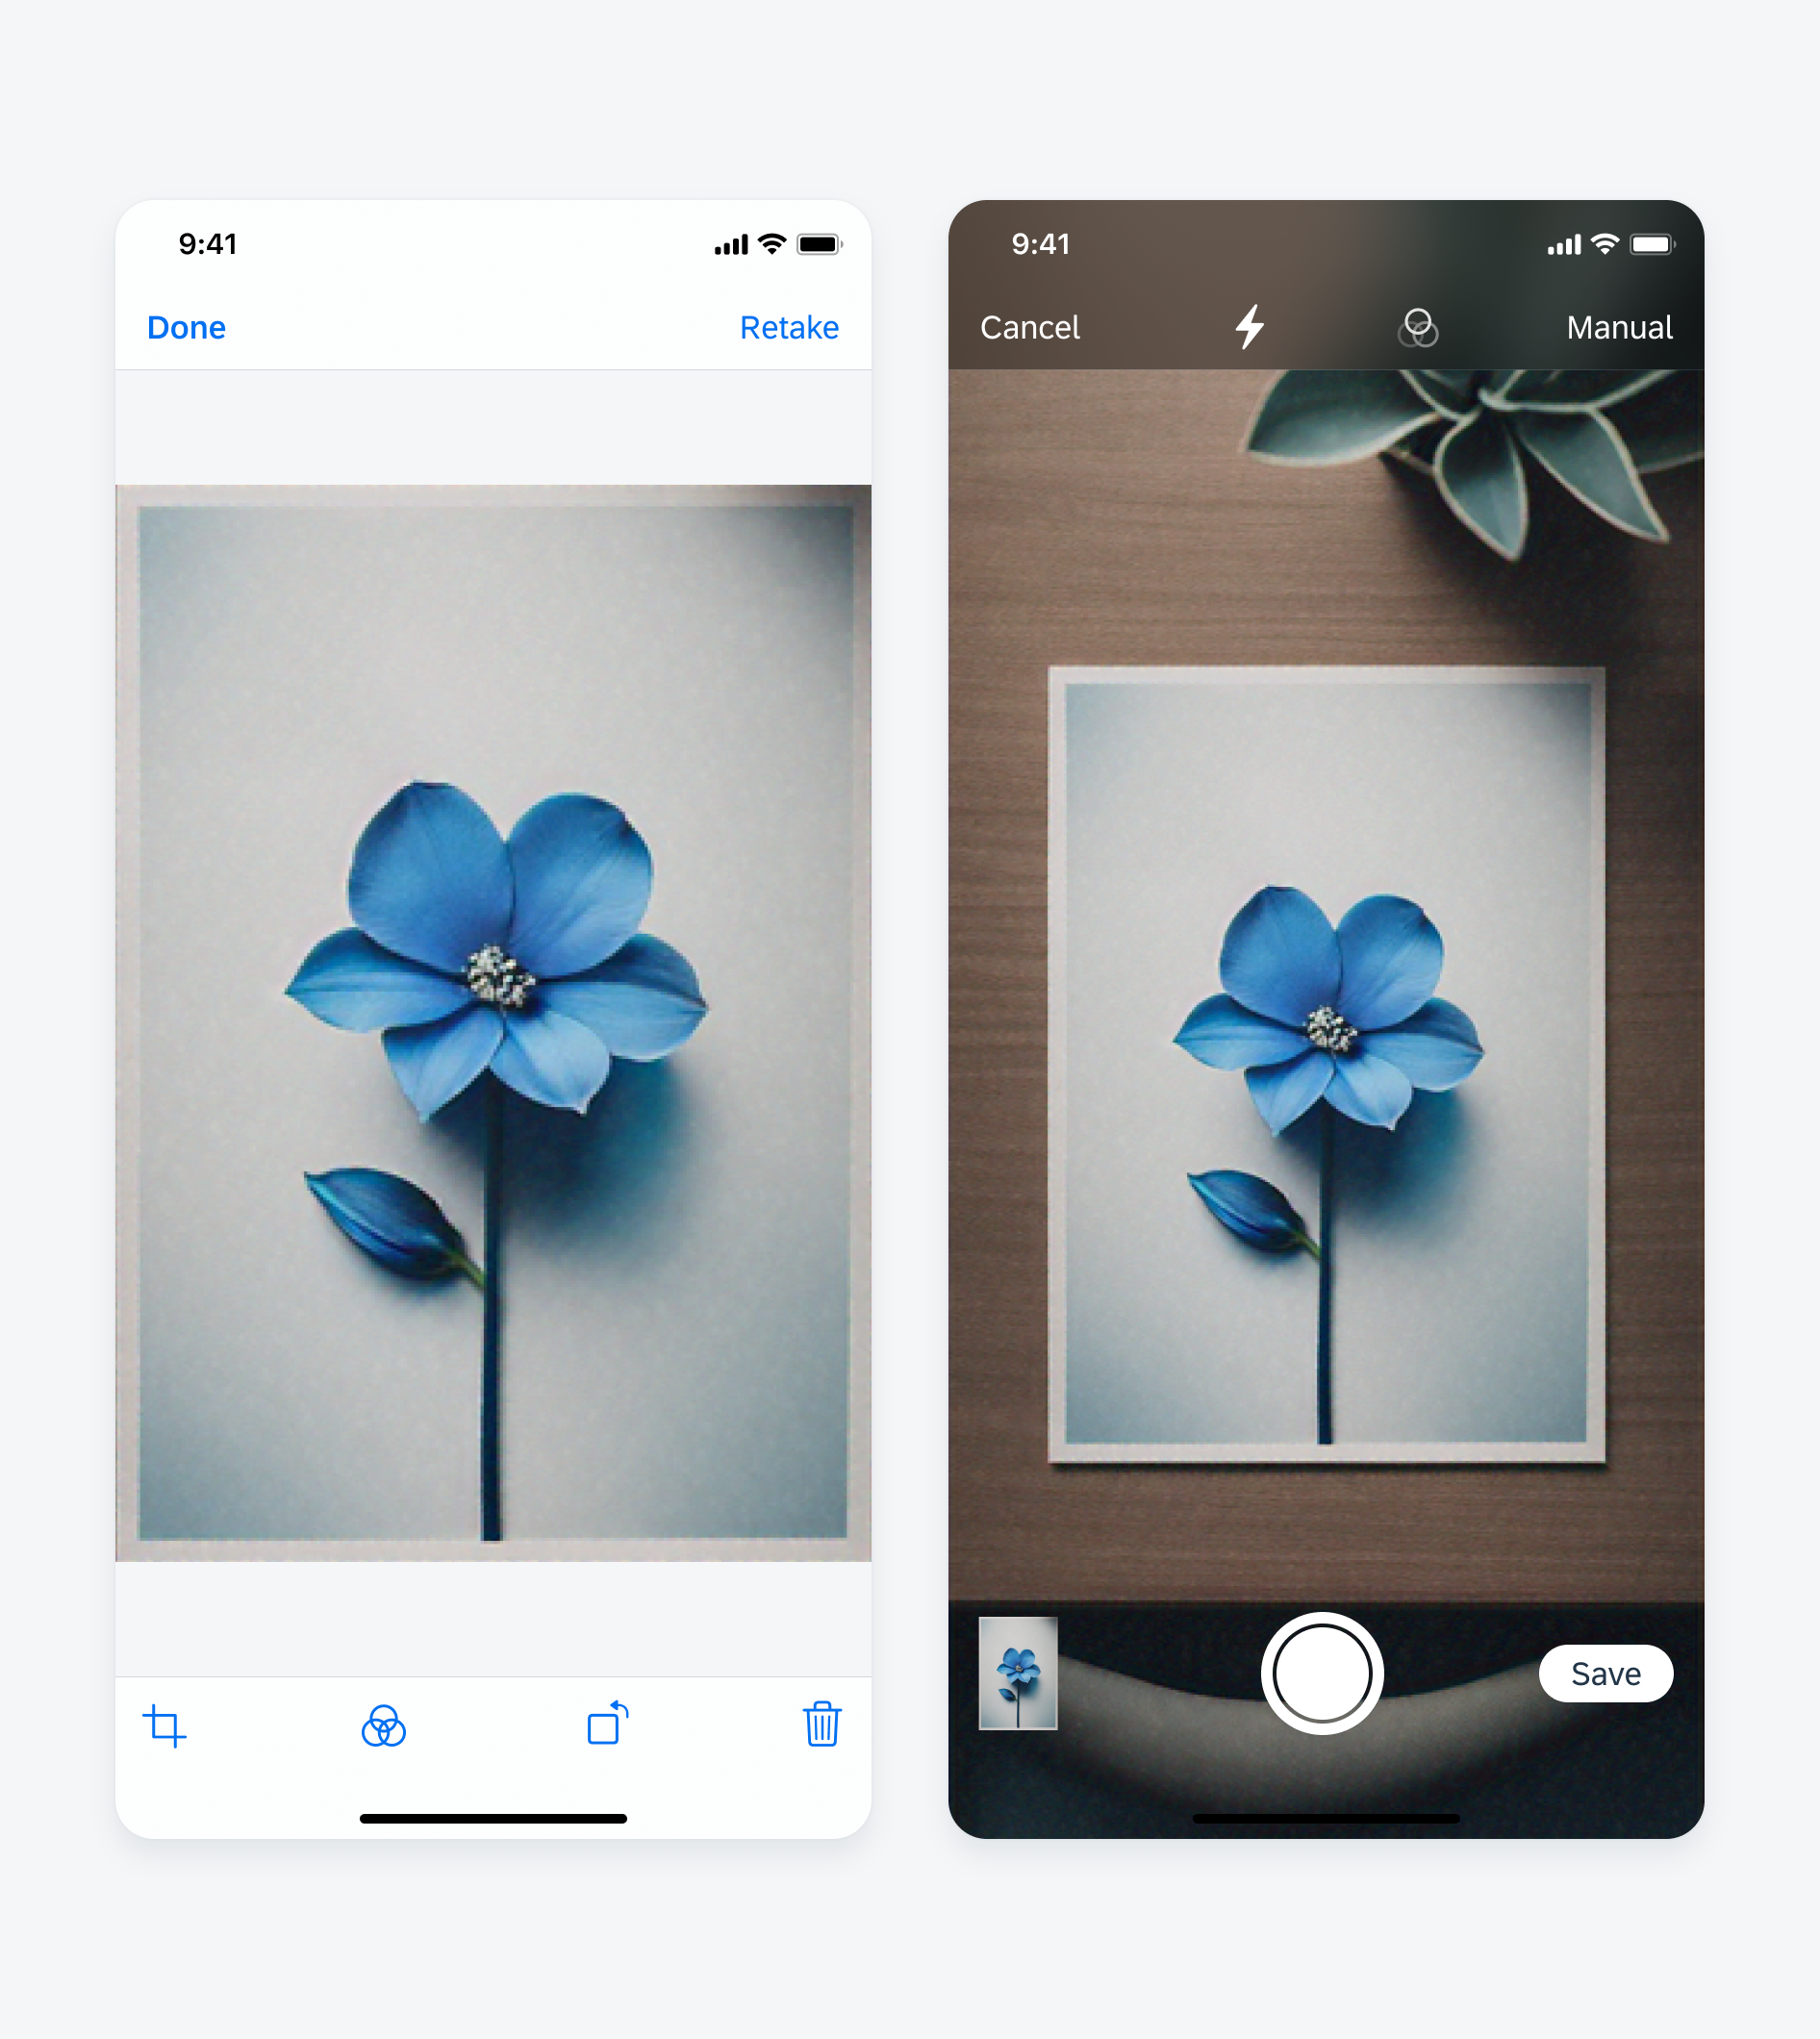

 Your feedback has been sent to the SAP Fiori design team.